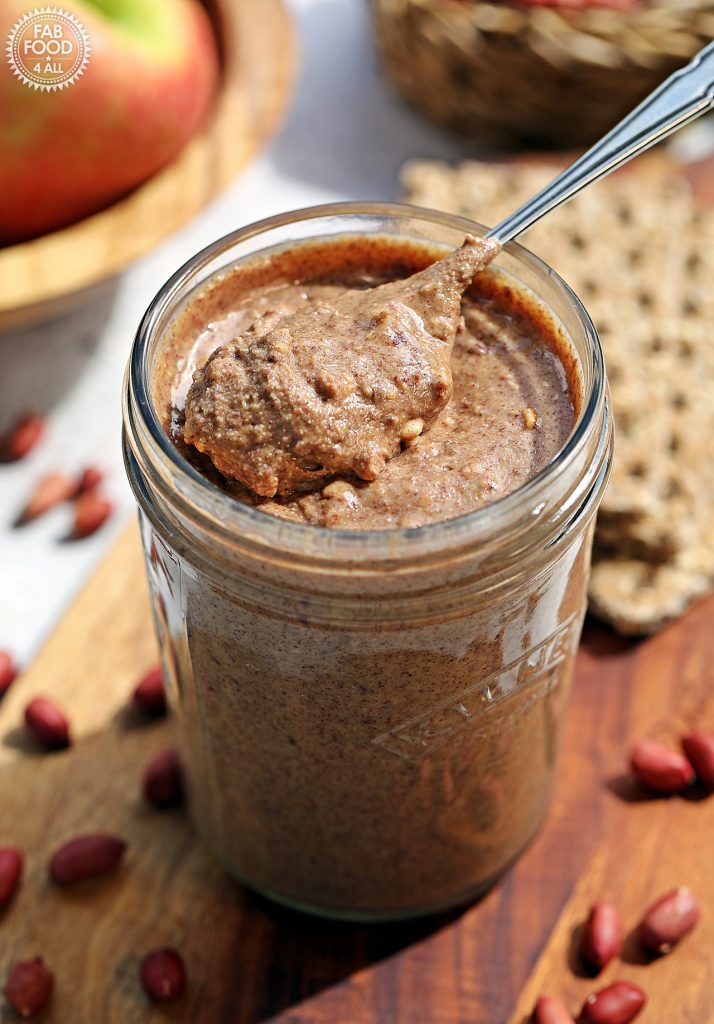
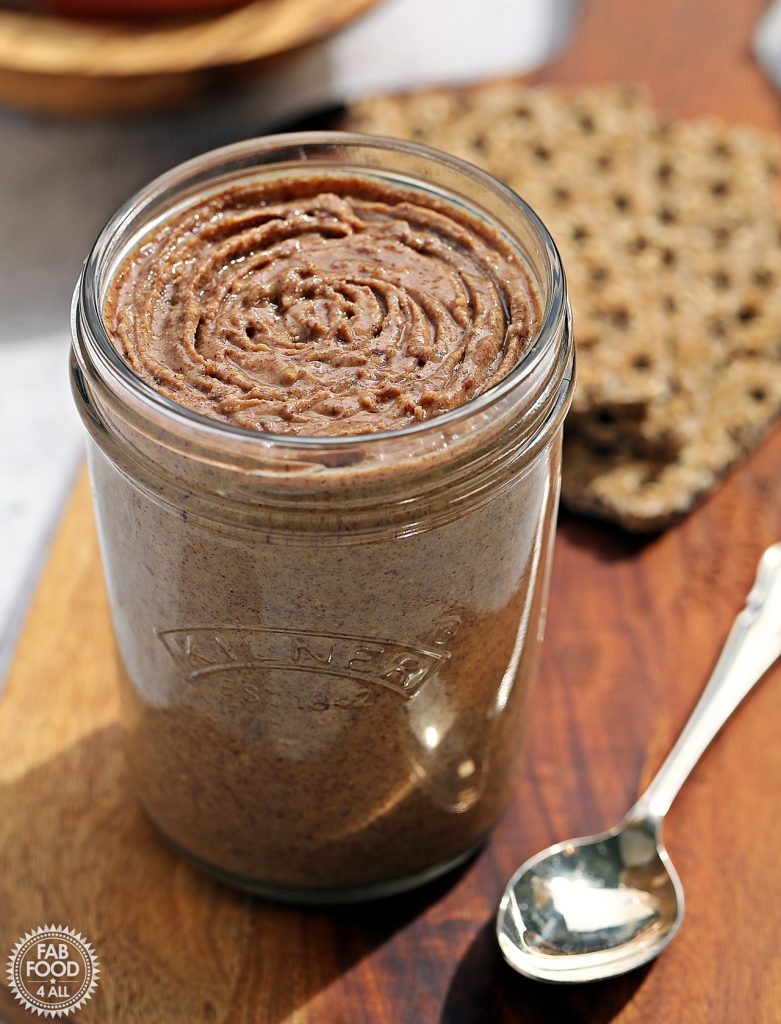
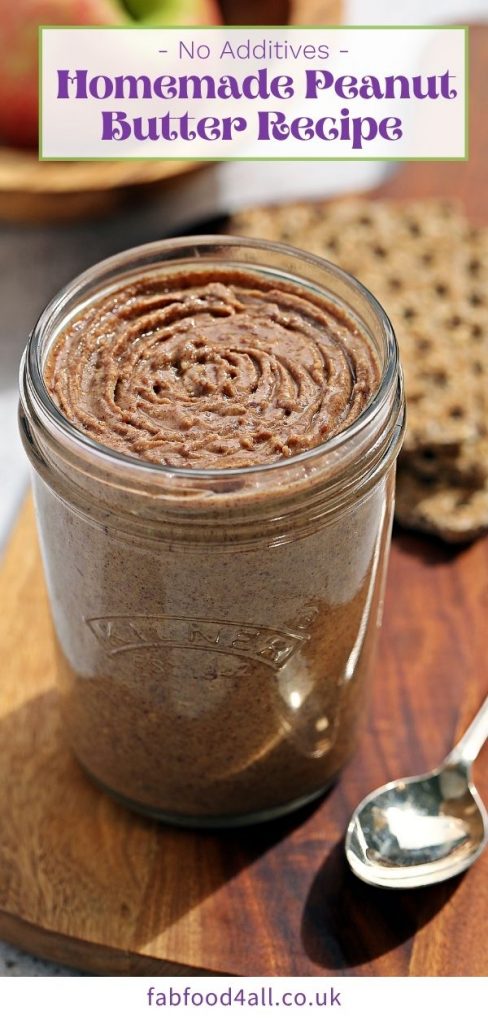
Homemade Peanut Butter Recipe – One Ingredient
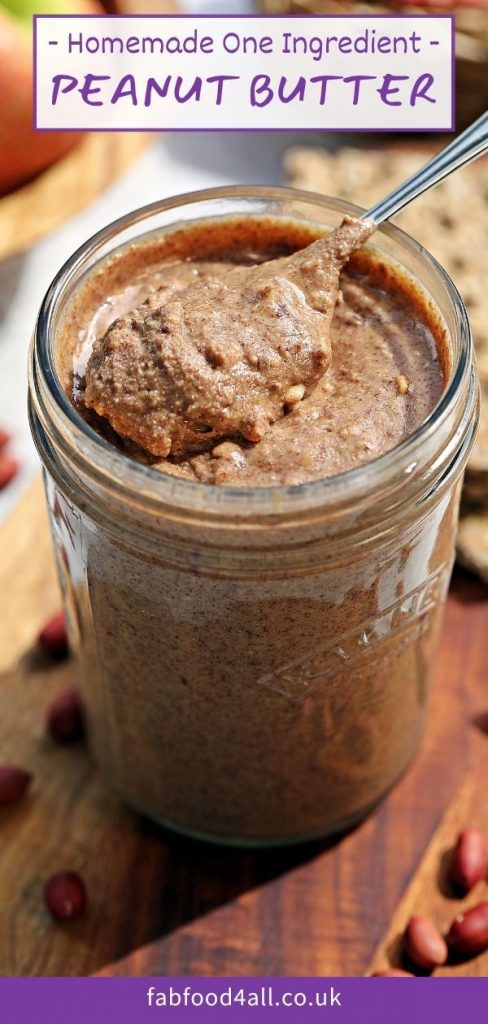
This easy one-ingredient Homemade Peanut Butter Recipe can be made from scratch in under 30 minutes.
It’s perfect for natural peanut butter lovers and can be made smooth or crunchy.
Roasting raw peanuts brings out all their flavour. With no nasty additives, it’s healthier than many store-bought versions.

History of this Homemade Peanut Butter Recipe
We get through a lot of peanut butter in our house and eat it every day. Hence, I came up with this recipe back in 2016.
I’ve updated the photographs and method as I didn’t own a decent food processor back then. I actually managed to break my Braun MultiPractic at the time.
If you own a Vitamix, KitchenAid or another brand of power blender, they’re perfect for this recipe and will be even quicker. Don’t use a mini blender as the motor won’t be able to take the strain.
Health Benefits of 100% Peanut Butter
All-natural peanut butter made with just peanuts is rich in protein and healthy fats.
It’s also a good source of fibre, Vitamin E, B vitamins, magnesium, phosphorous and zinc, etc.
As part of a healthy diet, peanut butter has been shown to aid weight loss and lower the risk of heart disease.
Reasons to Make Your Own Roasted Peanut Butter from Scratch
- No Additives: Store-bought processed peanut butter often contains unhealthy additives like palm oil, sugar and stabiliser (so always check the label).
- Superior Flavour: Like freshly roasted coffee, freshly roasted peanuts just have a more intense, delicious flavour.
- Cheaper: Equivalent store-bought roasted peanut butter costs £7 to £10 per kilo, depending on jar/tub size. This peanut butter costs about £4.84 per kilo, including energy costs.
- Quick: Takes less than 30 minutes to make.
When I don’t have time to make my own, I buy Meridian Fully Roasted Crunchy Peanut Butter. It’s the most similar in flavour to this recipe.
The Advantages of Using Raw Peanuts with Skin
- Natural peanut butter is already a healthy food, but using peanuts with their skins on adds additional dietary fibre, which is great for gut health, etc.
- The peanut butter won’t stick to the sides of the food processor bowl as much, so you won’t need to scrape it down constantly.
- Pre-roasted nuts don’t come with the skins attached, are often roasted in seed oils and have added salt.
- You control the final flavour of the peanut butter by roasting it until it’s to your liking.
How to make Homemade Peanut Butter
Ingredients
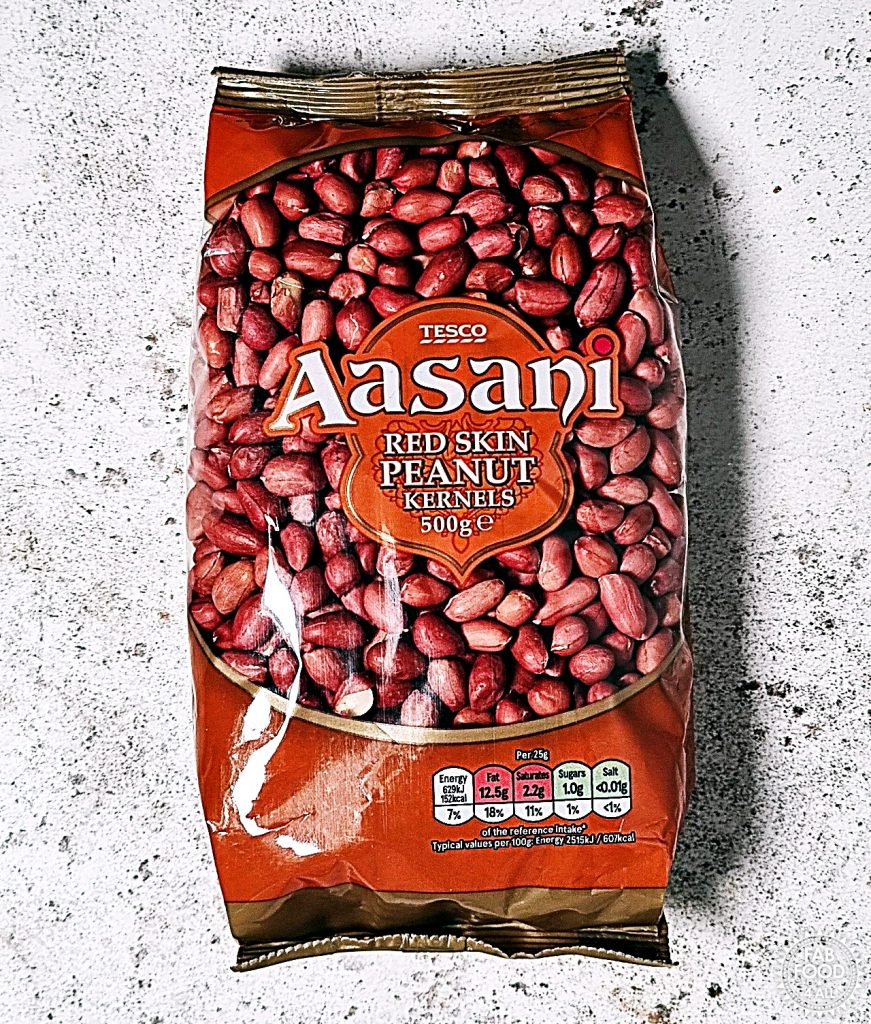
Raw shelled peanuts with skin (I use Red Skin Peanut Kernels).
Equipment
- Digital scales
- Food processor or high-powered blender
- Measuring spoons
- Small glass bowl
- Rubber spatula
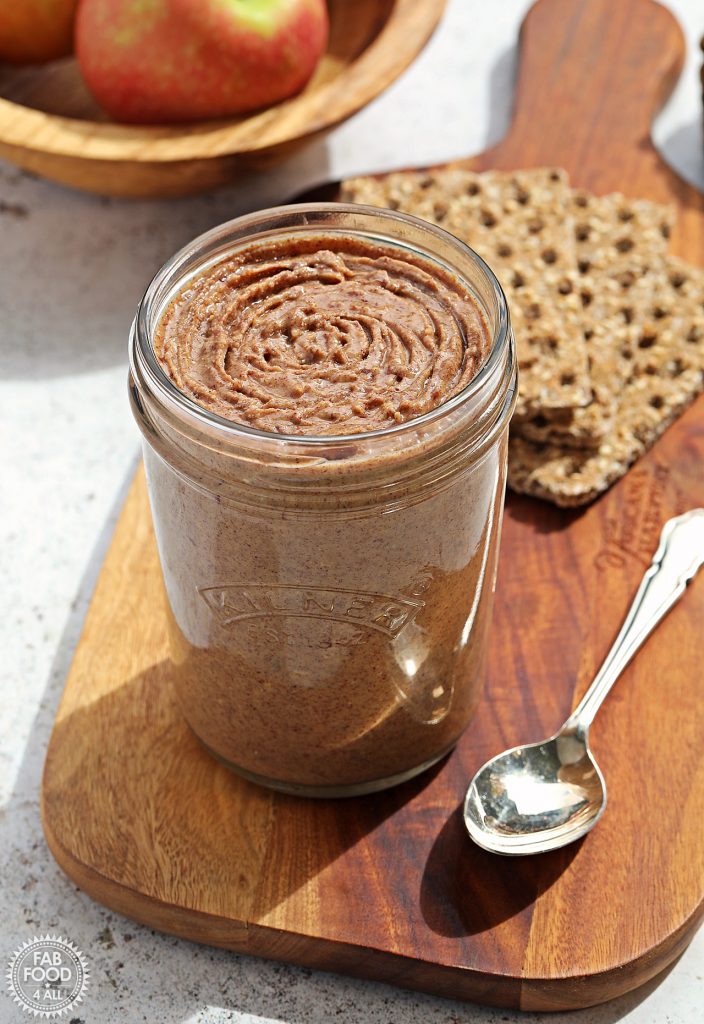
- 0.35 Litre /11.8 US fl oz glass jar with lid
- Large stainless steel spoon
Method
Substitutions
To ring the changes, you could make mixed nut butter using a mix of peanuts, cashew nuts, hazelnuts and almonds.
Alternatively, use any single variety of raw nuts (preferably with skin), such as almonds, to make almond butter, etc.
Peanut Butter Additions
There is a trend for adding ingredients to peanut butter, such as salt, honey, chocolate chips, cocoa, etc.
To my mind, you’re then limiting the use of an entire jar of peanut butter for either sweet or savoury use.
Leaving peanut butter plain and natural makes it far more versatile and easier to incorporate into recipes.
You can make additions to what you remove from the jar. That way, it won’t spoil the jar’s keeping quality.
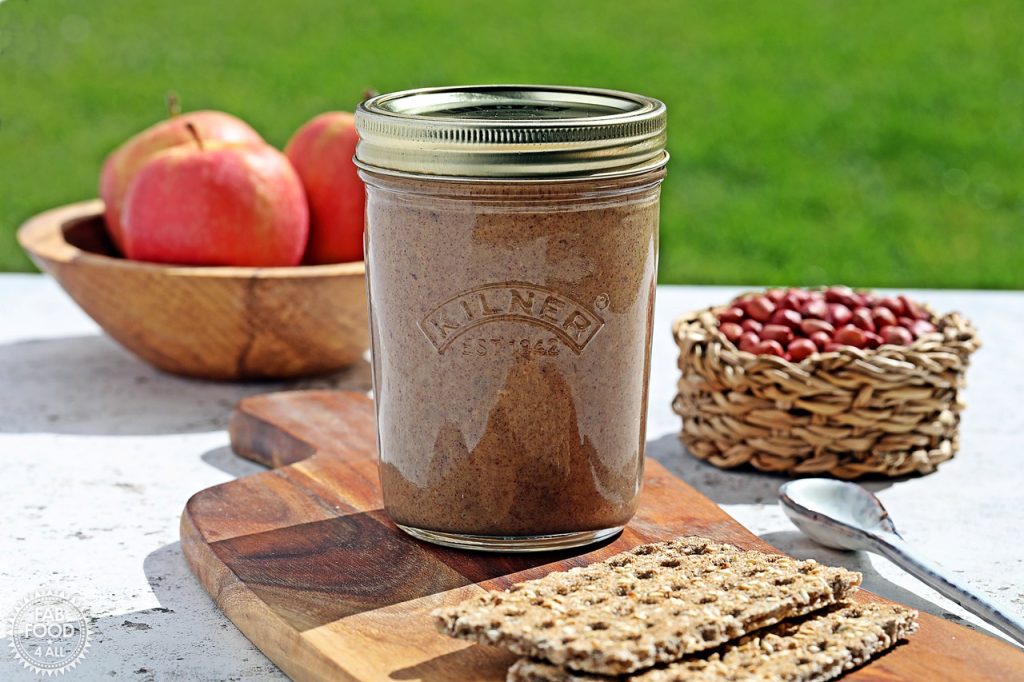
Serving Suggestions for Homemade Peanut Butter
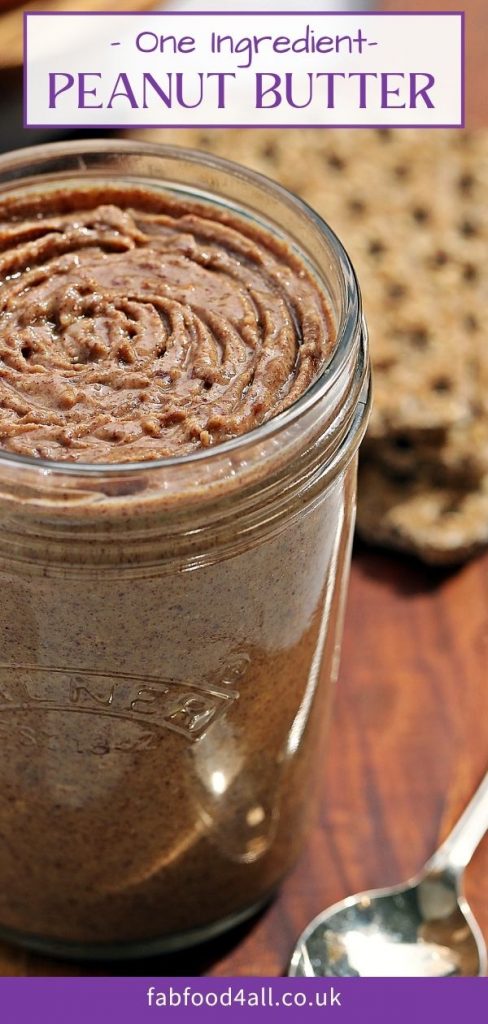
- One of our favourite ways to have this peanut butter is on a slice of toasted sourdough rye bread spread with butter and Marmite. It’s also cheaper than buying Marmite Peanut Butter!
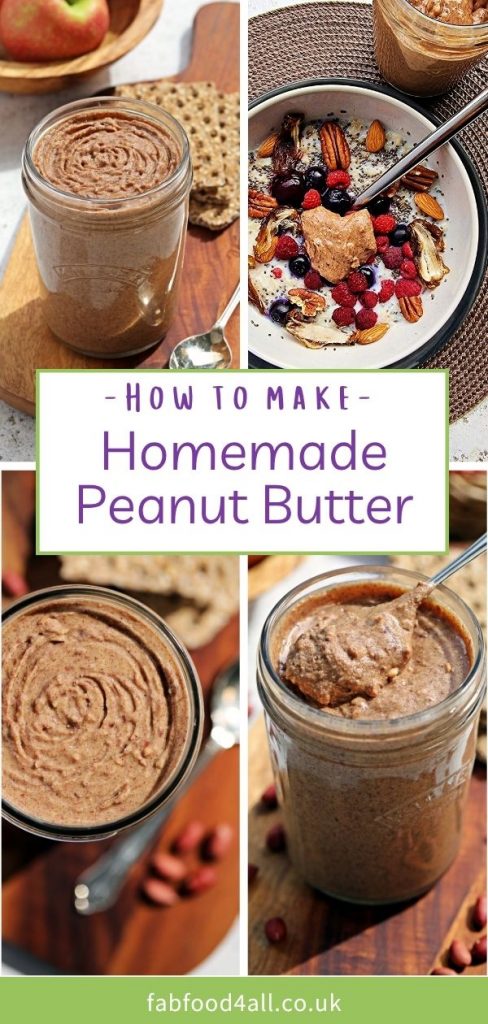
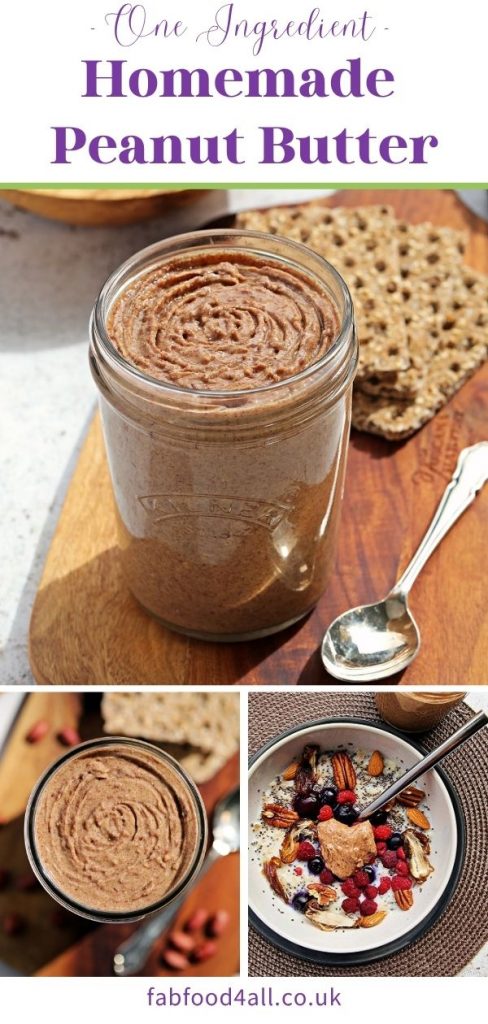
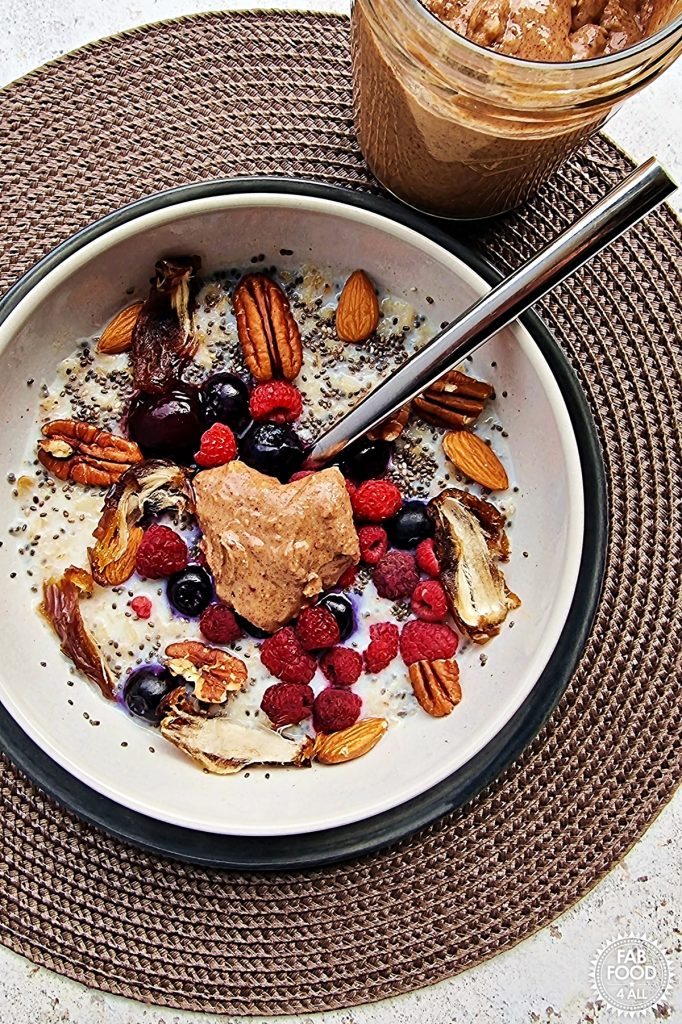
- We also stir it into porridge or yogurt along with berries, nuts and seeds for a healthy breakfast or dessert.
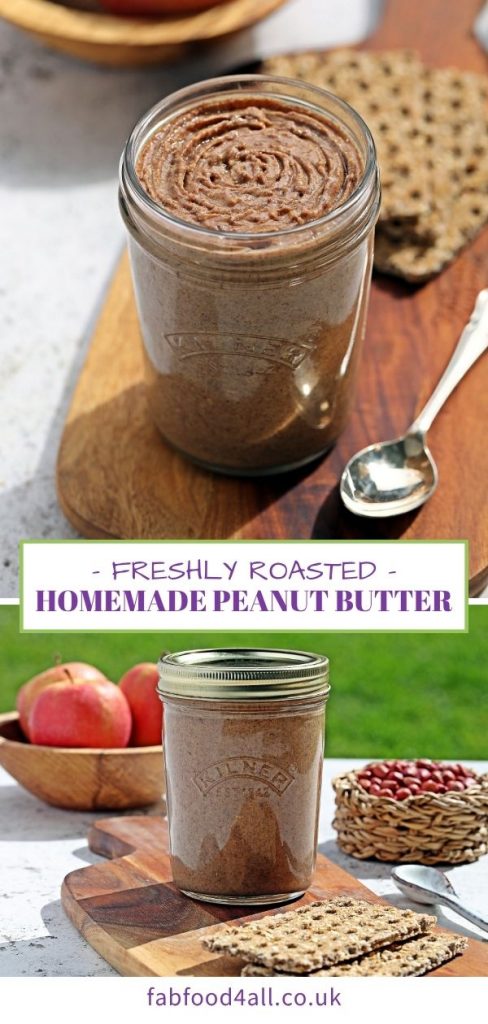
- For a healthy snack, serve with slices of apple as a dip.
- I’m sure you’ve heard of American peanut butter and jelly. Well, my Grape Jam is the perfect partner to peanut butter spread on toast, crackers, etc.
Recipes Using Peanut Butter
You can use peanut butter in so many ways, including main courses, dressing, bakes and desserts. Here are just a few ideas:
Frequently Asked Questions
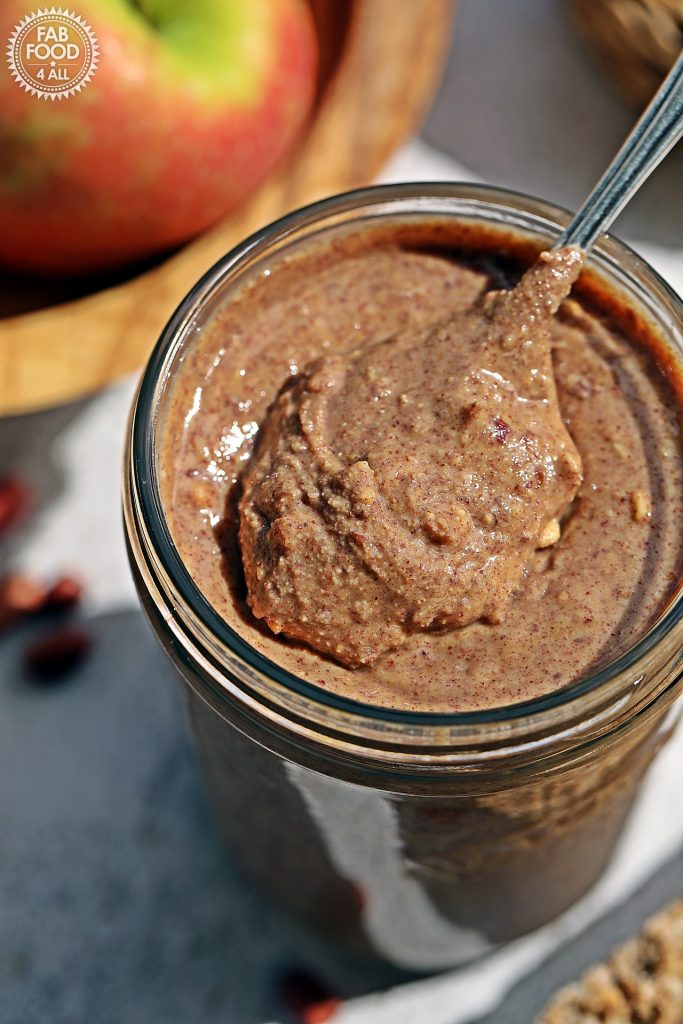
As you spoon the peanut butter into the jar, air will get trapped. Just run a fork down the inside of the jar all the way round, and the air pockets will disappear.
No. As there are no additives (e.g., vegetable oil or palm oil) that can spoil it, it’s safe to keep the peanut butter in a cool, dark place. Pure peanut butter is too dry, low in moisture and high in fat for bacteria to thrive. It’s also easier to spread peanut butter at room temperature.
Stored in a cool, dark place, it will keep for 3 months.
I’m sure you’ll love this recipe, as my family thinks it is the best peanut butter!
Finally, never put peanut butter in a child’s lunch box or eat it on public transport. Peanut allergies are extremely dangerous for those affected and can be fatal.
Pin Homemade Peanut Butter for later!
Leave a comment and rating below when you’ve made this recipe; I love getting your feedback! You can also share your pictures by tagging @FabFood4All over on Instagram.
Homemade Peanut Butter Recipe – One Ingredient
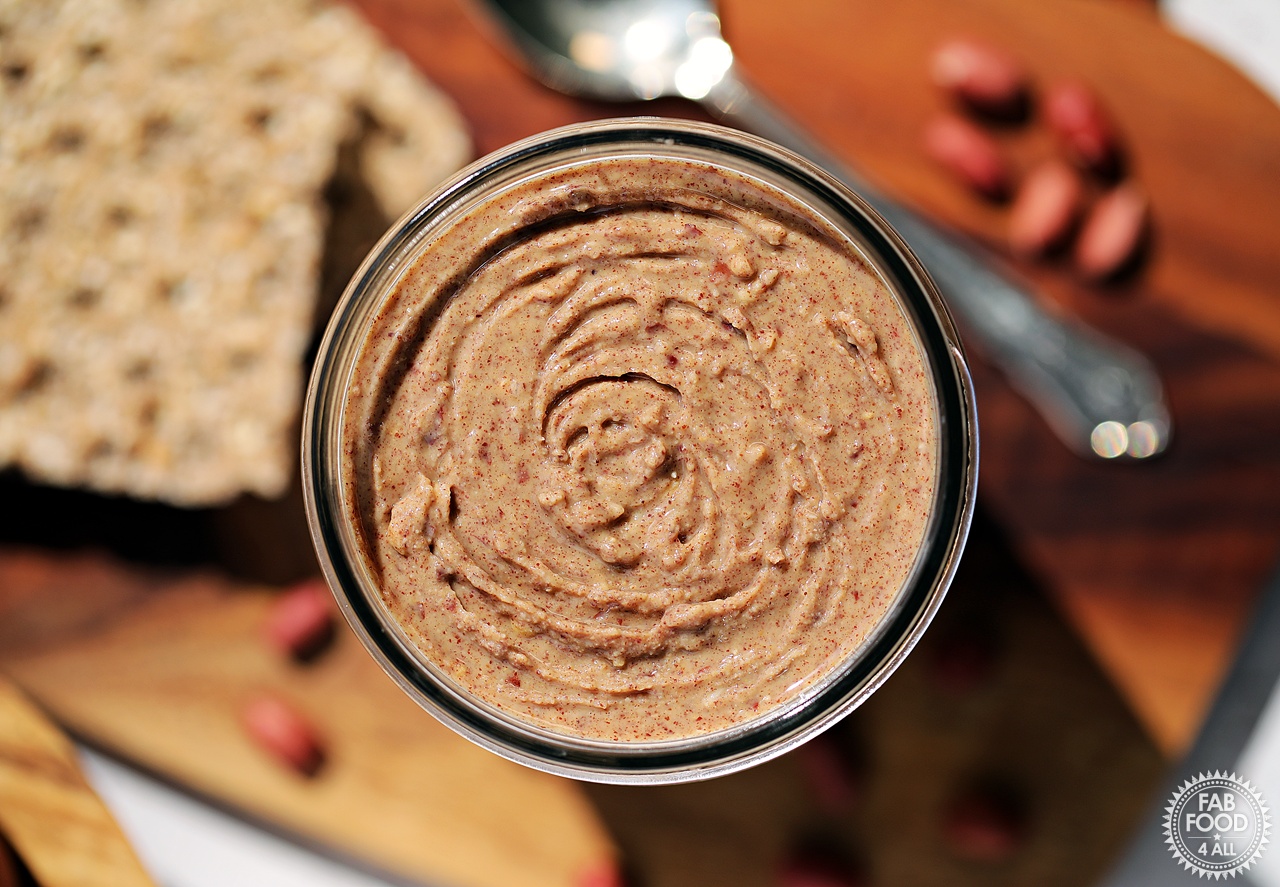
Freshly roasted peanuts are blended to produce this 100% natural peanut butter in less than 30 minutes.
Equipment
-
1 Digital scales
-
1 Food processor or high-powered blender
-
1 Set of measuring spoons
-
1 small glass bowl
-
1 0.35 Litre /11.8 US fl oz glass jar with lid
-
1 rubber spatula
-
1 Large stainless steel spoon
Ingredients
- 500 g Raw shelled peanuts I used red skin peanut kernels
Instructions
-
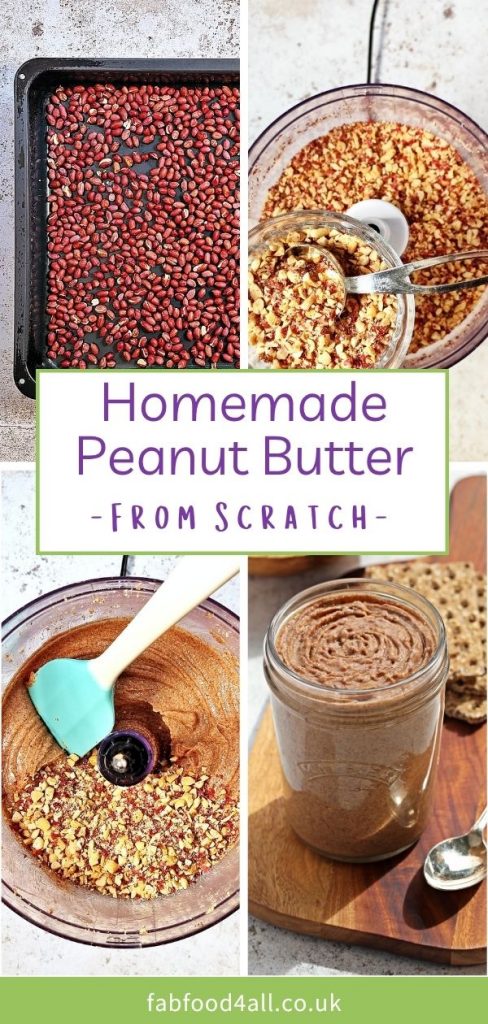
Pre-heat the oven to 180ºC, 160ºC fan, 355ºF, gas mark 4.
-
Spread the raw peanuts out in a single layer on a preheated baking tray and roast for 15 to 18 minutes until lightly golden inside.
-
Taste a peanut half (it will be hot so allow it to cool a little). If it has doesn’t have a roasted flavour carry on roasting for a little longer and taste again. This will be the flavour of your peanut butter so it’s important to get it right.
-
Once the peanuts are ready, allow them to cool.
-
Meanwhile, sterilise a 0.35 Litre /11.8 US fl oz jar as per notes below. (The recipe makes 400 ml but fits this size).
-
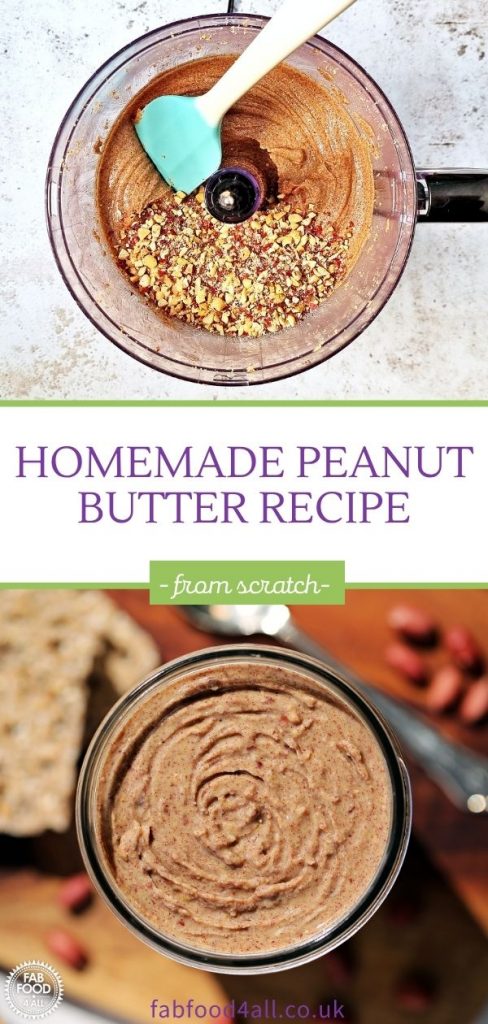
Pour the roasted peanuts into a food processor (or a high-powered blender) and blend on the lowest setting until the peanuts are chopped to the size you’d like in your peanut butter. Takes about 30 seconds to 1 minute.
-
For crunchy peanut butter remove 6 tablespoons of chopped peanuts and set aside. For smooth peanut butter skip this step.
-
Continue blending the peanuts on the highest speed, stopping periodically to scrape down the sides when the mixture seizes (mine needed scraping down twice). Stop blending once the consistency is that of smooth peanut butter (takes about 8 minutes in a food processor).
-
Finally, remove the blade (if using a food processor) and mix in the chopped peanuts (if making crunchy peanut butter).
-
Then spoon into a sterilized jar and screw on the lid.
-
Store in a cool dark place and consume within 3 months.
Notes
- Sterilise 1 x 0.35 L / 11.8 fl oz jar (or variation thereof). Start by washing the jar in hot soapy water (or take it straight from the dishwasher). Then fill with boiling water, empty, and place in the oven for 20 minutes at 140°C, 120°C fan, 285°F, gas mark 1. Leave the jar in the oven until the peanut butter is ready to pot up. Washed lids should be sterilised by immersing in boiling water and then left to drain.
- Be sure to use a full-sized food processor, as a mini one will not have a strong enough motor. Take breaks if you feel your blender is struggling.
Previously published 16 February 2016.