Nate Lanier, head brewer and co-founder of Tree House Brewing recently shared a Tree House-style IPA homebrew recipe. This recipe generated a lot of interest in the homebrew world as Tree House is obviously responsible for some of the top-rated IPAs in the world.
As a student of beer and brewing, I had to try this recipe for myself and see if it was for real. I’m obsessed with the concept of recreating commercial-quality IPAs at the homebrew scale. And while there’s a lot of debate on whether or not it’s actually possible with the equipment and ingredients homebrewers have access to, I’ll never stop trying.
As the equipment gap between pro brewing and homebrewing continues to shrink, the biggest challenge with brewing killer NEIPAs at home, in my opinion, is access to hops. Commercial breweries hand-pick very specific hop lots that deliver the exact qualities they’re looking for. 99% of homebrewers aren’t venturing to Yakima, Washington to evaluate and hand-pick different hop crops. Homebrewers simply get what we get, which is everything that is left over after fulfilling commercial contracts. Not to say we’re getting low-quality products, we just might not always strike gold…at least intentionally.
Before I get into any specifics, you should watch the recipe video Tree House released below.
Recipe Blueprint
In the video, Nate starts out by explaining the brewing process by telling us how to brew a Tree House style IPA without telling us how to brew a Tree House style IPA. He left some room for creativity and personal experimentation by giving us a very rough framework of ingredients and processes.
In my opinion, Nate’s most notable omission was the starting water profile (aka Tree House’s “secret sauce”). Water is painstakingly argued as one of the most critical elements for producing great beer. While gypsum and calcium chloride were likely pictured in the video, we can only guess the exact profile, additional salts used, and target mash pH. For simplicity, I used around 200ppm chloride and 100ppm sulfate and targeted a mash pH of 5.2. No secrets here, this is all pretty standard.
Grains
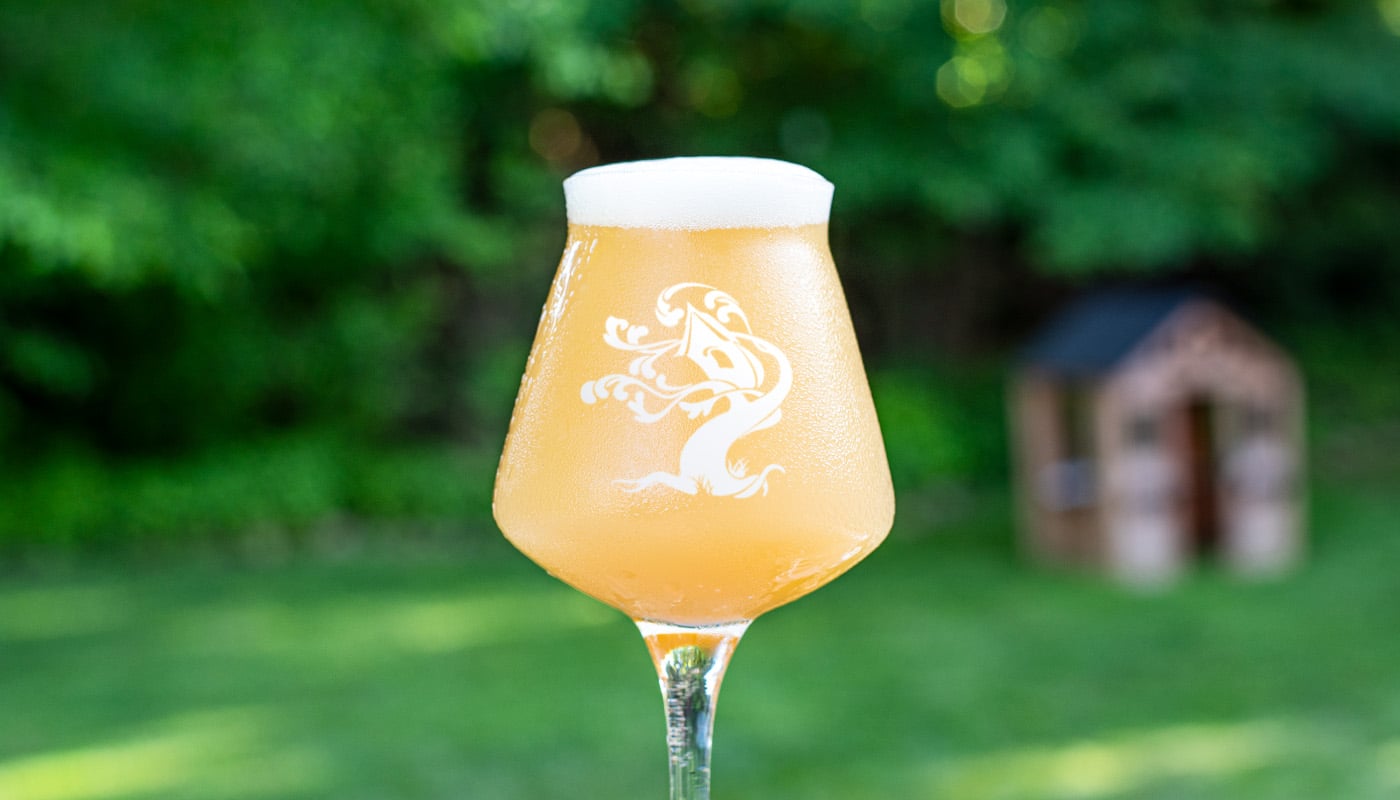
Nate’s recipe is actually quite simple. The grist is 85% 2-row, 10% flaked oats, and 5% Carafoam. This is easily the least adjunct-heavy grist I have worked with in a long time. I think it’s very easy to fall into the trap of adding lots of oats and wheat in order to produce a thick and hazy final product with a big mouthfeel. The higher mashing temps (154°F) and Carafoam produce enough body and subtle residual sweetness to carry the entire beer. The color has an inviting pale golden hue and the appearance is very turbid, despite being mainly 2-row. I was genuinely surprised by this.
Hops
The hopping schedule consists of two bittering additions, whirlpool additions, and a generous dry hop. The dominant hops used throughout the recipe are Amarillo, Citra, and Simcoe, with a modest 60-minute charge of Magnum. The recipe features more bittering additions than your conventional NEIPA recipe. With both 60 and 20-minute additions, the beer has a nice balanced bitter backbone to build upon in the whirlpool and dry hop.
Fermentation
Nate suggested fermenting at 70°F with a London III strain so I opted for British Ale V by Omega Yeast. Per Nate’s suggestion, I let the beer ferment out entirely before adding any dry hops (my usual process). On day 7, I soft crashed down to about 63°F, dropped the yeast, and added all the hops in a singular charge under 10 PSI of pressure. After 3-4 days I crashed to 35°F for 2 days and transferred the nearly carbonated beer to a keg for additional conditioning.
We have no way of knowing what Tree House’s true cold side process is but I went with my own blueprint for the style. I would imagine it’s not entirely dissimilar, with the majority of questions arising around the dry hop schedule, timing, and temperature. You can watch Nate’s actual brew day video here on the Brew Magic! It’s really interesting to see.
Tasting and Alterations
As mentioned, Nate actually brewed this recipe on his old homebrew setup and provided general feedback. I won’t go into details but in general, he thought the beer was “good” but overly bitter and slightly astringent. This prompted me to make some small initial adjustments prior to brewing.
I tweaked the bittering adjustments by moving the 20-minute boil additions down to 10-minute additions. I also skipped Citra during the boil and just did Amarillo and Simcoe. Everything else was the same with the exception of a negligibly larger dry hop. Nate suggested dry hopping around 7-15 grams per liter, which maxes out at around 11 ounces per 5.5 gallons. To keep things simple, I opted for 4 ounces each of Citra, Simcoe, and Amarillo in the dry hop (12 total ounces).
As for my own feedback, I really like how this beer turned out. I think the simple grist, slightly higher mash temp, and killer hop combo created a well-rounded IPA that is very drinkable with a lot of fresh hop character. My plan is to replicate this exact process and grist for my next batch and only change the hop combos. I personally did not find this beer overly bitter or astringent—I think it had a nice balance of bitterness and drinkability. My slight adjustments may have helped here. The simple grain bill provides a blank canvas for the hops to really shine, which is honestly the whole point of the modern-day IPA.
The Recipe
Below is the base recipe as formulated for my BIAB system using brewing software. I built this based on the exact recommendations by Nate without my own fine-tuning so feel free to adjust like I did if desired. I included my notes for reference. This is absolutely a must-brew recipe. Thank you, Nate!
Ingredients
Fermentables
13lb 1.8 oz – 2 Row (85%)
1 lb 8.6 oz – Oats, Flaked (10%)
12.3 oz – Carafoam (5%)
Boil (I moved 20 min to 10 min and skipped Citra)
60 min – .62 oz – Magnum (20 IBU)
20 min – .25 oz – Amarillo (5 IBU)
20 min – .25 oz – Citra (5 IBU)
20 min – .25 oz – Simcoe (5 IBU)
Whirlpool
25 min @ 190°F – .25 oz – Amarillo
25 min @ 190°F – .25 oz – Citra
25 min @ 190°F – .25 oz – Simcoe
Dry Hops (I upped to 4 oz each)
3-4 days – 3.6 oz – Amarillo
3-4 days – 3.6 oz – Citra
3-4 days – 3.6 oz – Simcoe
Yeast
2 packs British Ale V OYL-011
Water Profile
Cl– 200
SO42- 100
Specifications
Method: All-grain
Batch size: 5.5 gallons
Efficiency: 68%
OG: 1.070
FG: 1.016
ABV: 7%
IBU: 34
SRM: 6.2
Target Mash pH: 5.2 (adjust with lactic acid)
Mash Temp: 154°F – 60 minutes
Boil: 60 minutes
Fermentation Temp: 70°F
Brewing Notes
Day 1: Pitch yeast at 70°F and let rise to 71-72°F on days 2-3 for the remainder of fermentation. Should finish in 4-5 days. It’s important to let the beer finish out entirely before soft crashing. FYI, London III strains require additional oxygenation for best results, I use pure O2.
Day 7-8: Drop the temperature to 60-65°F and hold for 24 hours.
Day 9-10: Dump yeast and add dry hop charge, hold at 60-65°F at 10 PSI.
Day 14-15: Crash to 35°F for 48 hours. Proceed with packaging/cold conditioning for another week in the keg at serving temps. Should be prime drinking by day 20. Must do closed transfers to mitigate oxygen exposure.
This recipe puts 5.5 gallons into the fermenter but honestly, the final yield may vary due to the heavy dry hopping. Expect a decent loss from this.
Use code HAZY20 to get 20% off your entire purchase of $100 or more at yakimavalleyhops.com.