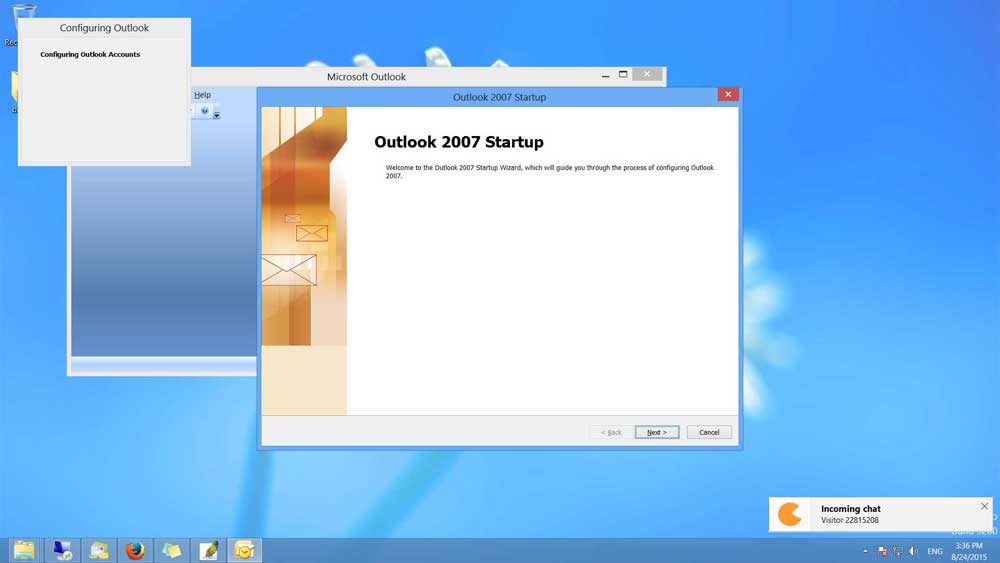
1. Open Outlook and you will get one of these two screens.
OR
2. Click on Next Button
OR
Click on Account Settings from Tools Menu
3. Select Yes and click on Next button
Click on New Button
4. Tick Manual Configuration Option and click on Next button.
5. Choose Internet Email Option and Click Next
6. Enter The Following Details Name : Your name or Company Name Email Address : Your full email id e.g. [email protected] Type : POP or IMAP Incoming Mail Server : mail.yourdomain.com (Replace yourdomain.com with your domain name) Outgoint Mail Server : mail.yourdomain.com (Replace yourdomain.com with your domain name)Username : Your full email id e.g. [email protected] Password : Password of your Email ID as created in control panel.Tick mark Remember PasswordAfter filling all the details Click on More Settings Button.
7. Click on Outgoing server tab and tick mark “My outgoing server (SMTP) requires authentication” and Click OK
8. Click on Test Settings Button to test if all the settings are working fine or not.
9. If everything is fine it will show like this, if it show cross on the test, please recheck the details you have entered.
10. Click on Finish button to finish the setup and its DONE, you can now start using your emails in Outlook.