You might not think about them often, but baseboards in your Seattle apartment or Austin rental home collect more dust and grime than you realize—and once you notice, you can’t unsee it. Keeping your baseboards spotless makes a huge difference in how clean your home looks and feels.
The good news? Cleaning baseboards doesn’t have to be a hassle. With the right techniques and a few simple tools, you can get them looking brand new in no time. This guide covers the best methods for cleaning baseboards, from quick dusting tricks to deep cleaning hacks—plus expert tips on preventing future buildup.

1. Use a Mr. Clean Eraser to remove stains from painted baseboards
When it comes to cleaning painted baseboards, a Mr. Clean eraser can work wonders. This versatile tool is effective on both painted and finished wood surfaces, allowing you to remove stains without damaging the paint or finish.
“One of the best methods for cleaning painted baseboards is to use a dry (or very, very lightly dampened) Mr. Clean eraser. Start with light pressure and gradually increase pressure as needed. It will remove the stain and not the paint. Using it dry on finished wood surfaces works well, also.” — Dale Lee, owner of PMI Reliant
2. Keep baseboards dust-free by wiping them with a dryer sheet
After wiping baseboards with a damp microfiber cloth, run a dryer sheet along them to repel dust and reduce static buildup.
“A hack we use at Bee Friends Cleaners is to wipe baseboards with a dryer sheet after cleaning them with a damp microfiber cloth. The dryer sheet helps prevent static buildup, which attracts dust, keeping your baseboards cleaner for longer. This simple trick means less frequent deep cleaning and a fresher-looking space with minimal effort.” — Team at Bee Friends Cleaners
“Unlock the secret to effortless cleaning with our Dryer Sheet Cleaning Trick! Used dryer sheets not only sweep away dust and dirt but also help repel future buildup thanks to their anti-static properties. When you wipe surfaces, they leave behind a thin layer of fabric softener that reduces static cling, making it harder for dust and debris to stick. Plus, the fresh scent transforms your space into a delightful haven while you clean. Perfect for busy lifestyles, this eco-friendly hack will elevate your cleaning routine to a whole new level.” — Erin Plummer from Erin’s Tidy Cleaning Co.
3. Vacuum baseboards while cleaning your floors
When vacuuming your floors, use the brush attachment to quickly clean baseboards, removing dust, crumbs, and debris along the wall edges in one easy step.
“As you’re vacuuming the floors, pop off the hose and with the brush attachment, quickly run it along the crevice and baseboards along the wall edge of the floor, hoovering up all the dust, crumbs, and debris that collect in this area. As professional house cleaners, we’re always looking for ways to clean homes in the most fast and efficient way. By including the baseboard and floor wall crevices in one swoop, you’ve simplified your process.” — Tony from Homework House Cleaning.

4. Deep clean baseboards with a multi-step method
Dust with a microfiber cloth, wipe with a damp cloth and cleaner, scrub tough spots, and dry to prevent moisture damage.
“First, you need to dust the baseboard with a dry microfiber cloth. Then, wipe with a damp microfiber using a multi-purpose solution, like Thieves. For stubborn spots, use a wet magic eraser or a soft bristle brush to get in the corners and remove buildup. Lastly, you want to dry the baseboard.” — Team at Green Cleaning & Recycling
5. Use the right cleaning approach for painted and wood baseboards
Different baseboard materials need specific cleaning: dry dust painted baseboards, use a mild soap solution, and clean wood baseboards with a wood-safe cleaner.
“The best cleaning method depends on the baseboard material. For painted baseboards, dry dusting with a microfiber cloth followed by wiping with a slightly damp cloth and mild soap solution works well. For wood baseboards, avoid excessive moisture and use a wood cleaner appropriate for the wood type to protect the finish. Regular dusting is key for all baseboards to prevent buildup.” — Team at Home Spotless
6. Use dawn dish detergent for tough grime
Dawn Dish Detergent’s grease-fighting formula makes it perfect for cleaning baseboards—just mix a few drops with water for an effective, gentle solution.
“Dawn Dish Detergent is renowned for its grease-fighting power, making it an effective way to break down grime, dust, and oily residues on baseboards. Despite its strength, it’s gentle enough not to damage painted surfaces or wood. Plus, a little goes a long way—just a few drops mixed with water create a cost-effective cleaning solution that tackles tough buildup with ease.” — Team at Maid Angels

7. Avoid damage by using gentle cleaning techniques
To avoid damage when cleaning baseboards, use a soft cloth or damp sponge, avoid excess water on wood, test cleaners on a hidden spot, and dry immediately.
“Use a soft microfiber cloth or a damp sponge instead of abrasive scrubbers. Avoid excessive water, especially on wooden baseboards, to prevent warping. If using a cleaner, test it on a small area first. After cleaning, dry the baseboards immediately to prevent moisture damage.”
— Team at Casabella Cleaning
8. Protect wooden baseboards with the right products
Wooden baseboards need gentle care to maintain their finish, and using diluted Murphy’s Oil Soap or a mild wood polish can help clean and protect them.
“A mild dish soap and warm water solution is safe for most baseboards. For tougher grime, a mixture of vinegar and water works well. Magic erasers are effective for scuffs, and wood polish or a small amount of diluted Murphy’s Oil Soap can help protect wooden baseboards. Avoid harsh chemicals that may damage finishes.” — Team at Casabella Cleaning
9. Follow a 5-step method for a deep clean
For a truly spotless look, try a 5-step method for cleaning baseboards that goes beyond basic dusting. This approach tackles tough scuffs and keeps your home looking polished with minimal extra effort.
“I like to do a quick baseboard clean each time I mop the floors as a preventative measure — usually just a quick pass with my handheld vacuum or a damp rag or microfiber cloth. For a tougher and more thorough clean, I’ll do a multi-part process:
- Vacuum: Remove loose dust and debris.
- Dust: Use a microfiber cloth to catch finer particles.
- Wipe: Apply a gentle soap solution (I love Branch Basics!) with a rag.
- Scrub: For tough scuffs and stains, use a magic eraser.
- Dry: Finish with a clean rag or cloth to prevent water damage.
Just like when you switch up your skincare routine, do a patch test in an inconspicuous area with the products you plan to use to ensure there isn’t any unexpected damage before you get too far in.” — Madeline Fisher, Professional Organizer from Made Organized
10. Clean baseboards with the right products and a quick dust-repelling hack
Keeping baseboards clean and dust-free can feel like a never-ending chore, but using the right products and techniques can make the job much easier and keep your home looking fresh.
“To effectively clean baseboards, start by dry dusting with a microfiber cloth or a vacuum brush attachment to remove loose dirt. Next, use a damp cloth with a mild soap solution—Sal Suds or Dr. Bronner’s Castile Soap are great gentle options for painted baseboards. Be sure to wring out excess water to avoid damage. For wood baseboards, opt for a wood-safe cleaner and a soft cloth to preserve their finish. ” — Team at Southern Clean Pros
11. The ‘forever dust-repellent and fragrant’ method for cleaning baseboards
Cleaning baseboards doesn’t have to be a hassle. With a simple, four-step method, you can keep them looking fresh, dust-free, and even a bit fragrant—all without breaking a sweat.
“Step 1: Gather your supplies
You’ll need:
- A vacuum with a brush attachment or a dry microfiber cloth
- A damp sponge or a magic eraser
- A bowl of warm, soapy water (dish soap works great)
- An old toothbrush for tough spots
- Dryer sheets
Step 2: Dust first
Use your vacuum’s brush attachment or a microfiber cloth to remove loose dust and pet hair. Skipping this step can lead to muddy streaks when you start wiping.
Step 3: Wipe away grime
Dip a sponge in soapy water, wring it out, and wipe down the baseboards. Use a magic eraser for stubborn scuffs and a toothbrush for corners and grooves.
Step 4: Repel Dust with a Dryer Sheet
Once the baseboards are dry, wipe them with a dryer sheet. This not only repels dust but also adds a fresh scent.
Pro Tip: Make baseboard cleaning part of your routine by setting phone reminders. Tackling scuffs as they happen keeps cleaning easy and quick.” — Sarah Casey, Professional Organizer and Owner of Life Simplified with Sarah
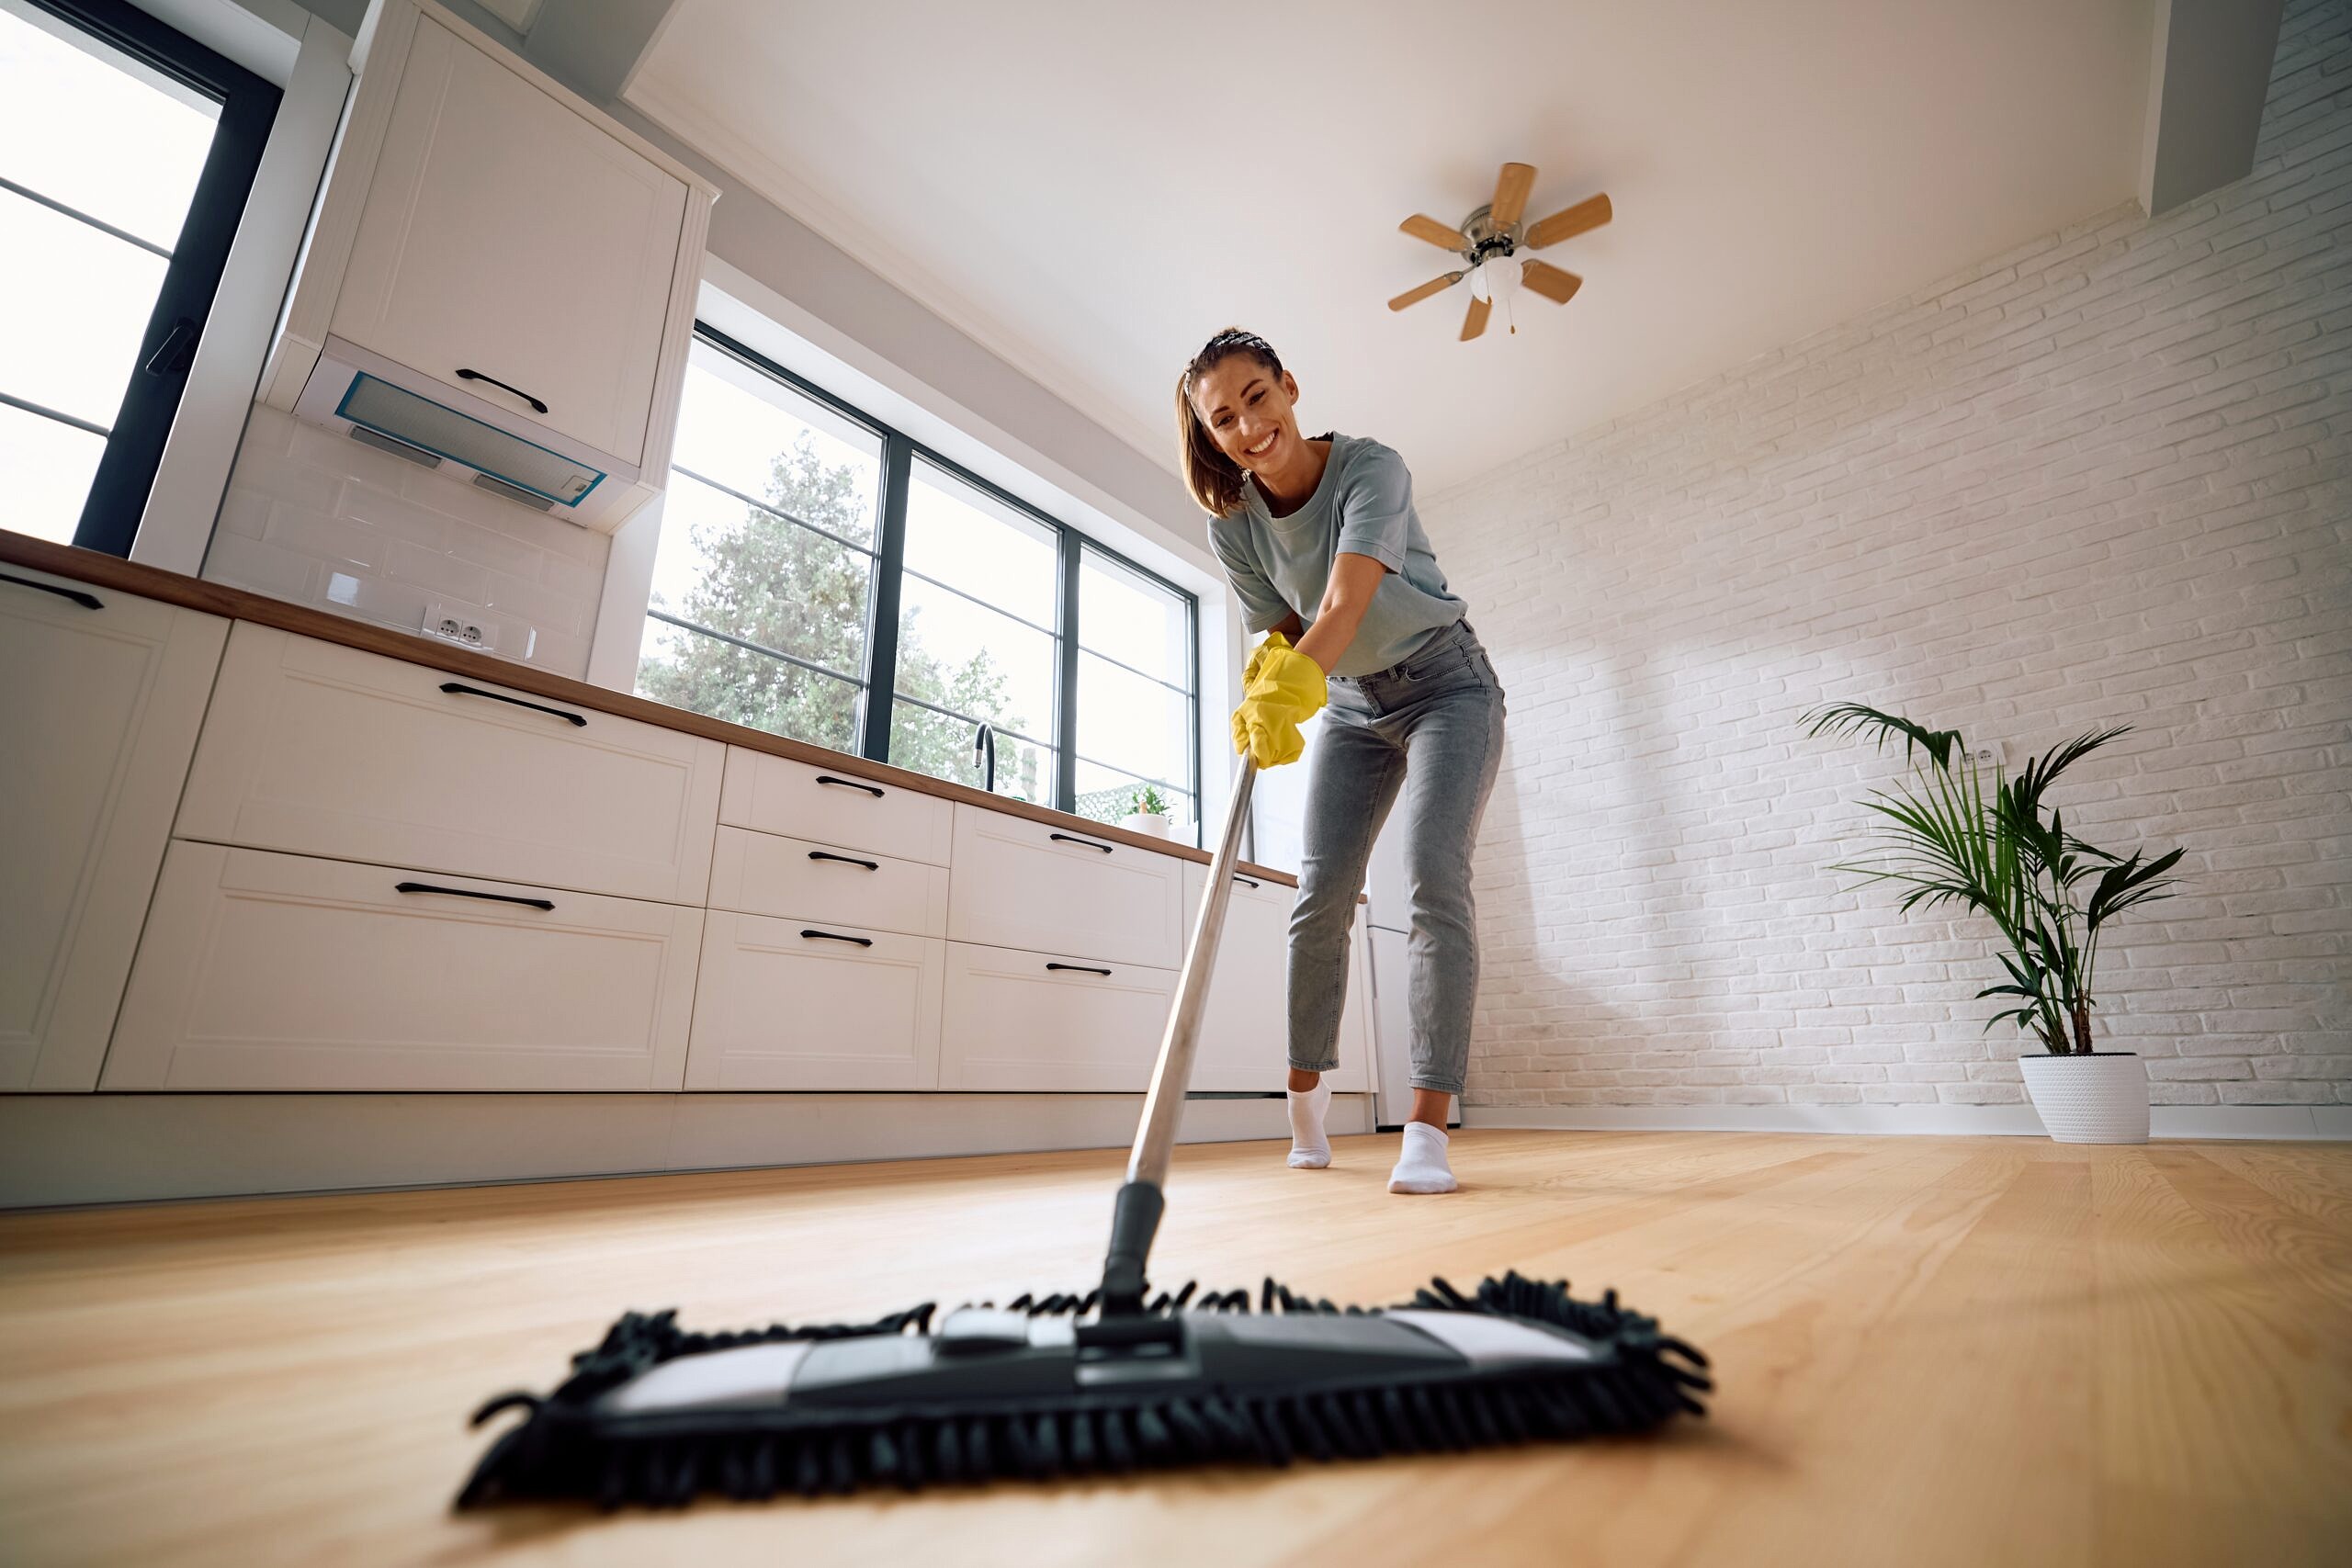
12. Use a microfiber mop
If you’re looking for a hassle-free way to clean baseboards, try using a microfiber mop or attaching a dryer sheet to a Swiffer. This method helps you pick up dust and prevent buildup without the need to bend over.
“For a quick and easy baseboard clean, grab a microfiber mop or a dryer sheet attached to a Swiffer. Run it along the baseboards to pick up dust and prevent buildup in just minutes—no bending required. For scuff marks, a magic eraser works wonders with minimal effort. To keep them cleaner longer, wipe baseboards with a dryer sheet to repel dust.” — Team at Splendid Maids
Extra tips on cleaning baseboard heaters
1. How to clean baseboard heater covers safely
“Most baseboard covers are metal and are original to the building. They can be hydronic (hot water) or electric heaters and are typically installed under windows along perimeter walls. The cleaning process is the same for both hot water and electric, but we recommend turning the power off to electric baseboard heaters before using any liquid cleaners. Always allow your cover to fully dry before restoring power.
Start by removing the front plate by unclipping it with your hands. You’ll see the heating fins—gently vacuum them to remove pet hair and built-up dust. Replace the front plate, then use a damp cloth to wipe down all exterior surfaces. Finally, spray a disinfectant cleaning solution (e.g., Clorox, Lysol, or Windex) and wipe it away with a clean cloth. For best results, clean your baseboard heater covers every three months.” — Team at Covers by Veil
2. Prevent rust on bathroom baseboard heaters
Bathrooms are naturally humid spaces, and baseboard heater covers located near toilets are especially prone to rust and pitting due to moisture exposure. Regular cleaning not only keeps them looking fresh but also extends their lifespan.
“Clean your bathroom baseboard heater covers every two weeks to prevent rust. Bathrooms are high-moisture environments, and baseboard covers located near toilets are particularly susceptible to pitting and rusting. Regular cleaning can help you avoid this and keep your bathroom looking fresh.” — Team at Covers by Veil