
Setting up a fully equipped photography lab may seem like a luxury reserved for schools with hefty budgets—but it doesn’t have to be. With a dash of creativity and a bit of DIY spirit, transform everyday items into essential photography equipment. Don’t let budget constraints limit your students’ ability to explore and experiment with photography. Instead, use these free and cheap DIY solutions to create a functional, resource-rich environment where students can learn and grow. These inventive hacks save money and provide opportunities for students to foster a deeper appreciation and understanding of these tools.
Keep reading for DIY photography equipment hacks that are both budget-friendly and easy to make!
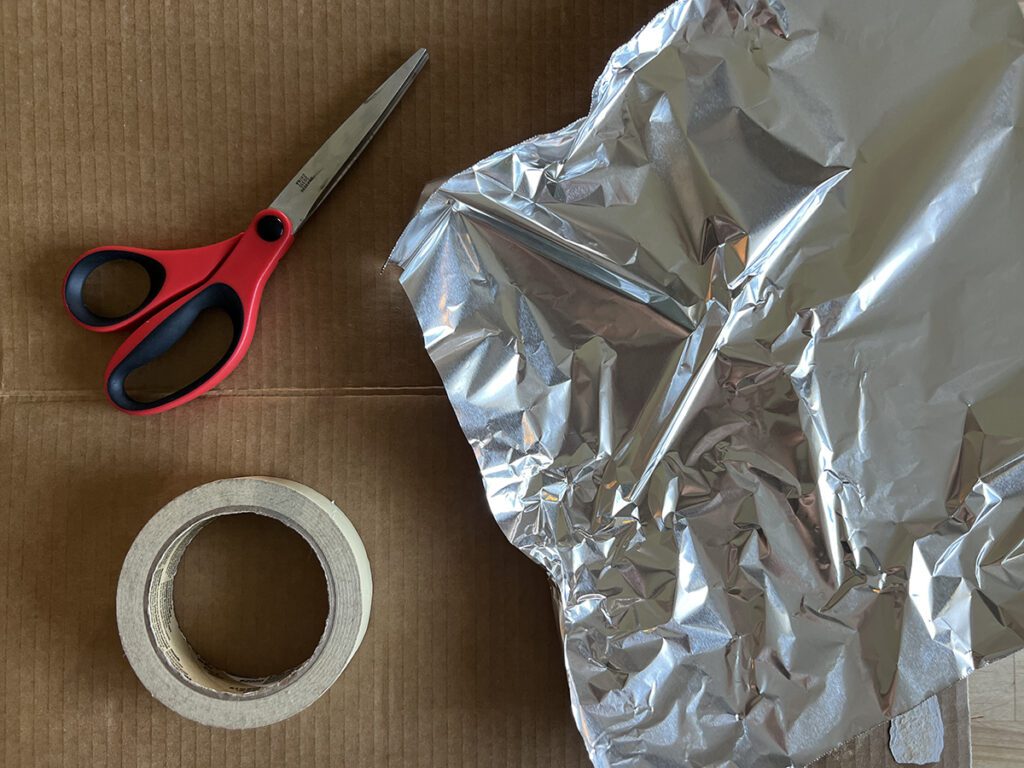
1. Reflectors for Bouncing Light
Reflectors bounce light onto the subject, reduce shadows, and add highlights. They are ideal for improving the lighting in portraits and close-up shots. All you need is aluminum foil, cardboard, tape, and scissors to hack your own!
Instructions:
- Cut a piece of cardboard to your desired reflector size.
- Cover one side of the cardboard with aluminum foil.
- Smooth any wrinkles for a reflective surface.
- Secure the foil with tape.
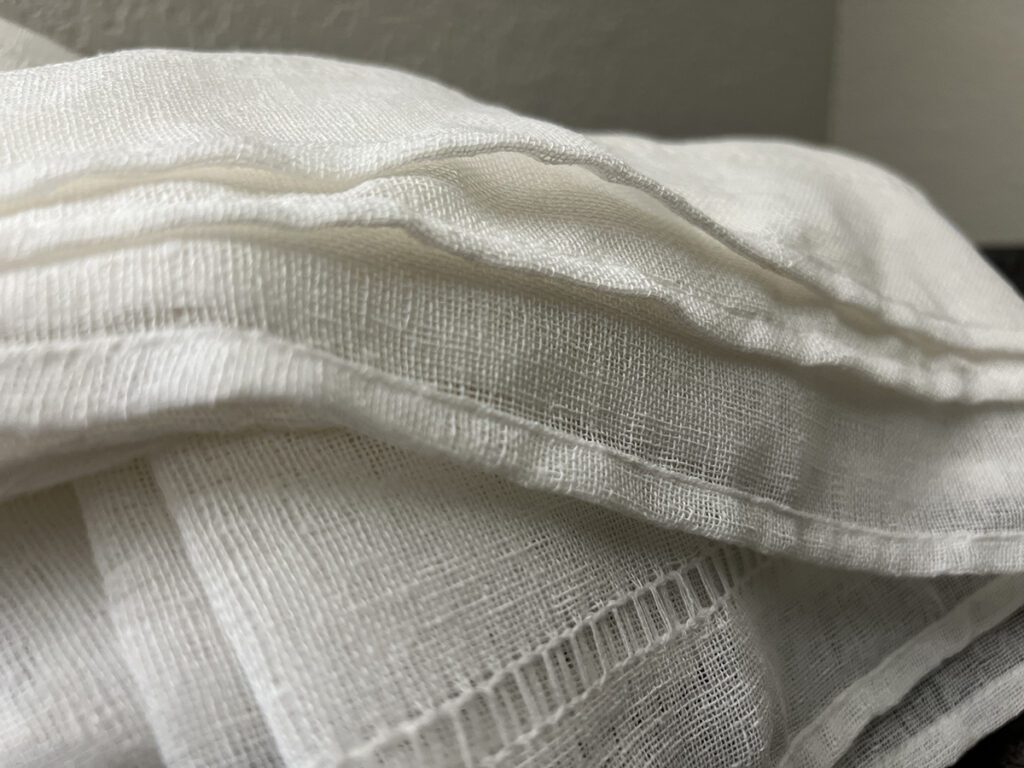
2. Homemade Diffusers for Softening Harsh Lighting
Diffusers help soften harsh light and reduce shadows, making them perfect for portrait and product photography. Pick up a white shower curtain or bedsheet, frame (optional), and clips or tape.
Instructions:
- Stretch the white shower curtain or bedsheet across a frame.
- Secure it to the frame or wall with clips or tape to create a large, diffused surface.
- Position it between your light source and the subject to soften the light.

3. Lightbox for Product Photography
A lightbox provides even lighting and a neutral background for product photography or small objects. It ensures photographs have a clean and professional look. Grab a cardboard box, white poster board, LED lights or a lamp, and tape or glue.
Instructions:
- Cut out sections from the sides of the cardboard box to create windows.
- Line the interior with a white poster board to create a seamless background.
- Place the LED lights or lamp outside the box and aim it through the windows.
4. Backdrops for Controlled Environments
Backdrops provide a clean, controlled portrait or product photography environment. Easily swap out different colors or textures to perfectly match your project needs. Use old sheets or fabric, clothespins or tape, and a rod or curtain rod.
Instructions:
- Hang the old sheet or fabric from a rod or curtain rod.
- Secure it with clothespins or tape to ensure it’s smooth and wrinkle-free.
5. Macro Lens Adapter for Zooming In
A macro lens adapter captures detailed close-up shots. This is ideal for photographing small objects or intricate textures. Snag an old magnifying glass, rubber bands or tape, and scissors.
Instructions:
- Remove the lens from an old magnifying glass.
- Attach the magnifying lens to the front of your camera lens using rubber bands or tape.
- Adjust the position for the best focus.
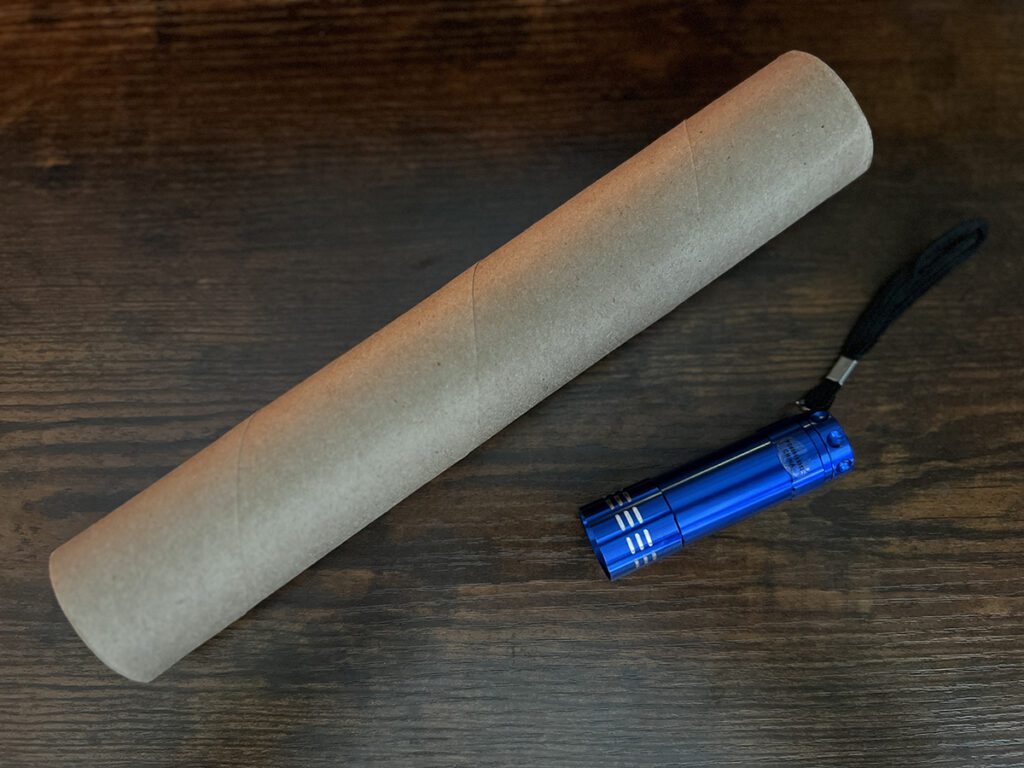
6. Snoot for Light Control and Focused Lighting
A snoot helps direct and control light, creating focused beams and reducing spill for more dramatic effects. Save a cardboard tube or cereal box and collect black tape or paint.
Instructions:
- Cut a long, thin strip of cardboard and shape it into a funnel, cone, or tube.
- Attach the cardboard to a flashlight or camera flash using tape.
7. Bean Bag Camera Stand for Stability
The bean bag camera stand provides a stable, adjustable platform for your camera. It’s useful for low-angle shots or uneven surfaces where a traditional tripod may not be practical. All you need is a small bean bag or a bag filled with rice, beans, or sand.
Instructions:
- Place the bean bag on a stable surface.
- Position your camera on top of the bean bag.
- Adjust the angle by shifting the bean bag’s shape.
8. Pinhole Camera for Basic Camera Knowledge
Homemade pinhole cameras provide a basic introduction to how light and exposure work in photography. They allow students to explore how aperture size and exposure time affect the final image. Making your own pinhole camera is simple with recycled materials and a few quick steps!
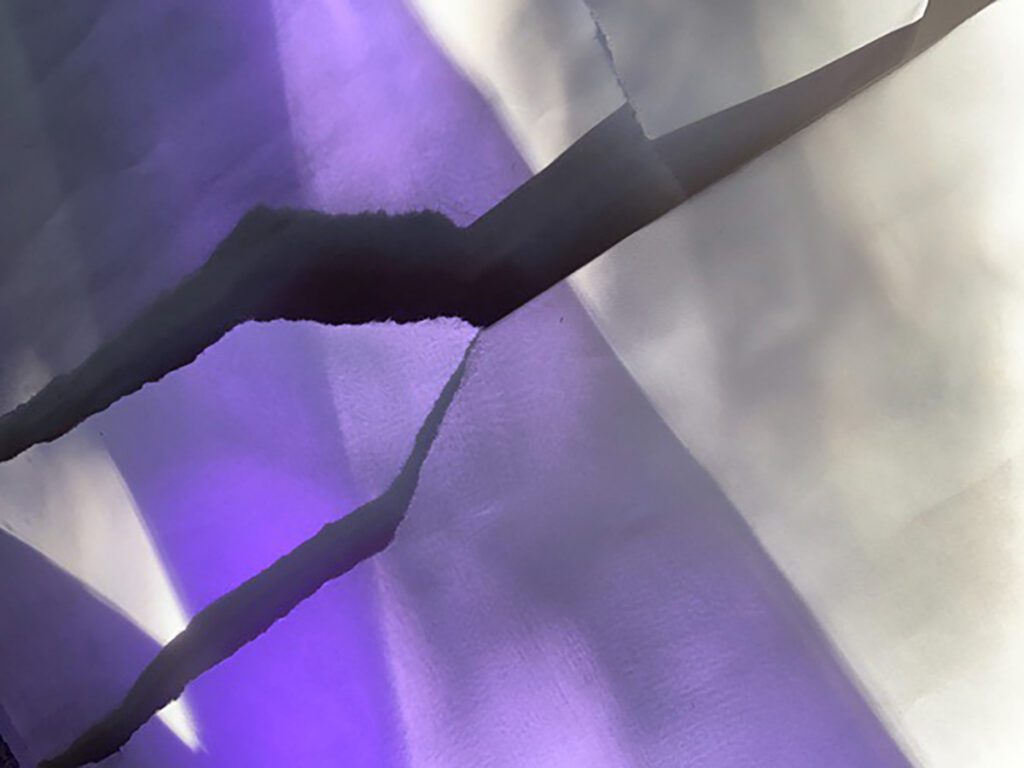
9. DIY Light Gels for Color Experimentation
Light gels change the color of your lighting, allowing for creative effects such as mood lighting or color contrasts in your photos. They also provide a simple way to experiment with colored lighting and how it affects the mood and style of a photograph. Repurpose colored transparent plastic sheets from old file folders or colored plastic wrap. You’ll also need scissors and tape or rubber bands.
Instructions:
- Cut the colored plastic sheets into squares or rectangles.
- Secure the plastic sheets over the front of your light source (such as a lamp or flashlight) using tape or rubber bands.
- Experiment with different colors and layers of plastic to achieve various lighting effects.
10. Lens Filters for Enhancing Creative Effects
Lens filters can change a photograph’s color tone or effect. They are great for creative projects or experiments that focus on color and light. Salvage clear plastic or old CD cases. Put aside colored gels or plastic wrap, scissors, and tape.
Instructions:
- Cut the clear plastic into circles to fit your lens.
- Attach colored gels or plastic wrap to create different effects, such as color filters or diffusions.
- Secure the filter to the lens with tape or a rubber band.
Equipping your art room with photography tools doesn’t have to be expensive. Use everyday materials and a little bit of ingenuity to create effective DIY photography equipment that will enhance skills and creativity. These budget-friendly solutions prove that great photography isn’t about having the latest gear, but mastering fundamental concepts and applying creativity. With a few simple upcycled materials like cardboard, plastic packaging, and thrifted bedsheets, students will learn that effective photography comes from understanding and using the tools at hand and not from the price tag of their equipment.
Which piece of photography equipment are you most excited to DIY with your students?
What other budget-friendly photography tools or hacks can you share?
To continue the conversation, join us in The Art of Ed Community!
Magazine articles and podcasts are opinions of professional education contributors and do not necessarily represent the position of the Art of Education University (AOEU) or its academic offerings. Contributors use terms in the way they are most often talked about in the scope of their educational experiences.