

For many years, I’ve been using ingredients from all over the globe to try and brew authentic styles of beer. There is nothing quite like punchy American hops in a West IPA, Noble hops in a crisp Lager or floral East Kent Goldings in an English Ale.
With that said, I think there is something quite romantic about the idea of using local ingredients to inject a bit of terroir into my beer. I’ve always loved the idea of using as many locally sourced ingredients as possible when making my beer whether it be foraged fruit, homegrown hops or even wild yeast.
I’ve had a go at trying most things in my beer, but one of them is malting grains and using them in one of my beers. In this article, I’ll take you through the steps that I took to malt my own Barley.
Spoiler Alert: Things didn’t quite work out as planned, and I may have messed up the malting process. It was still a great learning experience though!
Getting Started
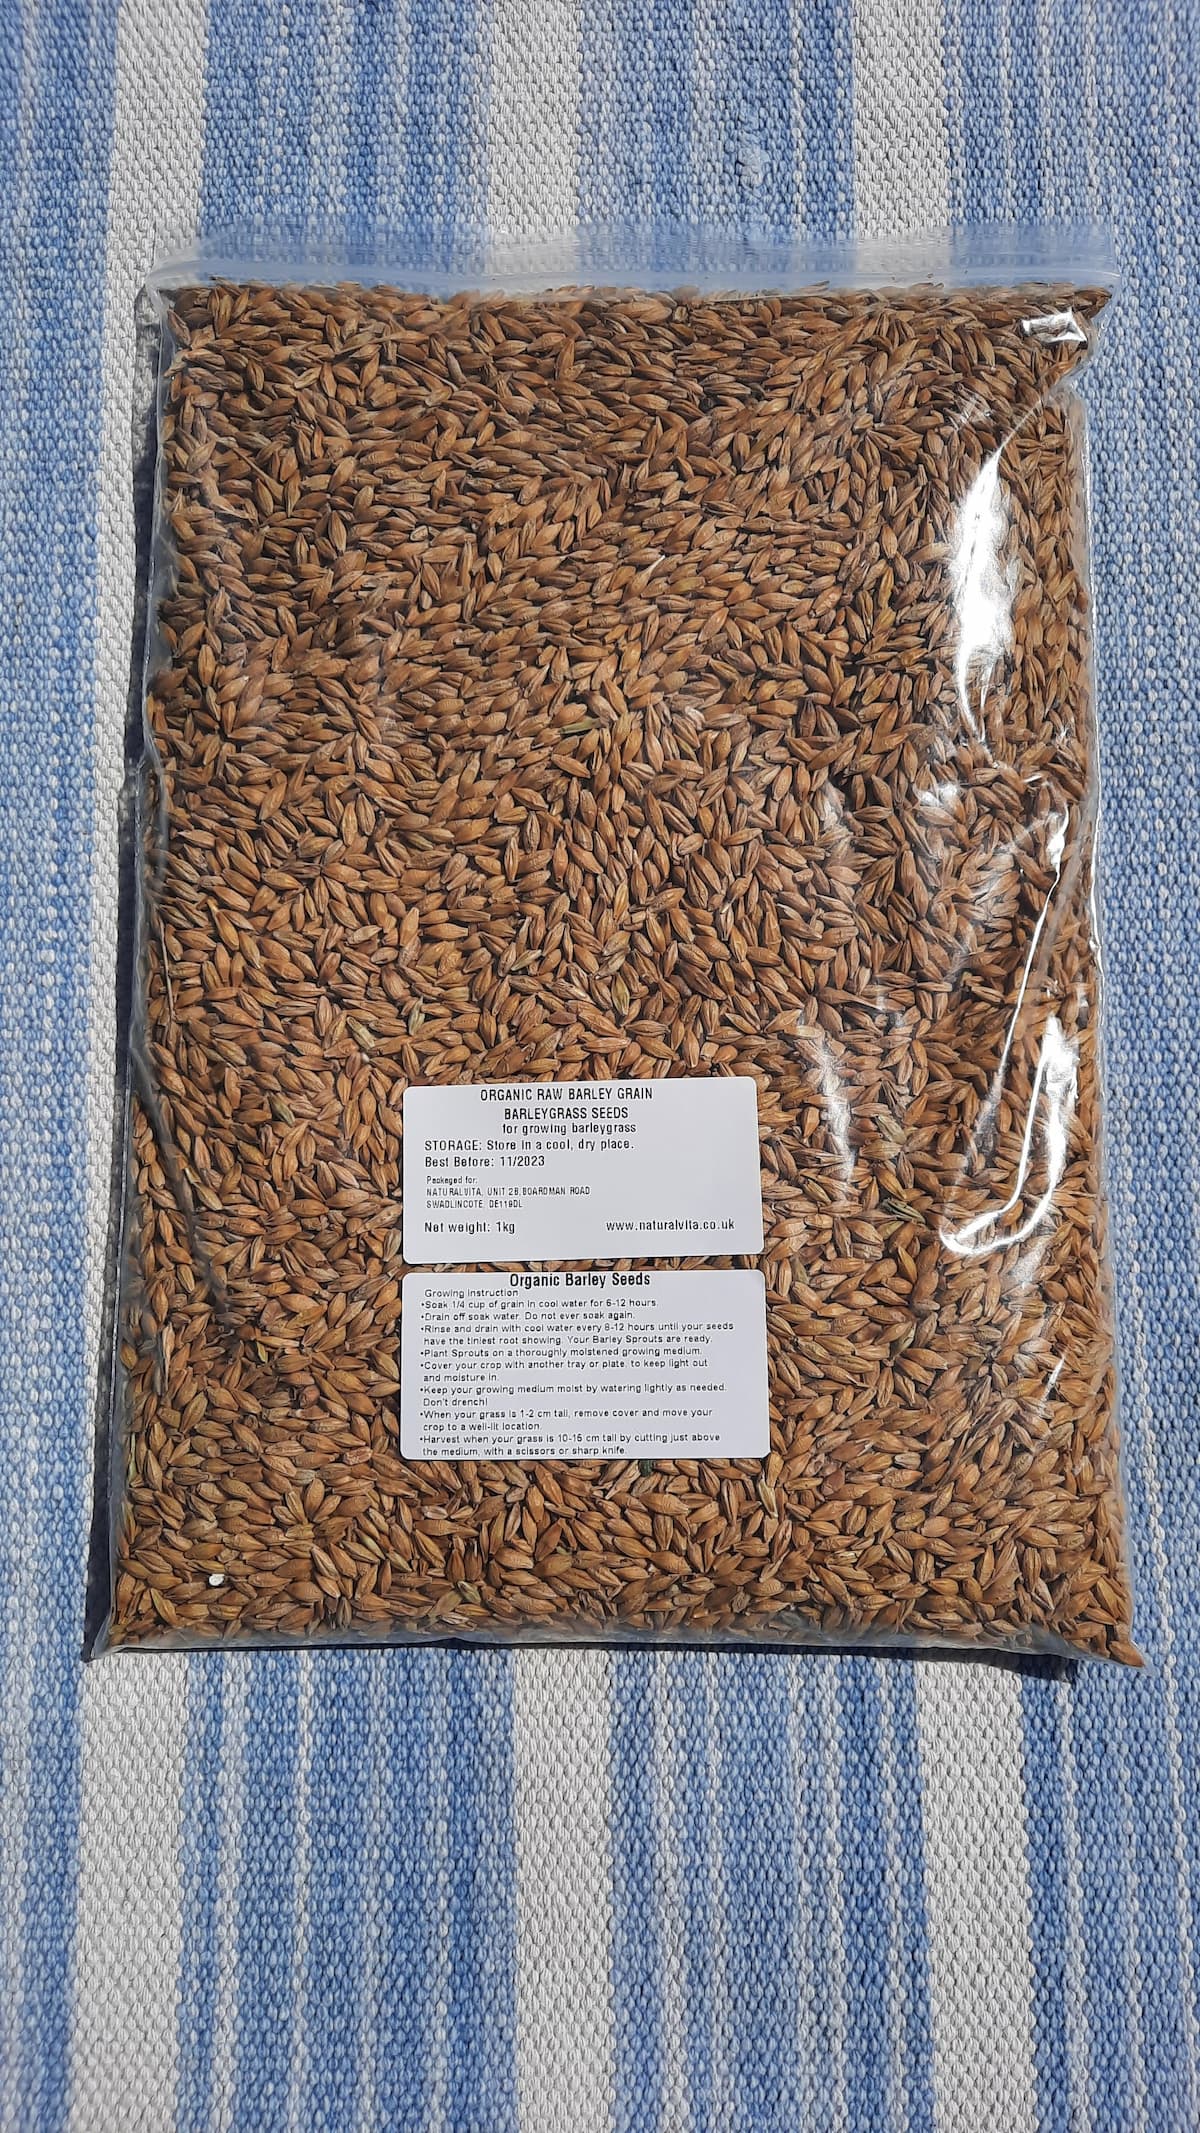
Whilst I really like the idea of malting my own grains and learning about the whole process, I have to admit – growing my own grains seemed like a step too far! I managed to find some organic raw Barley grain seeds online here in the U.K.
I wanted to start off small, so I purchased a 1kg bag of grains.
I opened the bag and placed the raw barley in a bucket filled with cool water and then left it submerged for around 8 hours. After those 8 hours, I removed the water and spread out the grains to dry for 8 hours. Next, I repeated the process again and submerged the grains in a bucket of cool water for another 8 hours.
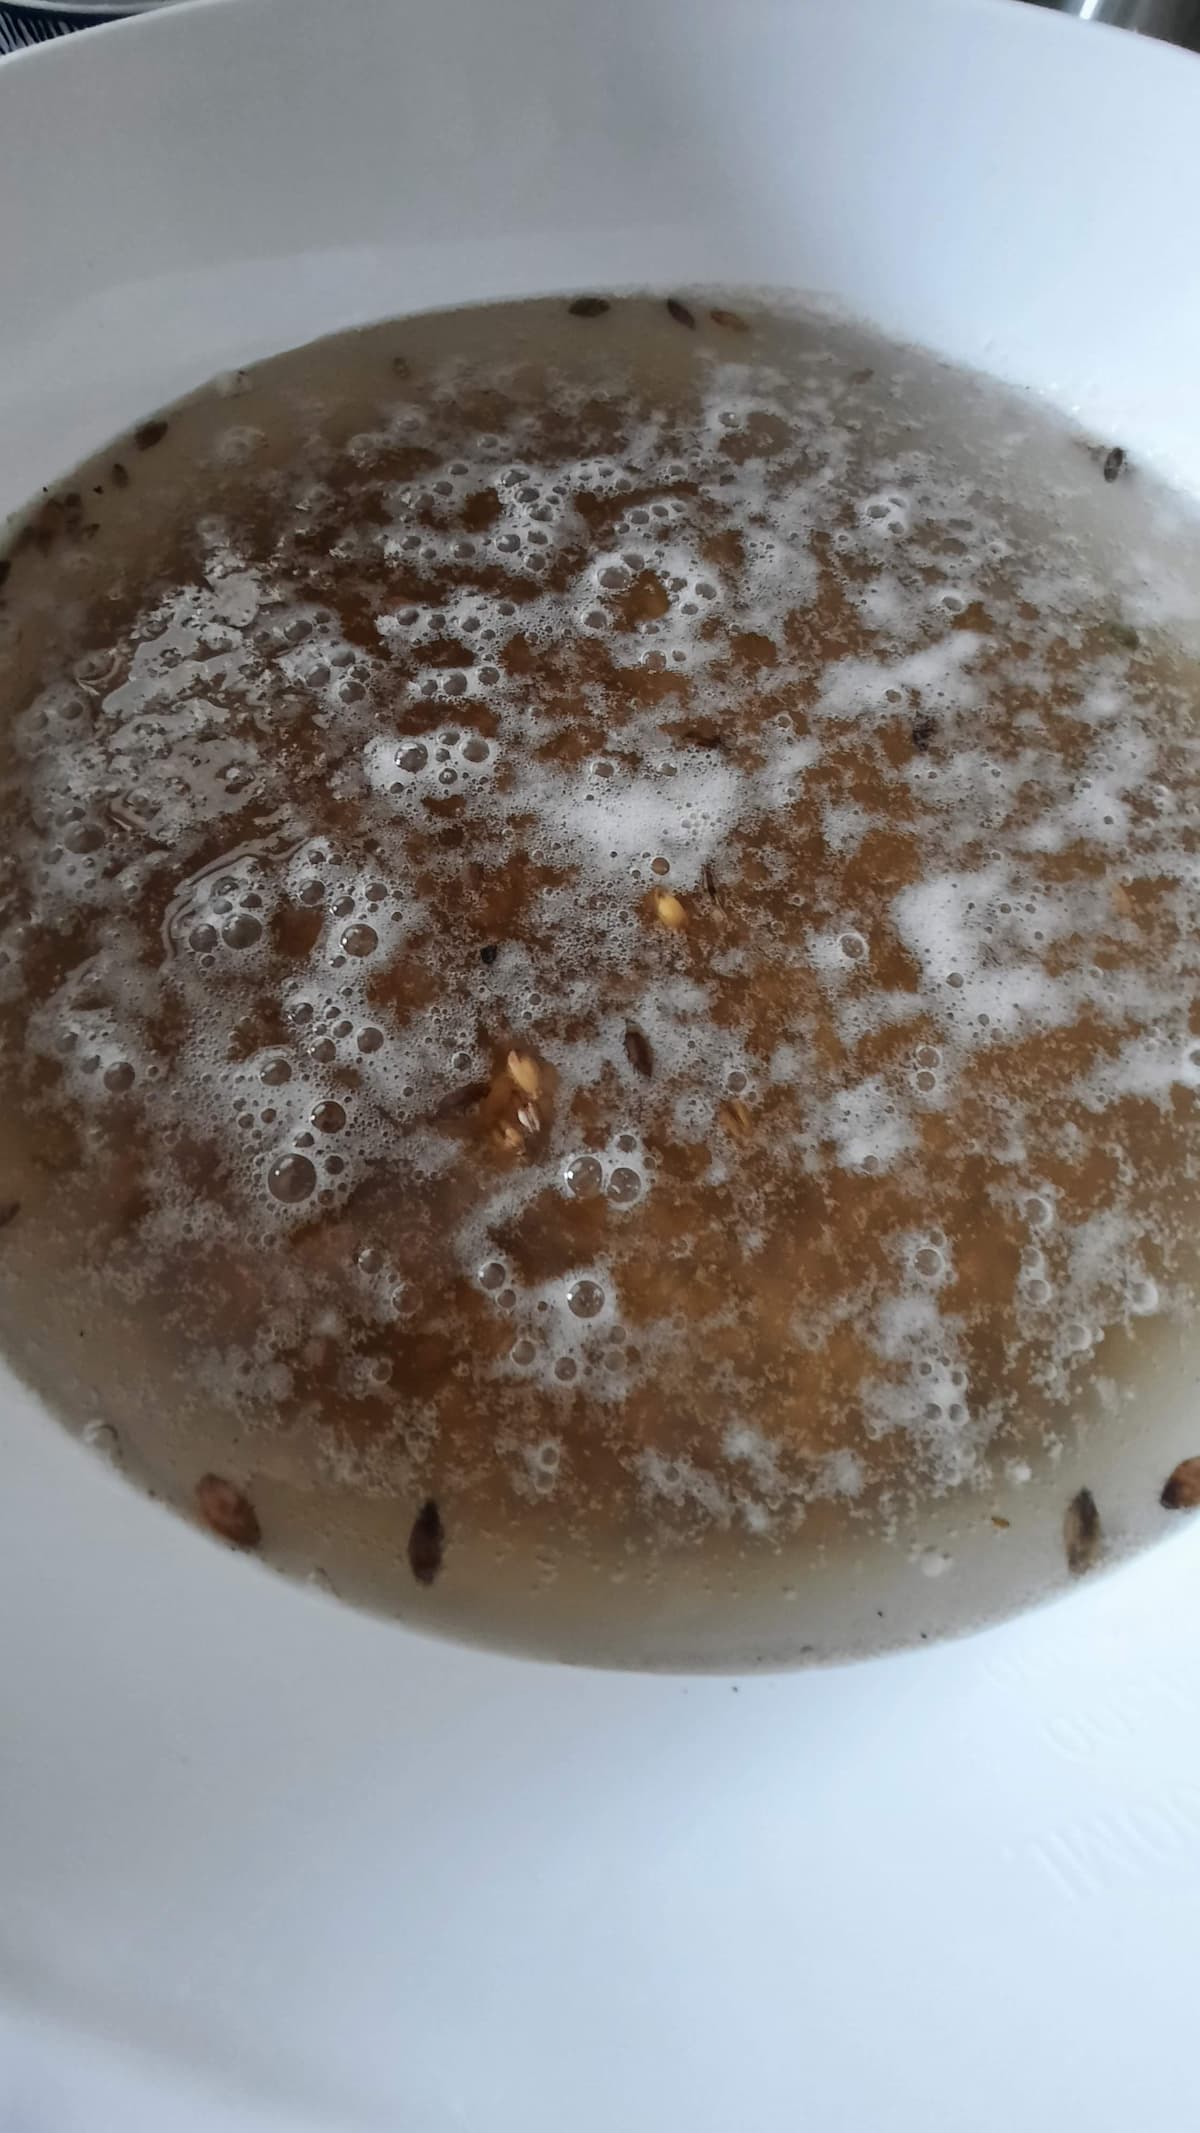
The many websites that I read online all mentioned that after 2 or 3 soakings, the grains should start to show signs of growth, but it took me a few more days than this. I think it was about 4 days in total of soaking and drying.
If you look at the image above, you’ll notice that there are small bubbles – these were small bubbles appearing as the grains were expanding and growing.
After a few days of soaking and drying, little chits (rootlets) started to emerge from the kernels. Holy Chit! The grains were growing!
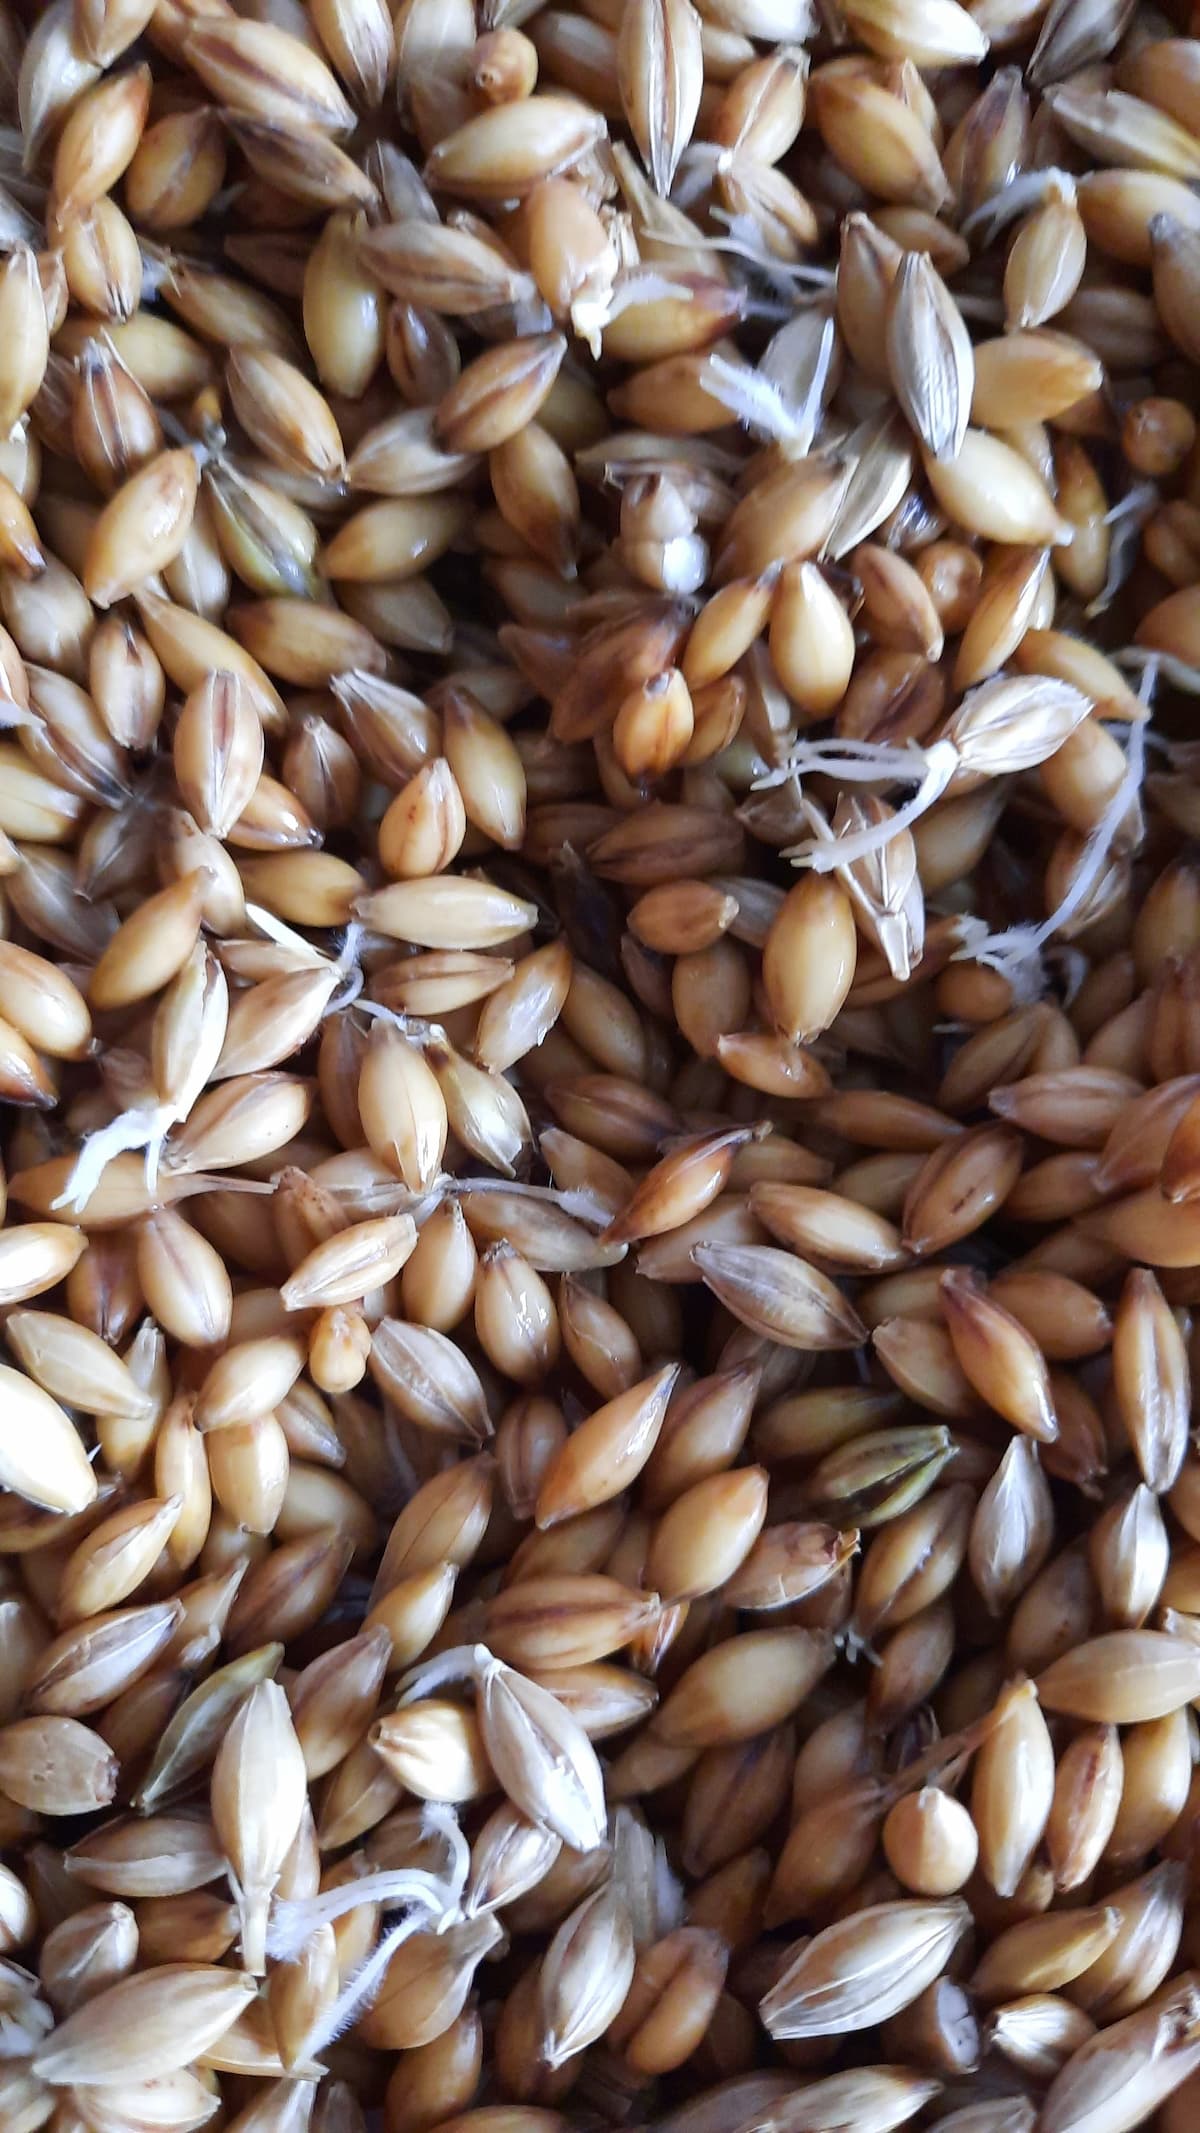
I kept the grains moist by using a spray bottle and spraying them with water every so often. Every few hours, I would turn the grains and spray them to ensure that they were evenly moist.

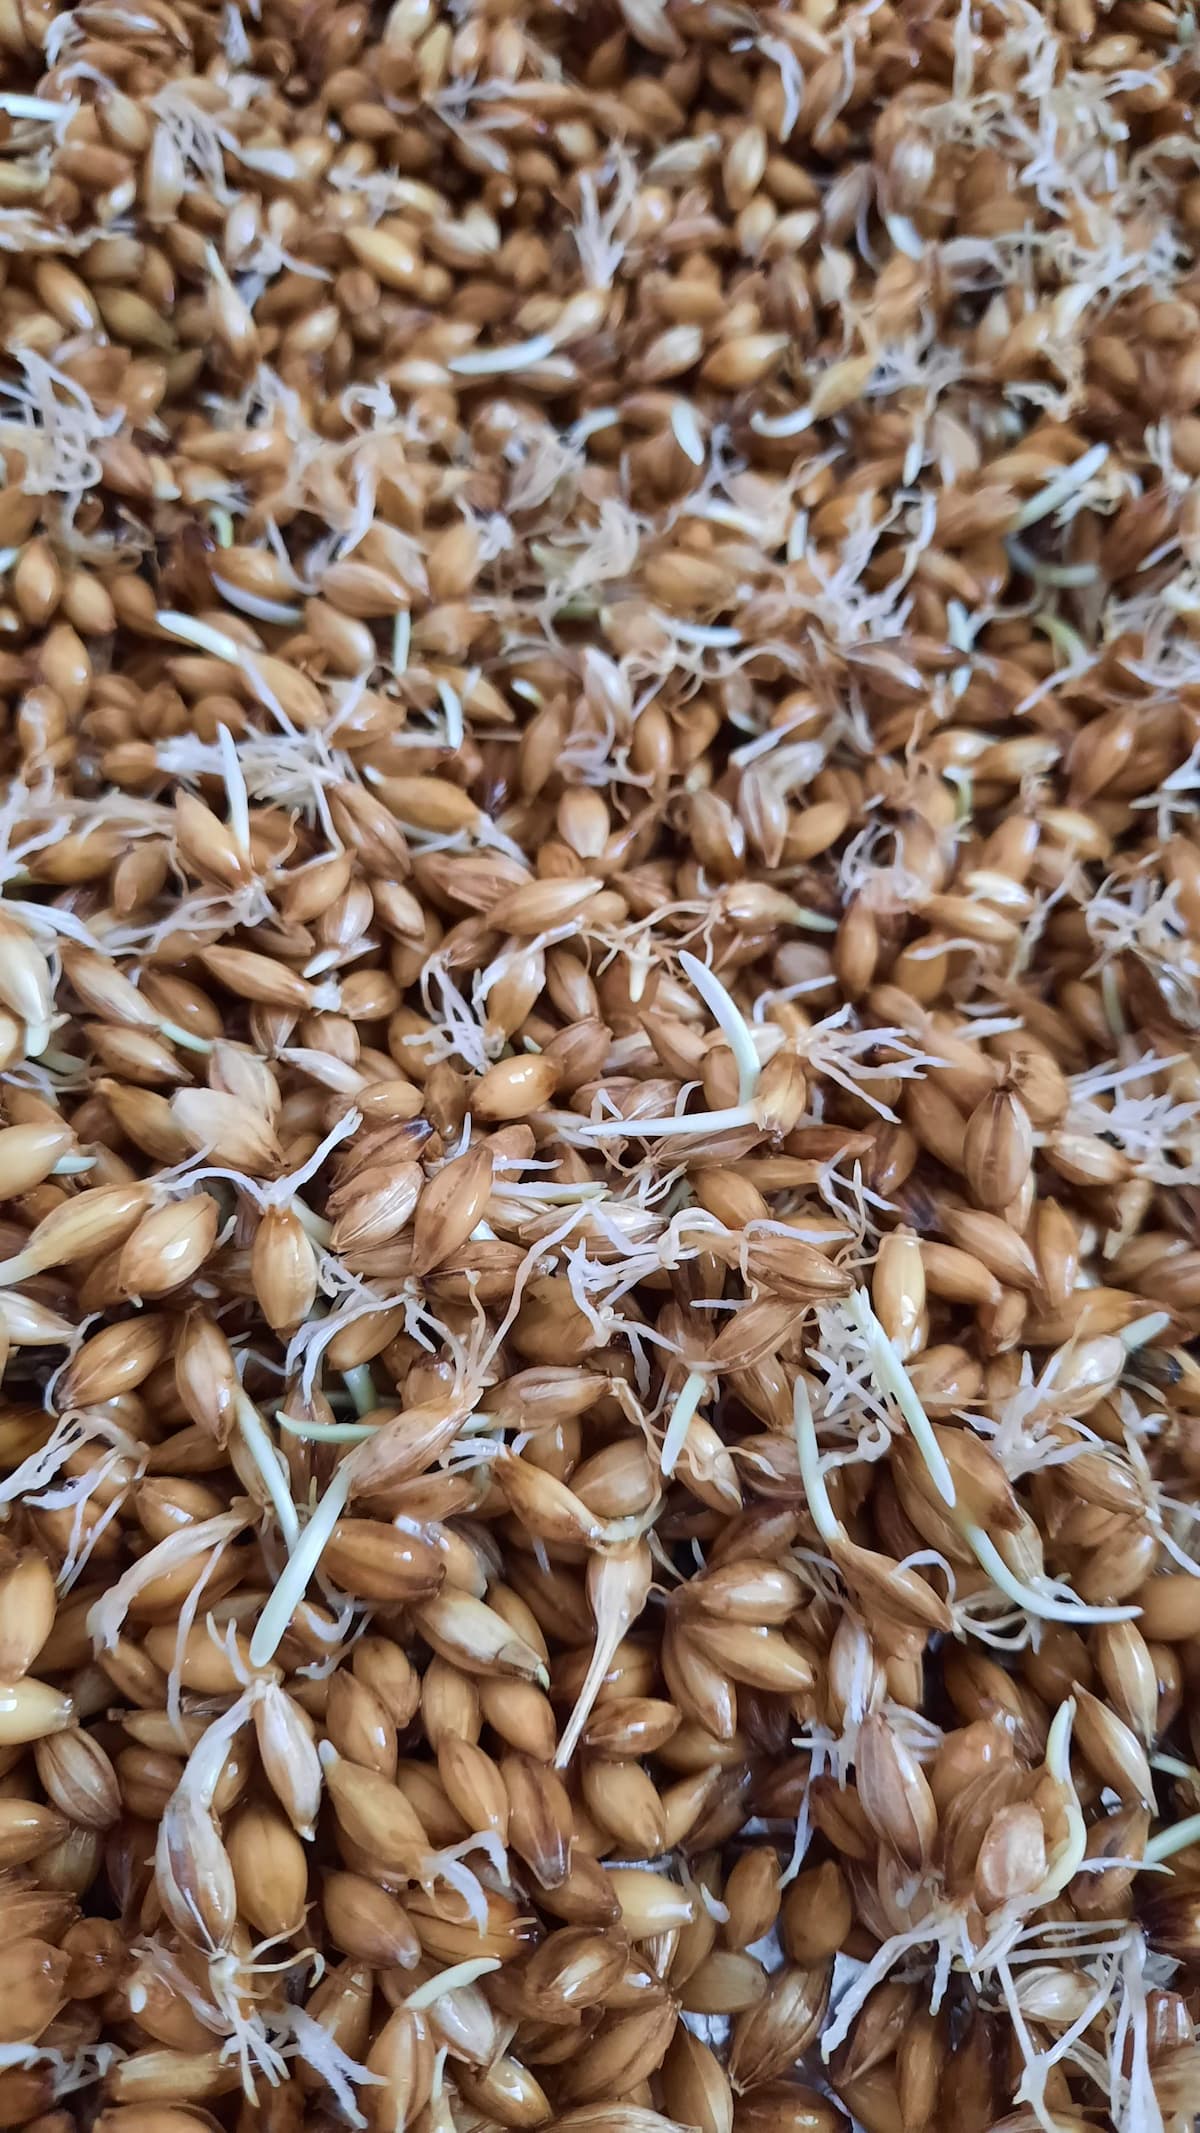
If you look closely at the image above, you’ll notice that the grains are at a different stage of growth. Some have little chits appearing, whilst others have full grown acrospires. In a commercial malting operation, they achieve an even growth which ensures that you, the consumer, get a much better mash efficiency.
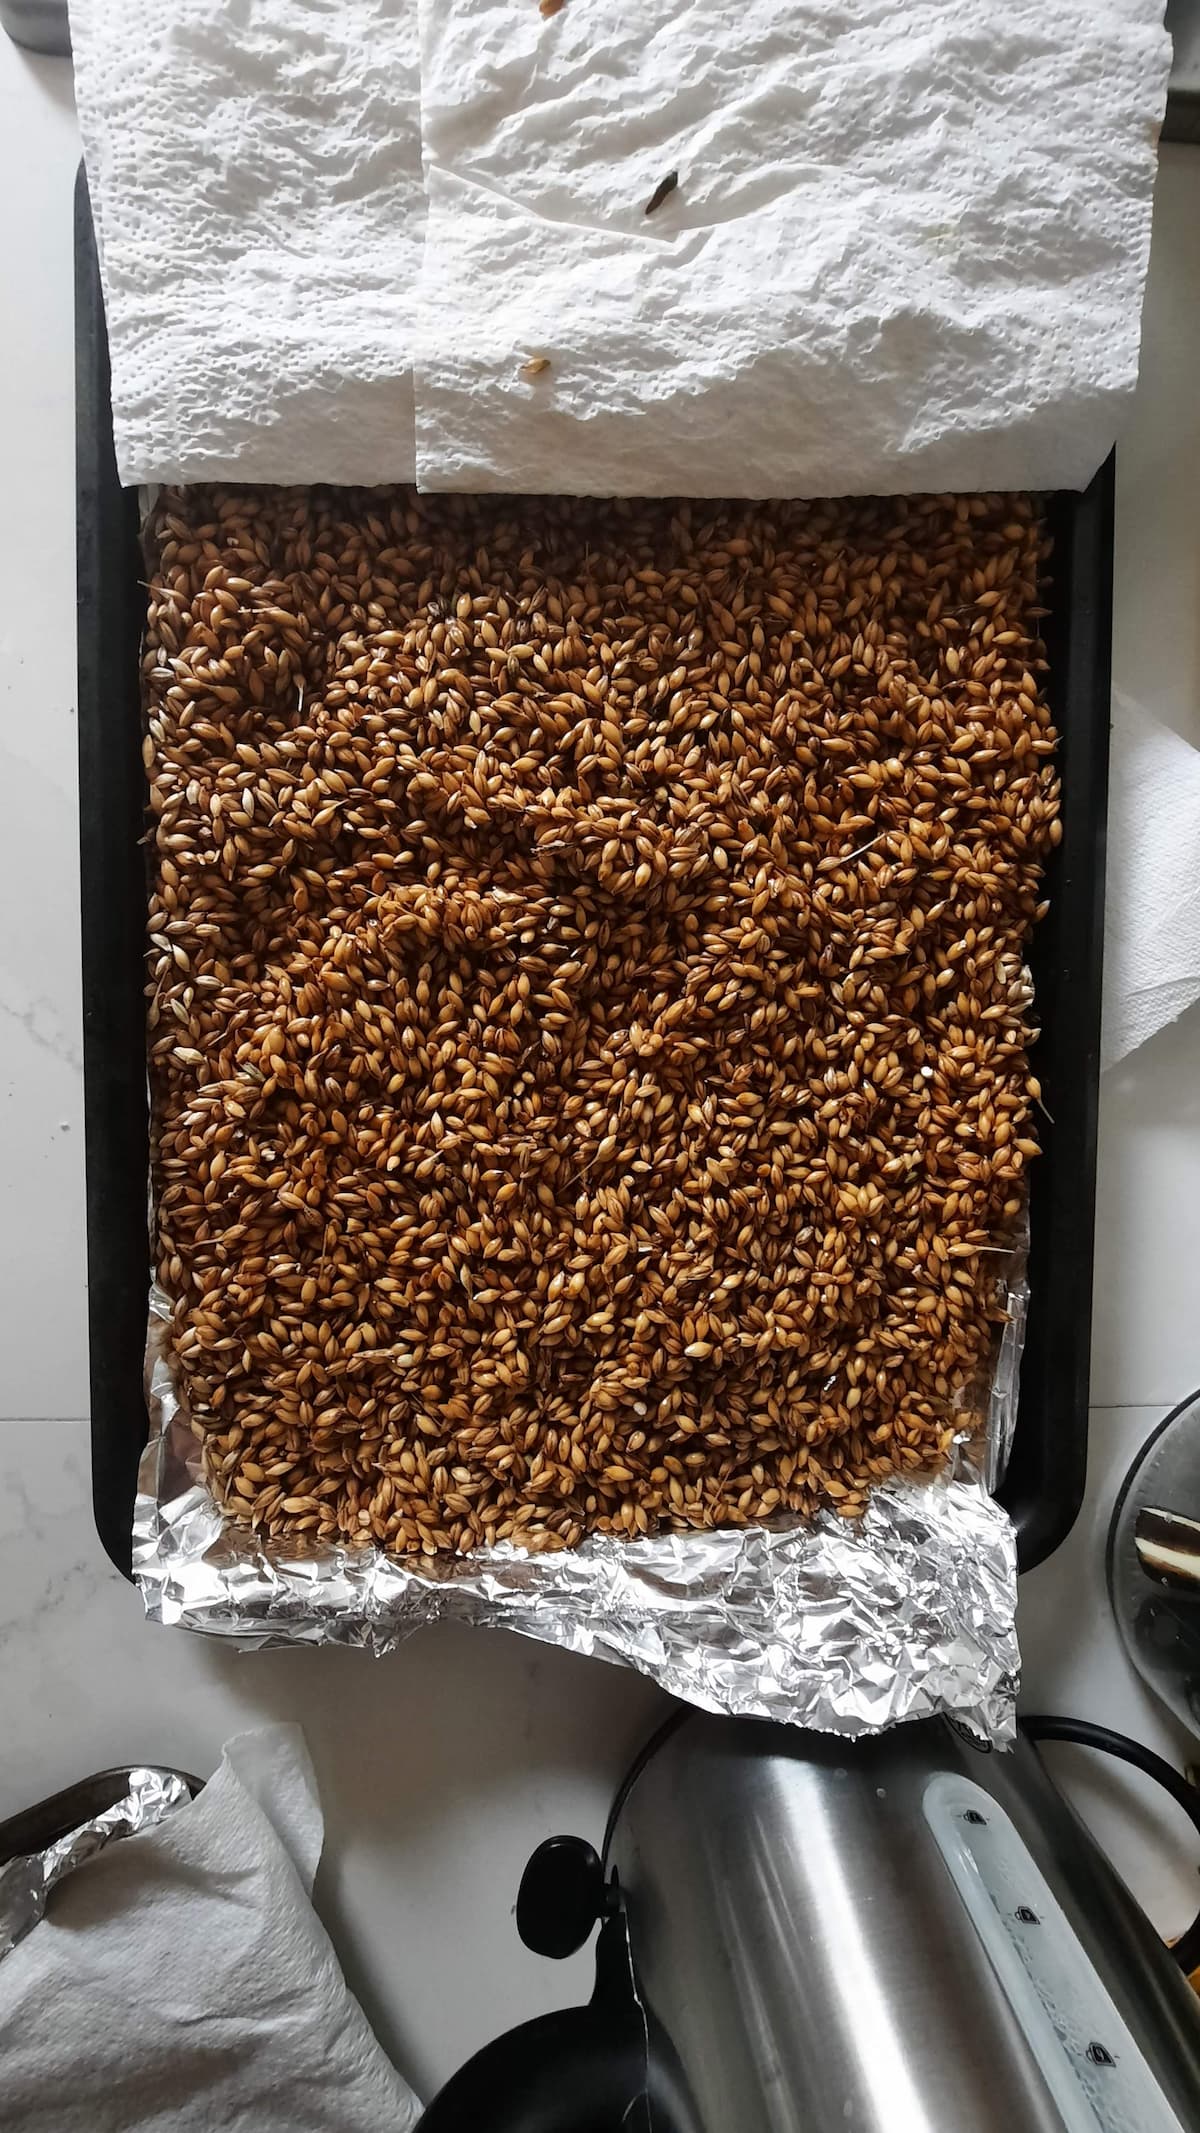
Even though there wasn’t even growth amongst the grains, I decided that I would go ahead and dry the grains anyway. I set my oven temperature as low as possible to around 40 degrees Celsius and let it go for a few hours.
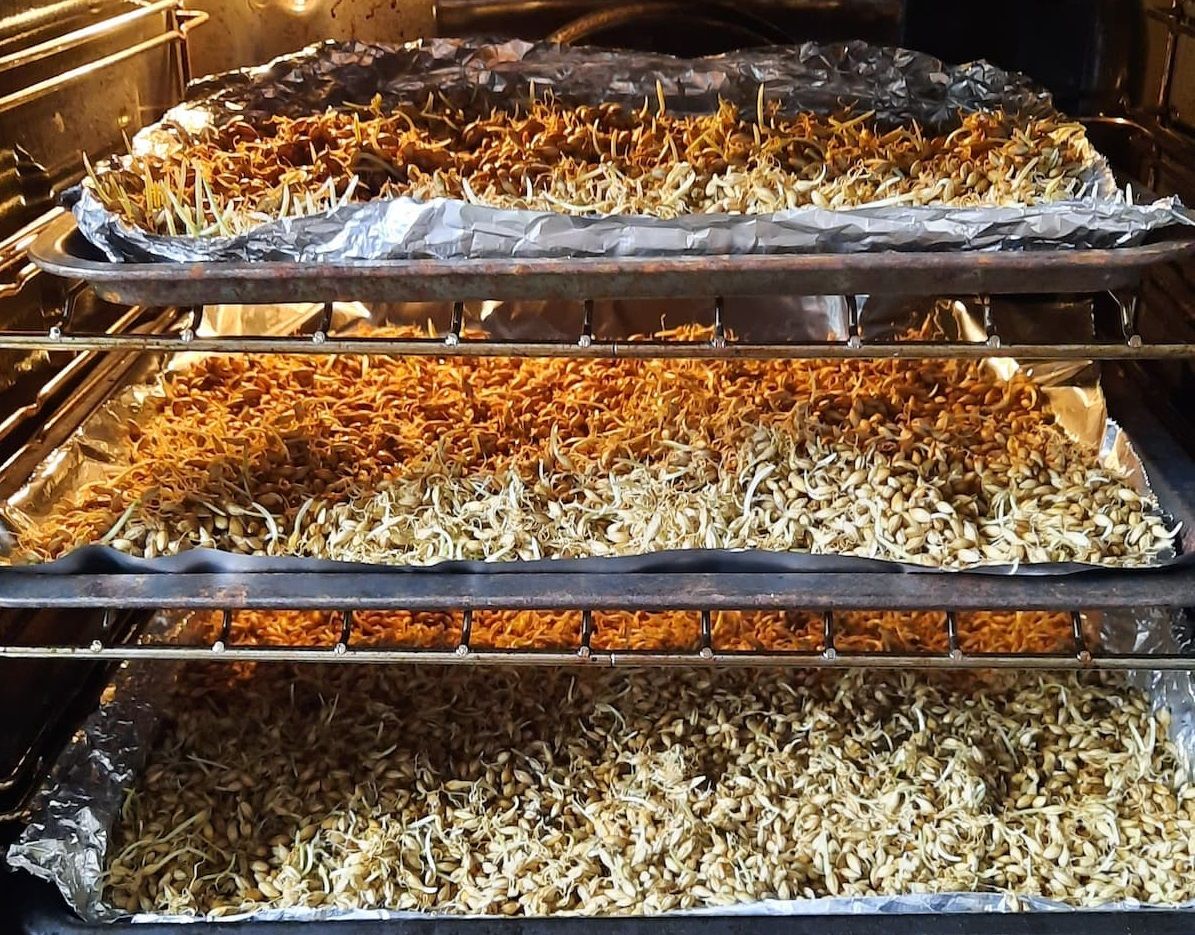
Unfortunately this is where things went wrong. I made the mistake of not telling anyone in the house that there were grains in the oven. It’s also worth mentioning that I have two kids in the house – a 4 year old and a toddler that is almost 1 year old.
I left the oven on and went upstairs to continue my day. After a few hours, I came downstairs to check on the oven….and….well….let’s just say that everything was burnt to a crisp! That was the end of those grains – so close but yet so far to being ready to use in a beer.
Summary
All in all this was a great learning experience. It has given me a new respect for the maltsters that make our grains as well as the love and care that goes into making the ingredients that arrive for us from the local homebrew store. I’ll never again take for granted those precious malted grains!
Along my journey, I came across some great websites that I recommend reading if you’d like to give it a try for yourself (and hopefully succeed!):


