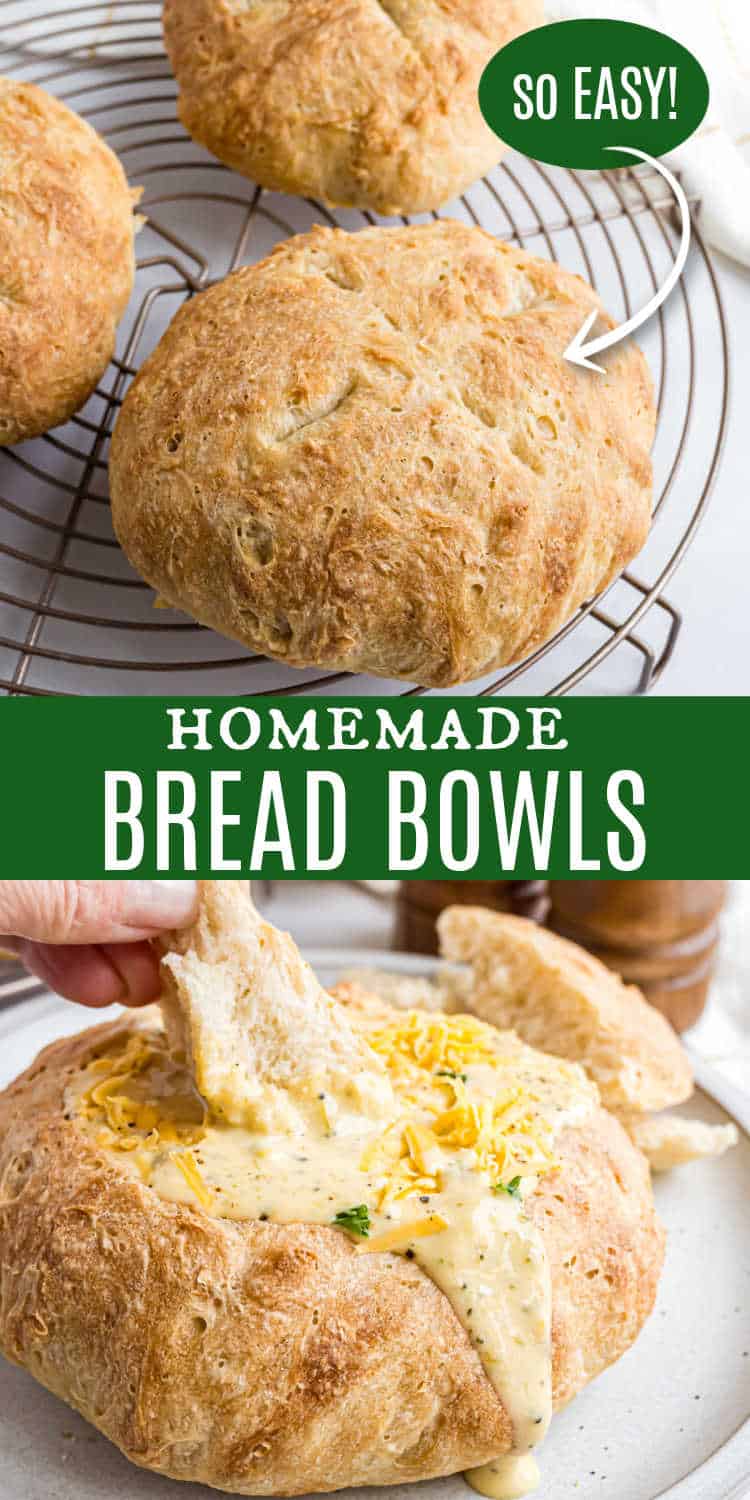
Learn how to make homemade bread bowls that are crusty on the outside, soft on the inside, and perfect for serving soup or chili. This easy recipe uses just five ingredients and minimal hands-on time!
Why serve bread on the side when you can serve your soup in a homemade Bread Bowl? This chewy bread is easy to make, and better than Panera too!
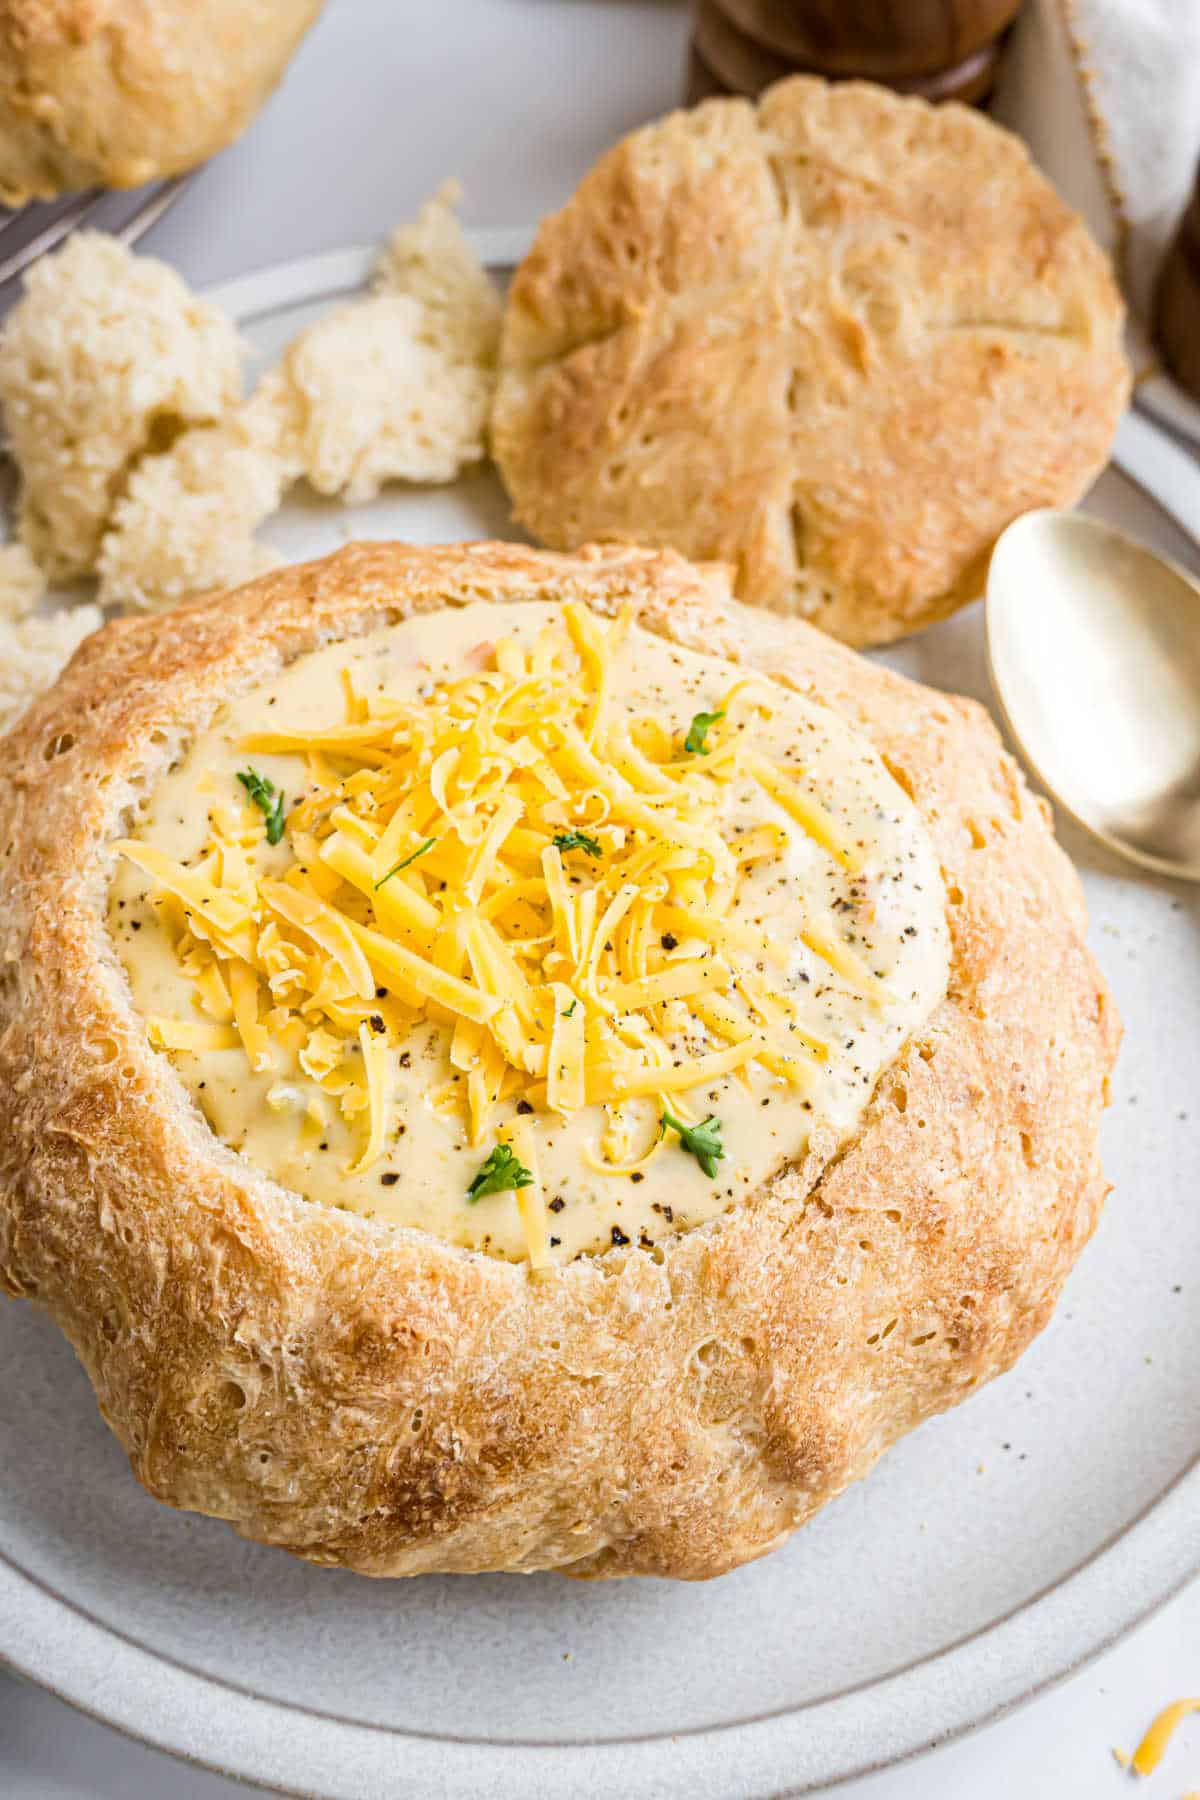
Aimee’s Recipe Notes

Taste & Texture: Crusty bread with a chewy texture.
Prep Tip: No kneading for this bread. Use my stretch and fold technique.
Serving Suggestions: Just like Panera, serve these bread bowls with broccoli cheese soup and a copycat Olive Garden Salad.
PRO TIP: Allow the bread to cool completely before hollowing it out, this keeps the inside tender and not gummy.
Budget Tip: These can be made with all-purpose flour instead of bread flour. They will be a little less chewy, and you may need to add an extra 1/4 cup of flour after the first rise.
Just 5 Ingredients
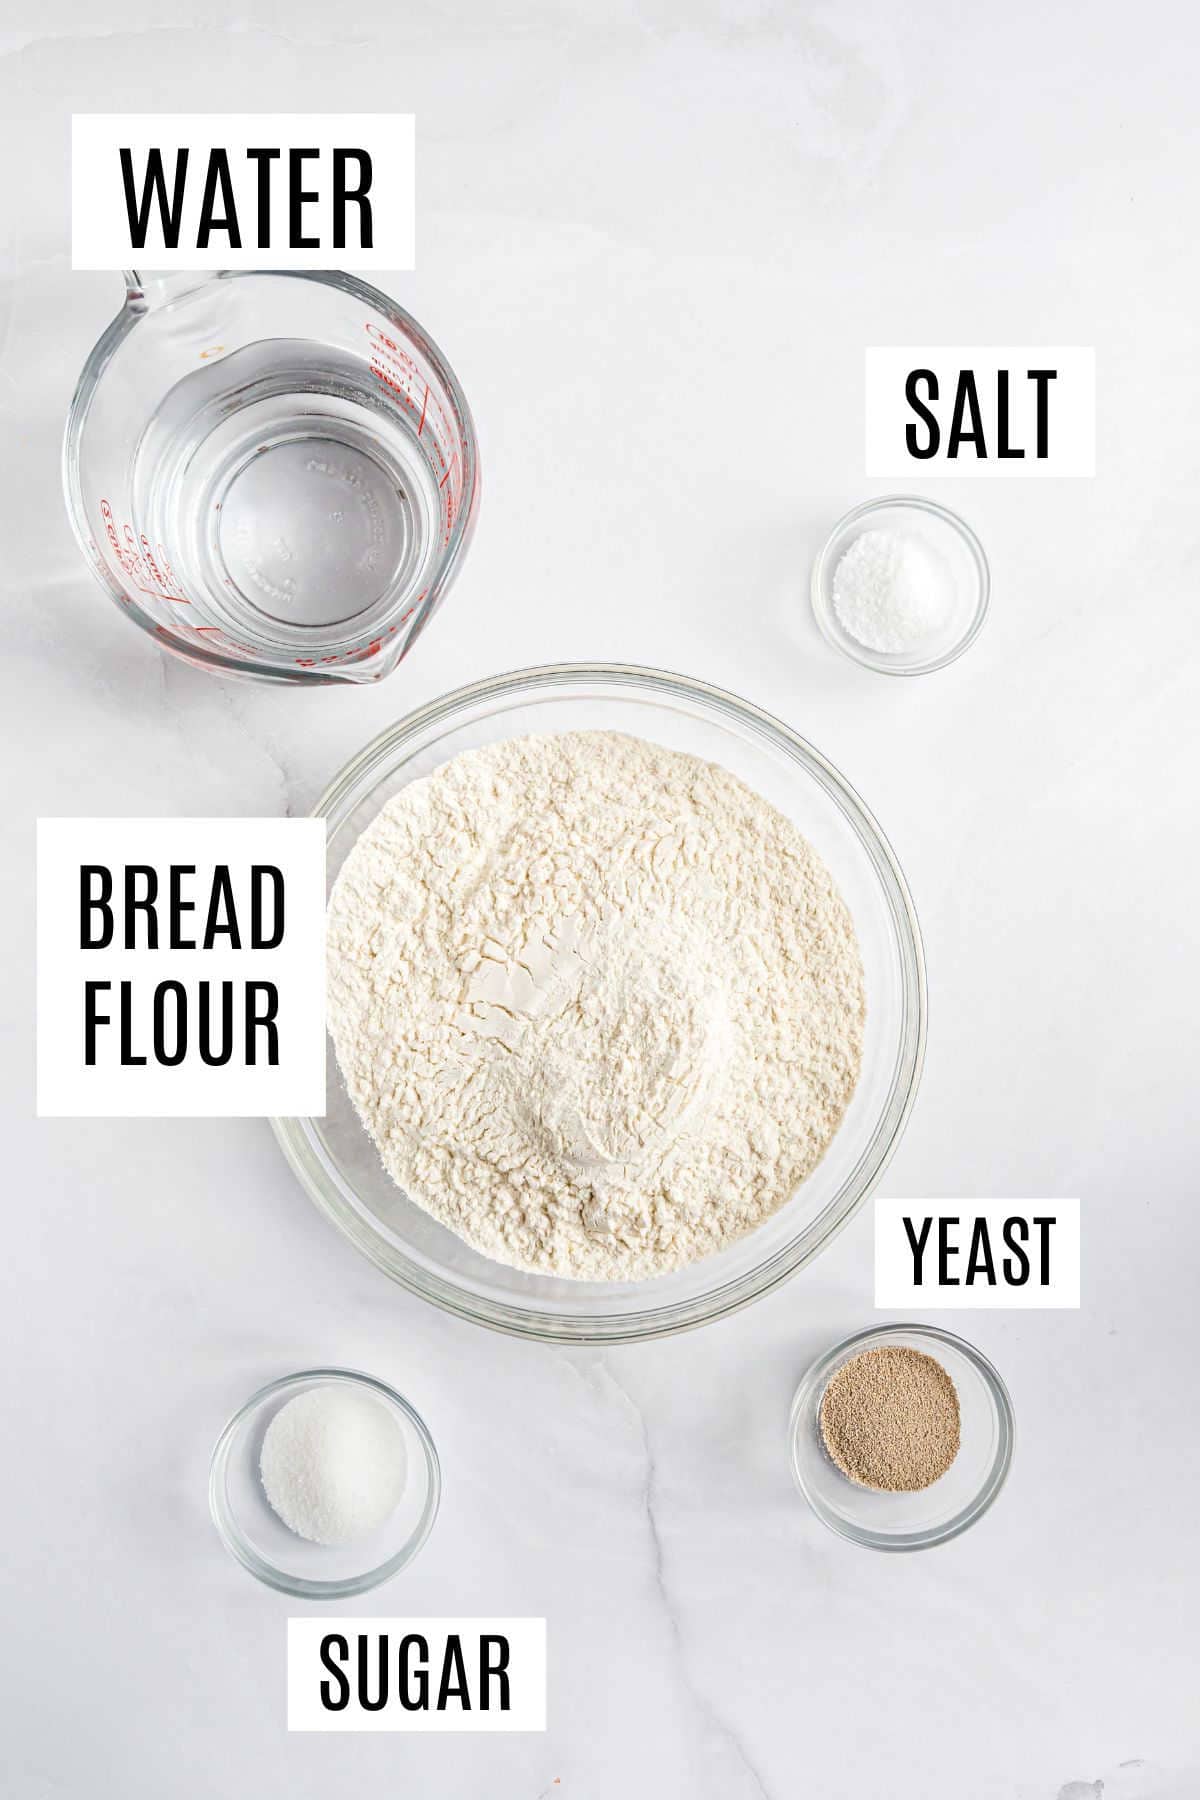
The full ingredient list is in the recipe card at the bottom of the post, but here are some highlights.
- Bread flour – Bread flour has more protein in it than all-purpose flour, which will give your bread bowls a chewier texture.
- Granulated sugar – This helps the yeast do its thing.
- Kosher salt – Absolutely essential! If you’ve ever forgotten to add salt to homemade bread, you know.
- Active instant yeast – You’ll need one packet; if you don’t bake often and you have some in your pantry, be sure to look at the date to check that it’s not expired.
- Warm water – It’s best to use a thermometer and make sure it’s about 115ºF. If you don’t have a thermometer, it should feel a touch warmer than lukewarm. It’s better to err on the side of colder than hotter; hot water will kill the yeast, but cold will just mean it takes a little bit longer for your dough to rise.
How to Make Bread Bowls
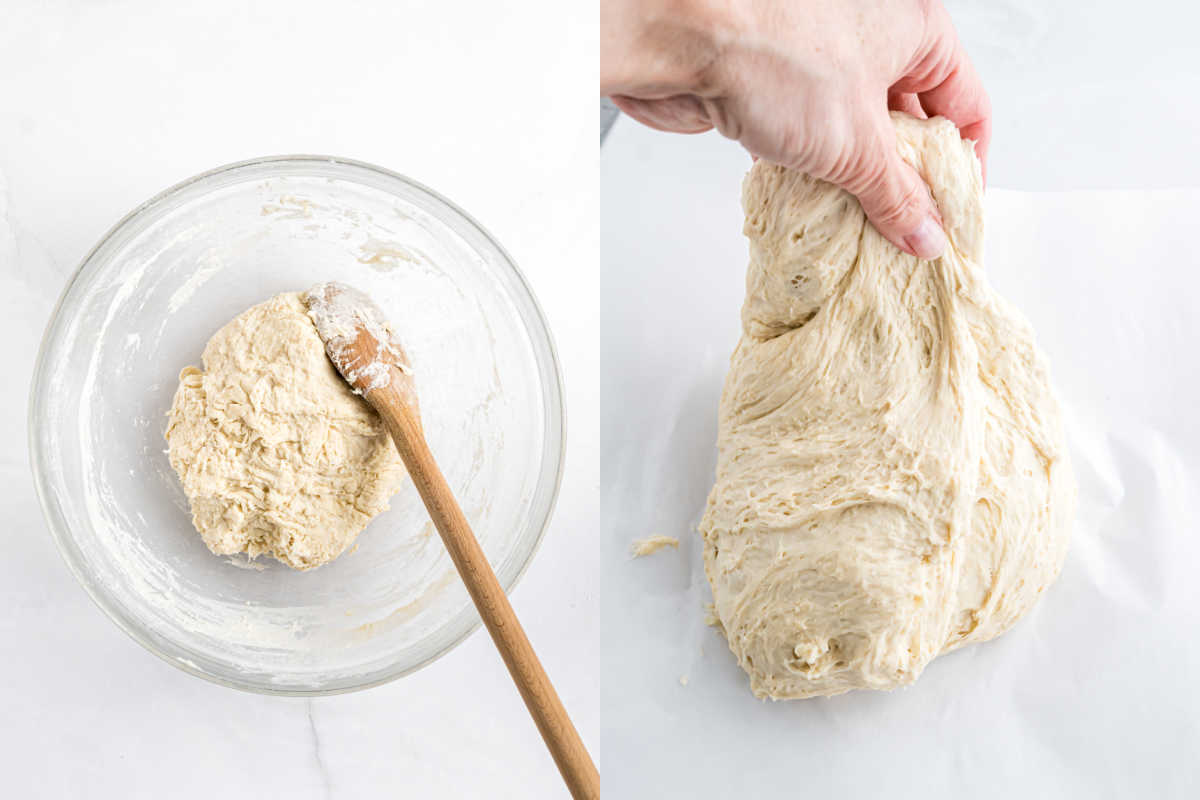
Make the Dough: Combine the dry ingredients in a mixing bowl, then stir in the warm water. Keep stirring (or use your hands to mix) until the flour is incorporated and there are no dry spots.
Let the Dough Rise: Cover the bowl with plastic and place it somewhere warm, away from drafts. (If your kitchen is drafty, the microwave is a good place to keep it.) Let it rise for 2 1/2 hours.
Stretch and Fold: Grab the dough ball and stretch it as far as you can without it tearing. Fold the ends together, then repeat by turning the dough 90 degrees and do a total of 4 stretches. You’ll feel a little more resistance in the dough with each stretch—that’s exactly what you want!
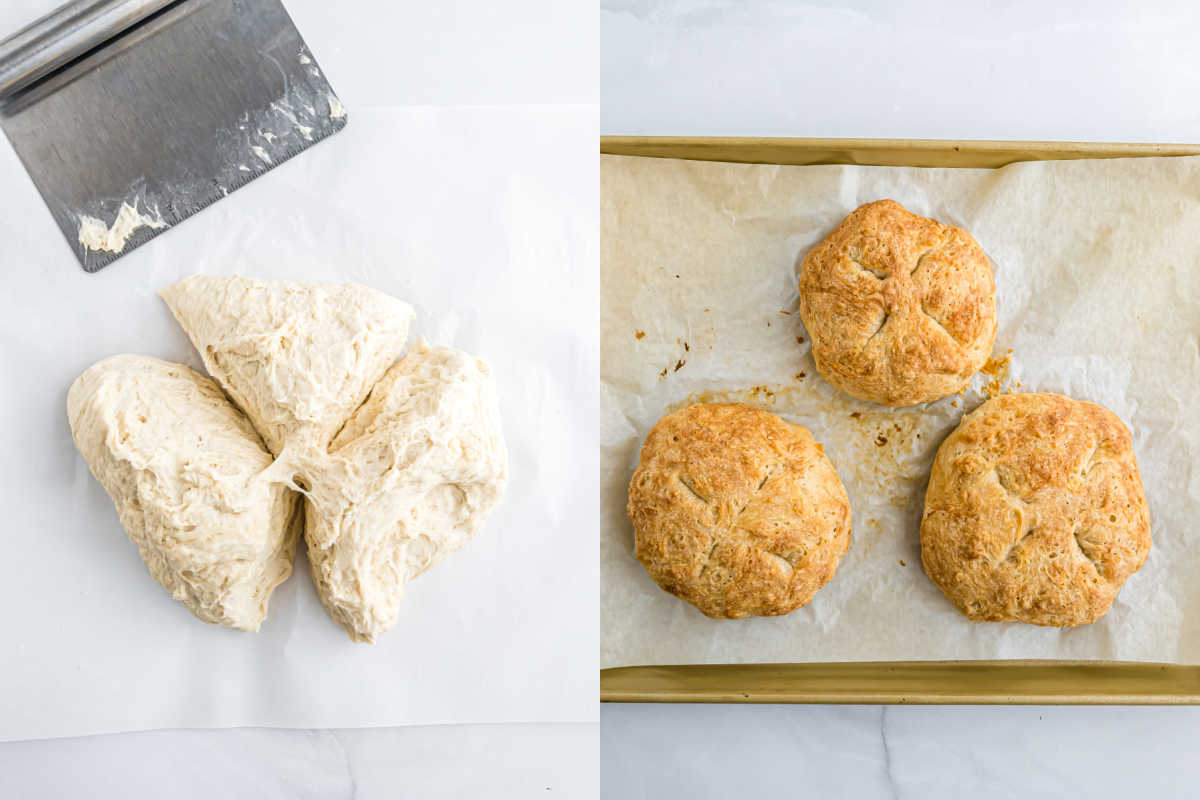
Do a Second Rise: Divide the dough into 3 equal pieces. Place them on parchment paper and cover with plastic. Let them rise for 30 minutes.
Bake the Bread Bowls:
- Place a large baking sheet in your oven and preheat it to 450ºF.
- Set the parchment paper with the dough balls onto the baking sheet. Score each by making an X on top with the tip of a sharp knife.
- Bake for 25 minutes and then cool completely.
Serve: Cut a circle on the top of each bread bowl. Pull this out and hollow out the bowl a bit so you have room for the soup.
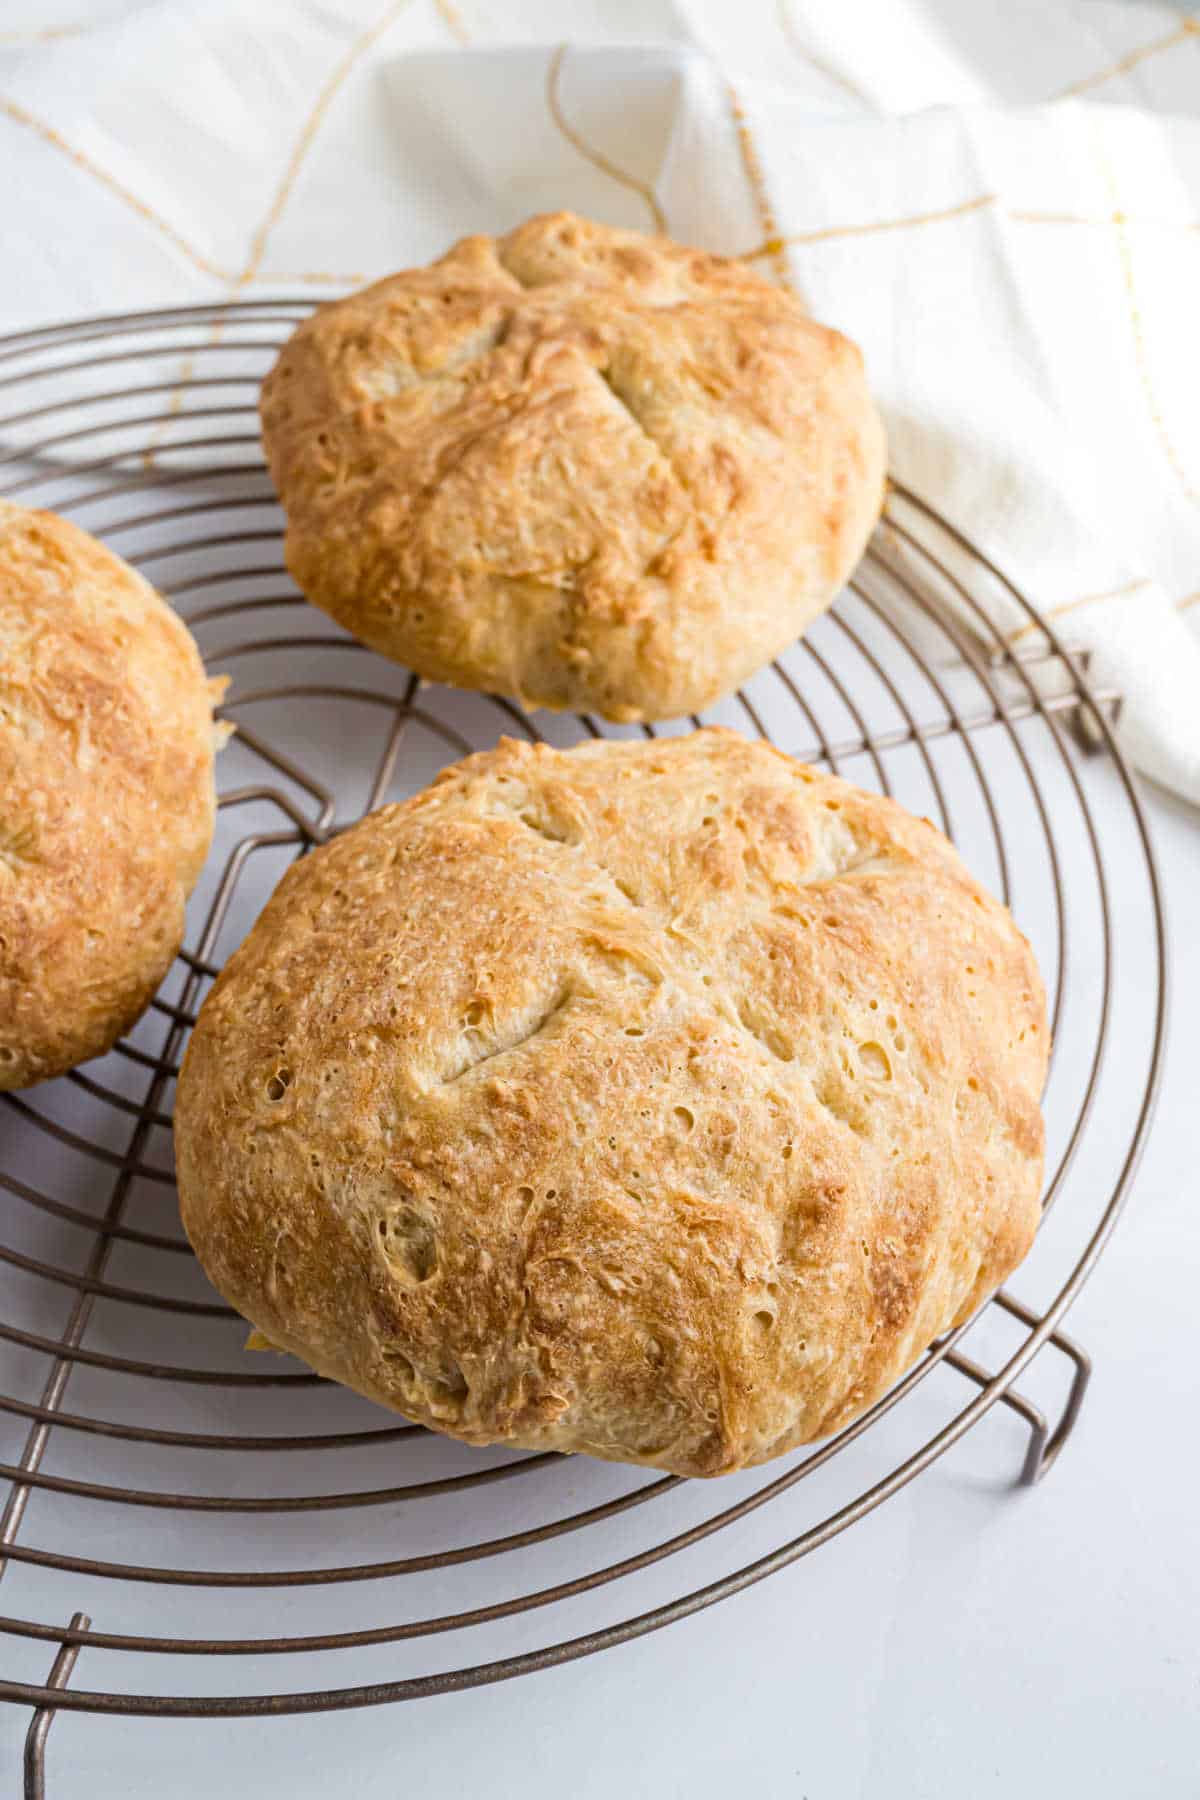
Tips and Tricks
- The best way to know when your bread bowls are finished baking is to use a digital thermometer. Insert the probe and when it reaches 200ºF, pull the bowls out of the oven.
- Bread continues to bake from the residual heat even after you take it out of the oven, which means it’s important not to serve these bread bowls right away. Let them cool completely or the insides will have a gummy, dense texture.
- You can store bread bowls in plastic wrap and keep them at room temperature for up to 5 days, or freeze them for up to 3 months.
Pin this now to find it later