
Styrofoam printmaking often gets treated as a beginner’s technique. It’s a solid way to introduce relief printmaking on a budget, especially to younger students. While styrofoam is quick, simple, and accessible, the number of possibilities to explore may surprise you! Push past the basics and guide your students to create foam prints that feel sophisticated, intentional, and truly worthy of a gallery wall.
Here’s how to elevate styrofoam printmaking to a level of fine art for all ages!
Prep for Success: Choose the Right Foam
Start strong by treating materials with the respect they deserve. Select smoother foam like recycled takeout containers, sanitized produce trays, or specialized printmaking foam sheets. Try reaching out to your local grocery store to see if they’ll donate a new box of foam trays for your project. Higher quality foam will take fine detail better than the usual thin, disposable foam plates.
Use these strategies to create more professional plates:
- Lightly sand the surface with fine sandpaper to create an even, inked texture.
- Back foam plates with cardboard to stabilize them for more precise registration techniques.
- Emphasize the importance of “respecting the plate” as professional printmakers do.
- Establish craftsmanship from the start by encouraging students to honor their materials.

Beyond the Line: Etching, Texture, and Fine Art Techniques
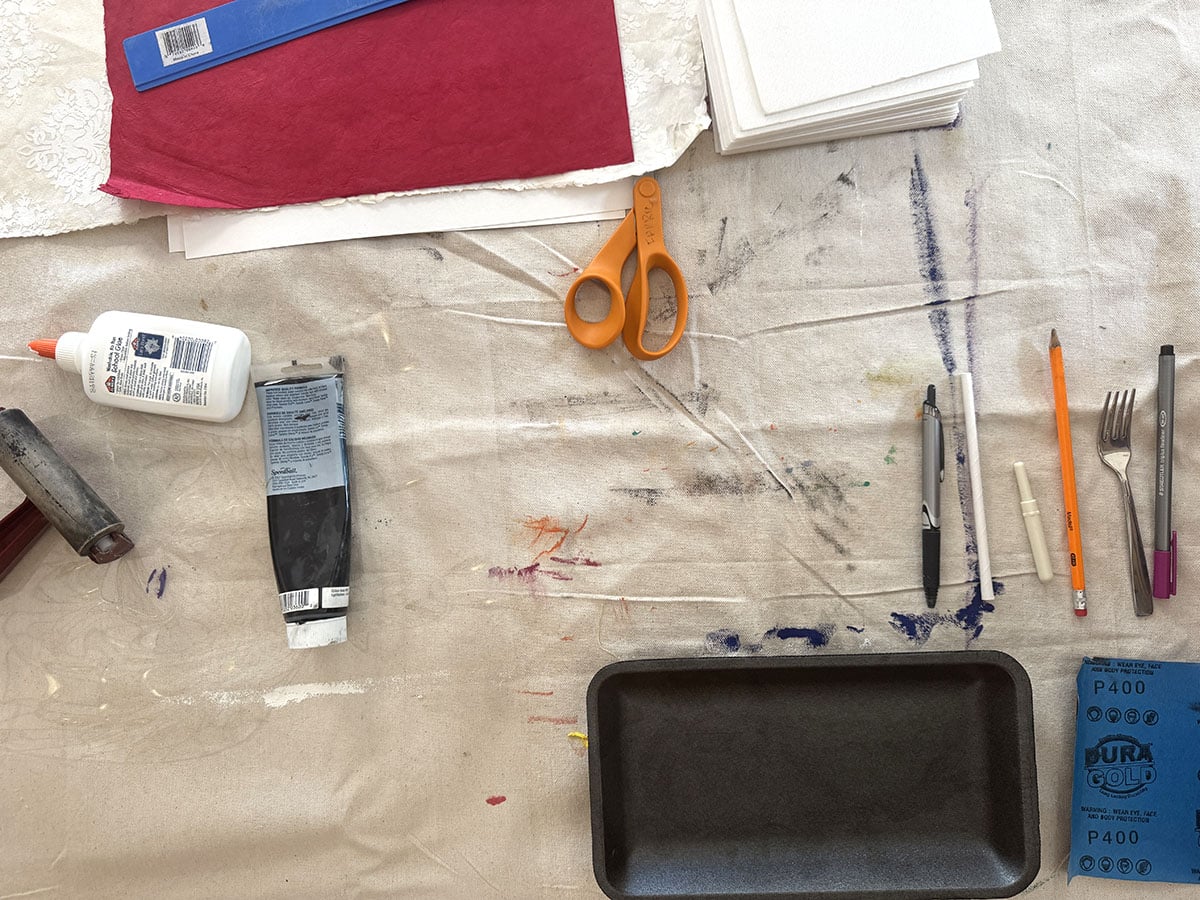
Move beyond simple outlines and prompt students to explore texture and layered marks. Supply a variety of mark-making tools to encourage experimentation. Teach techniques like crosshatching, stippling, pressure variation, and scribbling to build depth, value, and rich surface texture. Another way to create a beautiful, soft texture is to introduce a faux-etching printmaking method. Show students how to ink the plate and then wipe away the excess before pressing and pulling a print.
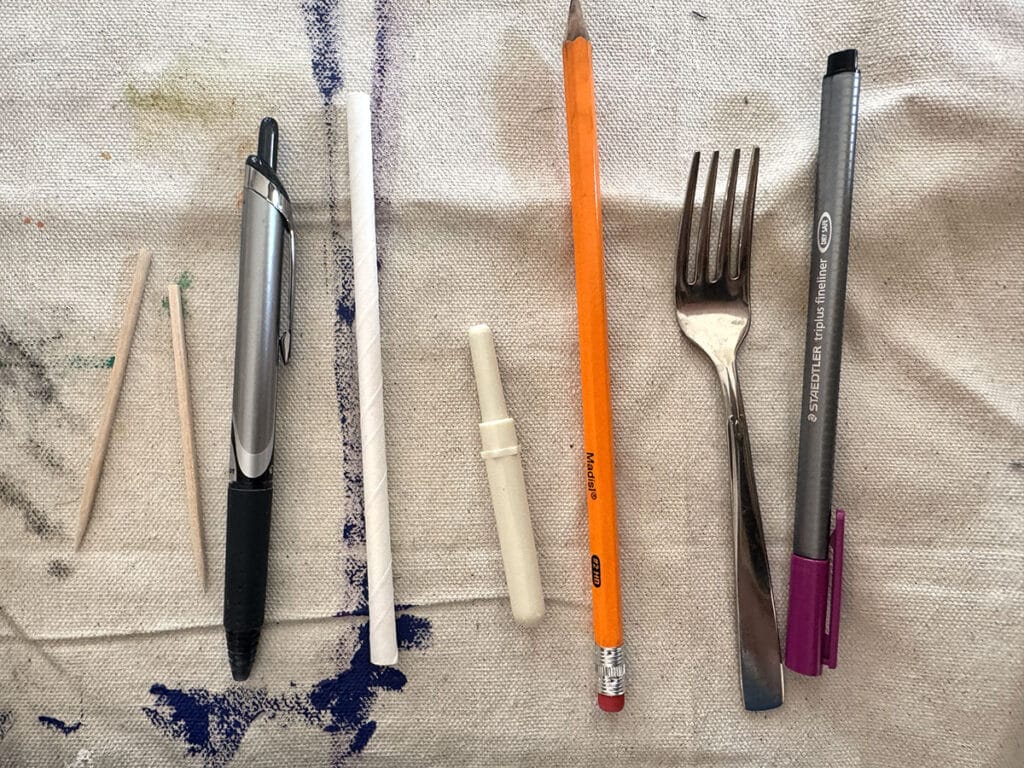
Provide these tools to your students to experiment with:
- Ballpoint pens
- Toothpicks or wooden skewers
- Etching needles
- Forks
- Straws
- Blunt styluses
Double the Layers, Double the Wow: Multi-Color Prints
Immediately elevate student prints through multi-layer printing. Assign two or three plates to each student. Designate each plate to be a different color or layer. Multi-layer printing with foam is a great inroad to other forms of printmaking that require precise registration, like linocuts, drypoint, and screenprinting. After printing, direct students to enhance their work with watercolor washes, colored pencils, or metallic gel pens to add more depth and interest.
Implement these strategies for success:
- Teach basic registration techniques to keep prints aligned.
- Require students to plan their color order before starting.
- Work with transparent inks to create beautiful overlapping effects.
- Start students with limited color palettes to build layering confidence.
Build a Masterpiece Together: Collaborative Foam Mosaics
Harness the collaborative power of printmaking with a team foam mosaic project. Assign each student a small foam tile to carve. Arrange and print all the tiles together onto a large shared surface like muslin fabric, canvas, or butcher paper. This will produce a breathtaking, large-scale artwork that reinforces teamwork, craftsmanship, and storytelling.
Choose one of two approaches:
- Create individual tiles around a unifying theme like Growth, Dreams, or Community.
- Combine student plates to form one large, cohesive image.

Go Mixed Media: Add Fabric, Collage, and More
Challenge students to think creatively, combine techniques, and view printmaking as a dynamic, evolving art form. Mix fabric with collage in order to create texture on texture. Students can work together and combine pieces. Also, try creating a classroom challenge to see who can incorporate the most material in a unified way.
Print onto unconventional surfaces such as:
- Handmade papers
- Textured papers
- Muslin fabric or canvas
- Tote bags, t-shirts, or banners
Elevate the work even further by adding mixed media elements:
Real-World Inspiration: Artists Who Use Styrofoam For Accessible Printmaking
Believe it or not, foam printmaking holds a place in professional art conversations! Share examples of artists who explore accessibility and innovation with the same materials your students are using. This helps students connect with the material and see themselves in the professional art sphere, opening up their wonder and motivation.
Check out these two artists who elevate foam:
- Kerry James Marshall emphasizes accessible materials and resourceful creativity. Marshall depicts a range of subjects but has a distinct figurative style. He explores many genres and time periods and inserts black figures to counter stereotypes.
- Helen Frankenthaler was a pioneer of experimental printmaking methods involving layering and texture. She was a huge contributor to Color Field painting and expanded the definition of abstraction.

Are you ready to elevate your prints? Styrofoam printmaking doesn’t have to stay basic. Layer techniques, explore textures, combine alternative materials, and build collaborative works to push your students toward professional, sophisticated results. When students see their prints framed, mounted, and celebrated, they begin to gain confidence as artists. Connect their processes to professional artists in the field to further bolster the credibility of their materials and work. This shift in mindset will ignite a belief in the power of their own creative voices that they will carry far beyond the classroom.
What is your best tip or hack for sourcing quality foam?
Share a favorite foam printing lesson idea that your students love!
To chat about styrofoam printmaking with other art teachers, join us in The Art of Ed Community!
Magazine articles and podcasts are opinions of professional education contributors and do not necessarily represent the position of the Art of Education University (AOEU) or its academic offerings. Contributors use terms in the way they are most often talked about in the scope of their educational experiences.


