It has been 8 years since I wrote a blog post about gluing recyclables onto a big piece of cardboard and inviting my art students to mix their own colors and paint the structure up on the wall. Since then, I have added this project to my book, Carboard Creations, and seen hundreds of art studios and families all around the world creating painting walls with recyclables. I’m sure I didn’t invent this idea, but I like to think that I was able to present it in a fresh way that made the idea accessible to so many. I recently made another one of these structures for one of my library events, creating something even more dynamic and textural, and adding lots of mixed-media elements. This process art experience is appealing to all ages and stages. I’m so excited to finally share these photos with you, along with some other insights from the library experience.

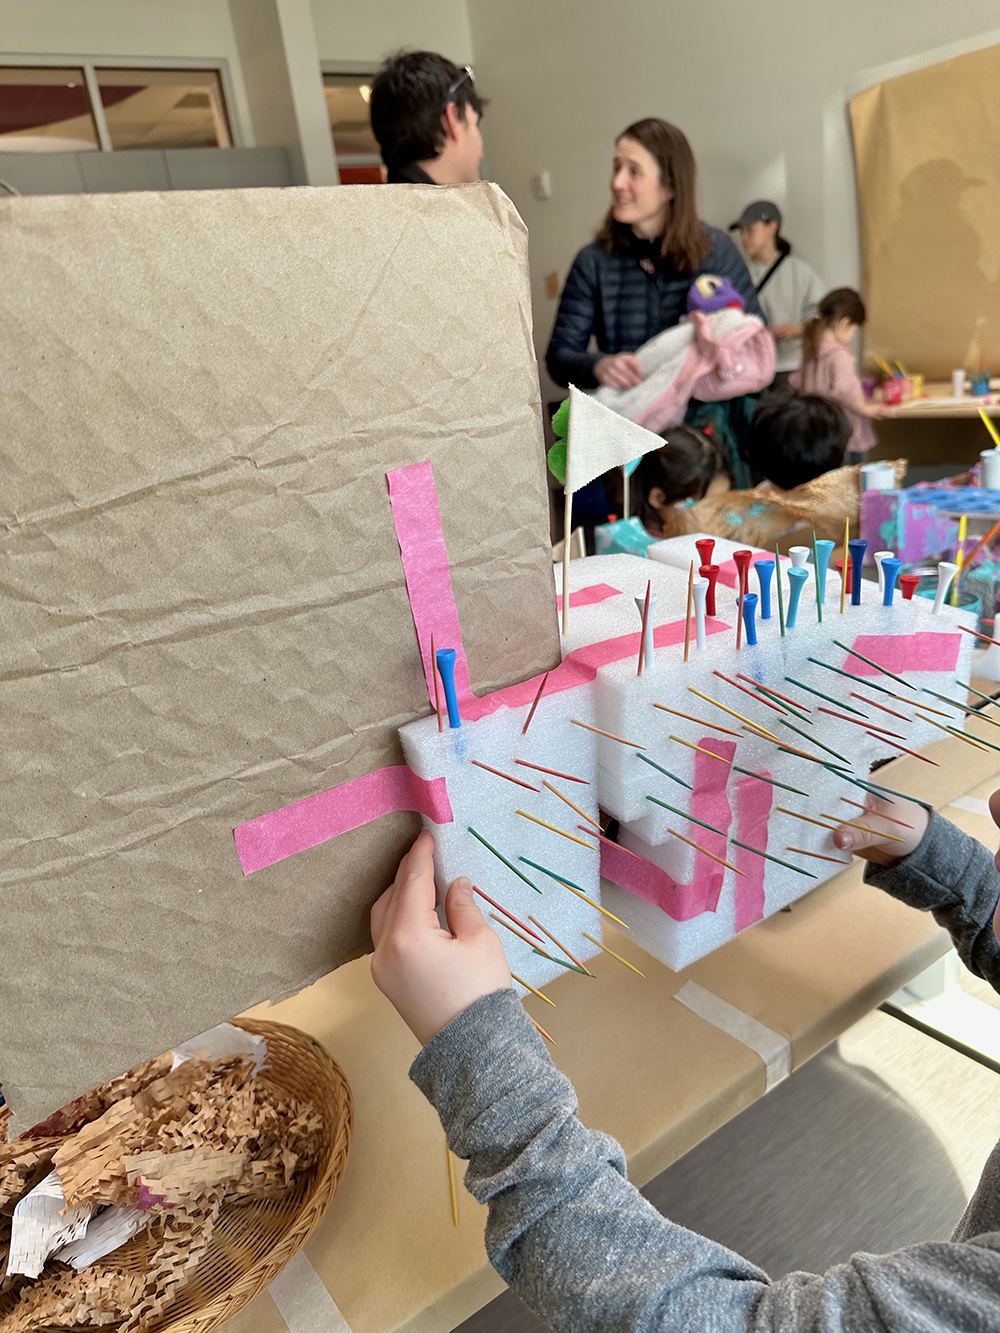
This was the first time I created something collaborative for the families that come to the library once a month to explore materials. What motivated me was a fundraiser that the library was having, which involved creating a mini-golf course throughout the library with prizes and a raffle. Each “hole” was sponsored by a local business, and one of the businesses asked me if I could design their particular spot in the children’s library. I didn’t have any idea what that even meant, and neither did they. It was all a mystery, but I said I would create a structure and they could use it however they wanted. This is why I made the little flags! The golf tees and cut-up maps were an on-brand addition to the golf-themed aesthetic. I also created a path down the middle for golf balls.

[ I am a participant in affiliate programs designed to provide a means for bloggers to earn small fees at no cost to you by linking to Amazon.com and affiliated sites. ]
Now that you have some context for the why and the what, let me share my materials list. Most things are sourced for free, but some things were purchased.
Supplies needed for a BIG, collaborative, recycled art piece:
~ A collection of recyclables, like tubes, cardboard packaging, honeycomb paper, and styrofoam
~ A giant cardboard surface (I used a giant box from furniture packaging)
~ Hot glue gun (with enough glue sticks)
~ Smaller collections of collage material to glue onto the structure, like bottle tops, puzzle pieces, pom-poms, and cut-up papers
~ Golf tees and toothpicks to press and push into things ( I made the flags by cutting wooden skewers in half and gluing on a piece of fabric)
~ Tempera paint
~ Glass jars (I like using the Bonne Maman jam jars)
~ Paint brushes (these are my favorite)
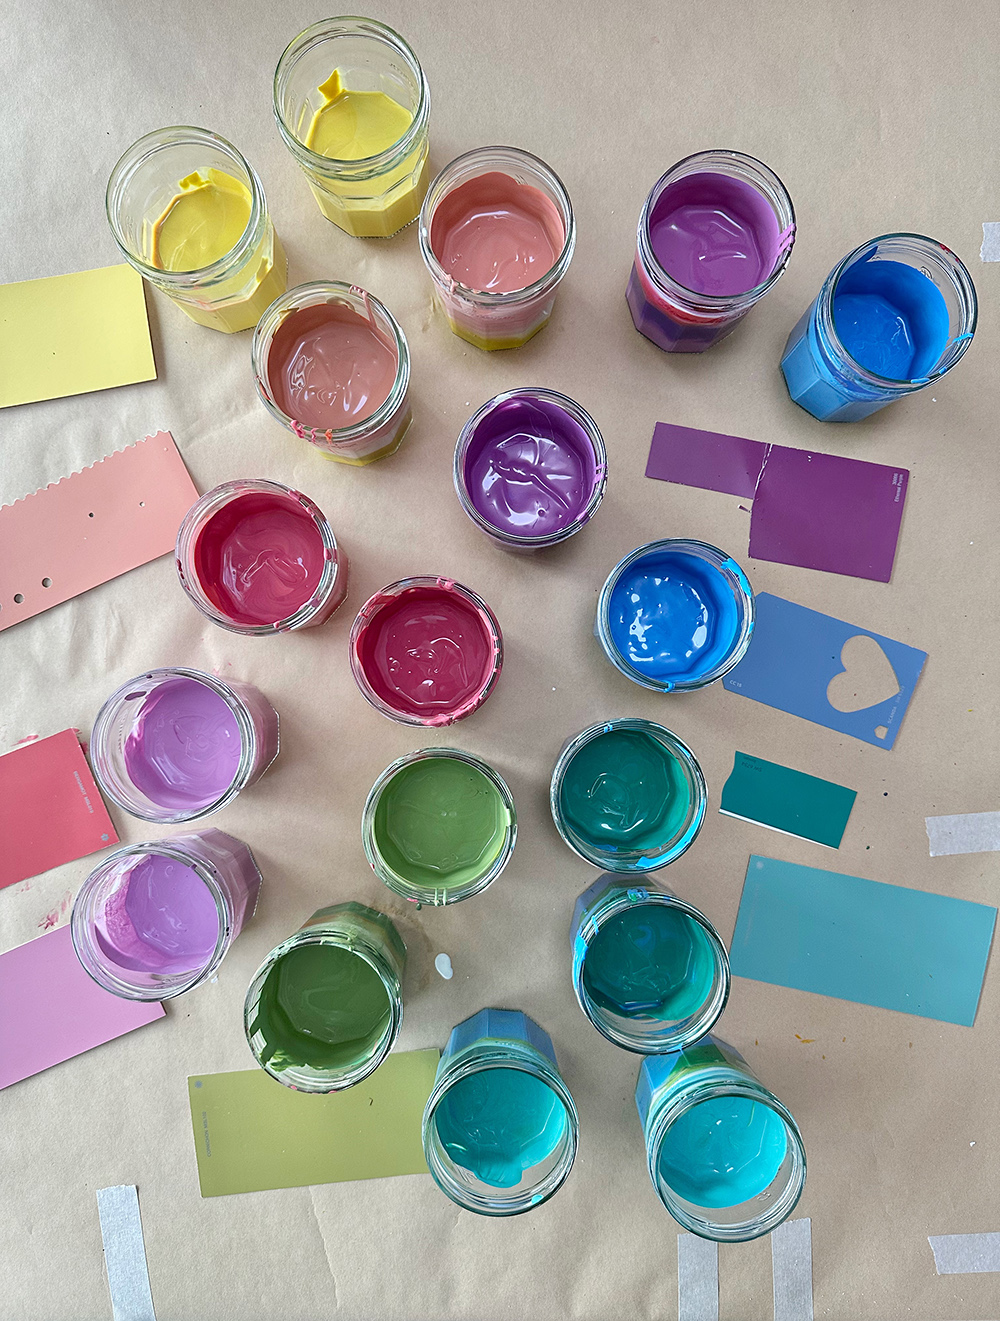
Mixing paints to use with recyclables:
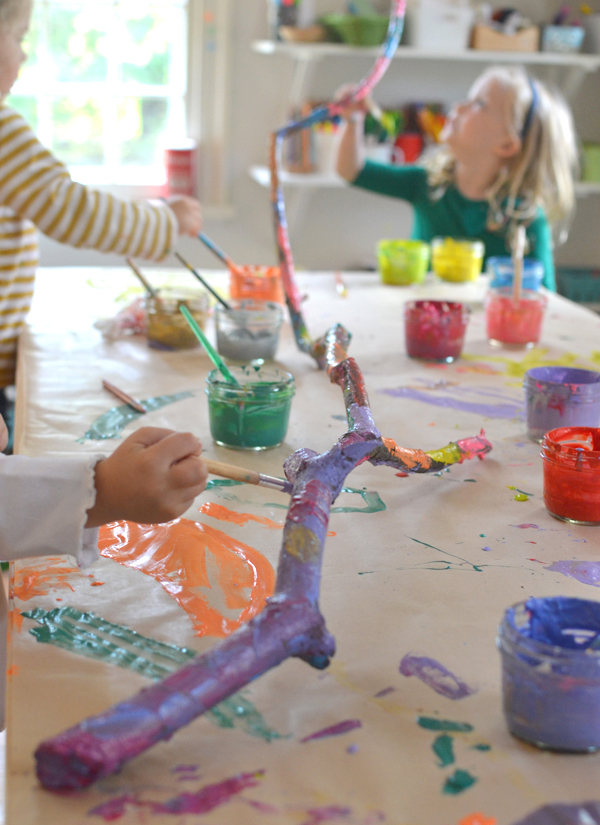
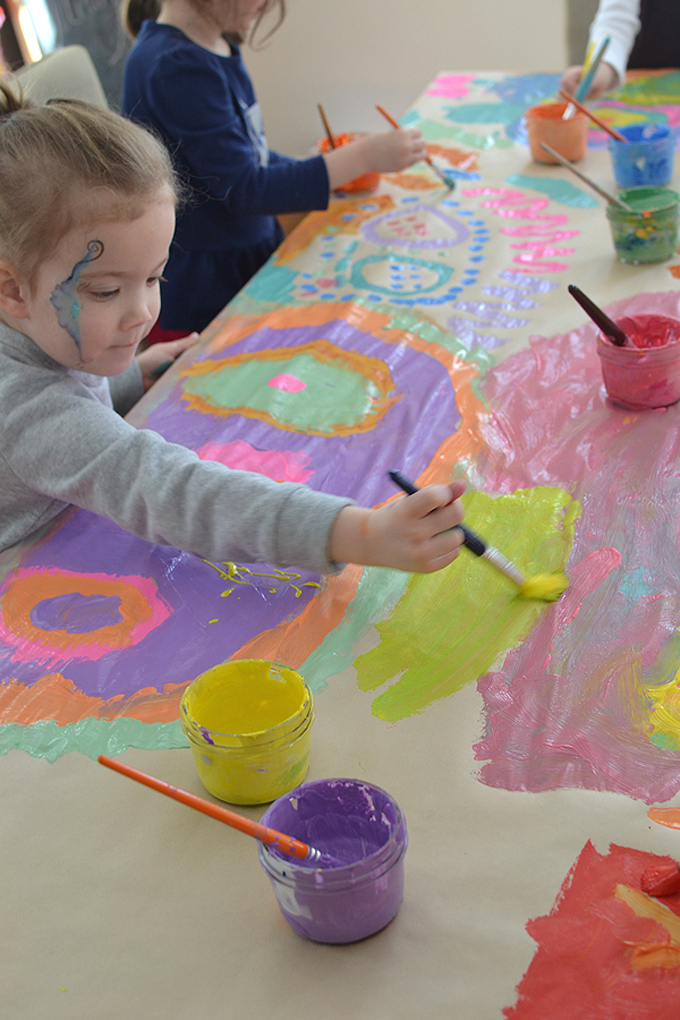
I always mix my temperas, even if it’s just adding a little white (you can see my paint mixing blog post here.) Adding white makes them more opaque, which is valuable when covering lots of brown surfaces. This time, I chose my palette from paint samples and then mixed paints to match — two jars of each color. I set up a side table, too, for children who just wanted to use the paints on plain paper since there wasn’t a lot of room left for dabblers at the main table. The mini painting table actually became essential because a lot of the older children weren’t as interested in the recycled project, but were very interested in using the paints on paper.
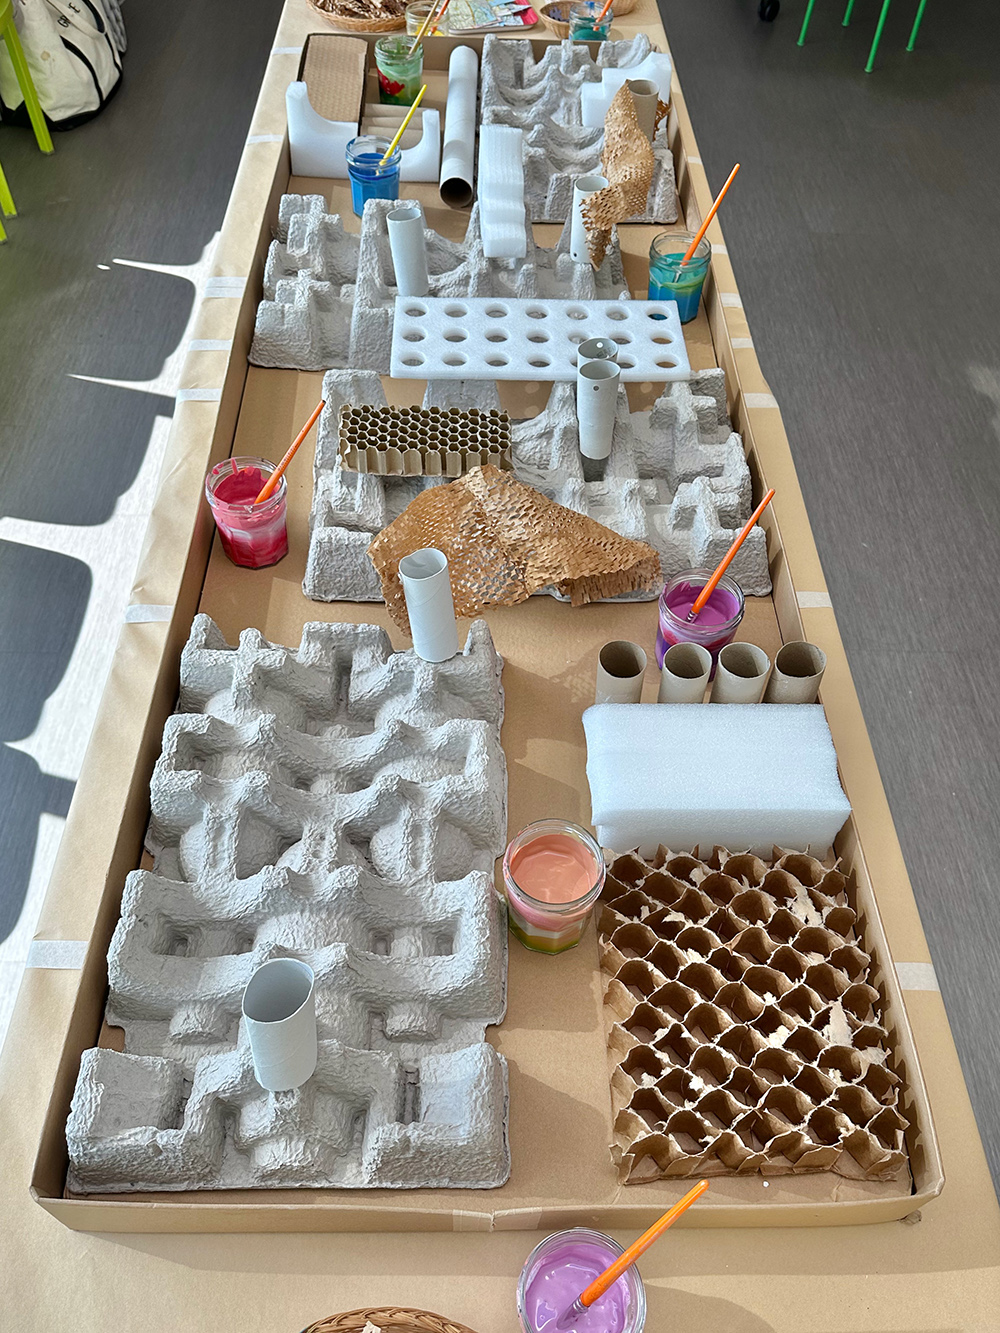
Setting up the collaborative art piece:
After hot-gluing everything down at home, I brought it into town on the back of our truck, and it fit perfectly on two tables pushed together. There was a ledge around the edge, but I didn’t want to put the paints there; it felt risky. So I put them inside the structure on some of the open surfaces as an invitation to paint. There was room on both ends to put some of the baskets of loose parts and collage material.

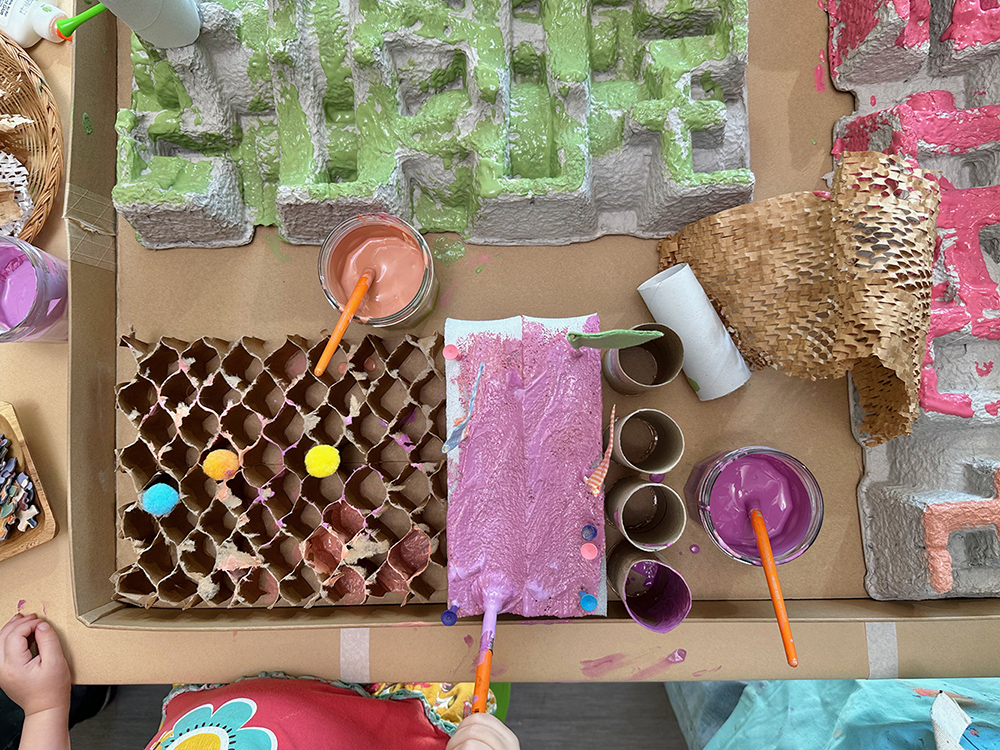
As families started to enter the space, the younger children were immediately drawn to this big, intriguing, 3-dimensional piece. There are no instructions during these open studios; children just either intuitively play around with the materials and try this and that, or their grown-up will begin exploring with them or teaching them how to use something. I encourage parents and caregivers to let their child explore on their own without direction or interruption, but it’s not like I announce this at any point. Sometimes families come to me when they enter the space to make contact and ask how the system works. That’s when I explain the stations (paint, collage, maker, etc.) and tell them that children are free to explore, and they can even sit on a chair around the perimeter if they want.

Older children weren’t as drawn to the structure, and my guess is that there were too many other interesting materials available for them to create and invent their own things, using their more advanced skills. This big structure is perfect for toddlers and younger children who are still so engaged with paint and are drawn to this unusual surface to try. Later, I’ll show you some of the things that the older kids made using some of the materials from this table, along with sourcing from the other tables.
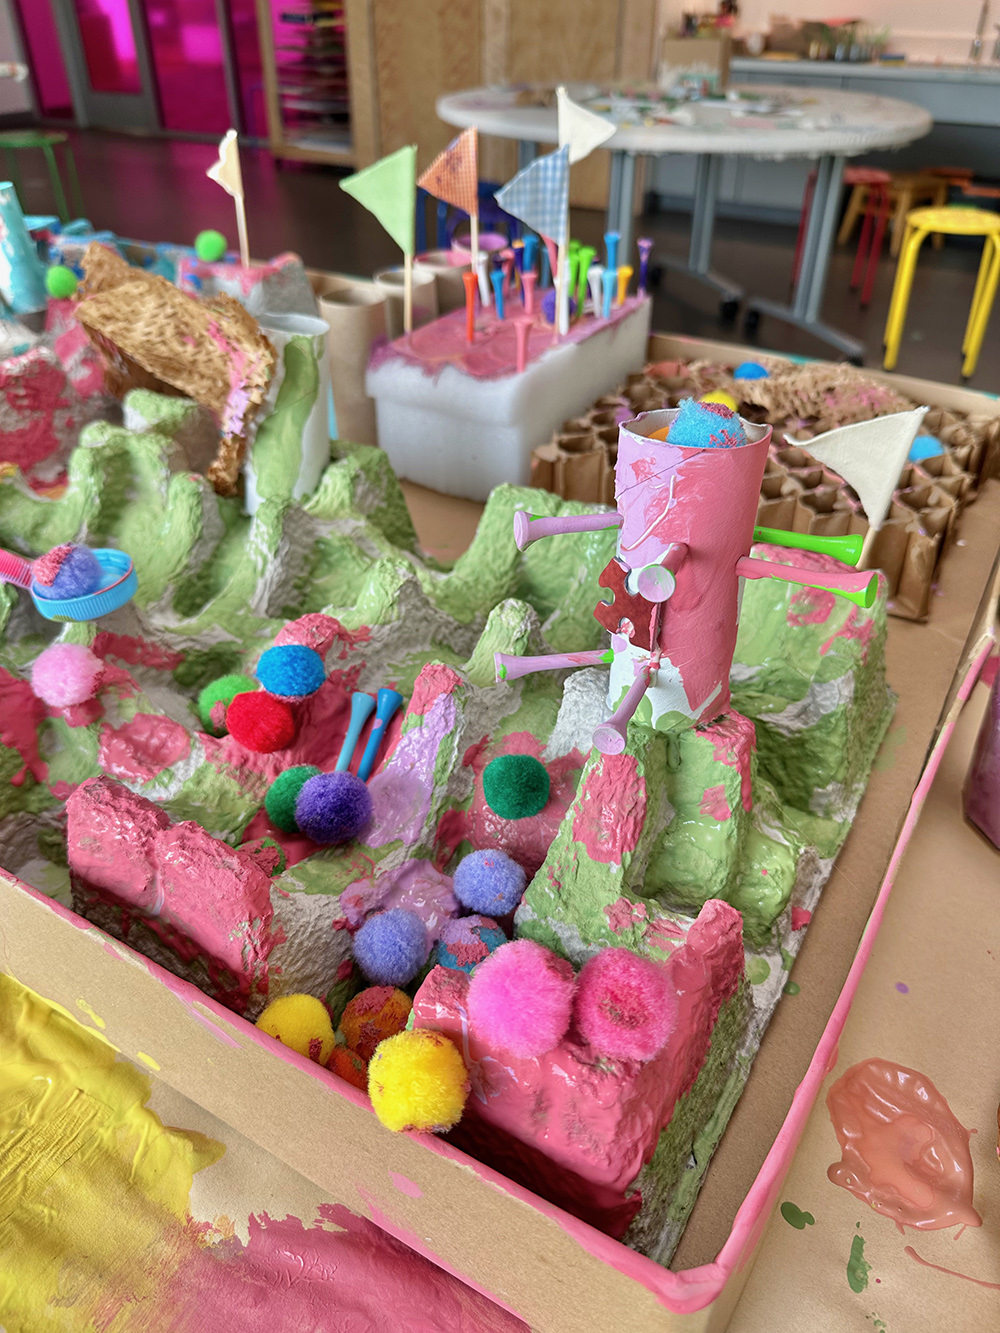
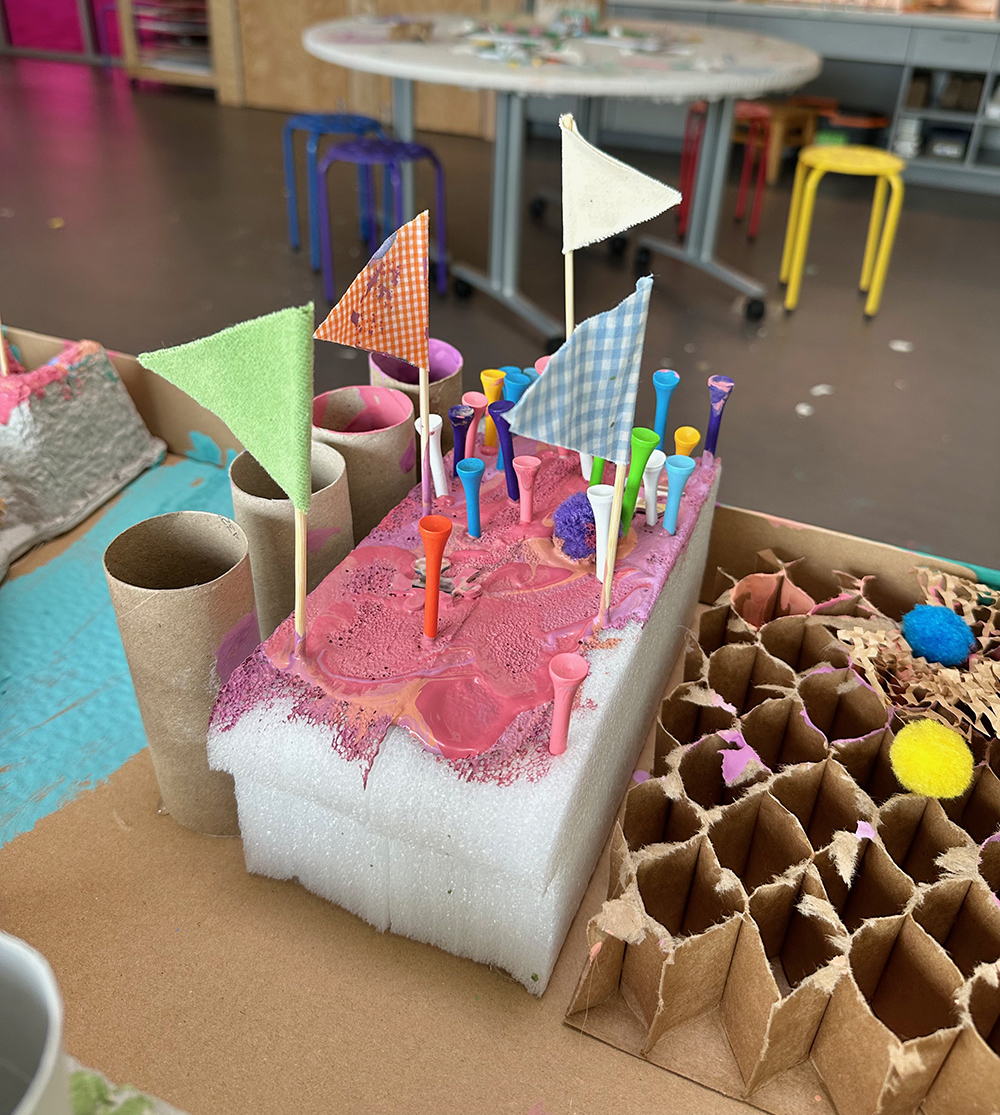
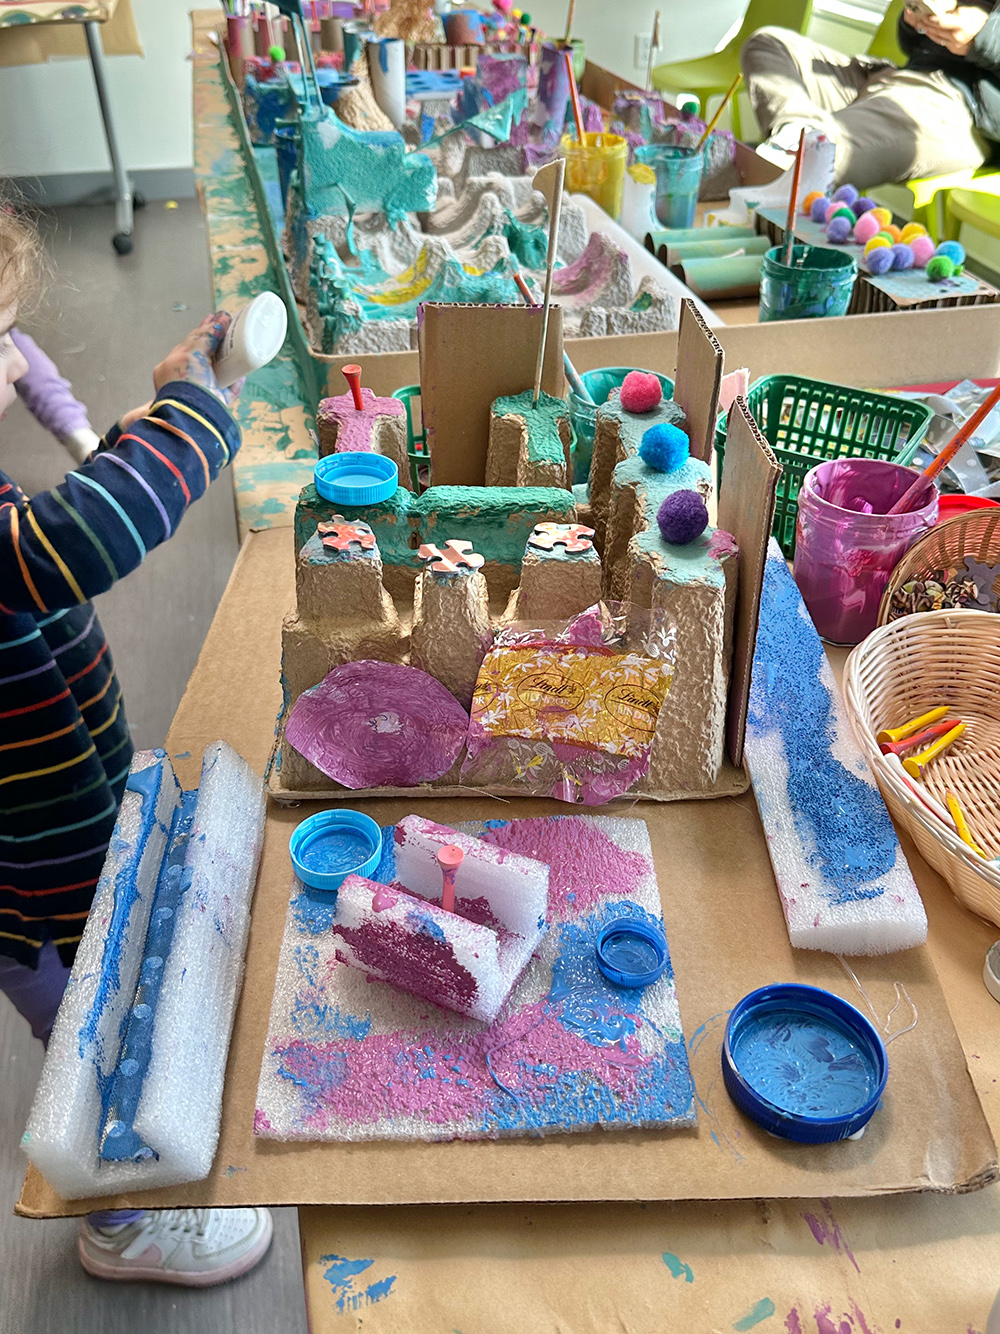
Toddlers and young children spent hours pushing the golf tees and flags into things, squeezing endless glue, mixing all the paints, running their brushes over the unique surfaces, and passing paint jars to each other. It was very collaborative as they moved around the table to find new places to work and build up more paint.

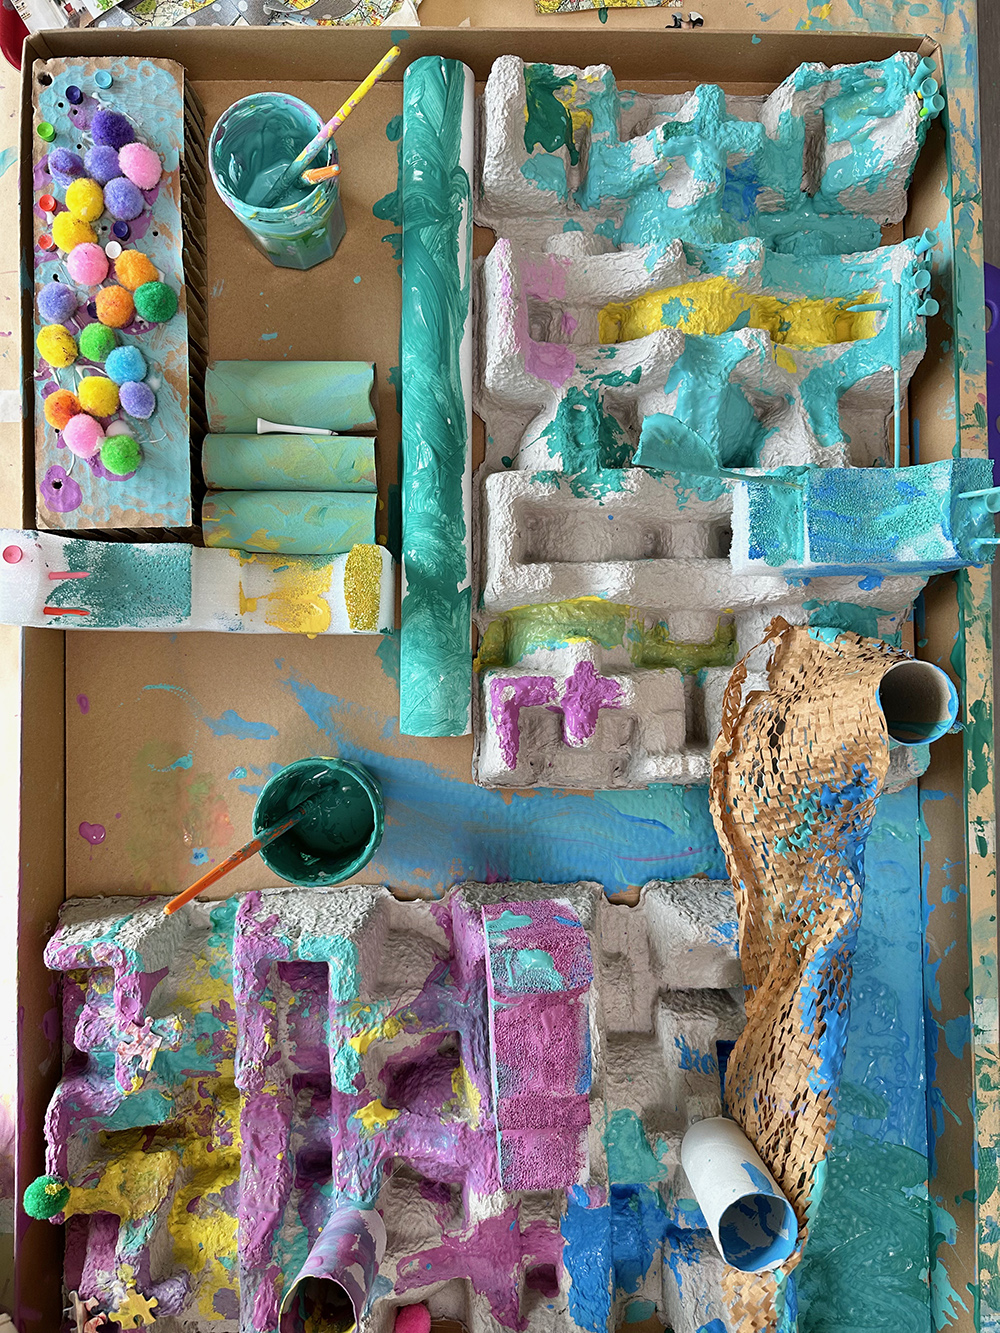
Aren’t these overhead views so incredibly rich and beautiful? It was really hard to capture the final piece in one shot. If this had been a weekly class, I would have left this out for weeks, maybe the whole month, for children to keep adding to. But after two hours of collaboration, the piece was handed off to the library fundraising team.
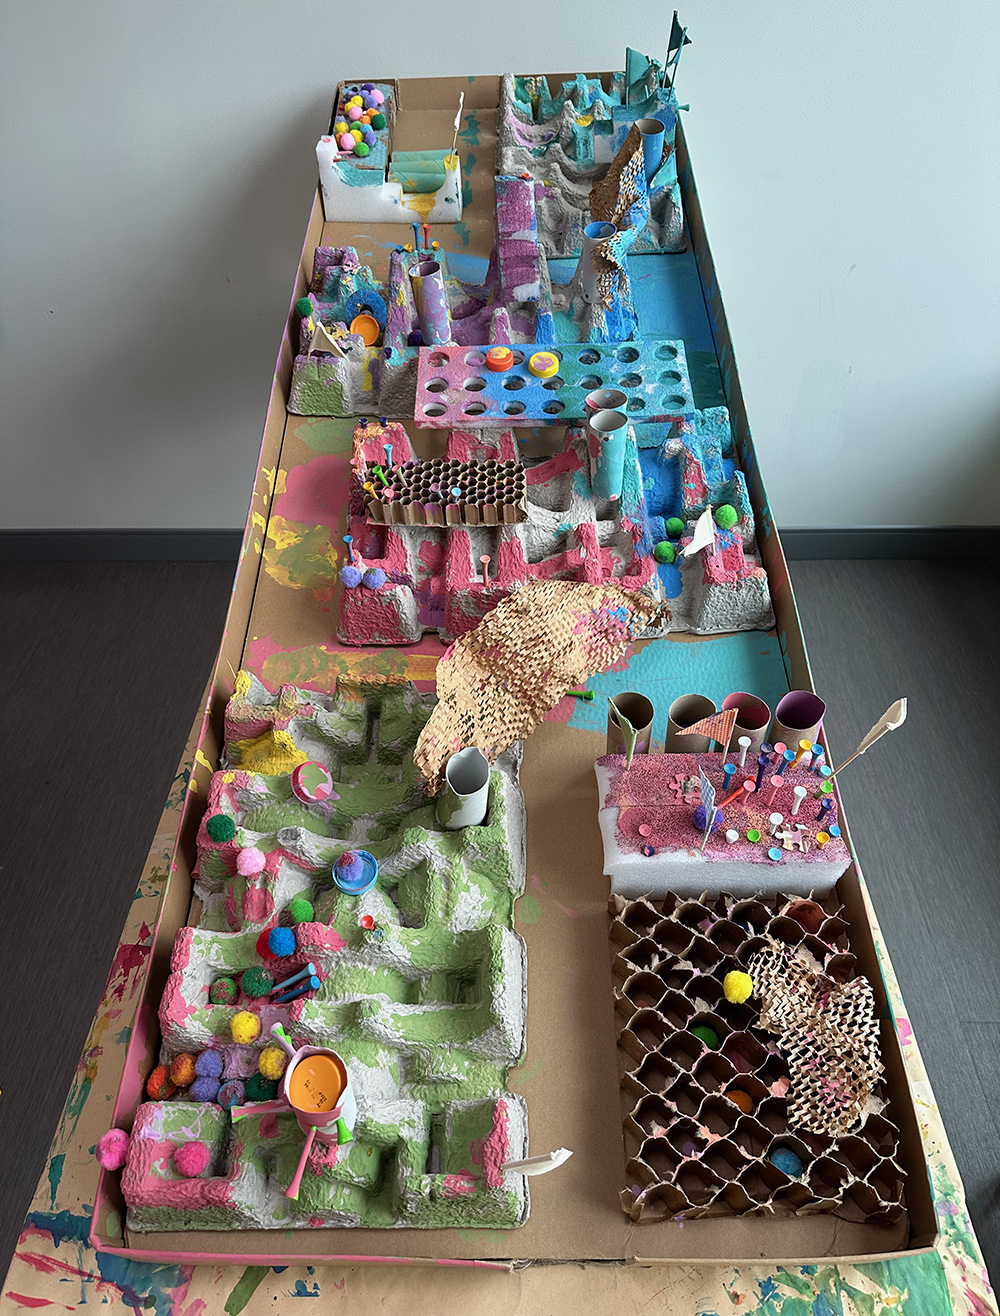
I’m still not sure what they did with it. The fundraiser came and went, and I never saw one photo. But now this piece lives on top of one of the bookcases in the children’s library room. I keep meaning to take a photo of it there — when I do, I’ll come back and add it here.
Some things I noticed from this collaborative experience
~ This experience differed from the first time I did this in 2017 because back then, I had a private art class in my home with 6-8 children. We were able to build the structure together, and they mixed colors on their own. The piece stayed up for 2 weeks and was added to over time.
~ This time, families moved in and out of the space, so I prepped everything ahead of time. It took some of the fun out of the process, and I think older children would have been very engaged with the building. But younger children still found this novel painting and gluing and poking experience to be exciting and fun.
~ Having additional stations, like the maker table with loose recyclables, the collage table with more elements to choose from, and an open table with just plain paper for painting, really helped every age find their personal path of creative exploration. I’m including some of these photos from children who went back and forth between all tables, using a little of this and a little of that, to invent and build and create.
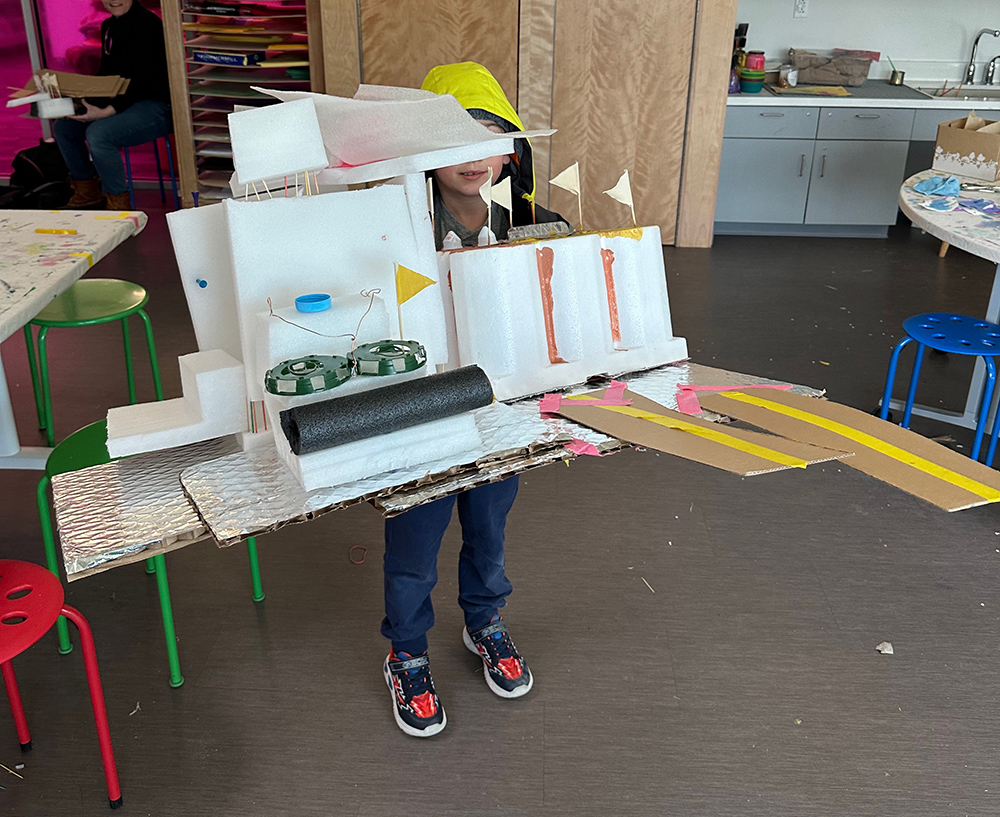
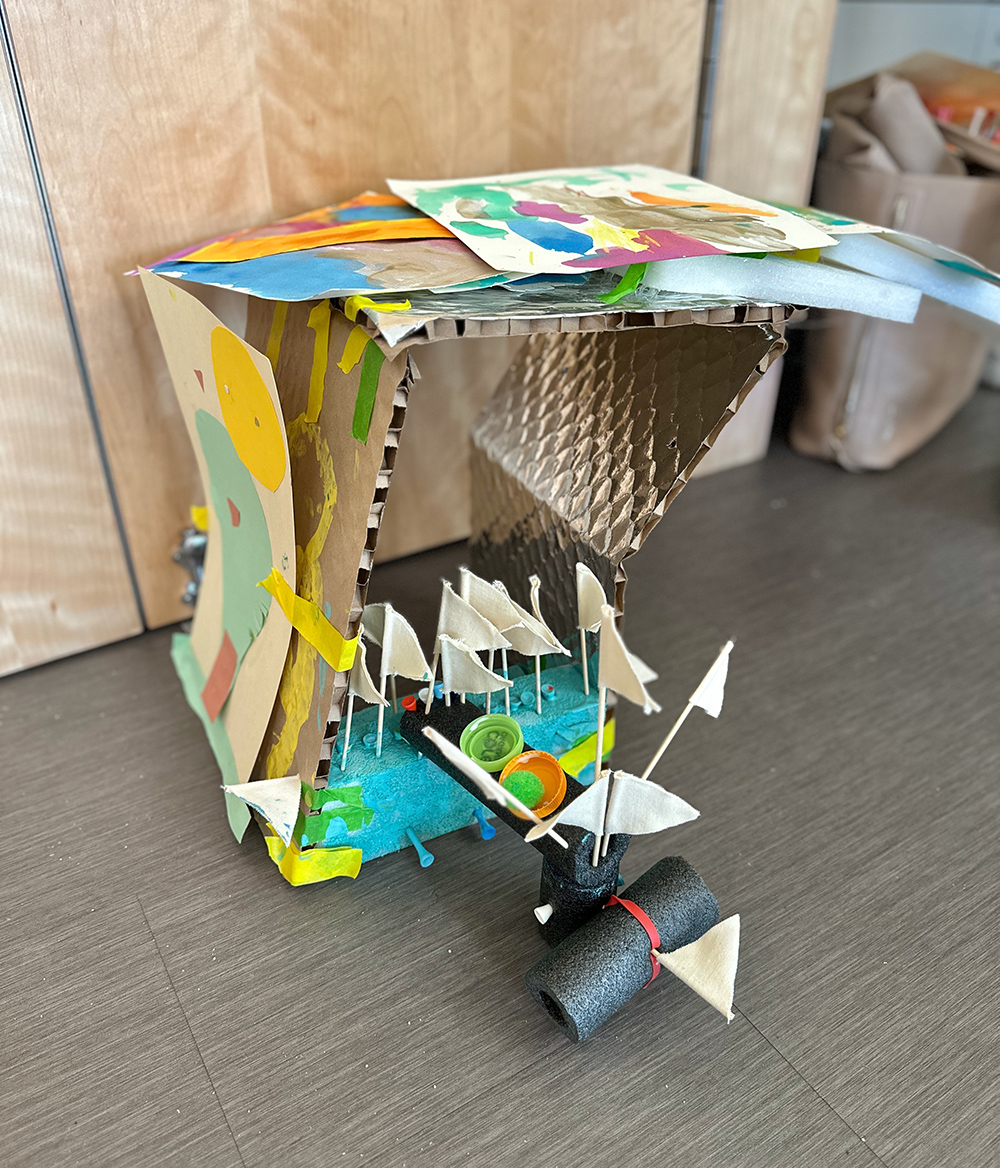
This young maker truly borrowed from every table, even taping his collages and paintings around his structure. The flags were a huge hit for everyone.
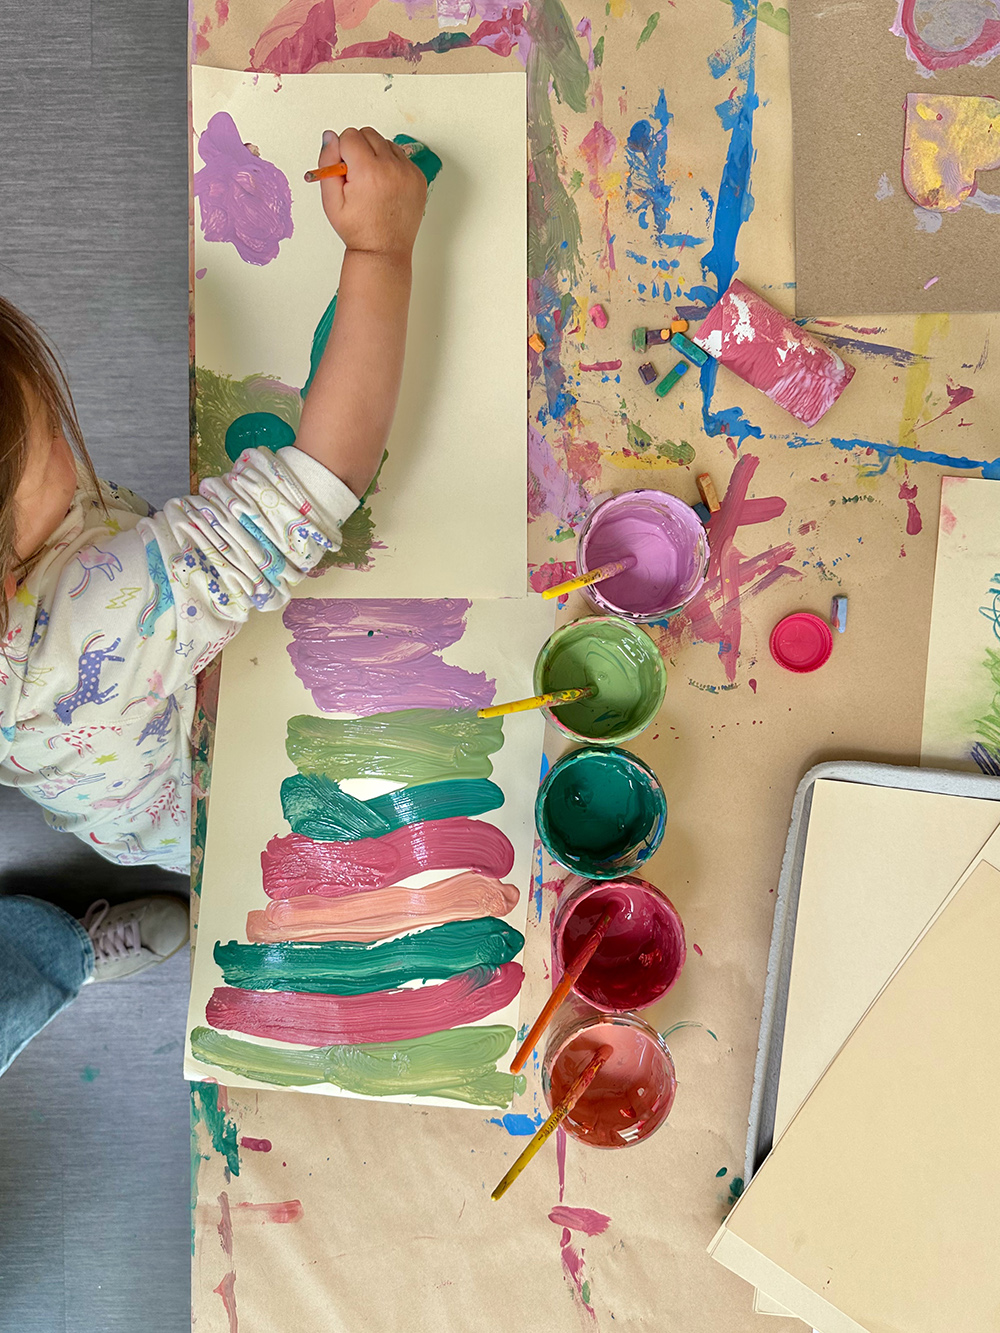
Above is a glimpse of the small painting table that I set up at the last minute, adjacent to the collaborative table. I left out some jars of paint and plain paper, and it was a very popular station. And in fact, the flow of people somehow worked out that one child would have free rein of the table at a time, a constant rotation, but with everyone completely immersed in their own ideas.
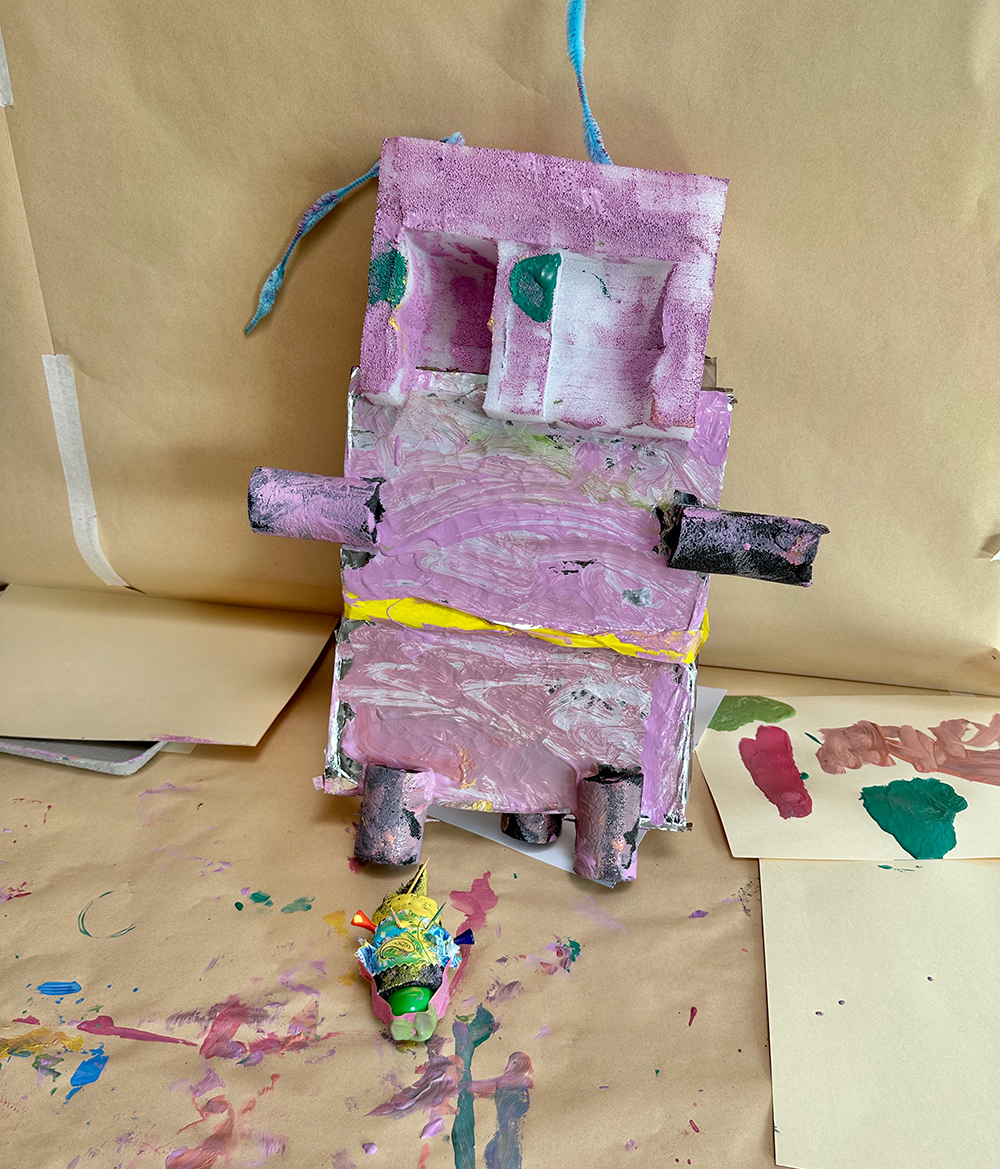
I’ll leave you with this robot and its sidekick (is it a minion?) arranged on the painting table so the artist could show his dad and take a picture.
Let me know if you try this idea! You can always find me on Instagram @artbarblog.
xx Bar
– – – – – – – – – – – – – – – – – – – –
Did you like this post? Here are some more collaborative experiences to try: