This post may contain affiliate links. Please see my full disclosure for details.
Hi Bold Bakers!
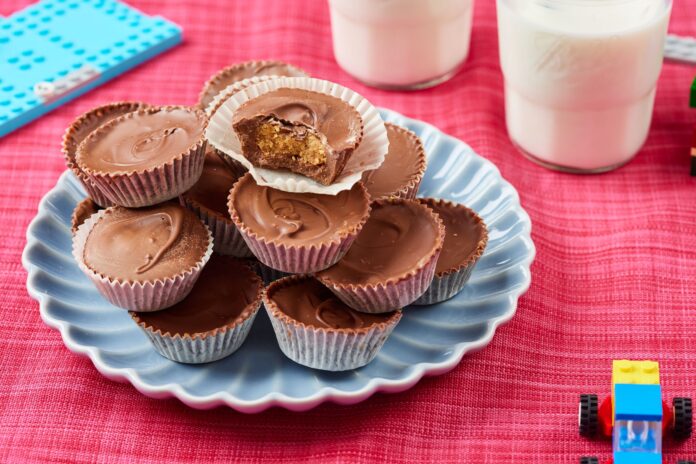
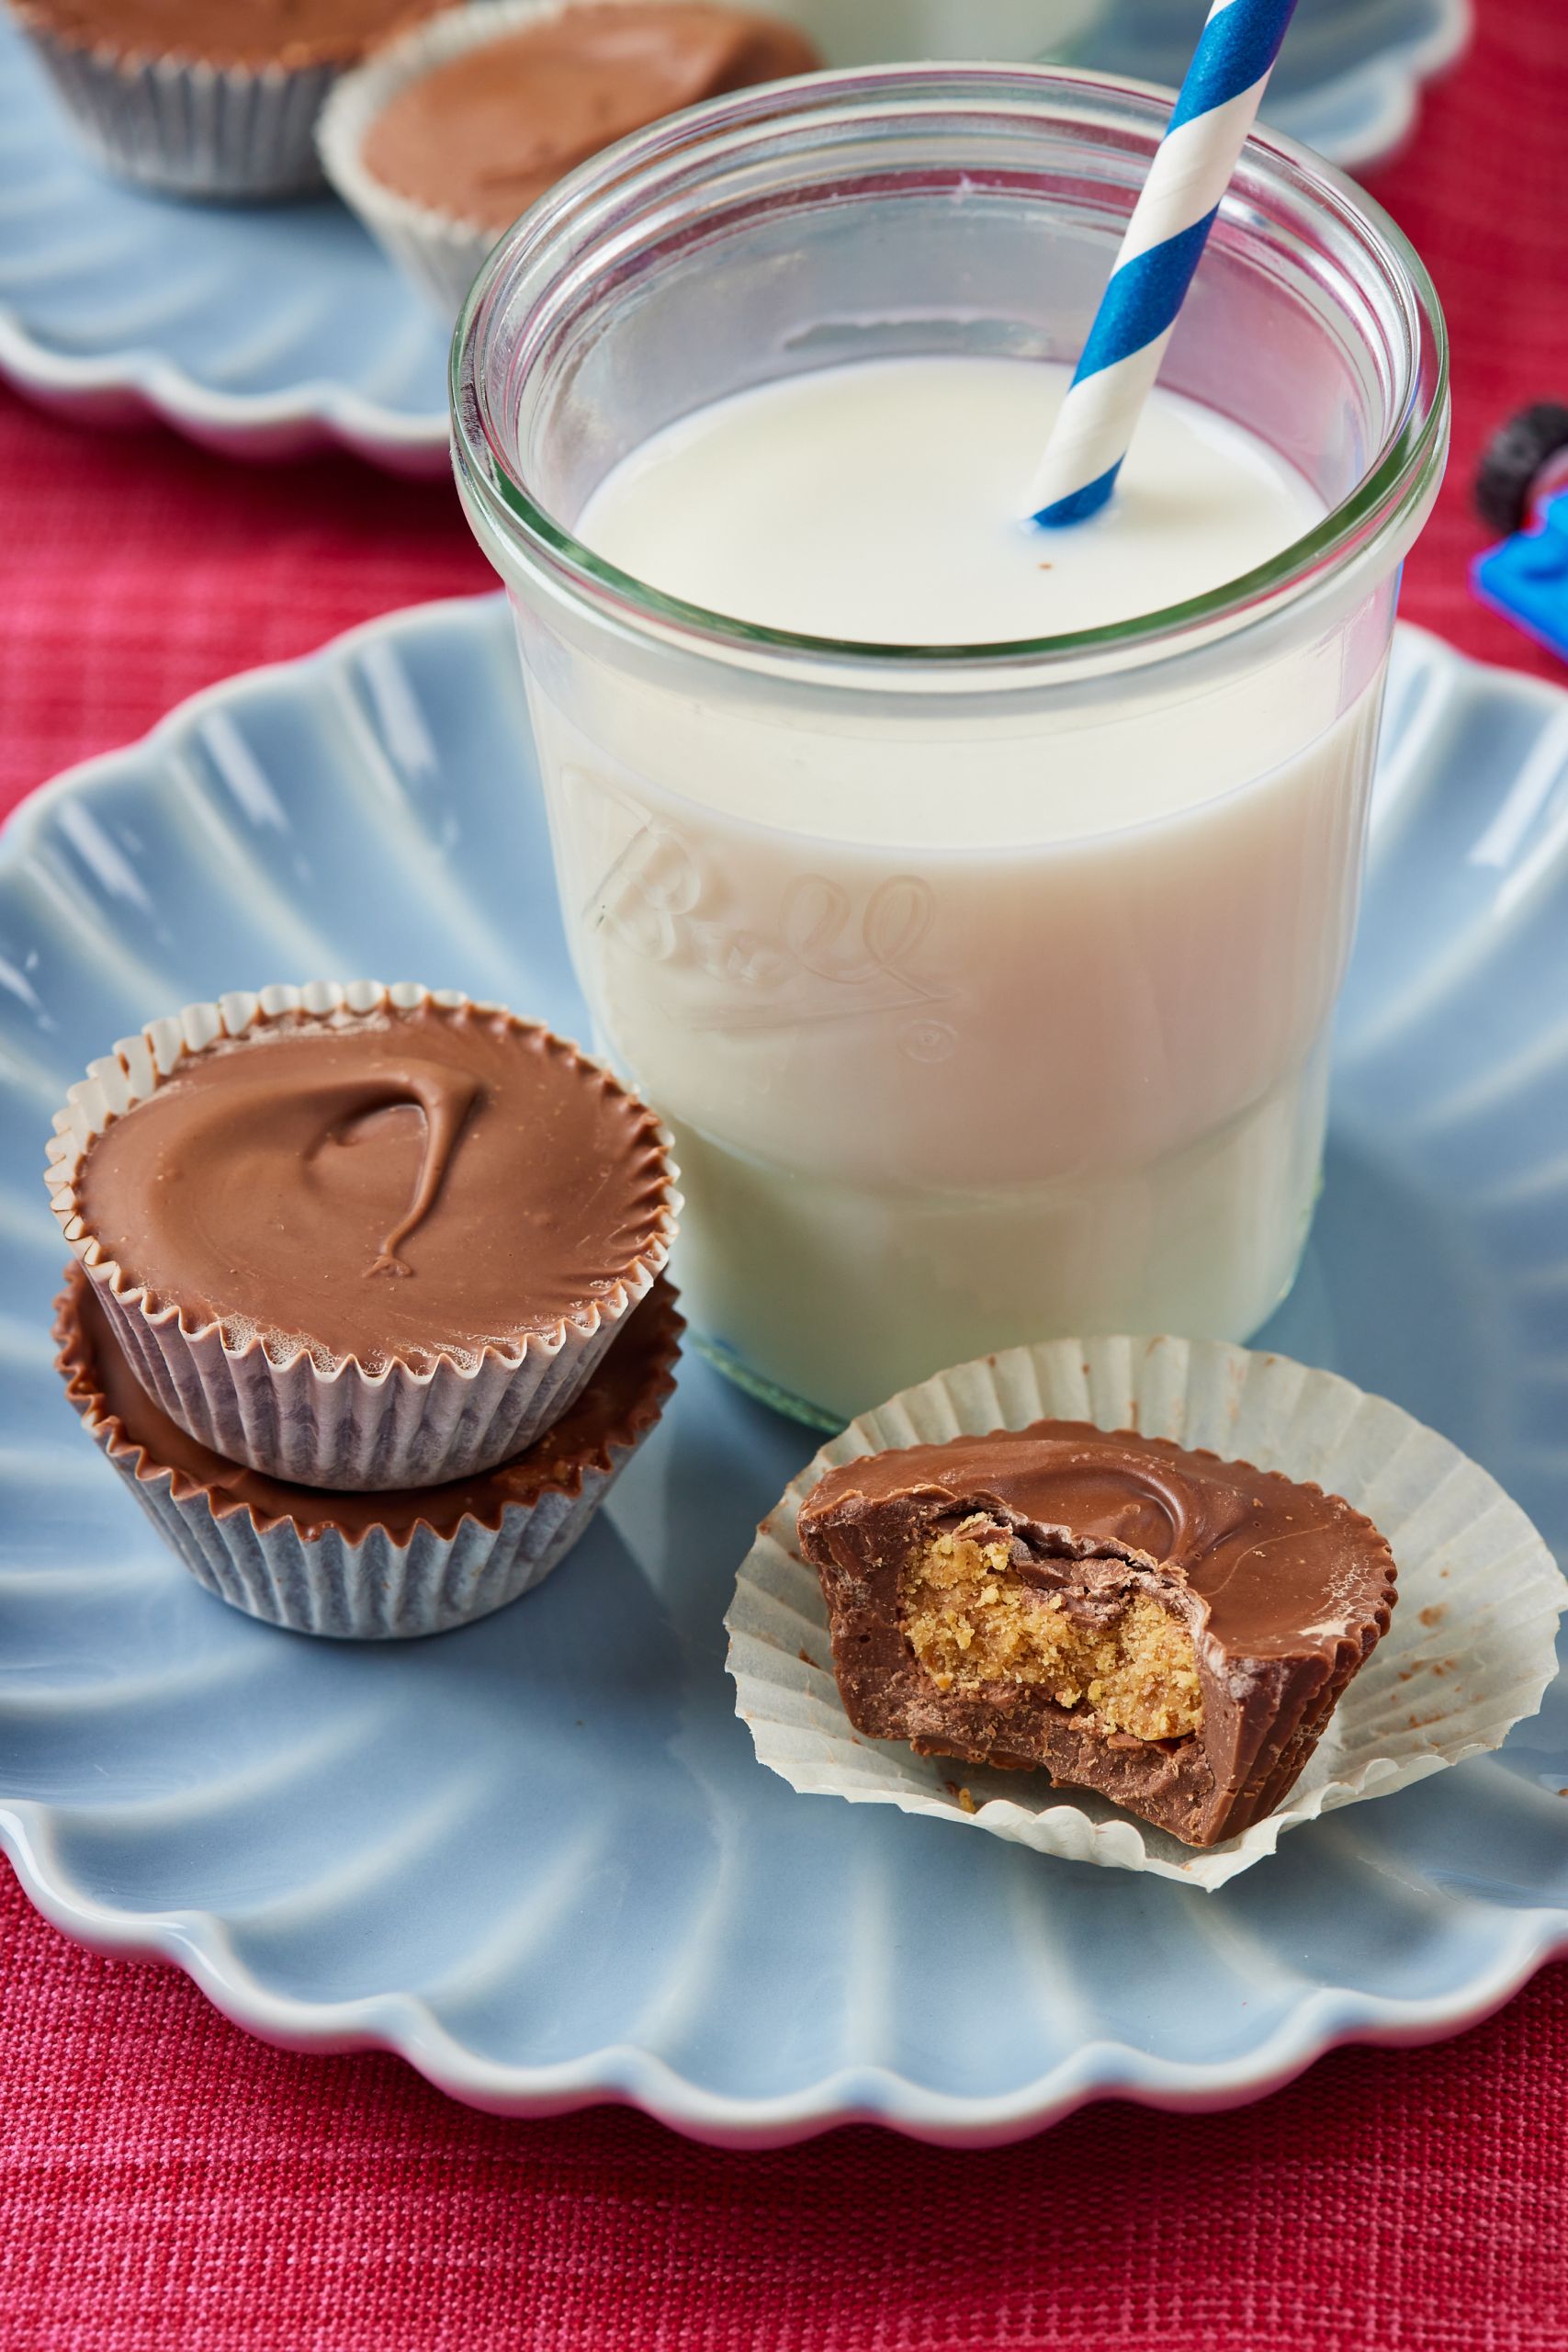
WHY YOU’LL LOVE THIS RECIPE: Once you make my irresistible Homemade Reese’s Peanut Butter Cups, you may never reach for that famous orange wrapper again! This ingenious recipe yields 20 candies bursting with chocolate peanut butter flavor. If you are a fan of store-bought peanut butter cups, try this easy, all-natural version for a healthier treat that’s even better than the original!
- Tastier and better for you! Quality ingredients like milk chocolate, natural peanut butter, and maple syrup give this candy a deeper flavor than factory-made candy, and my version has less sugar.
- Only five ingredients: You probably have most of them in your cupboard already!
- No-bake: You only need 20 minutes of prep time, and then the candies chill in the fridge for an hour.
- Easy to make your way! Change up the chocolate, use a different nut filling, or even make them nut-free.
Sweet and salty goodies check all the boxes, and going for chocolate and peanut butter is always a good move! If these amazing candies have you craving more desserts with this classic pairing, you have to try my Ultimate Chocolate Peanut Butter Brownies, Single Serve Chocolate Peanut Butter Cheesecake, Chocolate Peanut Butter Vegan Fudge, and Unbeatable Chocolate Peanut Butter Cookies!
Table of Contents
What are Homemade Reese’s Peanut Butter Cups?
- Homemade Reese’s Peanut Butter Cups are a DIY version of the famous peanut butter-filled chocolate candy. In my version of Reese’s miniatures, milk chocolate surrounds a mixture of maple syrup-sweetened natural peanut butter and almond flour.
- Because these homemade peanut butter cups are made in a mini-muffin tin, you get a bigger batch of candy, and they keep for up to three weeks. You can easily double or triple this recipe—the cups are perfect for the lunch box, snacks, party favors (bonus—they’re gluten-free), and Valentine’s Day!
- Harry Burnett Reese left the Hershey company to go out on his own as a candy maker. After some false starts with other chocolate-covered treats, he created a winner with his Hershey-brand chocolate cups filled with peanut butter. Hershey’s eventually acquired Reese’s business, and Reese’s Peanut Butter Cups remain a worldwide favorite.
Key Ingredients and Why
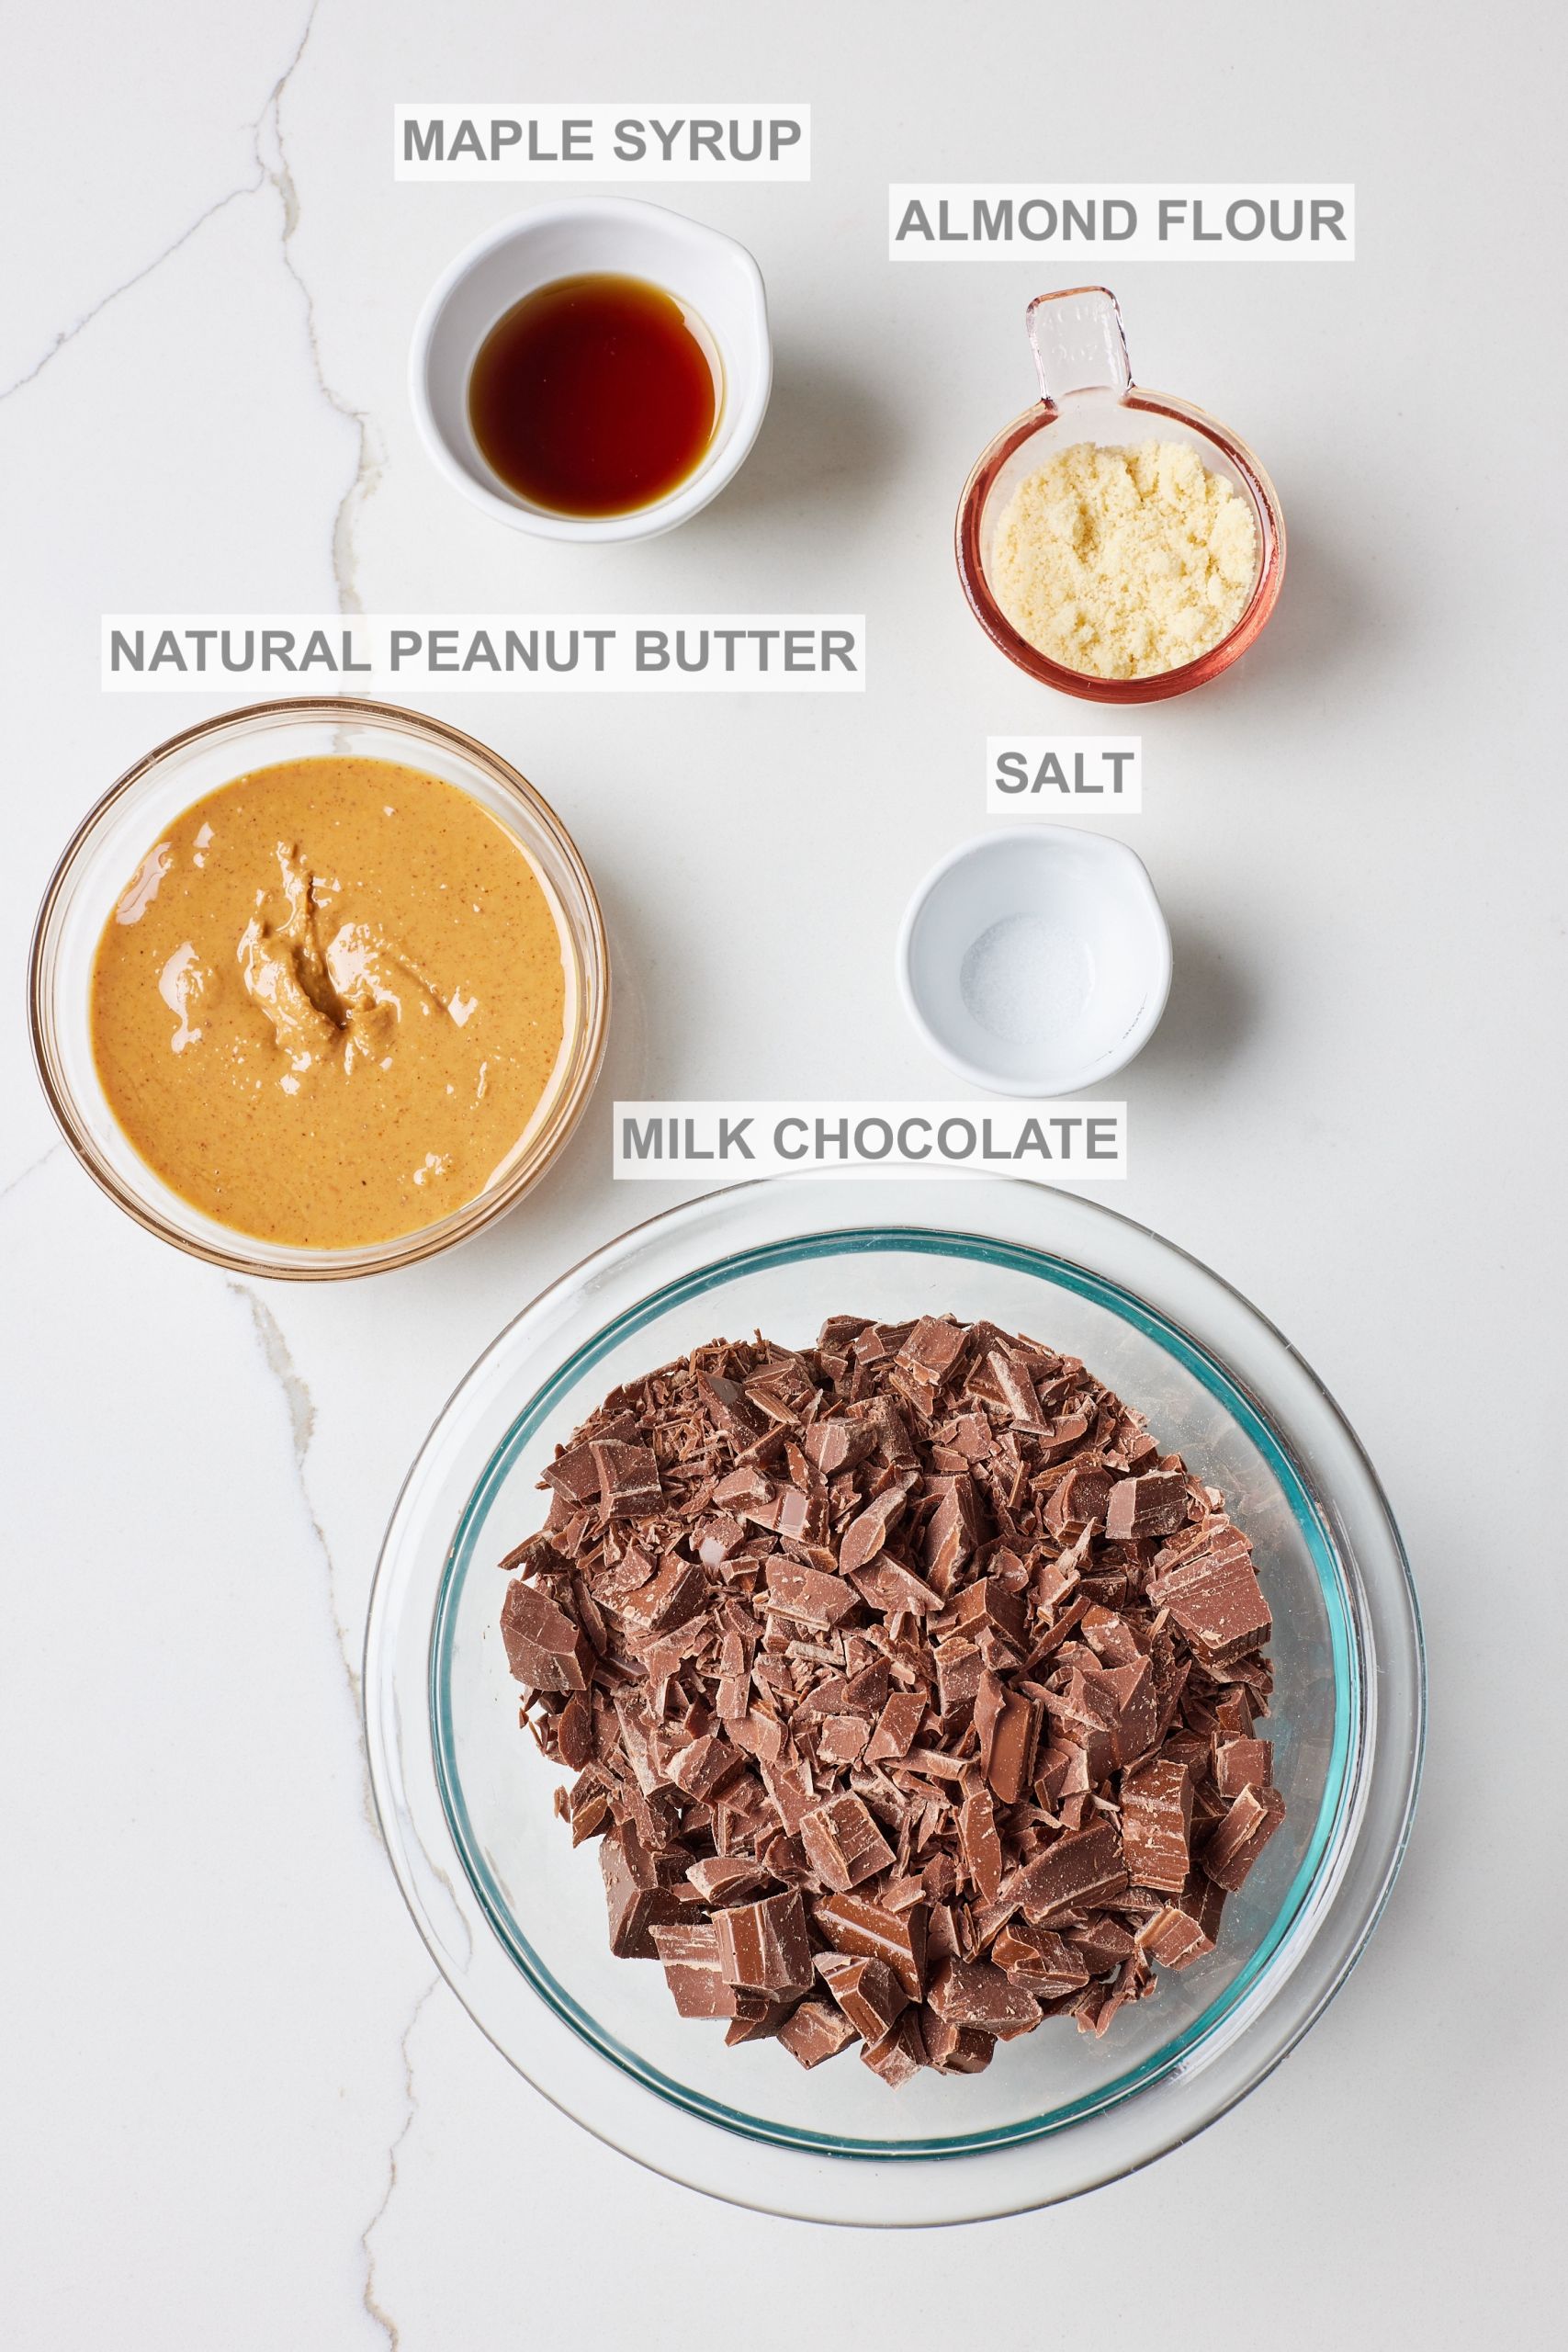
Milk chocolate
- Milk chocolate, with its mild, sweet taste, is the perfect contrast to salty peanut butter.
- Additionally, milk chocolate has a creamy consistency, giving the cups a softer, easy-to-bite texture.
- Substitutions:
- If you prefer your chocolate less sweet, go for a bittersweet, dark, or semisweet variety.
- Note that the texture of the cups might be slightly harder if you use these types of chocolate.
- If you’re looking for a result more like the Reese’s Peanut Butter Cup recipe, use milk chocolate.
Natural peanut butter
- Natural peanut butter has superior peanut flavor and no added sugar.
- Importantly, natural peanut butter has a smooth texture without artificial stabilizers.
- Substitutions:
Almond flour
- Almond flour adds thickness to the peanut butter, giving the filling more structure.
- Additionally, almond flour adds more protein to this snack.
- Almond flour also gives a touch of nutty sweetness to the filling.
- Substitutions: You don’t need to go out and buy a bag of almond flour in this recipe. If you have almonds, use my recipe to easily make almond flour!
Maple syrup
- Maple syrup adds the ideal level of natural, warm sweetness to the peanut butter filling.
- Substitutions: You can use an equal amount of honey, agave nectar, or brown rice syrup instead of the maple syrup.
Salt
- A small amount of salt enhances the other ingredients and keeps the peanut butter cups from tasting flat.
How to Make Homemade Reese’s Peanut Butter Cups
Prepare to cook
- Line a mini muffin tin with about 20 mini paper liners.
Start the chocolate cups
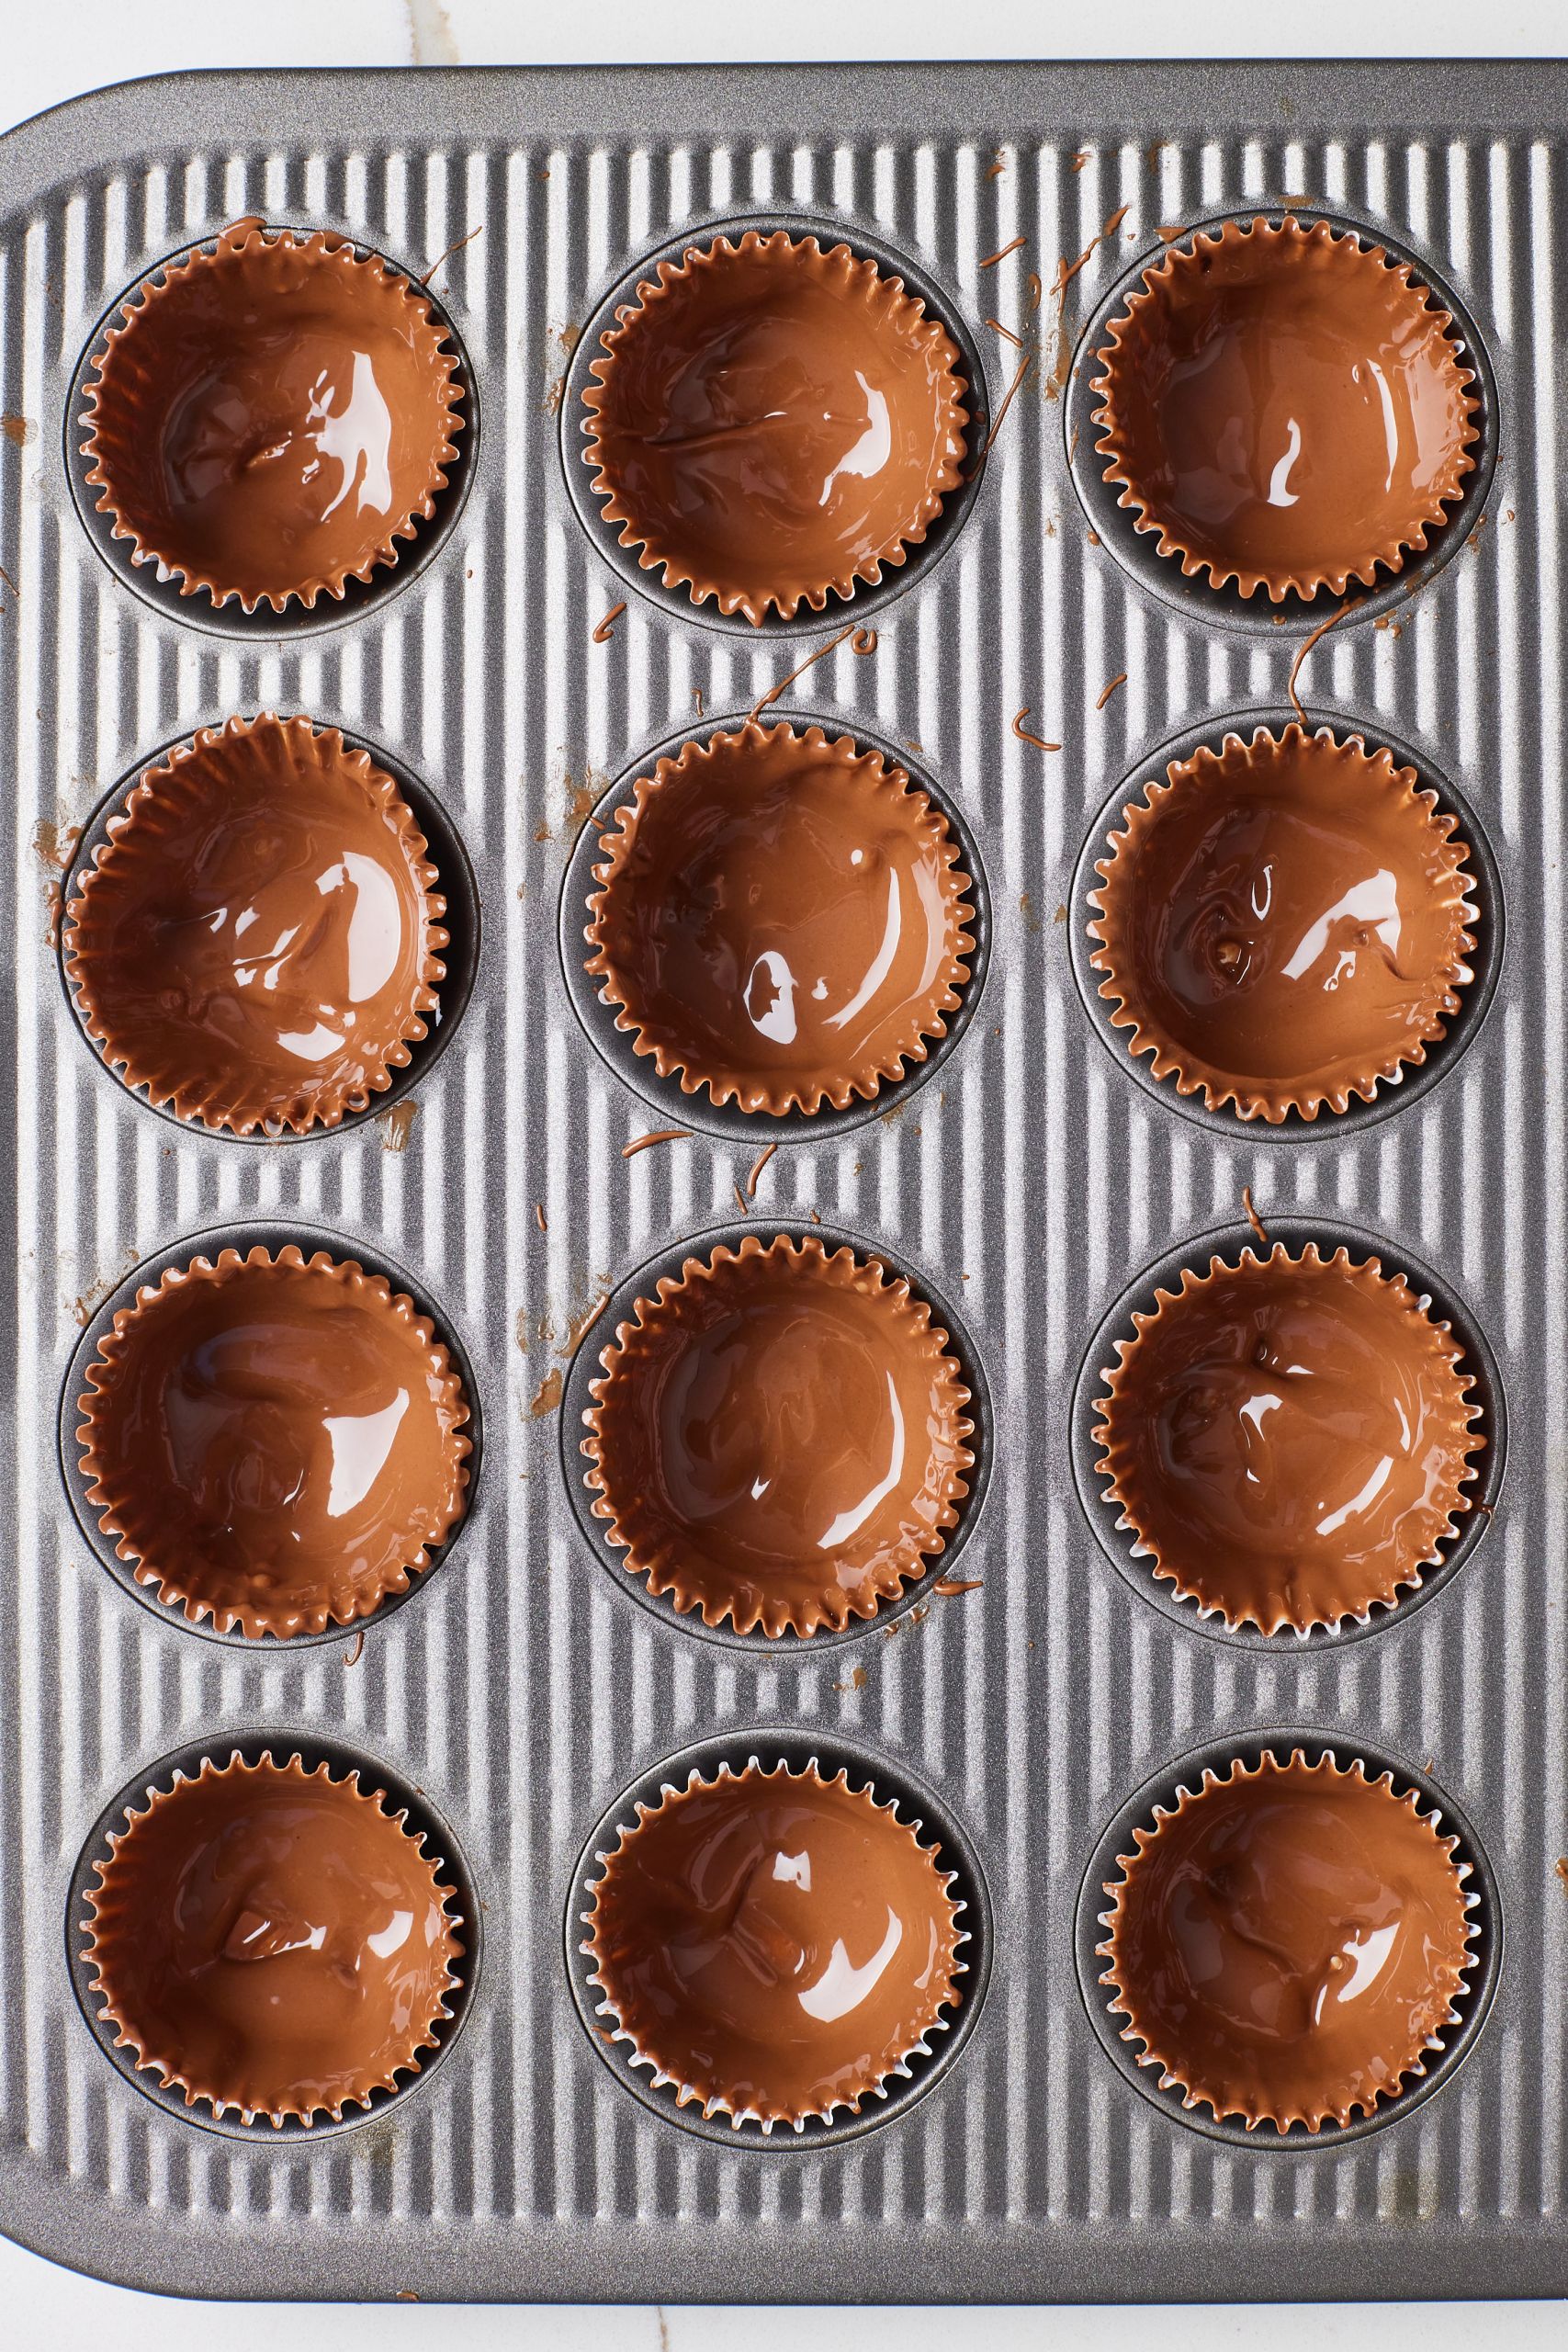
- Melt the chocolate gently over a double boiler or in the microwave for about 90 seconds or until melted. Set aside.
- Add about 2-3 teaspoons of chocolate to each liner, and, using a small spoon, spread the chocolate up the sides of the cups. Refrigerate or freeze for 10-15 minutes until set.
Make the filling
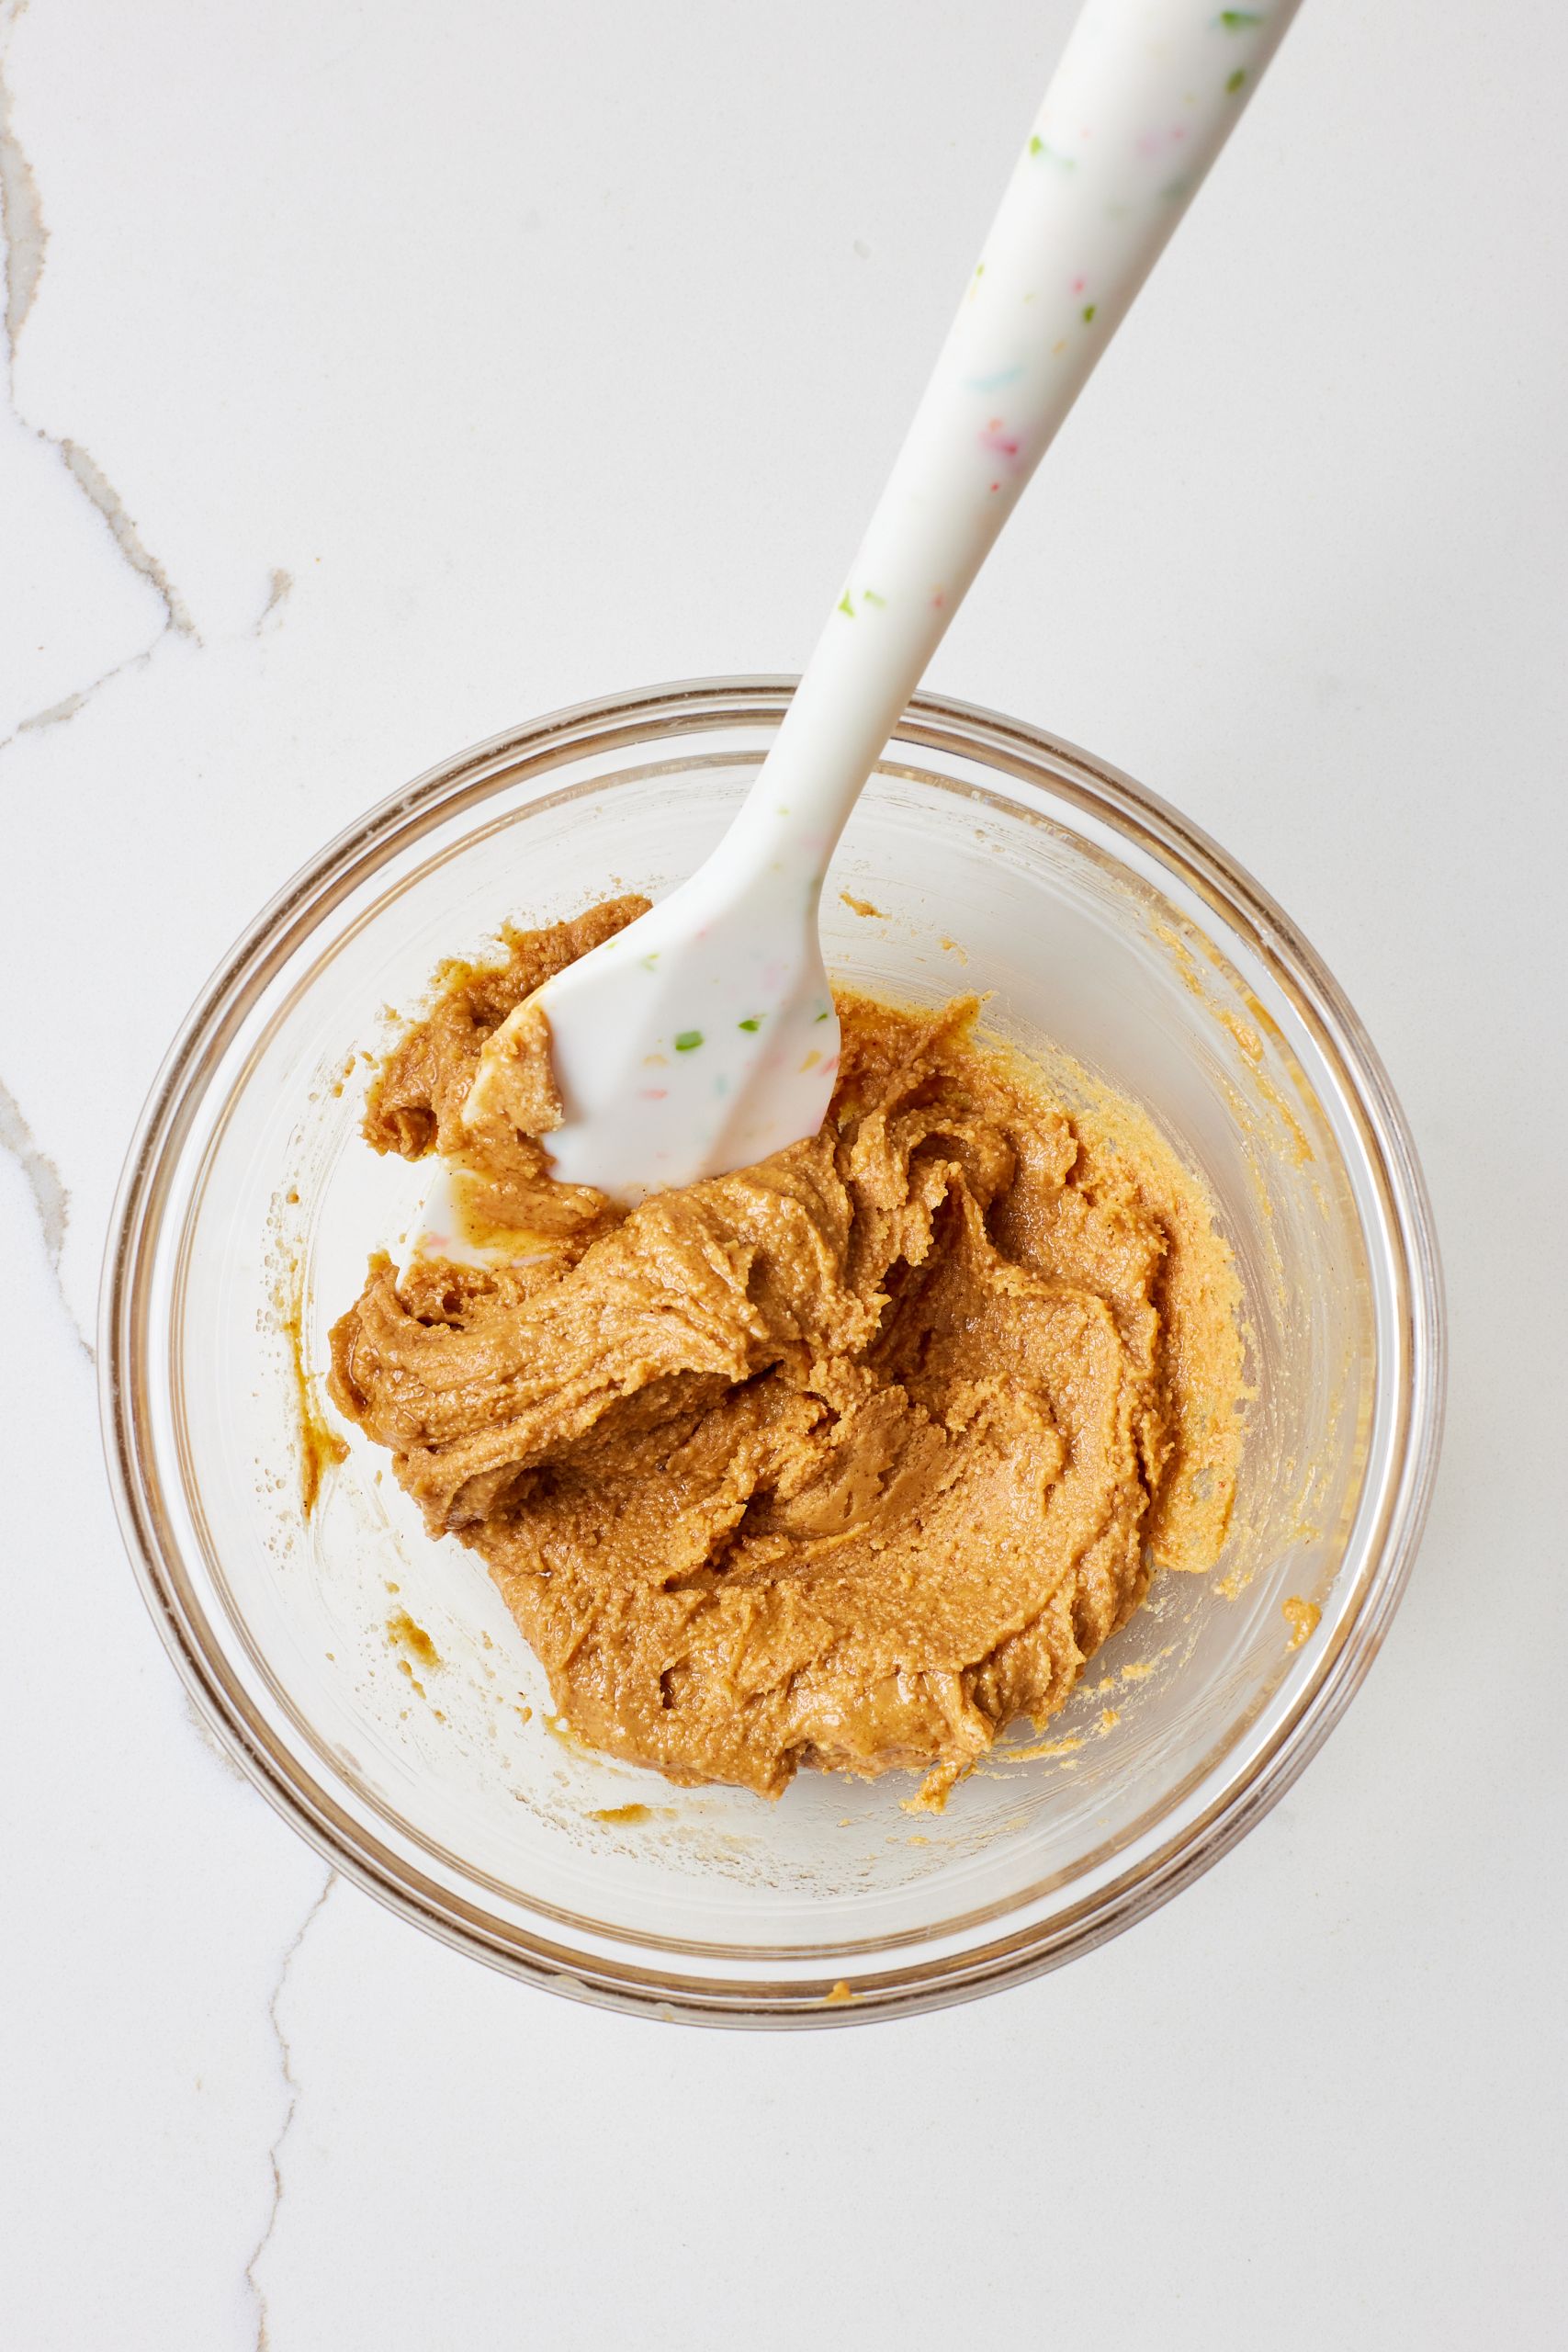
- In a small bowl, combine the peanut butter, almond flour, maple syrup, and salt until combined.
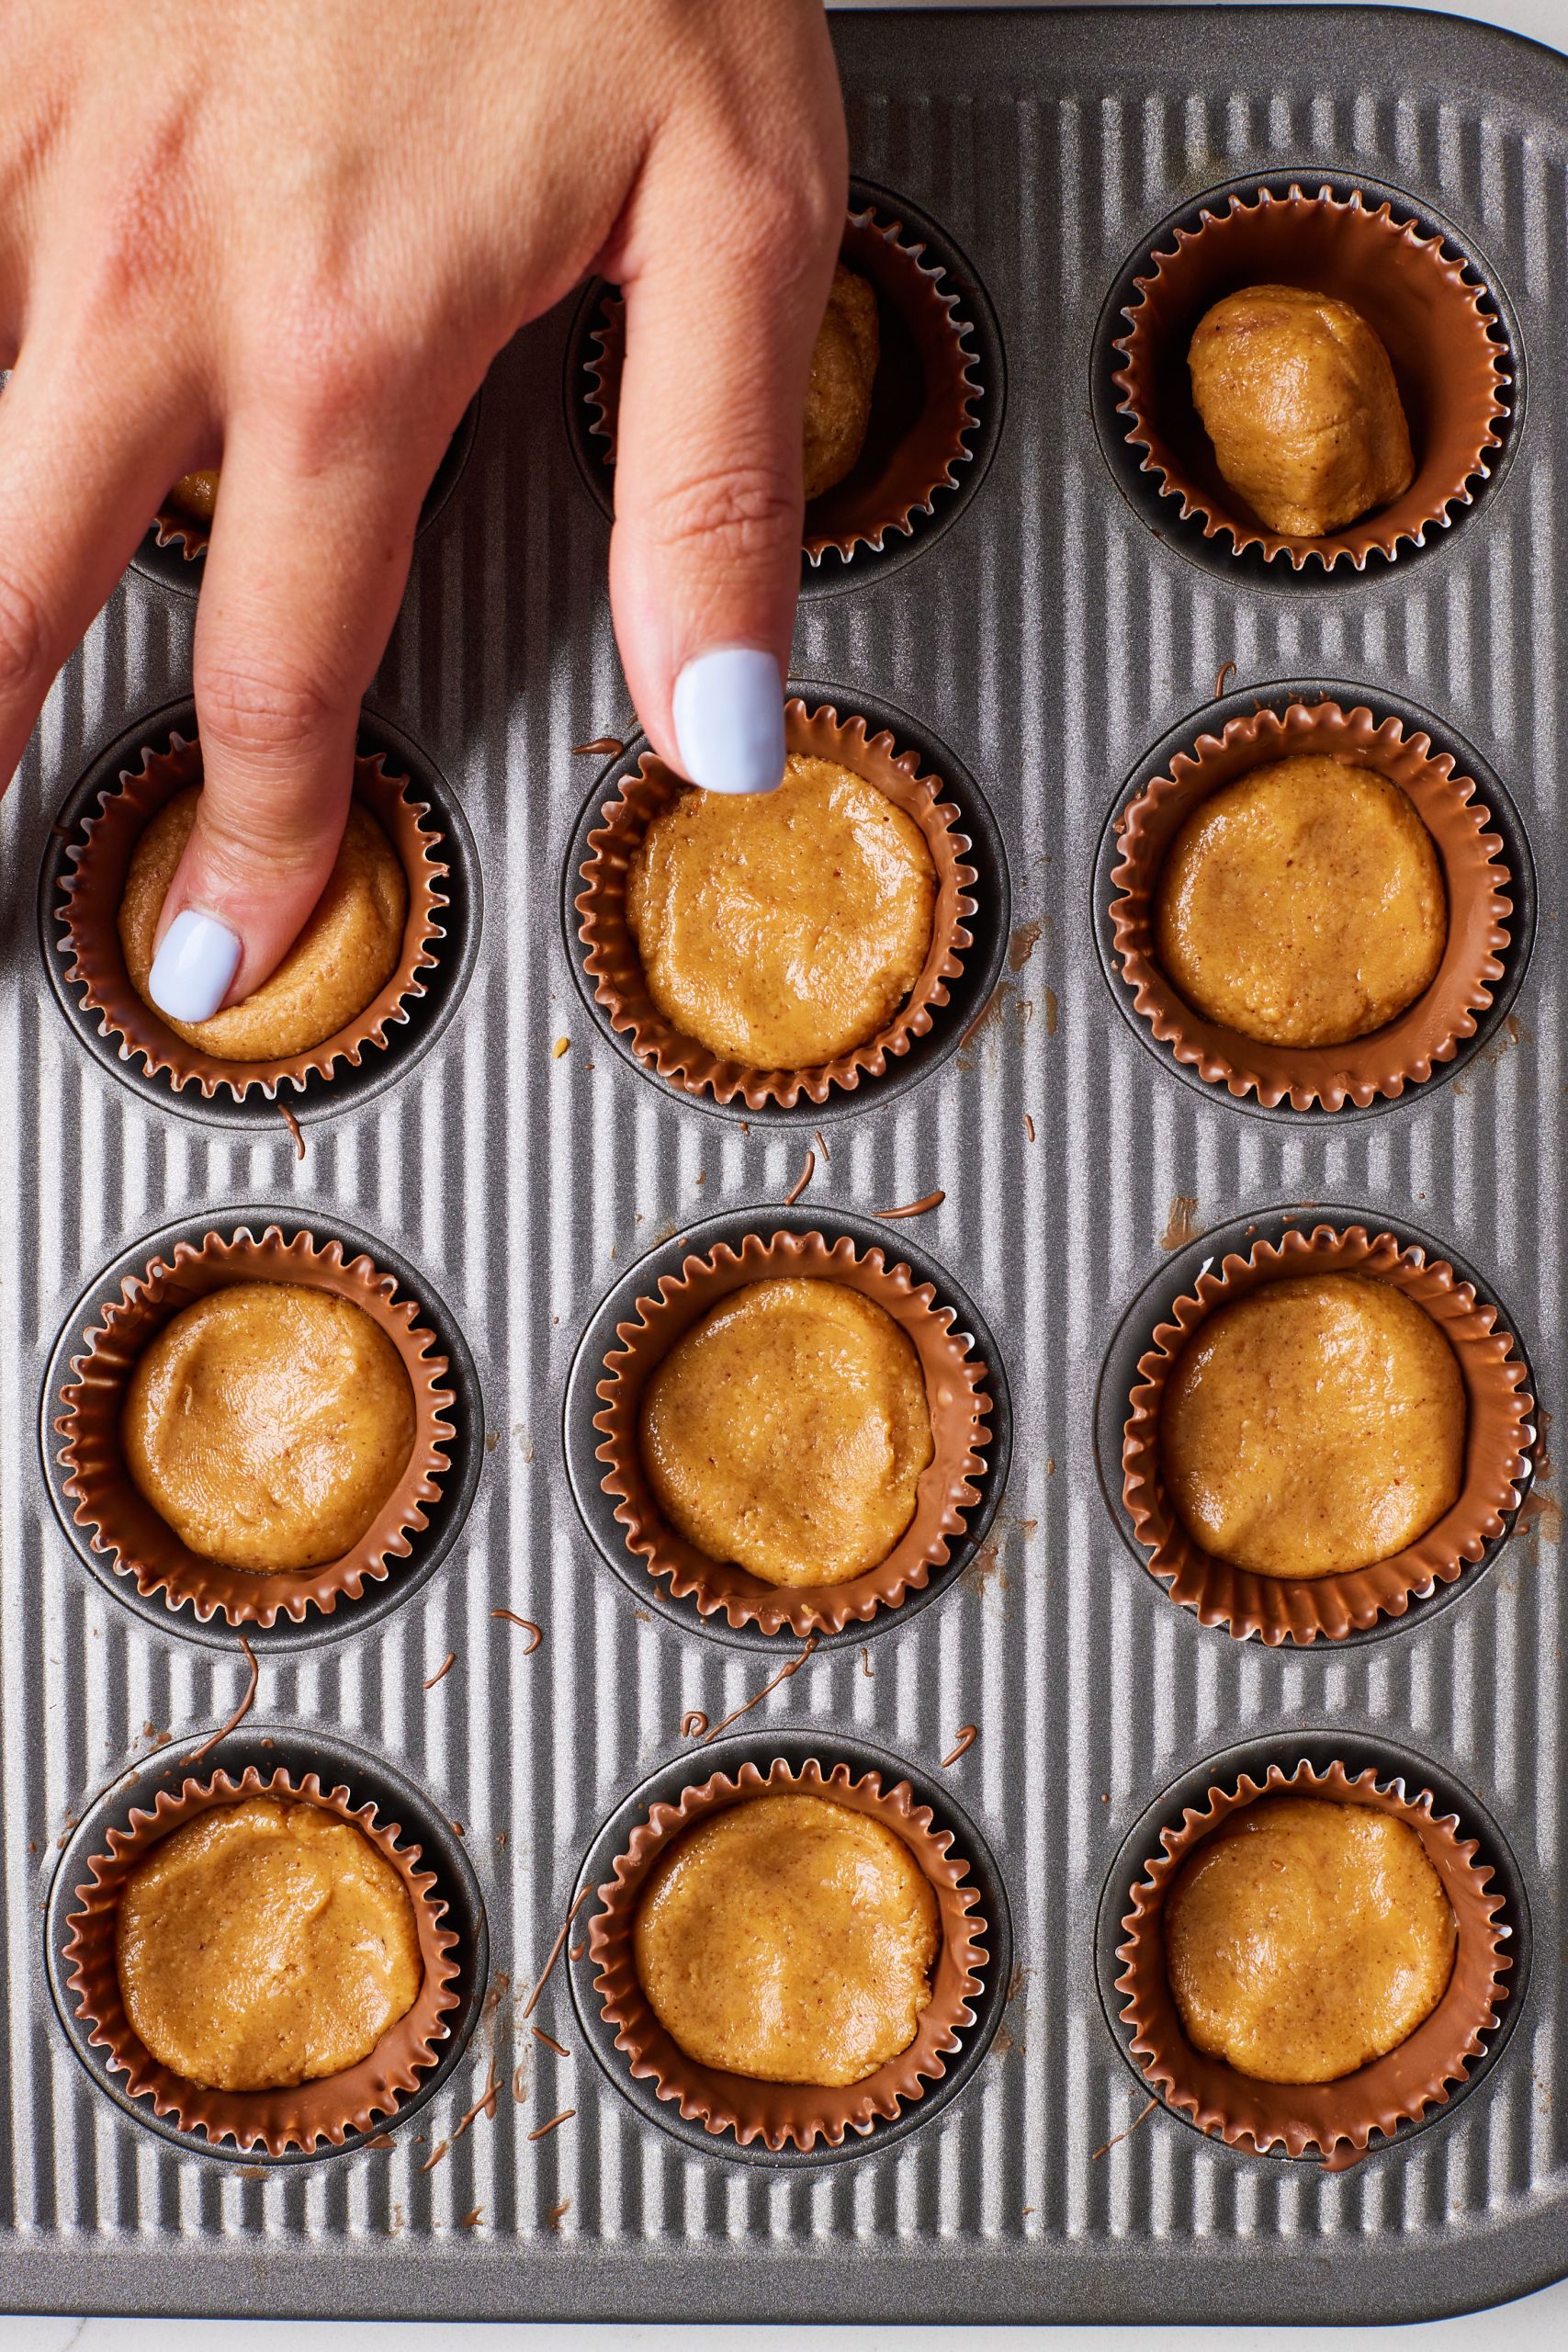
- Scoop about 1 ½-2 teaspoons of peanut butter mix into each cup. Dampen your finger and pat down the filling to create an even layer.
Finish the cups
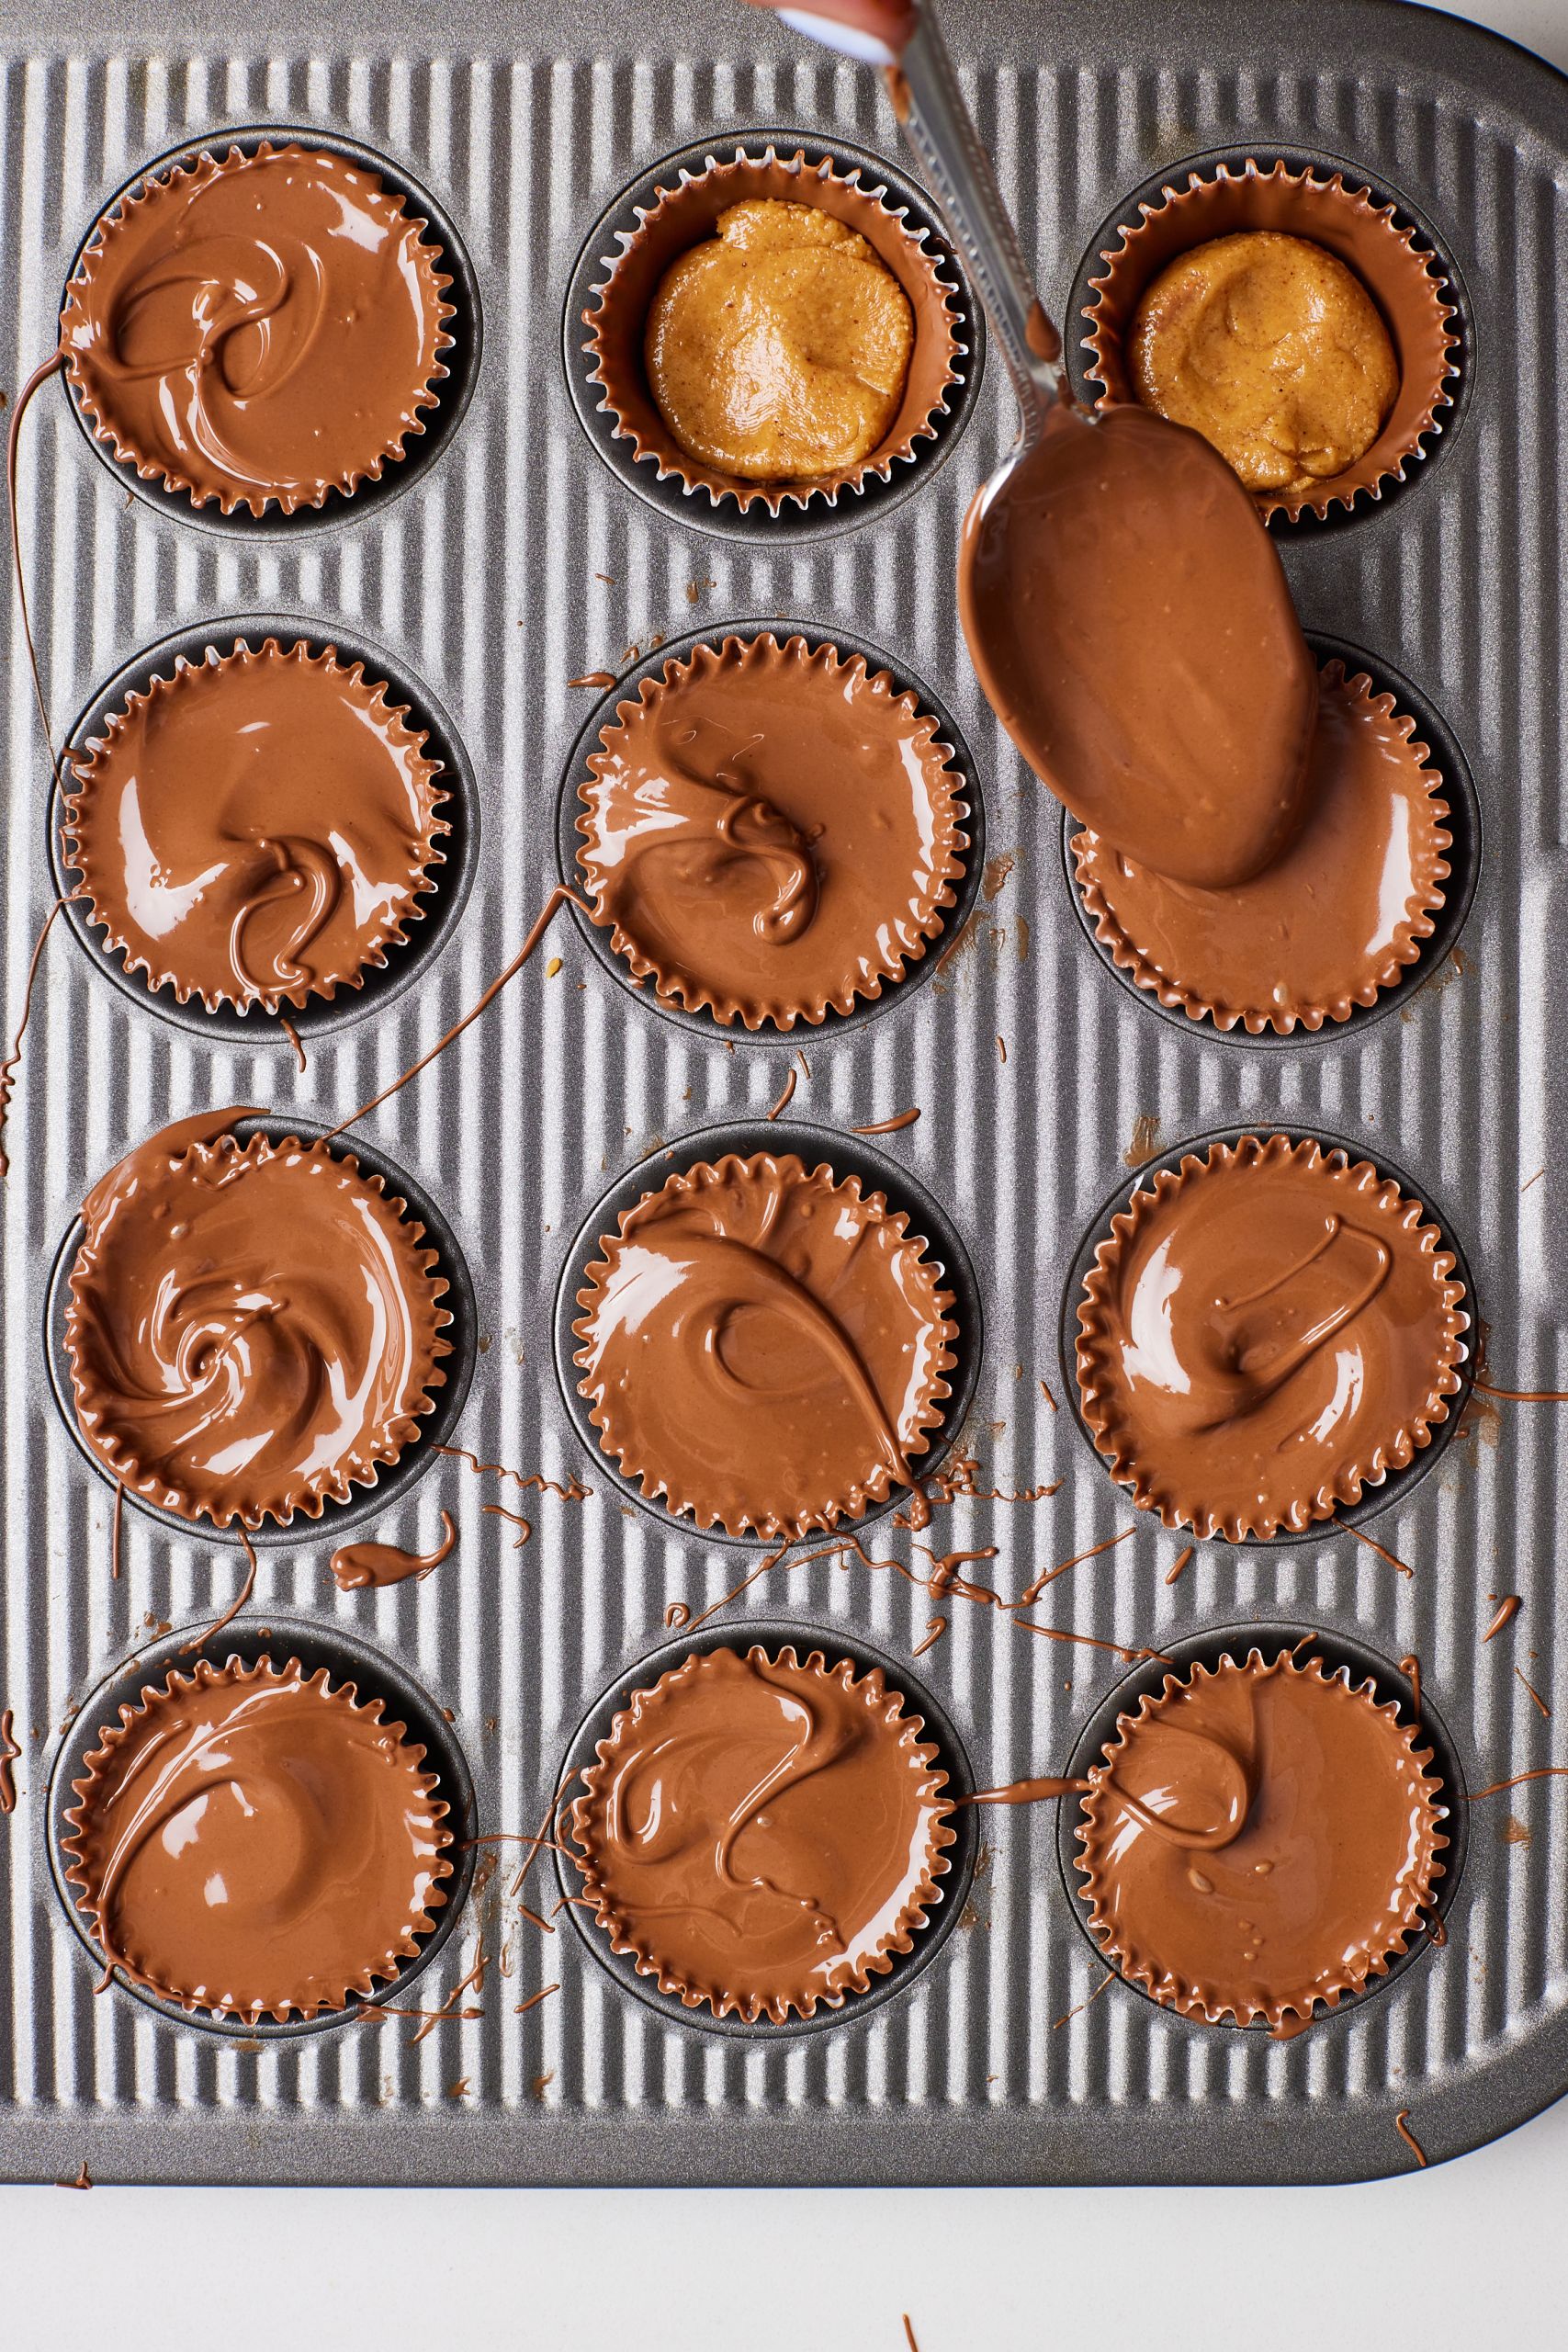
- Top each peanut butter cup with about 3 teaspoons of the remaining melted chocolate to completely cover the peanut butter. Use a spoon to smooth out the tops.
- Return to the refrigerator for about 1 hour to set, then store at room temperature in an airtight container for up to 2 days or in the fridge for up to 3 weeks.
Gemma’s Pro Chef Tips
- You can temper the chocolate to prevent it from blooming (this is the whitish surface that appears on chocolate if it is melted and not brought back into temper). Heat the chocolate gently and not completely in the microwave or double boiler, then stir to finish the melting.
- If your chocolate does bloom, it’s still safe to eat. The bloom is just cocoa butter that has migrated to the surface of the chocolate.
- For more information on how to temper chocolate, see this helpful article.
- If your liners are very thin, use two to give the cups a stable enough holder.
- When you line the paper cups with chocolate, swirl the spoon to help the chocolate spread up the sides of the liner.
- When you’ve finished putting the chocolate on top, use this trick: bang the pan on the counter a couple of times to eliminate any air bubbles and ensure a smooth top.

Make Ahead and Storage Instructions
Make ahead tip:
- If you want to do a step in advance, shape the peanut butter mixture into 1 1/2 – 2 tsp. balls, place on parchment, put into an airtight container, and refrigerate for up to 48 hours.
How to store leftovers:
- Put leftover homemade Reese’s cups in an airtight container. They’ll keep for two days at room temperature.
- For more extended storage, store in the fridge for up to three weeks.
- You can also freeze homemade peanut butter cups.
- The cups must be fully set before freezing.
- Wrap each cup individually with parchment paper or plastic wrap if you’re not planning to thaw them all at once. Then, place the cups in a freezer bag.
- Freeze for up to three months.
- When ready to enjoy, let them sit at room temperature for 15 minutes, or enjoy them frozen!
FAQs
Can I make larger cups?
- Yes, you can use a regular muffin tin and muffin cups.
- This recipe will make 8 to 10 larger cups.
Can I make these nut-free?
- Yes! You can use sunflower butter or cookie butter in place of peanut butter.
- To ensure the filling consistency is the same as the peanut butter/almond flour mixture in the original recipe, I recommend mixing 1/4 cup to 1/2 cup confectioner’s sugar with the sunflower butter or cookie butter.
What are some add-ins I can use for this recipe?
- For added texture in the filling, mix in mini chocolate chips, chopped peanuts, or crushed pretzels.
- Sprinkles on the top (do this while the chocolate is soft) make these extra festive.
- If you love the salty/sweet combination, sprinkle the top with some flaky sea salt.
- Add cinnamon to taste to the peanut butter filling.
More Favorite Candy Recipes
Watch The Recipe Video!
Reese’s Peanut Butter Cups made at home with just five ingredients—no bake, healthier, and tastier than the store-bought version!
Servings: 20 cups
Ingredients
Instructions
-
Line a mini muffin tin with about 20 mini paper liners.
-
Melt the chocolate gently over a double boiler or in the microwave for about 90 seconds or until melted. Set aside.
-
Add about 2-3 teaspoons of chocolate to each liner and using a small spoon, spread the chocolate up the sides of the cups. Refrigerate or freeze for 10-15 minutes until set.
-
In a small bowl, combine the peanut butter, almond flour, maple syrup and salt until combined.
-
Scoop about 1 ½-2 teaspoons of peanut butter mix into each cup. Dampen your finger and pat down to filling to create an even layer.
-
Top each cup with about 3 teaspoons of the remaining melted chocolate to completely cover the peanut butter. Use a spoon to smooth out the tops.
-
Return to the refrigerator for about 1 hour to set, then store at room temperature in an airtight container for up to 2 days or in the fridge for up to 3 weeks.
.

