If your boots start to rub or slip, here are three alternative ways to lace hiking boots to relieve discomfort
Back in 2014, during our first major trip, we set out on a day hike up Mount Matavanu Crater in Samoa. Kia was in a new pair of hiking boots which she hadn’t had time to properly break in. Predictably, during the descent, her boots began to rub and cause her pain.
She soldiered on, wincing regularly from pangs of pain. Predictably, by the time we got back to our lodgings, she had developed a couple of nasty blisters on her feet. In hindsight, we wish we’d known about the various types of lacing techniques we could have used to relieve her discomfort.
Kia is, of course, not alone. I’ve hiked and climbed all over the world and I’ve never been on an expedition where at least one person has not suffered some form of discomfort in their feet. Whether you’re an ultramarathoner or a trail newcomer, these tricks can be a foot saver.

Sometimes, hiking boots just need a bit longer to wear in and soften up. Other times, it can be a sign that you haven’t got the right footwear in the first place. Regardless, using these lacing techniques will provide a bit of relief in the short term.
The following lacing methods are no substitute for getting correctly fitting boots to begin with. Read our guide on how to choose hiking boots to ensure you get off to the right start. We also recommend using trekking poles to improve balance and stability and help prevent foot slippage when hiking.
How to lace hiking boots to relieve discomfort
If your boots are rubbing, slipping or causing you pain, try the following ways to lace hiking boots to find some relief.
1. Surgeon’s knot
Helps with: heel slippage
If your heel is slipping too much while hiking, it almost certainly means there’s some excess space over the top of your foot, often caused by laces loosening as you walk. To fix this, tighten your boots using surgeon’s knots, which will stay firmly in place and won’t loosen as you move.
Even if you’re not feeling any discomfort, you may like to try the surgeon’s knot as it can help prevent slippage, improve foot stability and keep your boots comfortably tight on long hikes.
- Begin lacing your hiking boots as usual, making sure the fit is snug but not too tight.
- Once you reach the hooks or a crossover eyelet where the top of your foot begins to flex, pause.
- Wrap the laces around each other twice (instead of once like a regular knot) and pull tight. This creates friction, helping lock the laces in place.
- Continue lacing by running the laces through the next set of hooks and repeat the surgeon’s knot at the next set of hooks.
- Finish lacing and tie off your boots securely as usual, ensuring a secure but comfortable fit.
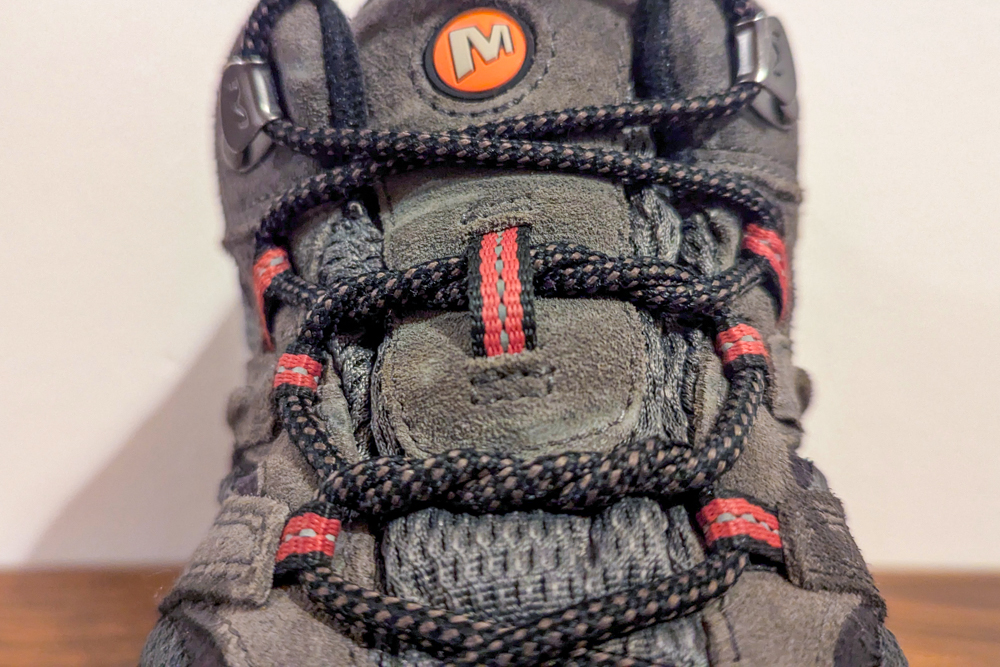
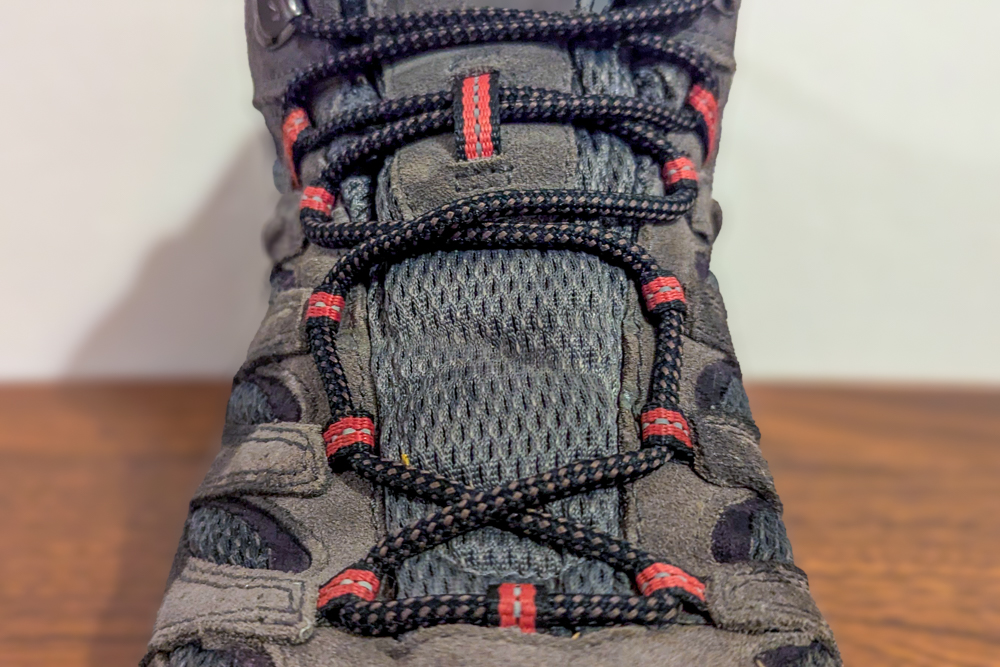
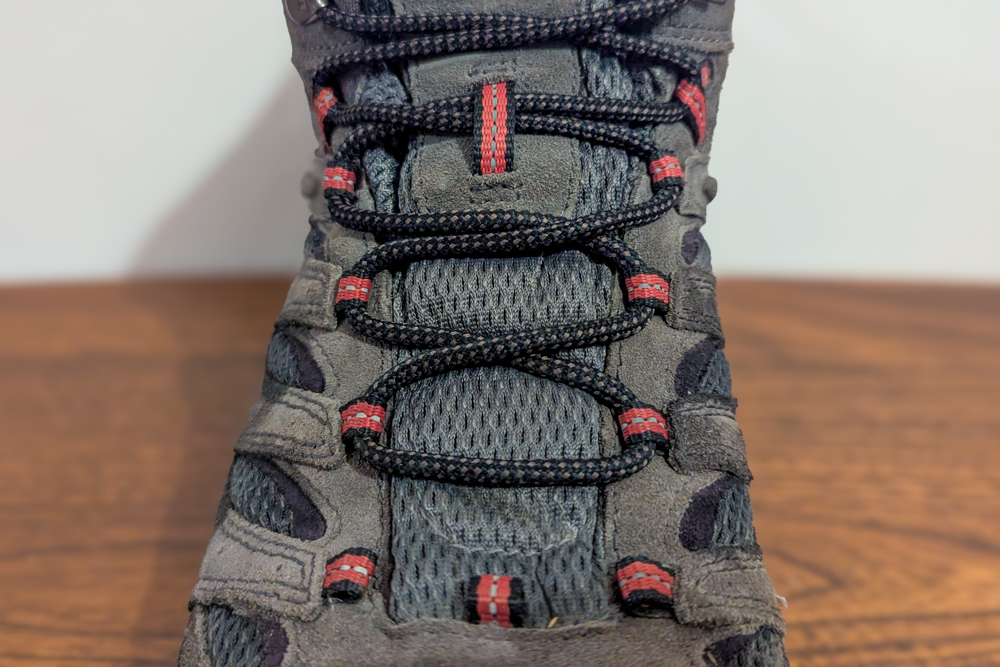
2. Window lacing
Helps with: alleviating pressure points on the top of your foot
This is a common problem with new hiking boots that is usually resolved once the boots are properly broken in. In the short term, however, even well-tied and fitted boots can create a pressure point on the top of your foot. Window lacing – or box lacing – around the pressure point can help alleviate the problem.
- Start lacing your boots as usual from the bottom, making sure they are snug but not too tight.
- Stop when you reach the area where you feel pressure or discomfort.
- Instead of crossing the laces, thread each lace vertically into the next set of eyelets on the same side.
- This creates an open space or ‘window’ that relieves pressure.
- After the window, continue lacing normally through the remaining hooks or eyelets.
3. Toe-relief lacing
Helps with: emergency relief
If you’re really suffering in your toes, then this stopgap can help you make it back to the campsite, car or trailhead. The toe-relief lacing technique helps relieve pressure on swollen or sore toes by loosening the front of the boot while maintaining a secure fit elsewhere.
- Completely remove the laces from your boots.
- Instead of crisscrossing over the forefoot, leave one or two sets of eyelets unlaced to reduce pressure on your toes.
- Continue lacing normally from the midfoot upward to secure your ankle.
Boot laces
As soon as your laces begin to show signs of wear or fraying, it is best to immediately replace them instead of waiting for them to break. It’s also worth carrying a spare set with you, especially on longer treks.
There are some quick-pull lacing systems available but personally, I’ve never found they tie as tightly and reliably as traditional laces.
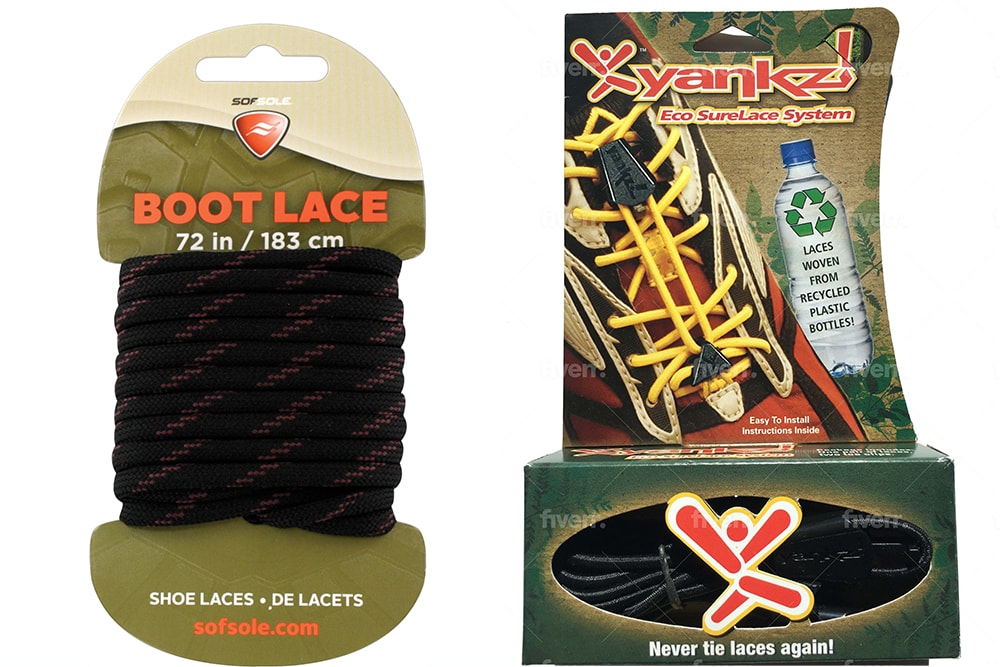
Most hiking boots come with long enough laces to try the different lacing techniques above. Laces usually come in lengths of either 122cm/42in, 152cm60in or 183cm/72in so check what size you need before you buy. It’s better to go too long than too short.
Whenever you’re hiking, we recommend carrying a Leatherman multi-tool in case you need to cut anything down such as boot lace!
Socks
Finally, good hiking boots can be let down by bad socks. Thin or trainer socks will likely rub, causing blisters and other discomforts.
It’s generally best to avoid cotton as it holds moisture next to your skin, which combined with friction causes blisters. Instead, opt for moisture-wicking fabric like polyester or wool socks such as Smartwool.
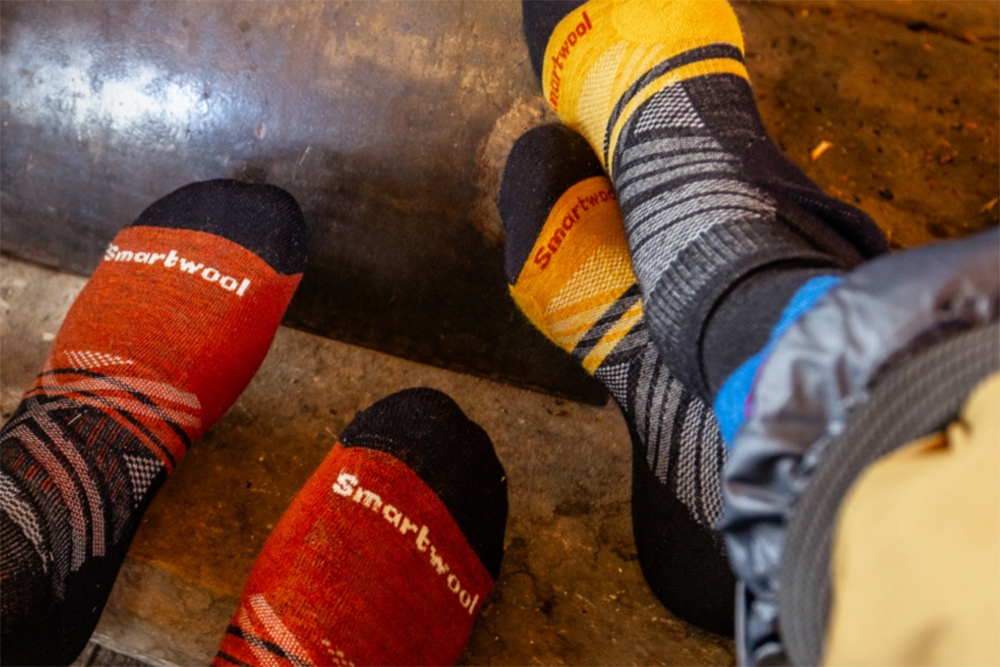
We always recommend Smartwool and are delighted with their Smartwool Performance Hike Light Cushion Panorama Crew Socks. They are warm, durable, breathable and have a special ‘stay-put’ fit for extra comfort.
Enjoyed this post? pin it for later…