Navigating the world of Pilates Reformer springs can be daunting, especially with varying color codes across different brands. This guide demystifies spring tensions, helping you optimize your workouts regardless of your equipment.
Click the button below to download your FREE downloadable Reformer Springs Guide PDF! 👇
Understanding Spring Tensions
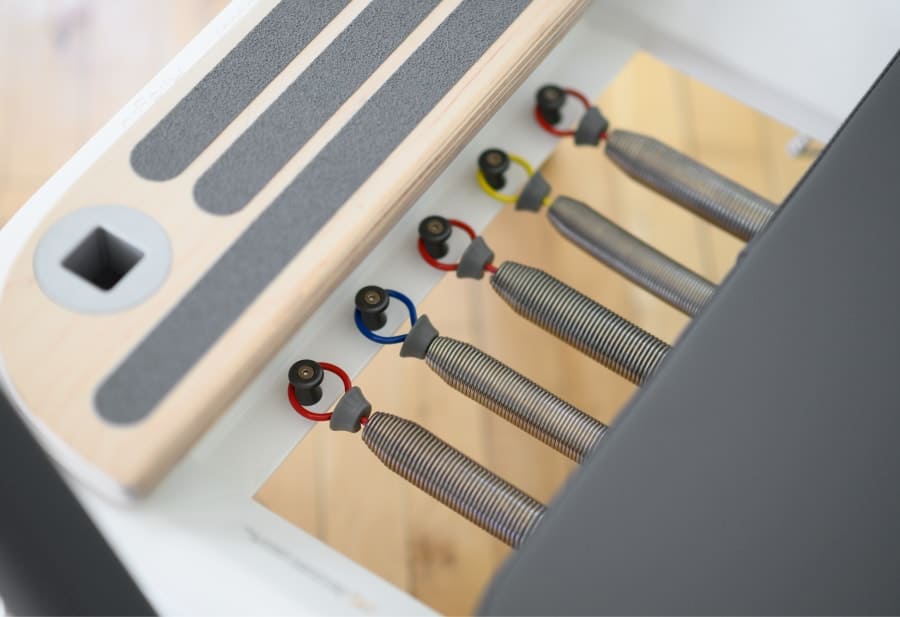
Springs on a Pilates Reformer vary widely depending on the manufacturer. Classical Reformers use springs that are all the same resistance, whereas contemporary Reformer springs vary in spring resistance. Heavier springs don’t always equate to a more strenuous workout. In many exercises, lighter springs demand greater control and stability.
Understanding Spring Colors Across Brands
| Classical Reformer* (Gratz® , etc.) | Balanced Body® | Peak Pilates® | Merrithew® (STOTT®) | Flexia™ | BASI® | AeroPilates® |
|---|---|---|---|---|---|---|
| All 4 Springs = Heavy | Green = Heavy Red = Medium Blue = Light Yellow=X-Light |
Red = Heavy Yellow=Med Blue = Light |
Black = X-Heavy Red = Heavy Blue = Medium White = Light |
Black = Heavy Blue = Medium Orange = Light White = X-Light |
Red = Heavy Blue = Med Yellow = Light *Gears also affect tension |
Red = Heavy Black = Medium Yellow = Light |
| 4 Springs | 1 Green 2 Red OR 1 Gray if avail |
2 Yellow 2 Red OR all 5 springs for challenge |
1 Red 1 Black |
2 Blue 1 Black OR 1 Blue 1 Black 1 Orange |
3 Red 1 Blue (or 1 Yellow) OR 2 Red 1 Yellow 1 Blue |
4-5 Black Cords |
| 3 Springs | 1 Green 1 Red OR 2 Red |
2 Yellow 1 Red OR 1 Blue 1 Yellow 1 Red |
1 Red 1 Blue OR 2 White + 1 Red |
2 Blue 1 Orange |
1 Red 1 Blue 1 Yellow |
3 Black Cords |
| 2 Springs | 1 Green OR 1 Red + 1 Blue |
1 Yellow 1 Red OR 2 Yellow |
1 Red OR 1 Blue + 1 White |
1 Blue OR 1 Orange 1 White |
1 Red +1 Blue OR + 2 Blue |
2 Black Cords |
| 1 Spring | 1 Red OR 1 Blue |
1 Yellow OR 1 Blue |
1 Blue OR 1 White |
1 White OR 1 Orange |
1 Blue OR 1 Yellow |
1 Black Cord |
*Classical Reformers include: Gratz®, Techno®, Legacy®, Pilates Designs®, Contrology®, etc.
Note: If you feel very compressed it’s too heavy. If you feel out of control, it’s too light.
*Pilatesology uses Classical Reformers, the brand we recommend is Gratz®.
👉 Click here to download & print your FREE Springs guide! 👈
Set Up Your Reformer: Footbar, Gears & Straps/Ropes
The purpose of multiple gears and footbar settings is to adjust for different body heights and to make the tension lighter for some advanced exercises like Front Balance Control.
1. For Reformers that have rope risers: move the ropes to the bottom for classical workouts. Use the short loops for hands and long loops for legs, except for Short Spine.
2. To find your gear/footbar setting: Lie down on the carriage with feet on the footbar, your hip angle should be around 90 degrees or slightly more with toes on the bar with heels lifted.
For height between 5’3”/161cm and 6’4”/195cm:
• Use the standard gear setting to achieve a 90 degree hip angle. (On a classical Reformer standard is: 1st Gear, the gear closest to the footbar.)
• If footbar is adjustable, try a setting that brings it closer to the carriage
For height under 5’3”/161cm – Move the carriage closer to the footbar:
• Use the gear closest to the footbar. The goal is to get the hip angle near 90 degrees
• If the footbar is adjustable, try a setting that brings it closer to the carriage
For Reformers with adjustable ropes/straps, after setting the gear for a 90 degree hip angle, set the rope so the ends (not including handles or grommets) are 1.5”/3.81cm past the front of the shoulder block. Or when lying face up holding the handles with arms straight to the ceiling, the rope is lightly taught without engaging the spring
• A spacer box or block can be used in front of the shoulder blocks to shorten the carriage and allow the student to reach the footbar or blocks with the arms
• For the Short Box series: place the short box in front of the shoulder blocks instead of over them to bring the student closer to the footbar so feet can go under the footstrap. Be careful to ensure it is secure when getting on and off
For height over 6’4”/195cm – Move the carriage away from the footbar:
• Use a gear farther away from the footbar with the goal of hip angle near 90 degrees
• If the footbar is adjustable, try a setting that moves it away from the carriage
• For exercises that push the carriage far from the footbar like Long Stretch, Semi-Circle or Short Spine shorten the movement to avoid hitting the back of the Reformer
• You may need to shorten the straps for a taller person to avoid them becoming slack. Lie face up on the carriage holding the handles straight up to the ceiling over the shoulders. The strap should be lightly taught without engaging the spring
• For the Short Box series you may need to place the box further away from the footbar. Be careful to ensure that it is secure
Get To Know Your Reformer Springs!
Getting to know how your Reformer springs work—and adjusting them to suit your body—can make a big difference in how effective and safe your workouts are. Be sure to check your machine’s manual, and when in doubt, ask a certified Pilates teacher to help you find the best setup for your needs.
Looking for a list of Exercises and Spring Settings? Here’s the classical Basic, Intermediate, and Advanced Reformer order!
Follow Along with Alisa Wyatt’s Reformer Springs Guide
Check out these videos on Reformer maintenance:


