

Purchasing a Camera
The Two Main Kinds of Compact Cameras
Point and Shoot Camera
Several cameras come with interchangeable lenses while others don’t. You will be able to examine the scene by way of a liquid crystal display (LCD) screen. Different cameras offer viewfinders. Point and shoot cameras are small. They’re compact and they could be brought along inside of your pocket. In comparison with SLR cameras, point and shoot cameras are less costly. Many of these cameras have a built-in macro setting that permits extreme close-up photos. Nevertheless, the caliber of pictures on compact cameras isn’t as good as that from SLR cameras. However, these cameras are also capable of taking professional-quality photos.
SLR Cameras

Vital Controls
A.) ISO Speed
The ISO speed discovers the light sensitivity of the digital sensors and the amount of “grain” on the photographs. Anytime there’s a huge amount of light such as whenever you shoot on a bright day, you ought to place the camera ISO speed to 100 to 200. But if you wish to take inside without using the flash, set the camera to ISO400, 800, 1600 or more. The higher you put the ISO speed it means the grainier your photograph is going to be. Be sure you utilize the smallest ISO speed always that will allow you to take a shot which has a shutter speed of 1/30 or perhaps faster if a tripod just sits there. Doubling-up the ISO velocity also increases the camera’s light sensitivity.
Advances in noise reduction permit cameras to obtain low-grain pictures even at greater ISO speeds, 1600 or even more. There are cameras that change the ISO pace automatically based on the light. But it’s even far better than you have control over the ISO velocity.
B.) Shooting Modes: P, A, S, M, B
You can get cameras that include extra modes. You can use the P Program or the Party mode if you don’t wish to think; A or aperture priority setting to regulate the depth of field. When in A mode, you handle the lens F-stop and therefore the deepness of field. However, do not forget to check the shutter speed. It should often be a/30 of a second or quicker if the camera is handheld. The other settings are employed generally such as the S (shutter), M (manual), and B (bulb). The S model can be employed in sports to lock faster shutter speed. The M or manual mode can be used in panoramas to secure exposure. B or bulb retains the shutter open so long as the press button is used. B mode is extremely beneficial for long exposures at night time similar to fireworks and lightning however it may require a tripod. Bis usually under the M or manual mode. If you wish to manage your camera as well as the depth of field in your photo, use the A or aperture priority mode all of the time.
C.) Exposure Meter
A lot of cameras today include several types of metering systems. Metering systems measure the light that reaches the digital sensor. You have alternatives: multi-section or also called Matrix, honeycomb or evaluative, center-weighted, and spot meter. Spot metering is used when lighting is hard or in backlit situations. Spot metering needs a good amount of skill to make use of correctly. It is recommended to fix the camera to Matrix metering often.
D.) The Histogram
This element is utilized in examining the exposure, especially in vibrant light outdoors. The chart describes the pixels and just how many in a picture are light, medium, or dark in tone. The histogram’s left side suggests complete black while the right side totals white with more advanced tones between. The histogram’s peak signifies the volume of pixels in your picture with a particular tone. When the histogram is located far on the left it means the image is probably underexposed. However, if it’s very far to the right side, the image may be overexposed. The worst thing that you can do is too much exposure simply because it can’t be fixed after. A great histogram is centered.
E.) Exposure Compensation
If the background is either very vibrant or really dark, even the top meters could be duped. A lot of digital cameras nowadays have the ability to modify the exposure by making the image lighter or making it darker over the exposure compensation button. This attribute includes a +/- mark next to it mostly. If you can’t find these kinds of signs, check the camera’s manual. Sometimes, this camera offer is hidden in navigation. In the event you push the key you may need to press another control key in order to change the exposure therefore it would be lighter + lighter or – darker. If you’re done taking the shot, do not fail to remember to reset the control key to zero.
F.) Kind of File for Saving Images
The most common type of file used in keeping images is JPG and it typically comes sizes (S, M, L). If you would like the largest file for good quality, often choose size L. In case your camera presents numerous quality configurations, choose the optimum quality often so you could simply slow up the size of any kind of image. On the other hand, a JPG file can’t always be enlarged without degrading the image.
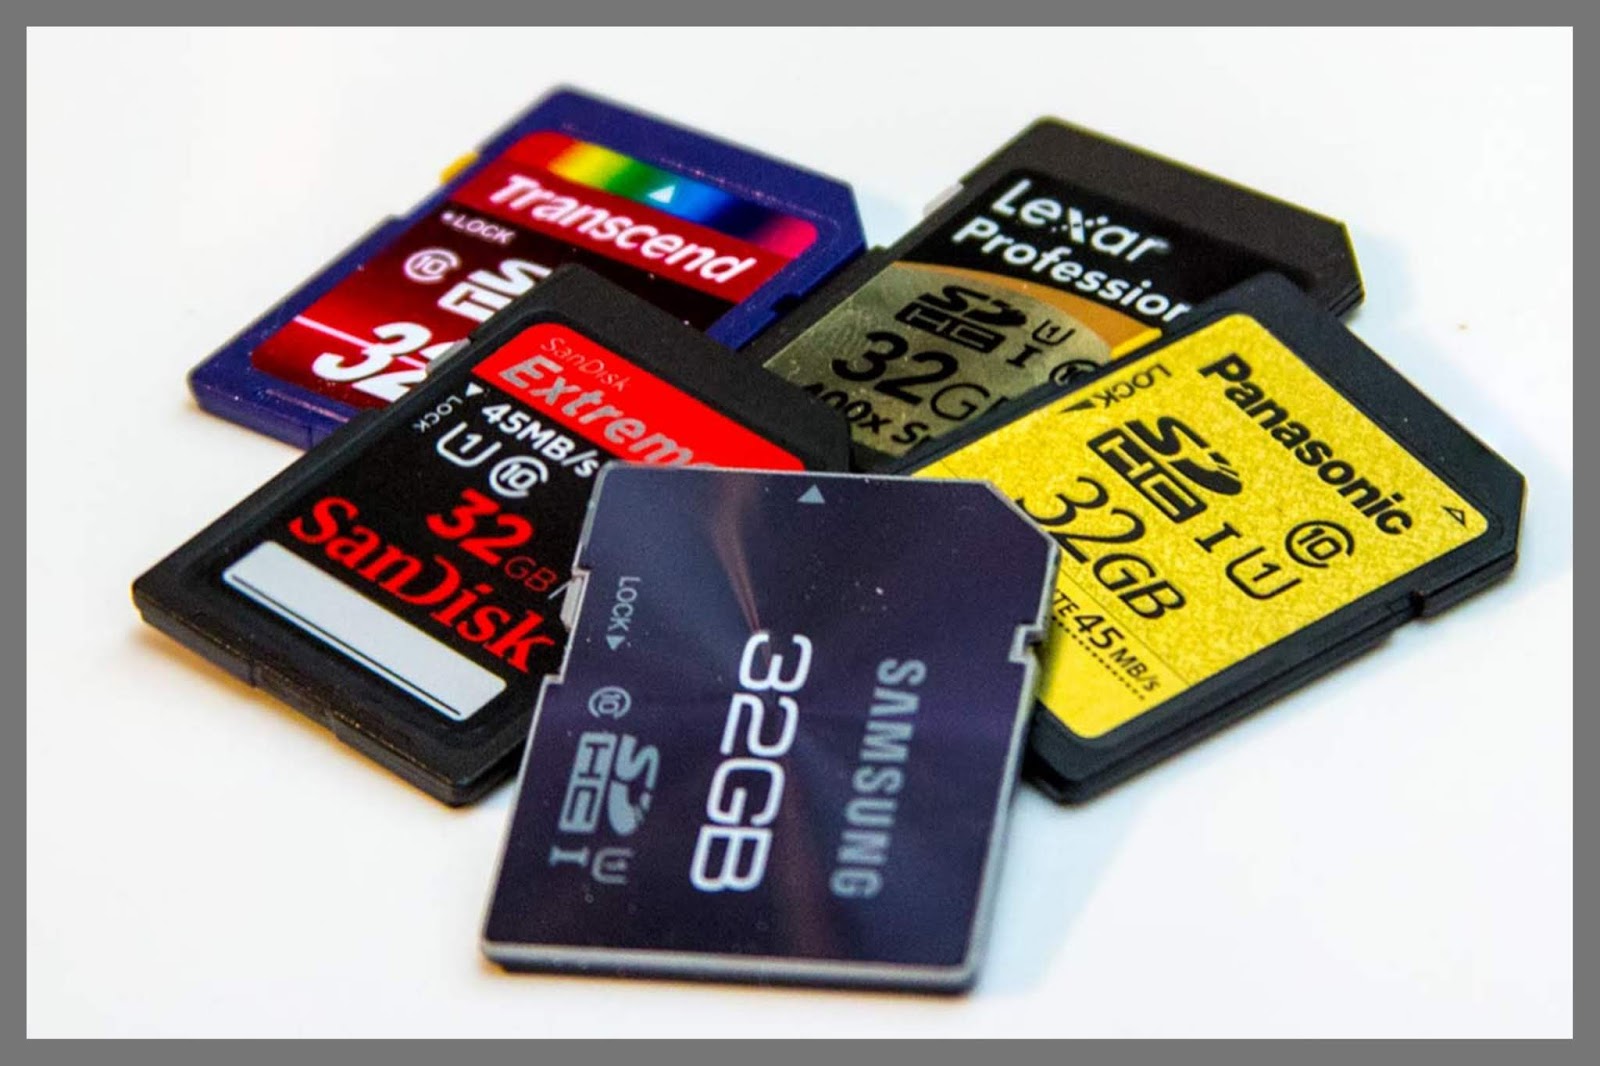
G.) Storage Cards
Storage cards can be found in various styles, sizes, memory size, and writing rates. The quantity of images that you can get with a storage card is frequently stipulated on your camera. Always have one additional card at the least. In case you are intending to shoot at a wedding or on your vacation, you probably need more storage cards. Would you like to invest in a faster storage card? There’s no need to spend on a faster card since your camera may currently have a built-in memory buffer. Faster cards are great for folks who are shooting HD video or those who are shooting plenty of images in bursts of 10 to 20.
H.) Color Space
I.) Focal Length and Lenses
The focal length is definitely the distance from the sensor to the center of the front lens element. Lenses that have 40 to 50 mm focal length have an identical view as the human eye that is the key reason why they are referred to as normal lenses. Each time when the focal length is doubled, you magnify the images 2x, 4x, or 6x. To learn the approximate magnification, simply separate the focal length of the lens by 50mm. Wide-angle lenses are lenses which have less than 40mm focal length. Wide-angle lenses are perfect to use for panoramas and interiors. If you want to look thinner in your photos, use wide-angle lenses!
In the event you don’t own wide-angle lens, then it’s still possible to take numerous overlapping photos and then stitch them totally employing Photoshop or other image editing programs to create a panorama out of them. In case you intend to have only one lens, then you should get either an 18 to 200 or 28-300 mm zoom lens. This particular lens is the best lens for most forms of photography. Macro lenses let you focus really close to your subject. Macro lenses are special lenses. Numerous zoom lenses currently have a built-in macro feature. Macro lenses could come in numerous focal lengths – 50, 100, and 200 mm. The longer the focal length of the lens, the farther you can photograph your object while still reaching a close-up image. Lots of compact cameras also offer macro mode enabling you to get really close to your subjects. Look for the flower symbol if you want to set your compact camera to macro mode.
VR (vibration reduction – Nikon) or the IS (image stabilization -Canon) lenses are lenses that minimize the vibration due to camera shake. These types of special lenses are incredibly useful whenever you’re using a telephoto lens which magnifies camera shake. VR or vibration reduction most likely are not particularly helpful for wide-angle lenses or when the camera is attached to a tripod. To get better results on a tripod, turn the IS off. If you are intending to buy a telephoto lens that offers VR, it is worth it to pay extra. You can find compact cameras that have built-in shake reduction and are generally very helpful when shooting indoors or under low light without flash. If the lens offers more than one form of VR, be sure to study the lens guide.
Thank you for reading my article about digital photography for beginners.