


Art Show Day is like the art teacher’s Super Bowl! It’s the moment when your behind-the-scenes dedication makes your students’ creativity and effort shine in the spotlight. Successful shows don’t happen overnight; they require strategic and thoughtful preparation. This is your sign to start early with a few essential tips to set yourself up for success!
Here are five must-know tips to prepare for an epic art show!
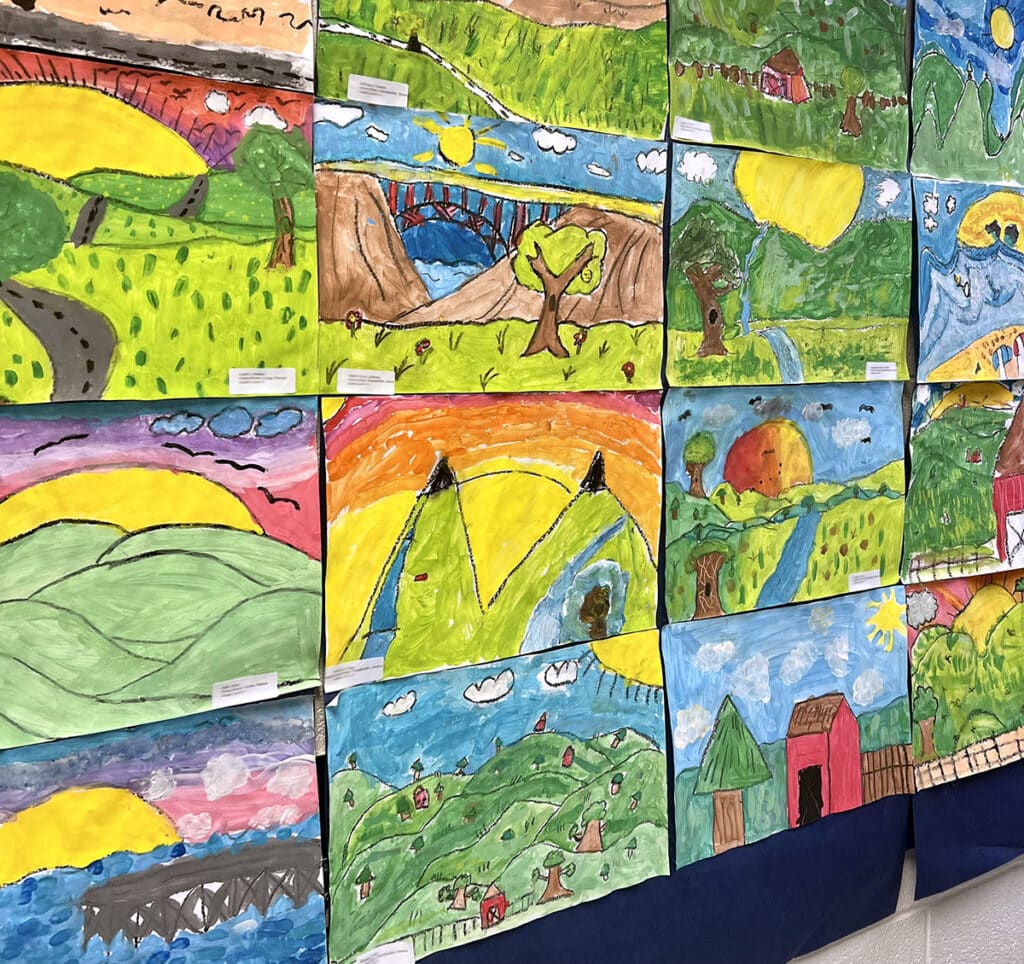
1. Choose a theme early to ensure a cohesive art show.
Gallerists often use themes to engage and immerse viewers. Bring this approach to your art show! Choosing a theme sets a strong foundation for planning and is a unifying visual thread throughout the entire show.
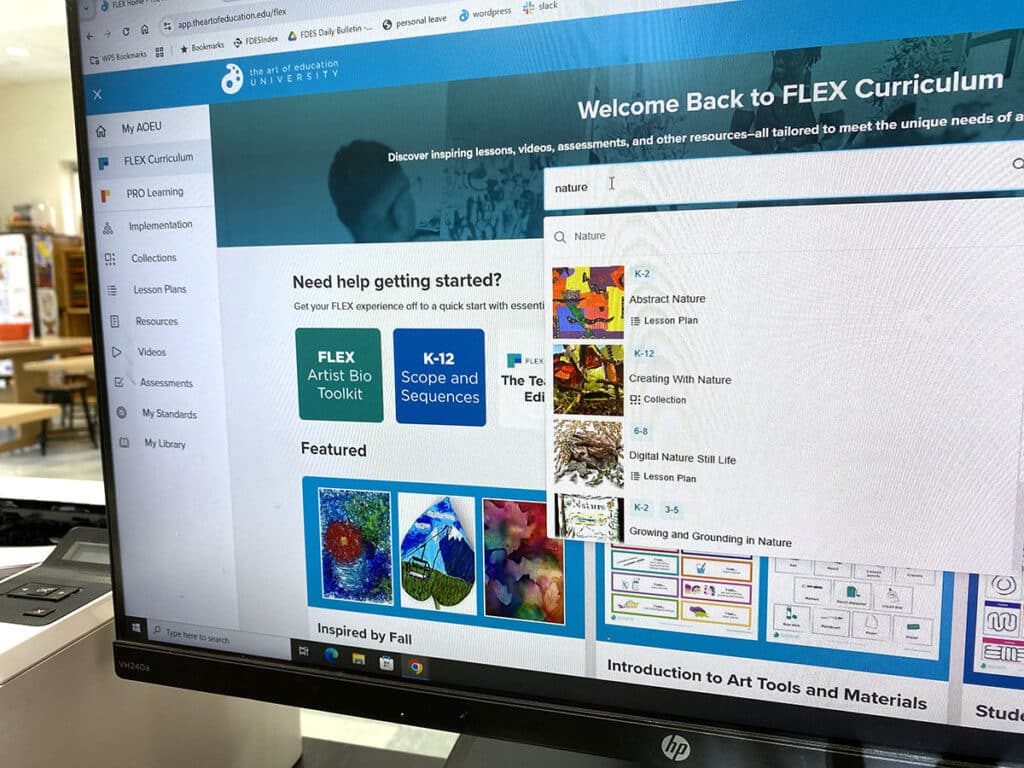
Brainstorm themes with students to boost their ownership of the show. Then, use your theme to determine what lessons you’ll teach. For example, a “nature” theme can inspire landscapes, botanical prints, and environmental sculptures. Streamline your lesson planning and have FLEX Curriculum do the heavy lifting. Use FLEX’s “search” feature to align lessons and resources to your theme. Simply type your theme in the search bar and bookmark your favorites for later. You can further organize your content by class.
If you don’t have a theme, let your curriculum and standards guide the show! Focus on grouping artworks by skills, techniques, or big ideas. FLEX’s Scope and Sequence guides for each grade level help you naturally connect and pace units around the National Core Arts Standards for a whole school year. Pop into each grade level guide to see how students are exploring the element of Line in their artwork. Choose pieces from these specific units to display on art show night for a well-curated collection.
2. Set up digital systems from the beginning.
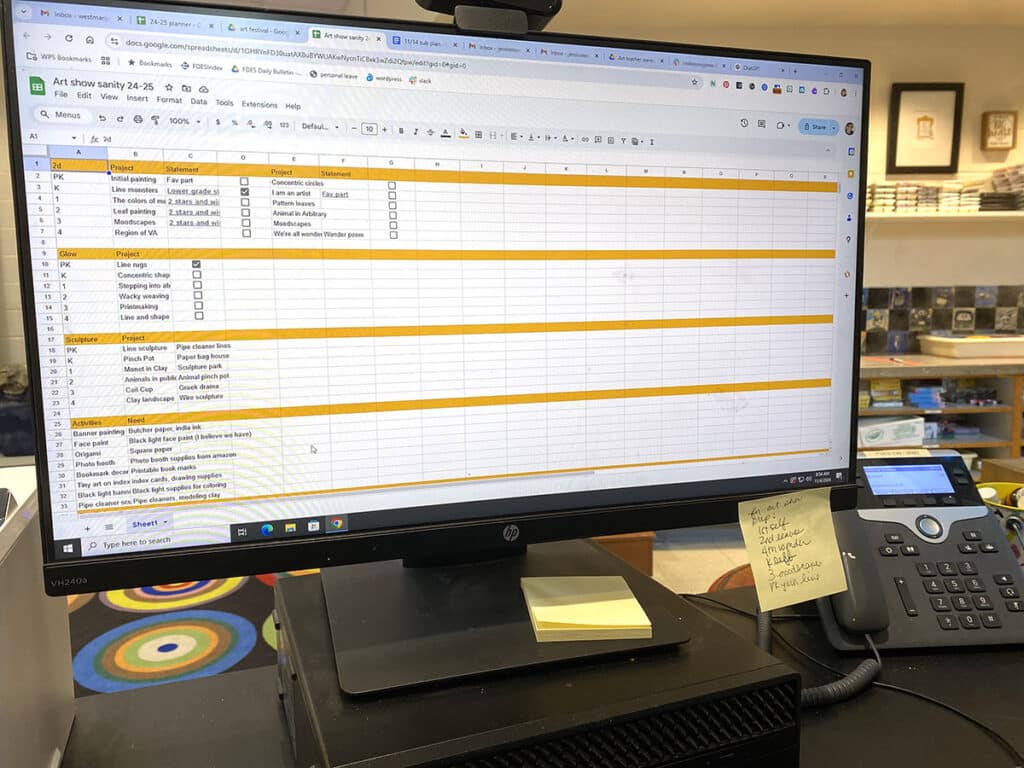
Use a spreadsheet to organize your thoughts.
Art shows come with so many moving parts that it’s easy to feel overwhelmed. An art show spreadsheet can help collect and organize your thoughts. Include sections for art projects, timelines, display needs, volunteers, art show jobs, and other to-do lists. Use the checkbox feature to track your tasks and customize the layout to fit your needs. For more ways to use spreadsheets for your art show sanity, check out Sarah Krajewski and Jenn Russell in Art Show Secrets. From choosing a theme to managing deadlines, this series dives into everything you need to know so you can put on your best art show yet!
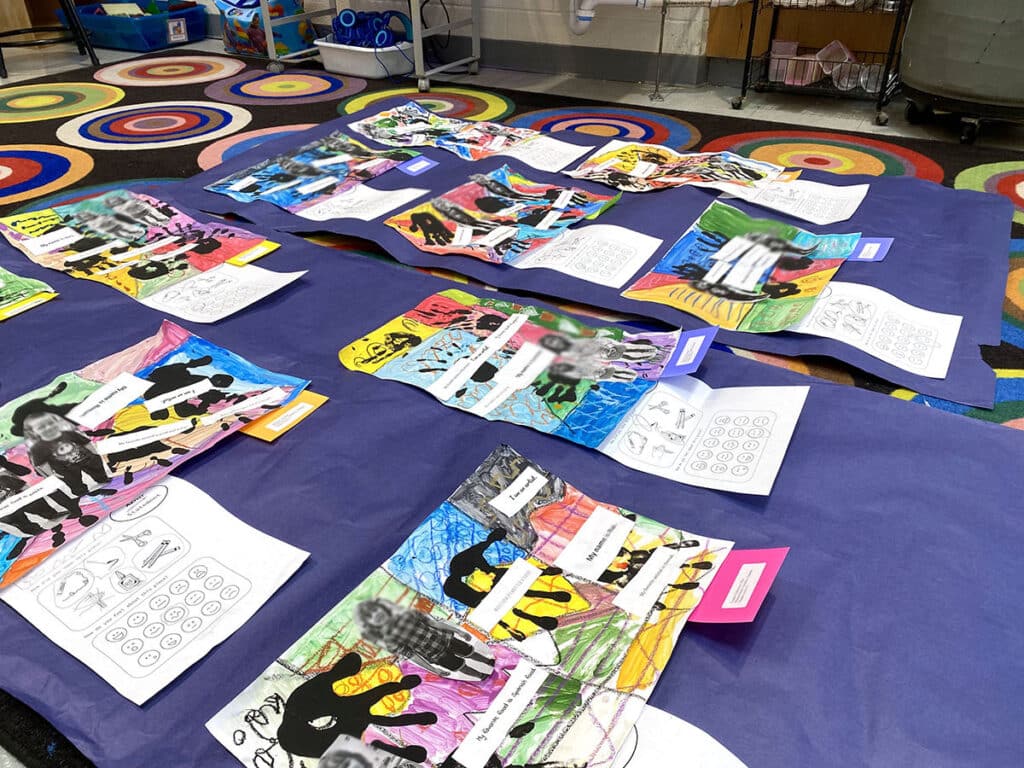
Document the journey from day one.
An art show is more than a display of final student artwork—it’s a chance to showcase artistic processes and student learning. As you teach, prepare signage along the way and store them with completed student art. Download professionally made resources from FLEX such as anchor charts, process photos, and artist bios for parents and stakeholders.
Another way to document the process is to take photos of students working, from initial sketches to final details. Save in a digital folder to post in a slideshow or print physical copies to display next to the corresponding project. This gives viewers insight into the purpose and skills behind each piece.
3. Prep artwork early and stay organized with address labels.
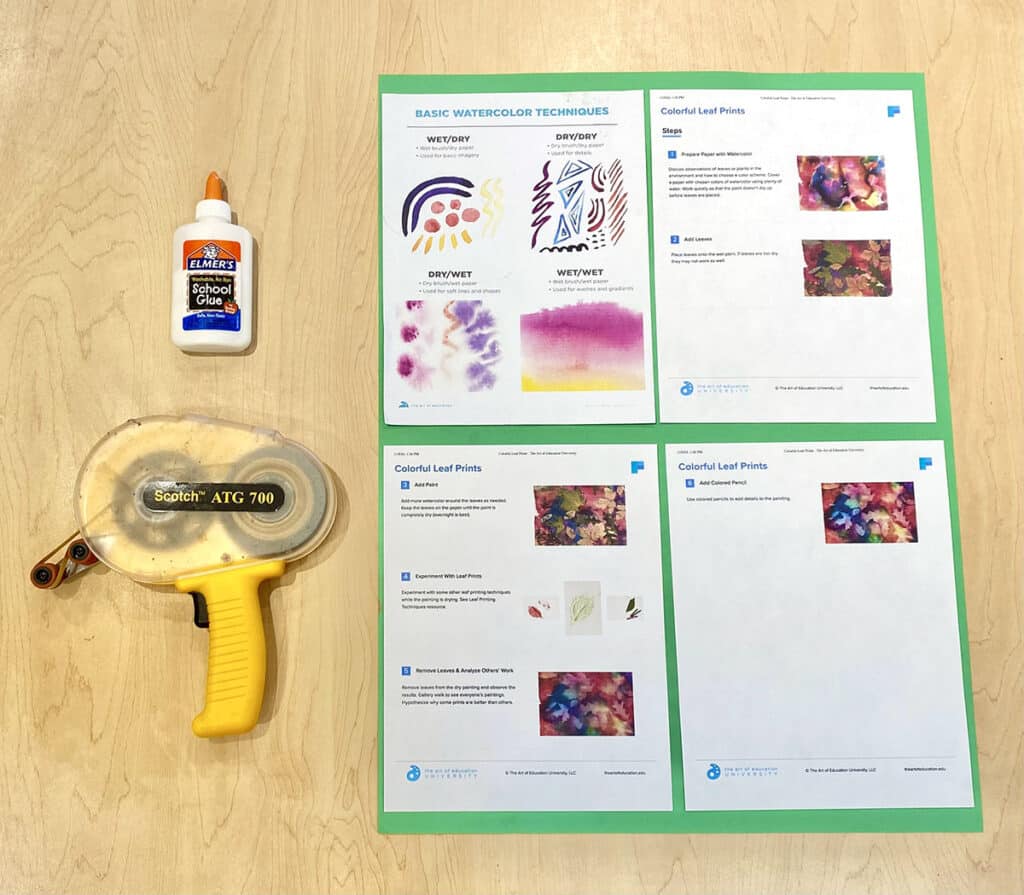
Don’t wait—as soon as students wrap up an artwork, start preparing it for display. When students complete their artwork, write an artist statement. Use FLEX prompts and sentence starters to guide their writing and articulate their ideas. Artist statements are another great piece of student work to display next to the art that shows evidence of learning and reflection. Students can mount their own artwork and artist statement onto a larger backing sheet to create a polished look.
Pre-print mailing address labels with student names for quick and consistent labeling. Import your class list into an address label template, print all of your labels at once, and stick them on each mounted piece. Leftover name labels are a fast way to see who you’re missing work from!
4. Save time and simplify setup with butcher paper.
Hanging hundreds, or sometimes thousands, of artworks can take days. Save time by cutting large strips of butcher paper for each class or for each student. Lay each strip flat and securely attach student artwork with small dabs of hot glue. Roll the paper from the bottom up, leaving the top accessible for hanging. Label each roll and gently hold it together with binder clips. A few weeks leading up to the event, use more binder clips to hang it from the ceiling. On setup day, assign a volunteer to unroll each for an instant reveal of the mounted artwork!
Don’t miss the expert tips below on preparing, hanging, and displaying artwork:
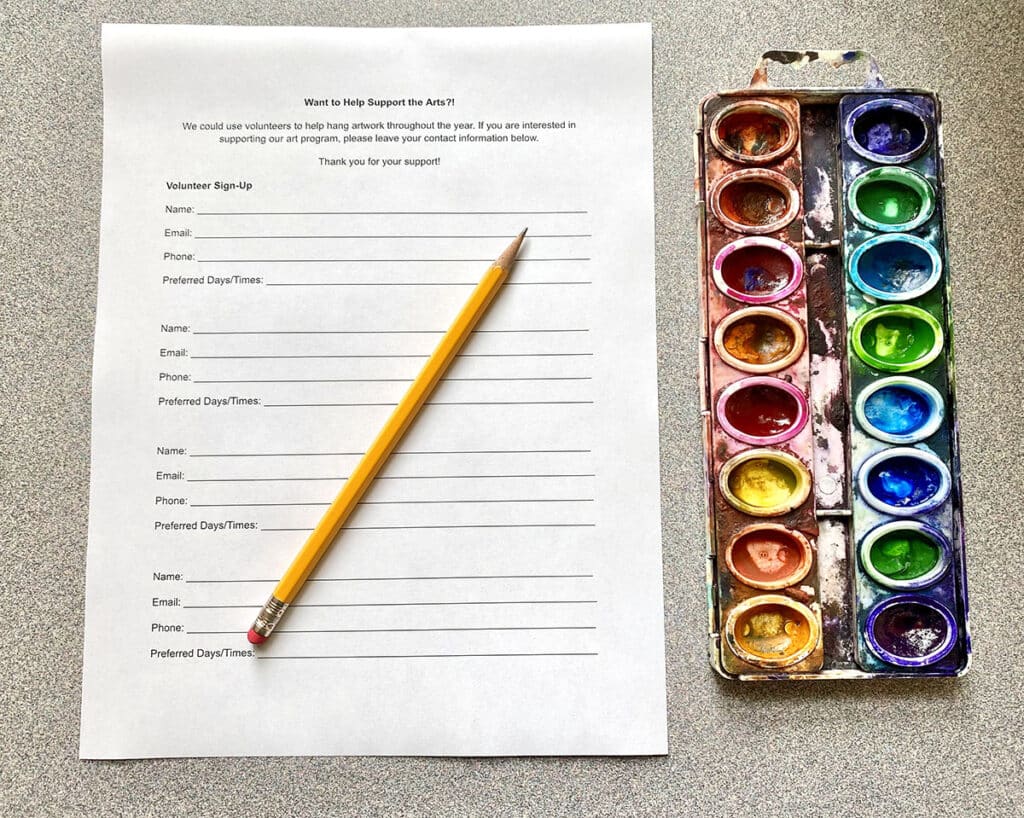
5. Ask for help early and empower volunteers with job kits.
Building a strong base of volunteers takes time. Start early at Back-to-School Night, parent-teacher conferences, and other school events to collect interest. Set out a sign-up sheet to gather volunteers’ contact information. Collect details such as phone numbers, email addresses, availability, and preference for working at school or home.
Once you’ve secured your team, decide on the tasks you’d like them to complete. It helps to keep a running list of things you need that you can pull from. Prepare job kits that include necessary supplies and clear, step-by-step instructions. This volunteer prep will allow you to focus on teaching (during the school year) or focus on overseeing the event (during the art show).
Your art show is more than just a display of artwork—it’s a celebration of creativity, growth, and effort. Start early by prepping artwork as students complete it and involve parent volunteers in the process. The five tips above not only make it more manageable for you but also transform the event into something truly special. With thoughtful planning that harnesses FLEX Curriculum’s resources, your art show will become the highlight of the year. Here’s to making this year’s art show your most unforgettable event yet!
What’s one tip you have for making art show preparation less stressful?
How do you keep organized through the art show process?
To chat about art show prep with other art teachers, join us in The Art of Ed Community!
Magazine articles and podcasts are opinions of professional education contributors and do not necessarily represent the position of the Art of Education University (AOEU) or its academic offerings. Contributors use terms in the way they are most often talked about in the scope of their educational experiences.


