
French Provincial Nightstand Makeover – Artsy Chicks Rule®

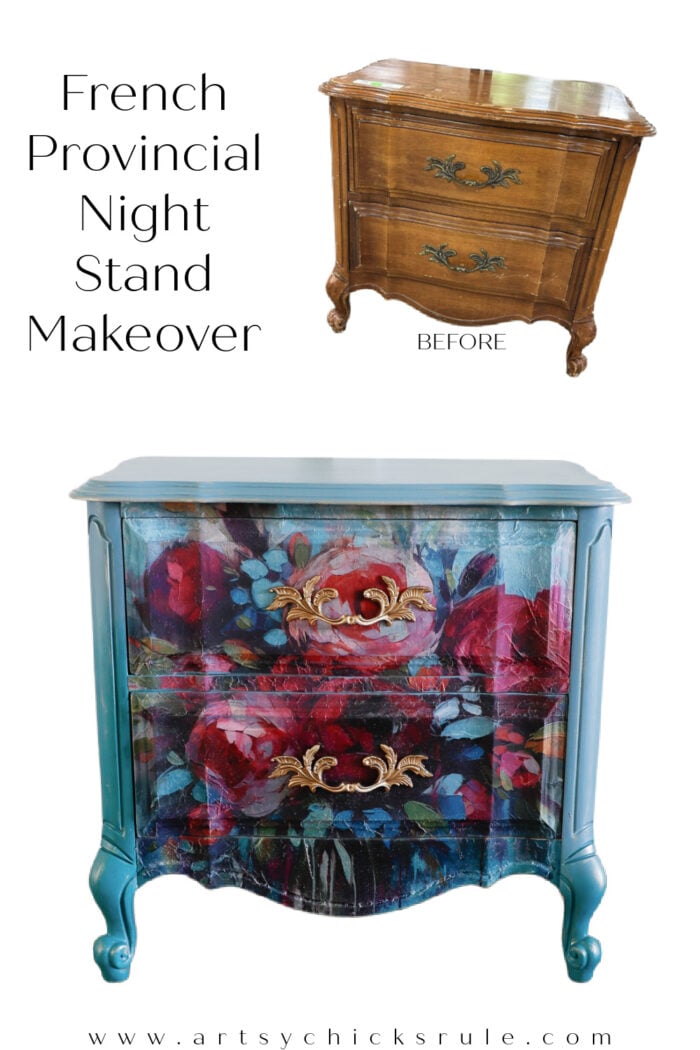
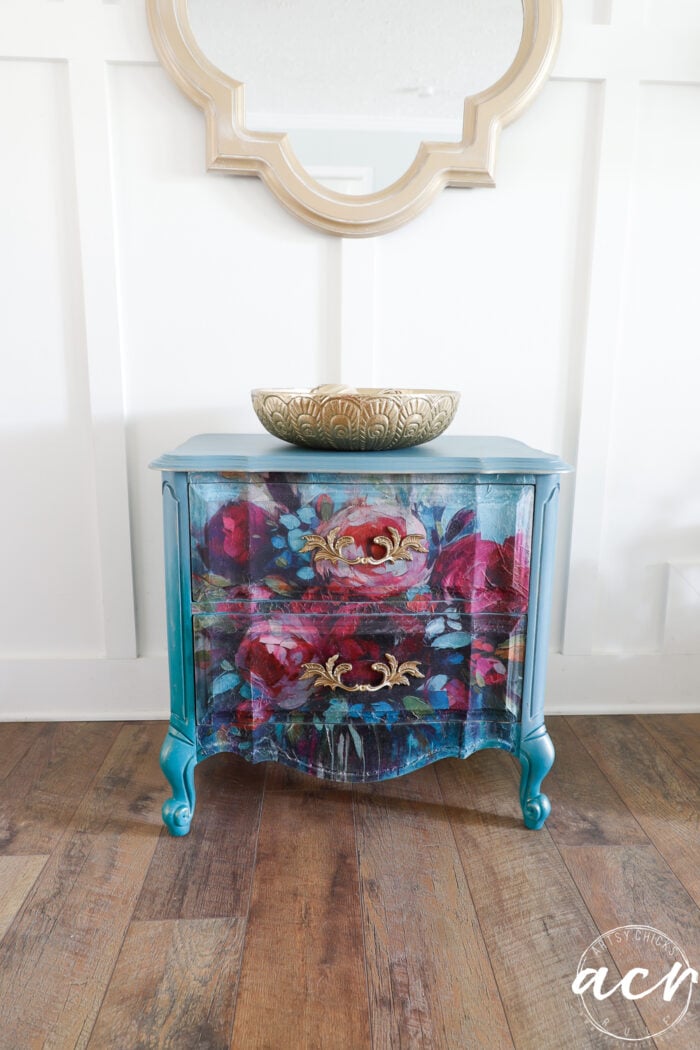
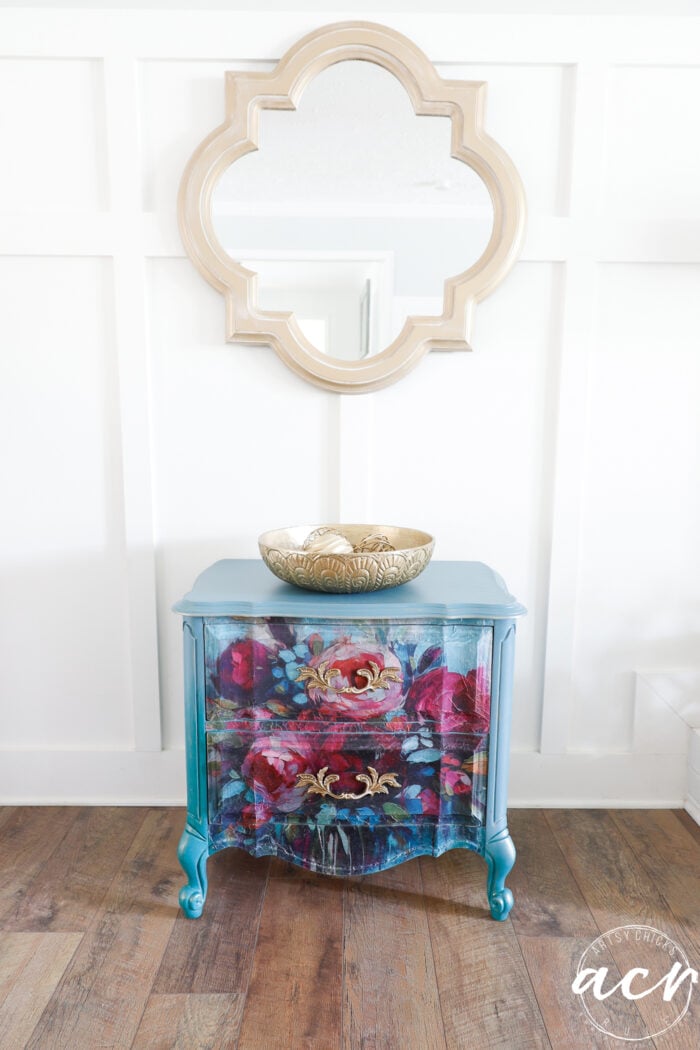
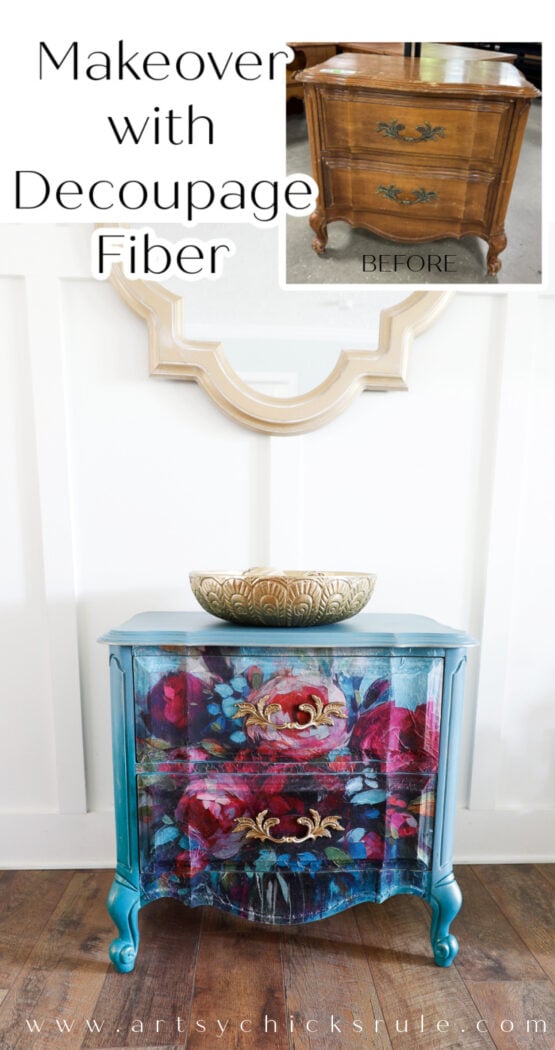
This French Provincial nightstand makeover was knocked up a notch with the gorgeous Burst of Color Decoupage Fiber!
Hello, sweet friends! I hope you had an amazing 4th of July weekend. We finally got a bit of a reprieve from the crazy heat, which then just turned into ridiculously high humidity instead. But hey, it’s summer, right? Lots of sunshine, so that’s a plus. We are still over here working on our room transformation (from screened in sunporch to living space). We are hoping it will be done soon! I’ll catch you all up on that shortly.
Today I’m sharing a brand new one from the ReStore. This sweet little French Provincial nightstand. Unfortunately, there was only one, so I do not have a set. However, it’s a cutie and certainly makes a statement now! lol And don’t forget, it’s the second Tuesday in July, so my friends Christy and Denise are sharing their trashy finds too! Scroll all the way down to see what they are sharing this month.

Here is how it looked when I found it.
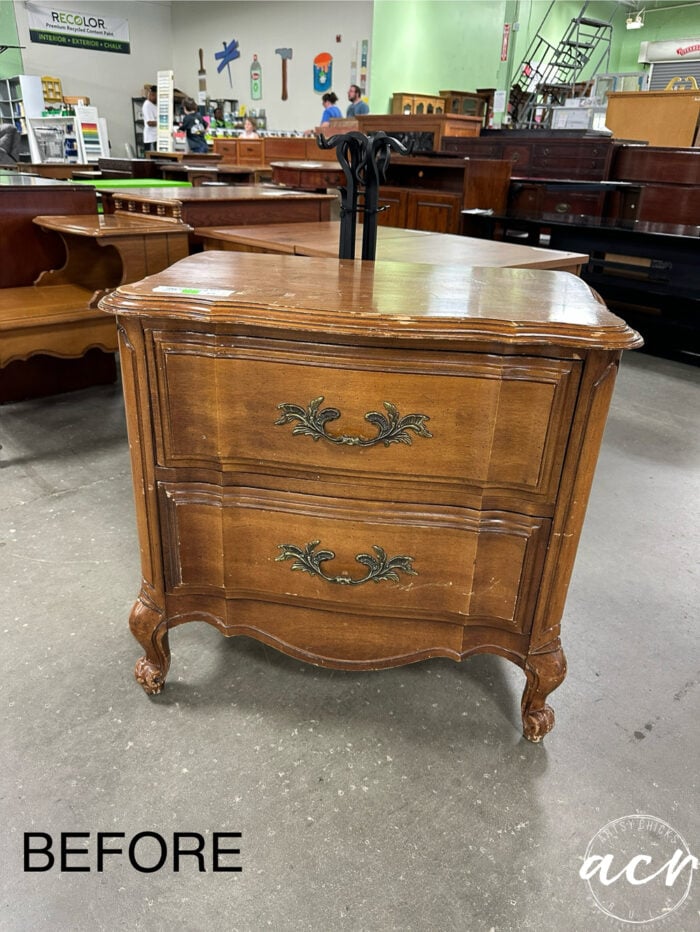
A little sad and beat up, but not too bad.

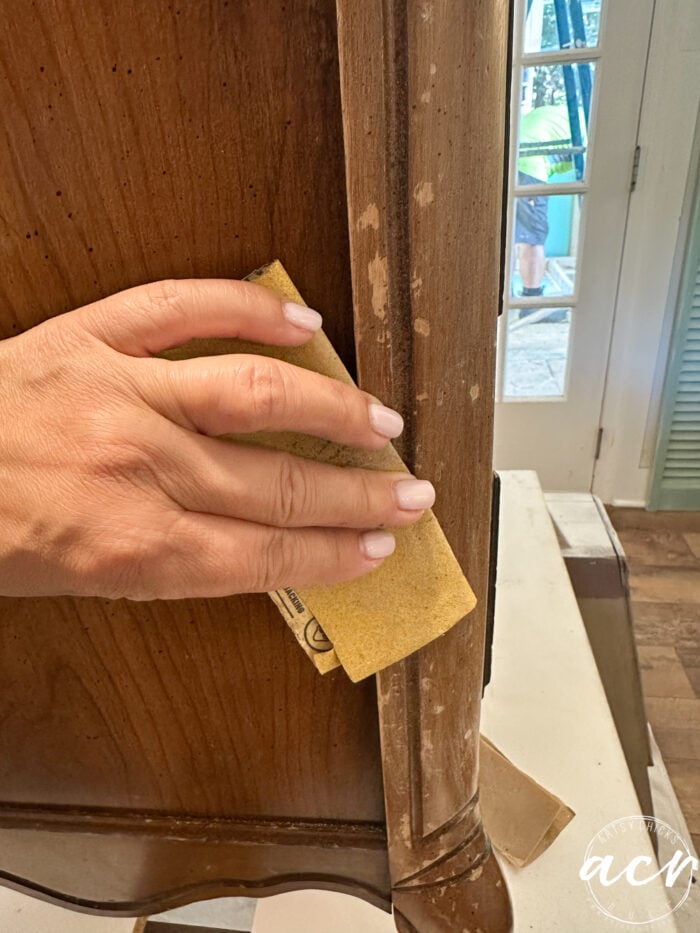
SAND
I lightly sanded the whole thing to smooth out any uneven areas and take the shine off.
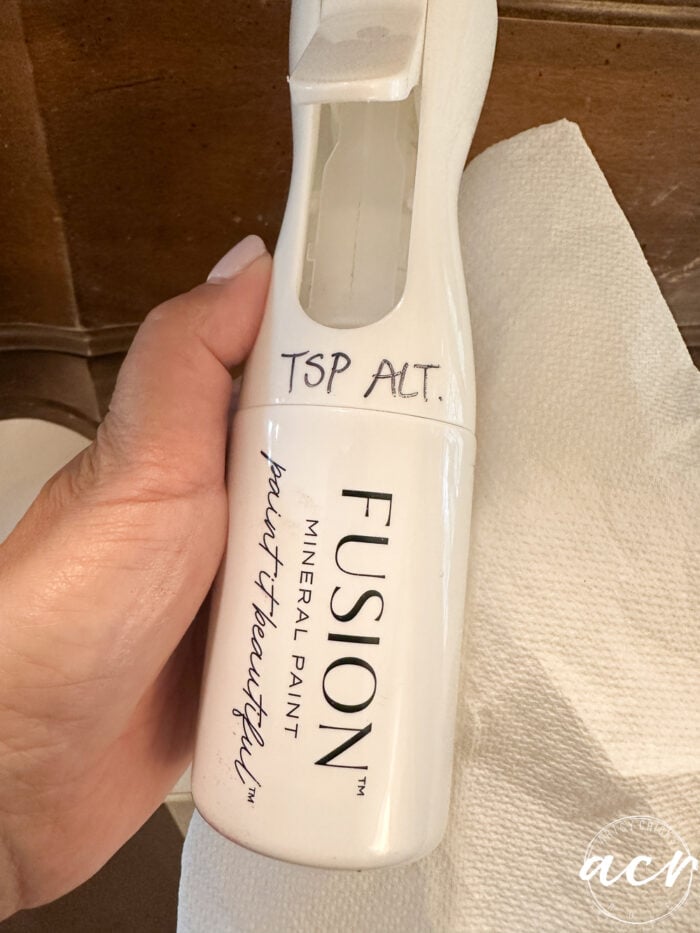
CLEAN
After that, I cleaned it well with our TSP Alternative.
BOND
And because it had some chipping and uneven areas, I decided to apply one coat of our Ultra Grip.
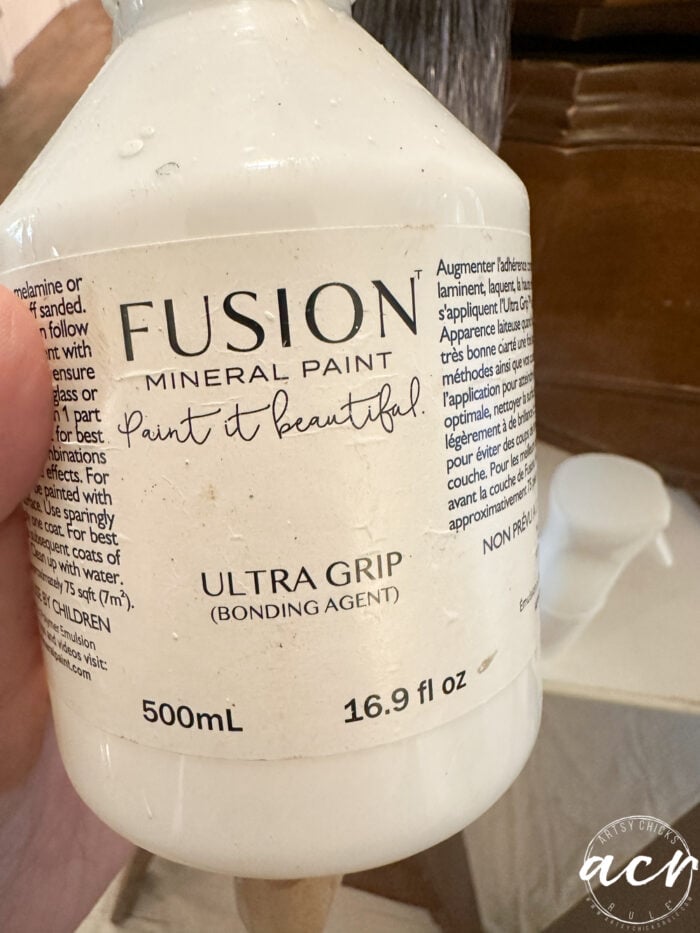
Let that sit overnight and then got to the fun part!
MATERIALS LIST – FRENCH PROVINCIAL NIGHTSTAND
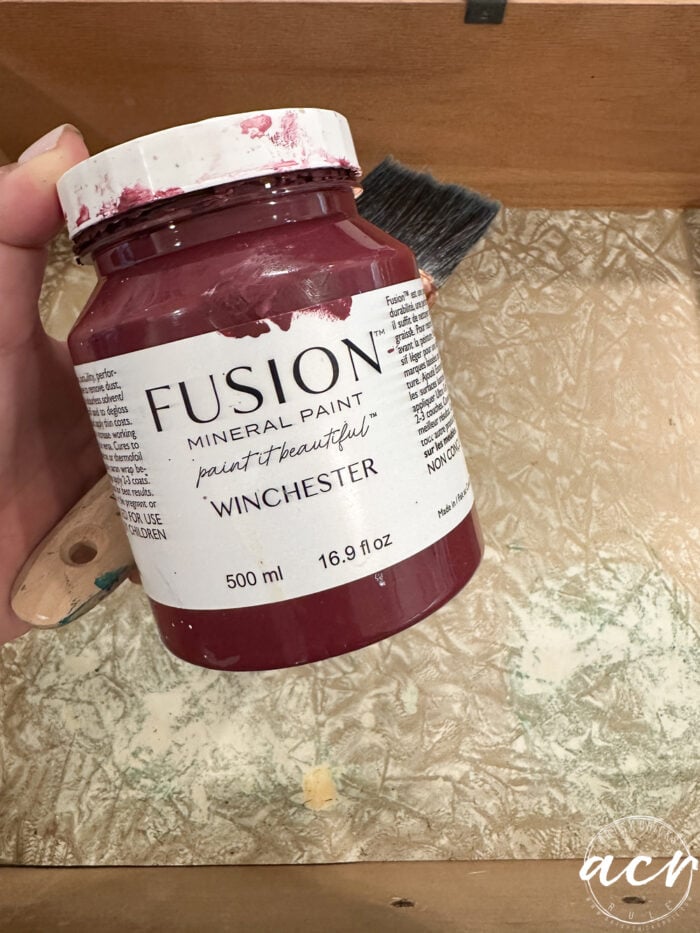
PAINT
I knew I wanted to use the “Burst of Color” Decoupage Fiber, and it’s quite colorful. I originally wanted to paint the nightstand in 3 shades that are in the fiber design.
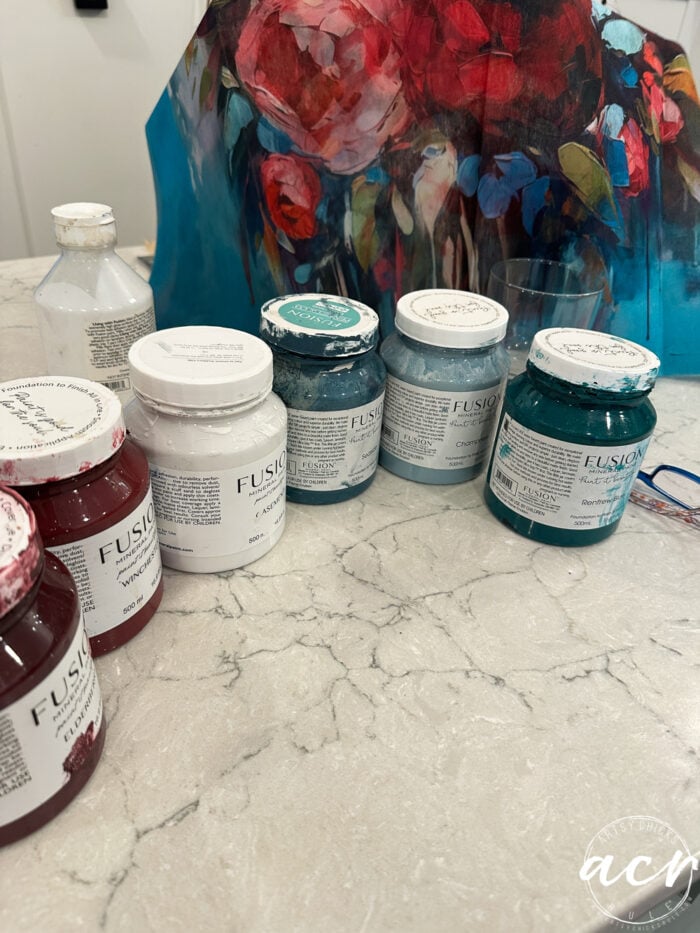
So I got to mixing!
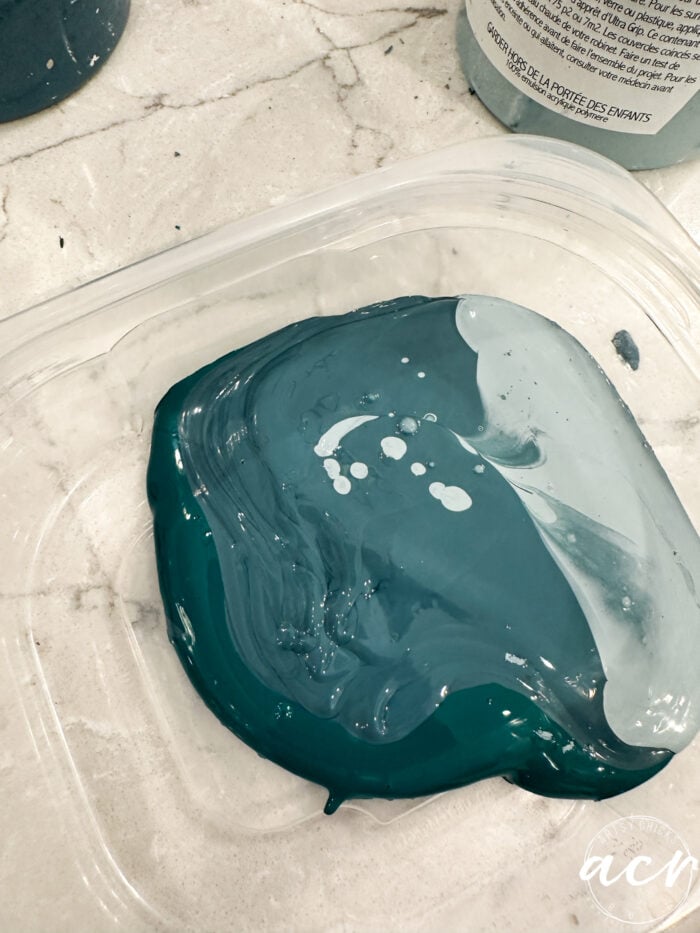
I mixed up Renfrew Blue, Seaside, and Champness.
This was going to be the lighter of the “turquoise” shade since I was planning to use the Renfrew Blue by itself on part of the nightstand.
Renfrew Blue (in the jar), the mixed blue, and the pink I mixed up were the 3 colors I was going to use.
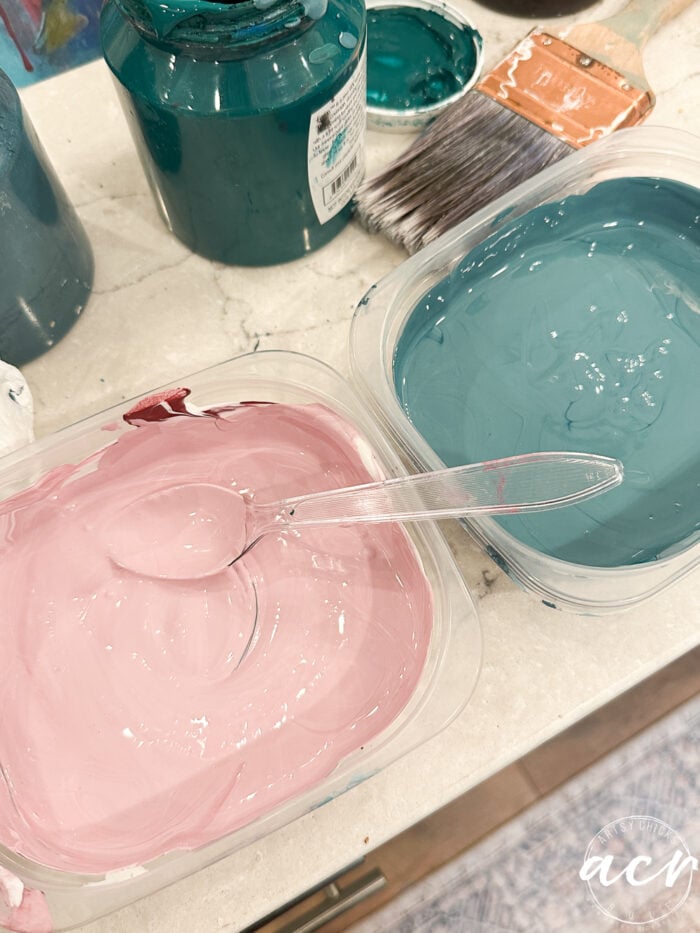
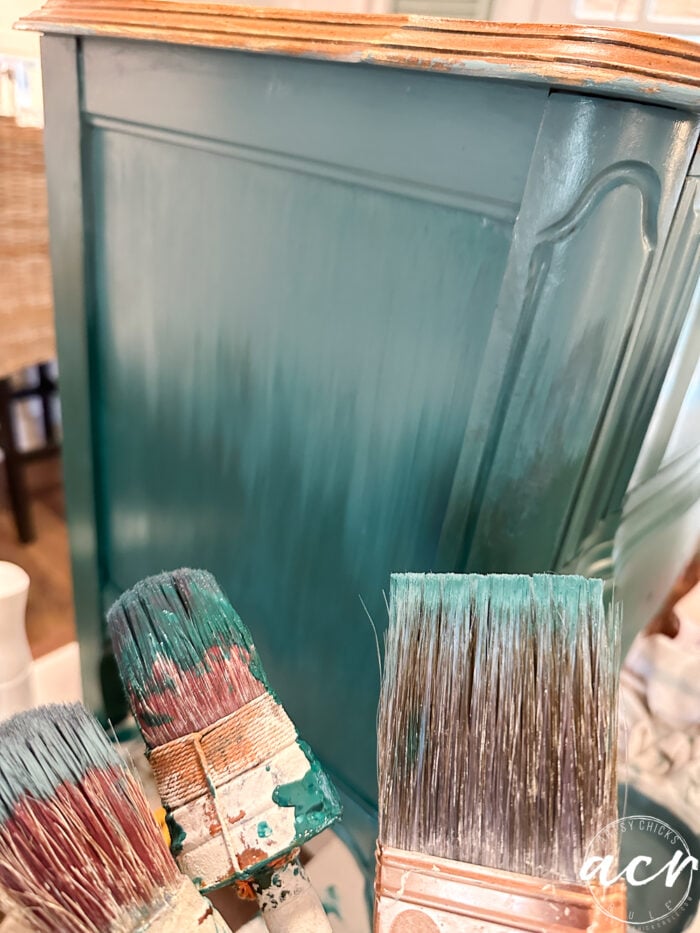
I will say, Renfrew Blue is a gorgeous color, but coverage on this one is not great.

I had to apply two coats before I even began the blending into the other lighter blue shade.

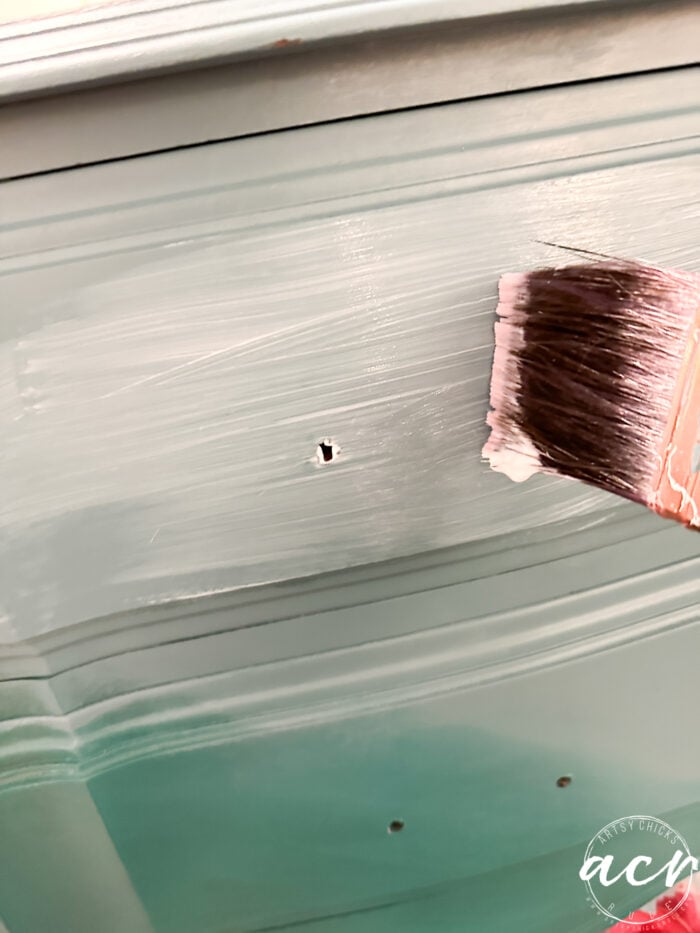
(by the way, Ultra Grip goes on white but dries clear, so you can’t see it on the furniture once dry)
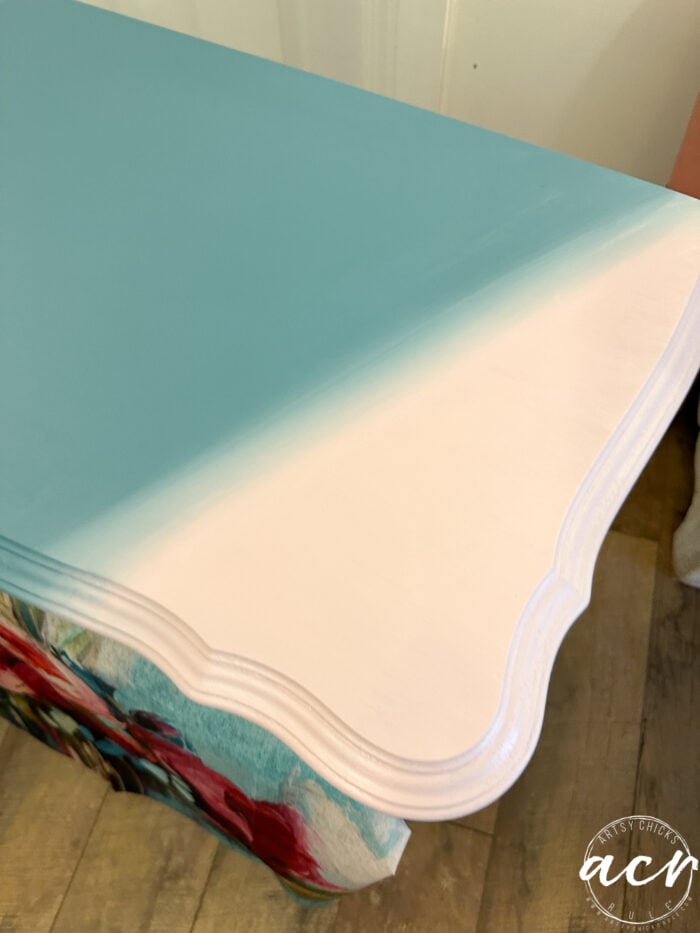
As you can see here, I am going for a slanted design with the paint.
Blending with the two colors and a “clean”(it starts out clean), damp brush.
Spraying water as needed to keep the paint moving, otherwise it dries too quickly and won’t budge/blend.
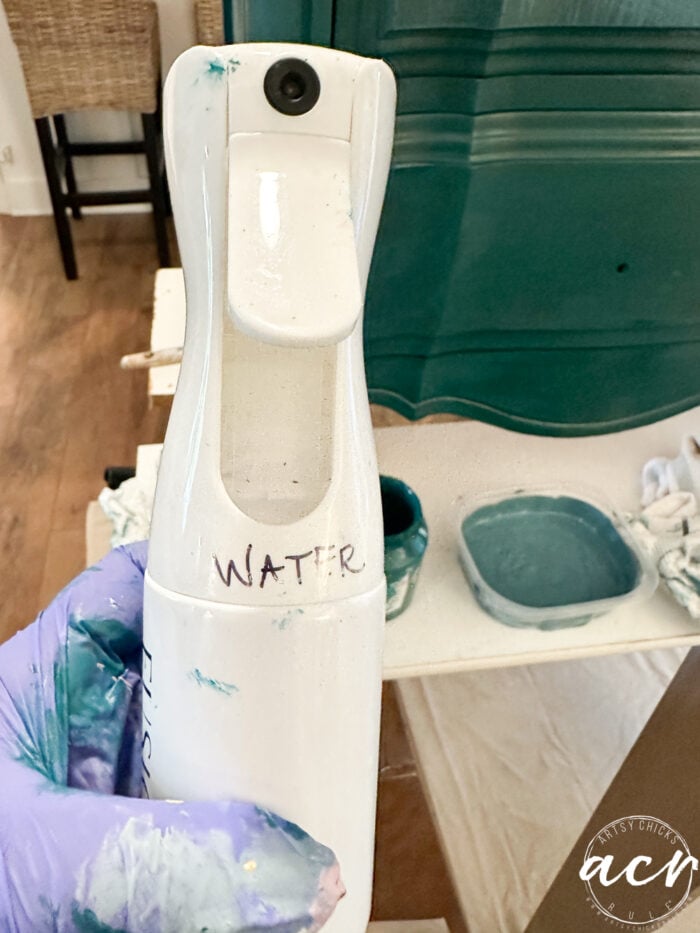
These fine mist-continuous spray bottles are great, by the way! I’ll link them in the “Materials List” box above.
This part is really hard to show. I’m in the middle of working/blending this paint here.
Adding the pink area…
…which I ended up saying no to! haha!
I surely wasn’t loving this. And neither was my sweet hubby, who walked by and said, “is that pink staying like that??”. lol Why, dear, do you not like it?? His facial expression in response said it all!! ha
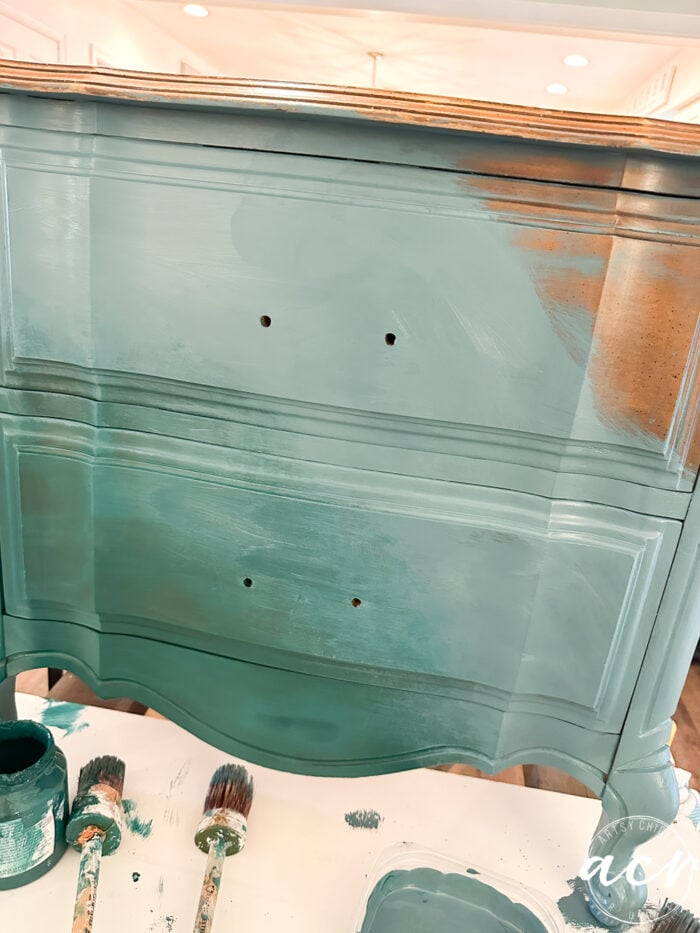
See the colors in the fiber, though? You see where I was going with this, right??
Darker blue on left, lighter blue on right, pink in upper right area. Oh well, sometimes it doesn’t work out as planned.
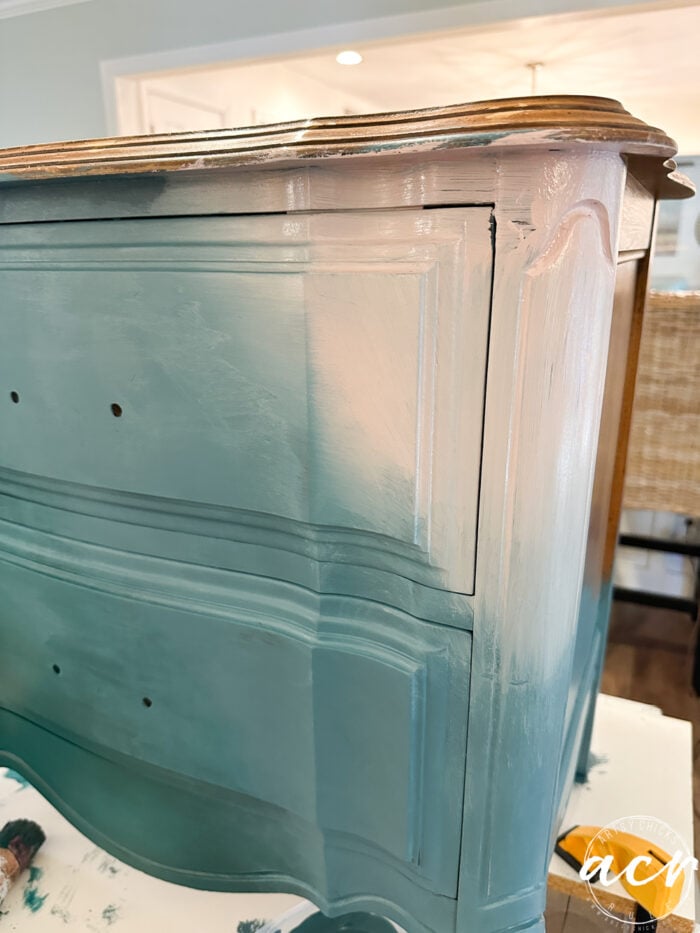
So I decided to go with just the two blue shades instead.

Since the pink was gone, I decided to carry the darker shade over to the other leg and blend up from there.
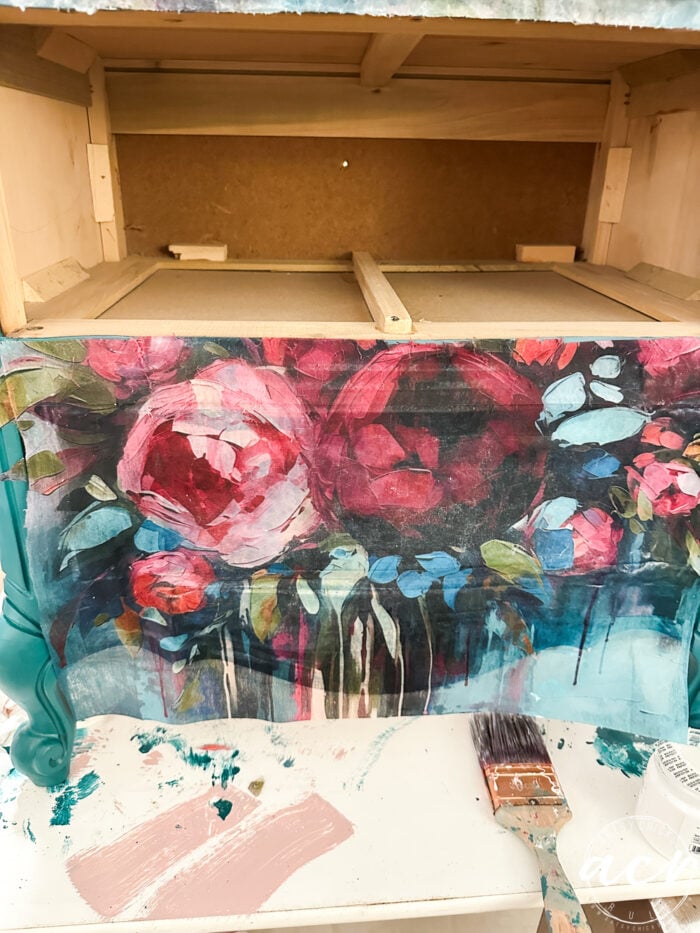
APPLY DECOUPAGE FIBER
Cutting out the decoupage fiber for this next step. I thought I’d let some of the design flow out from the drawers like so.

But after I got it onto the front, I didn’t love that either! lol I’m winning today.
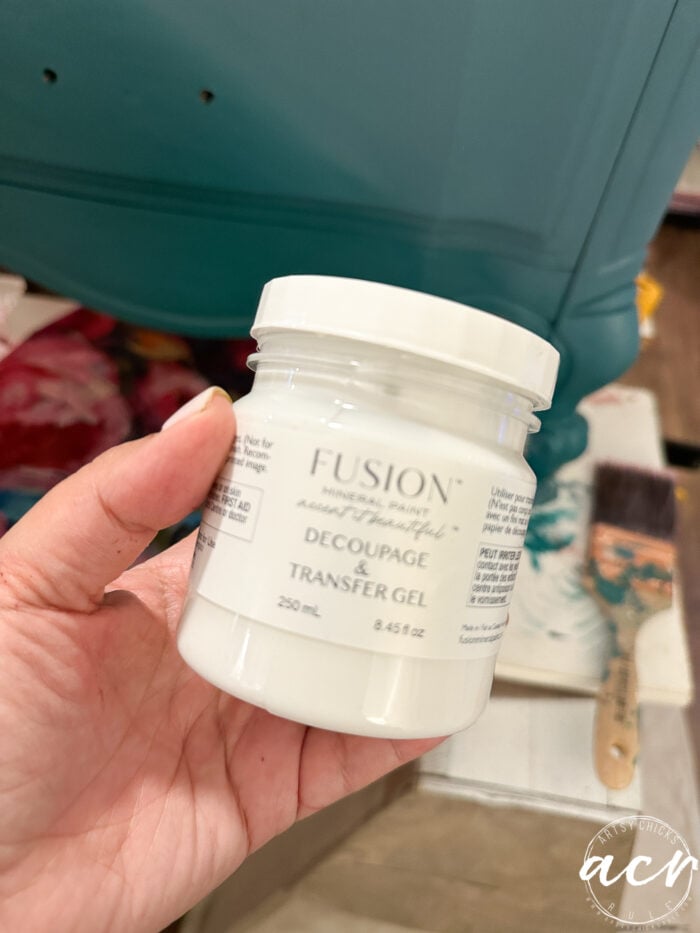
This is what I used to attach the fiber.
I had thought I could attach the whole piece to the front, let it dry, and then carefully cut the drawers out, etc.

Uh, nope.
It was not working well at all. Boo. And was being a total booger, to be honest. Ugh!
So I cut along the top and bottom drawer, removed that, and cut the other one and hoped it would work out!
I’ll be honest, the Decoupage Fibers are gorgeous…but they are not my favorite to work with. I’d much rather work with tissue paper or thinner mediums. But that’s just my personal preference!
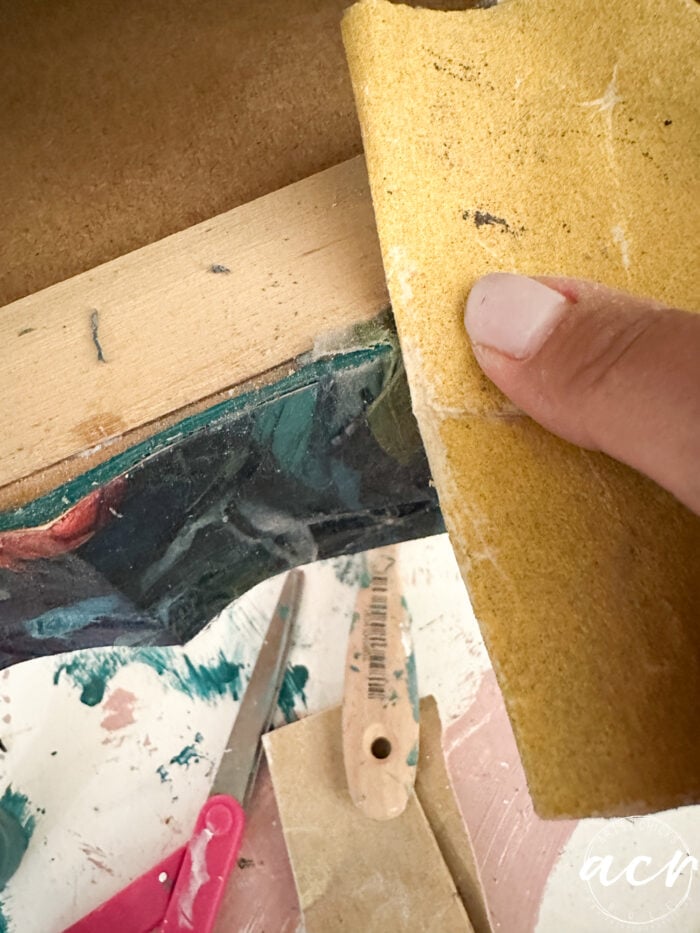
Once it was dry, I used a piece of sandpaper to remove excess and smooth edges.
DRAWERS
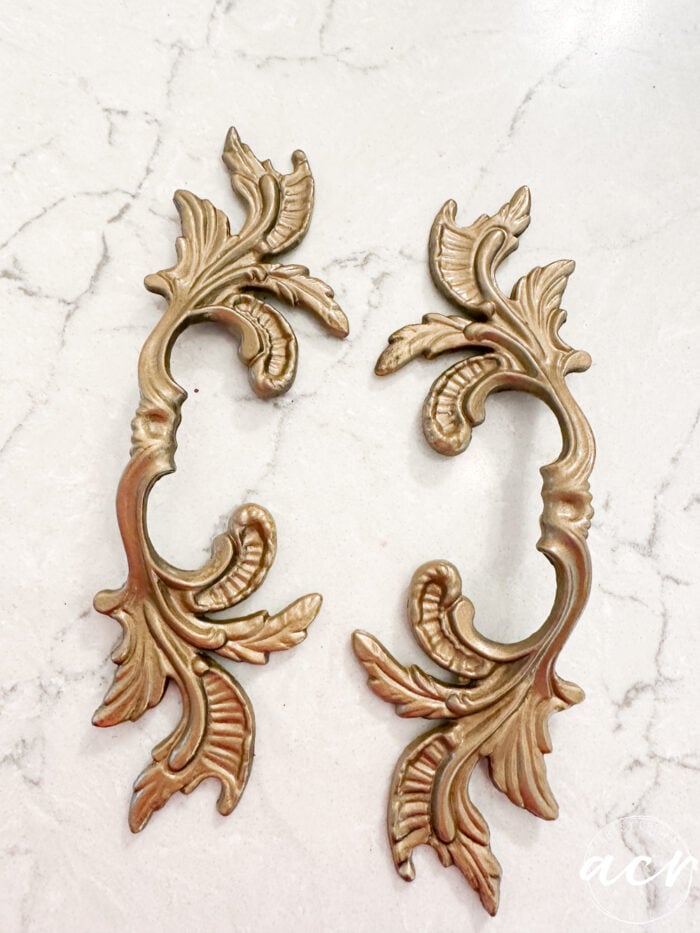
The hardware looked like this…
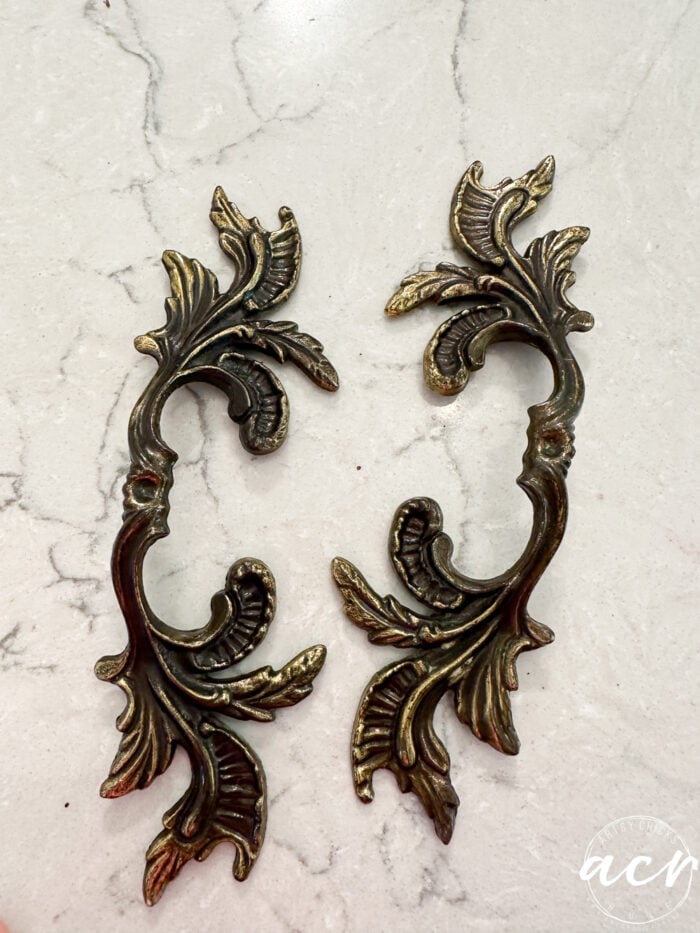
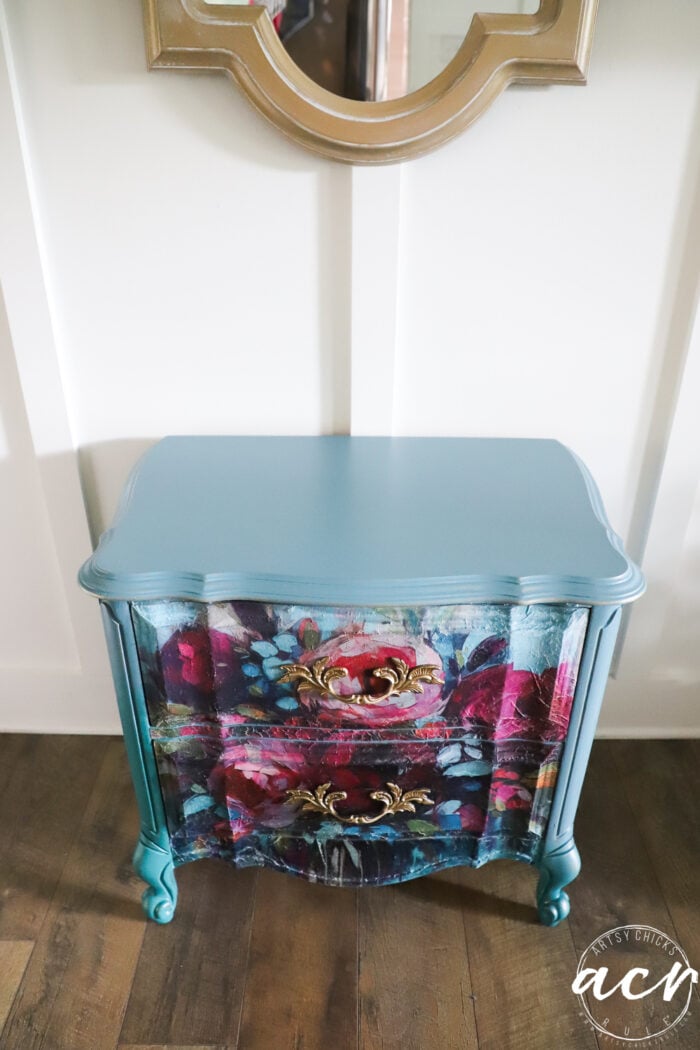
They got a quick spray of my favorite gold spray paint, and now they look like this.
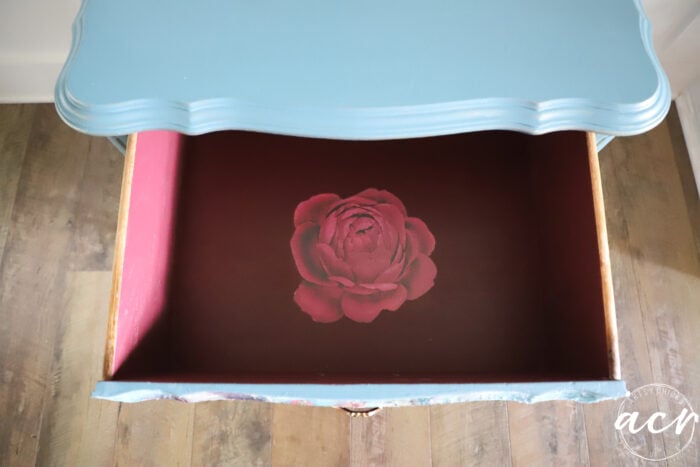
The drawers got some pretty too. I used another color from the Burst of Color decoupage fiber design for inside the drawers.
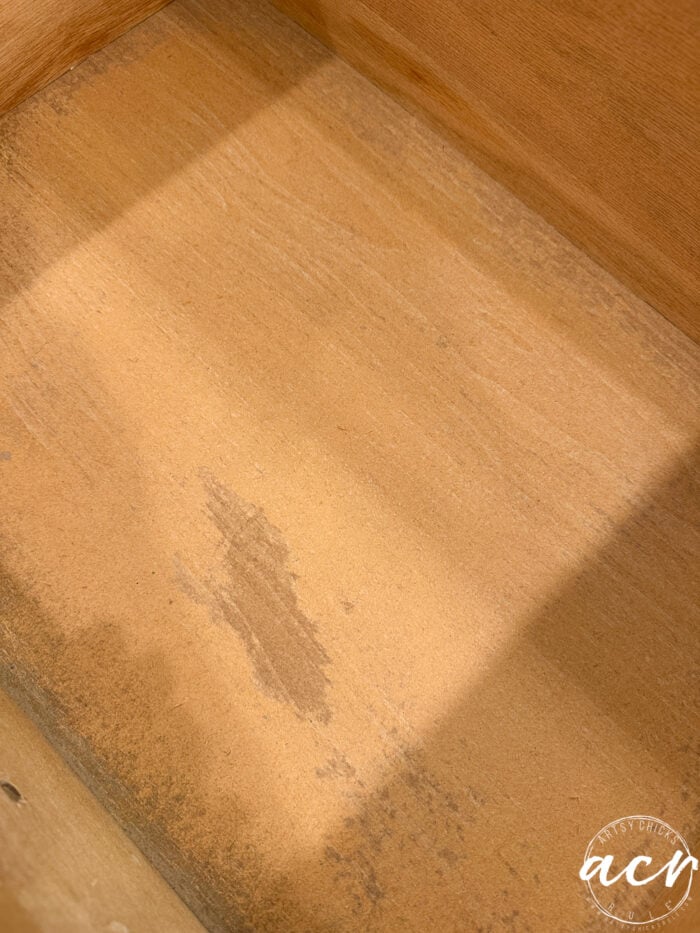
The drawers were actually all wood (and dovetail joints) except for the bottoms, which were particleboard.
I love the tie-in of the vibrant deep red shade “surprise” when you open the drawers, but I wanted to go a step further.
Our Lush Floral transfers have such pretty flowers in them, and I have quite a few left over after doing more than a few projects with them.
New to decor transfers?? You can read all about them here and how to use them: How To Use Rub On Decor Transfers
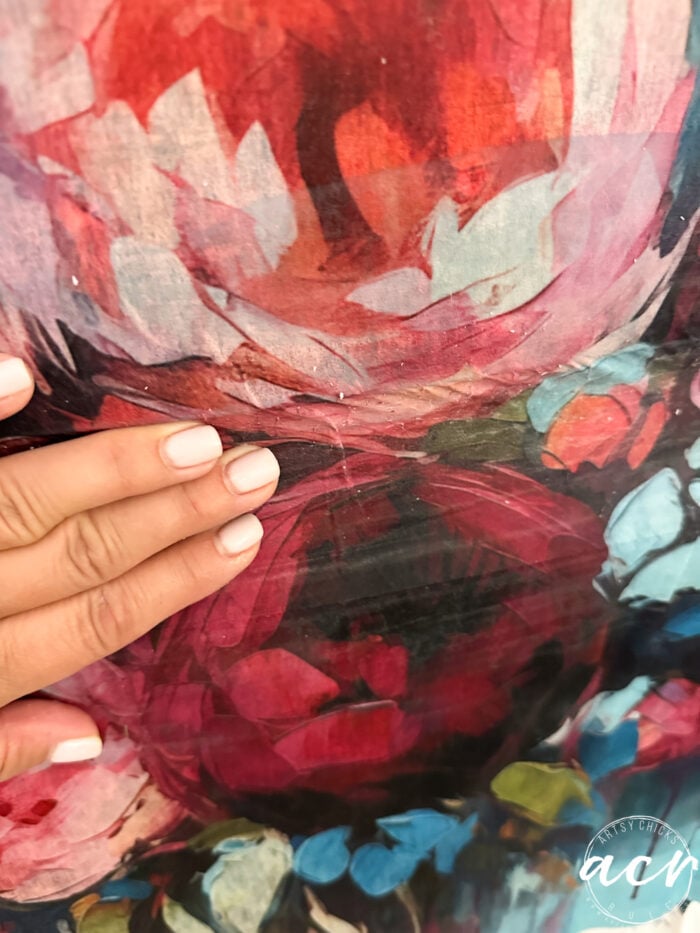
I chose a large rose for the top drawer.
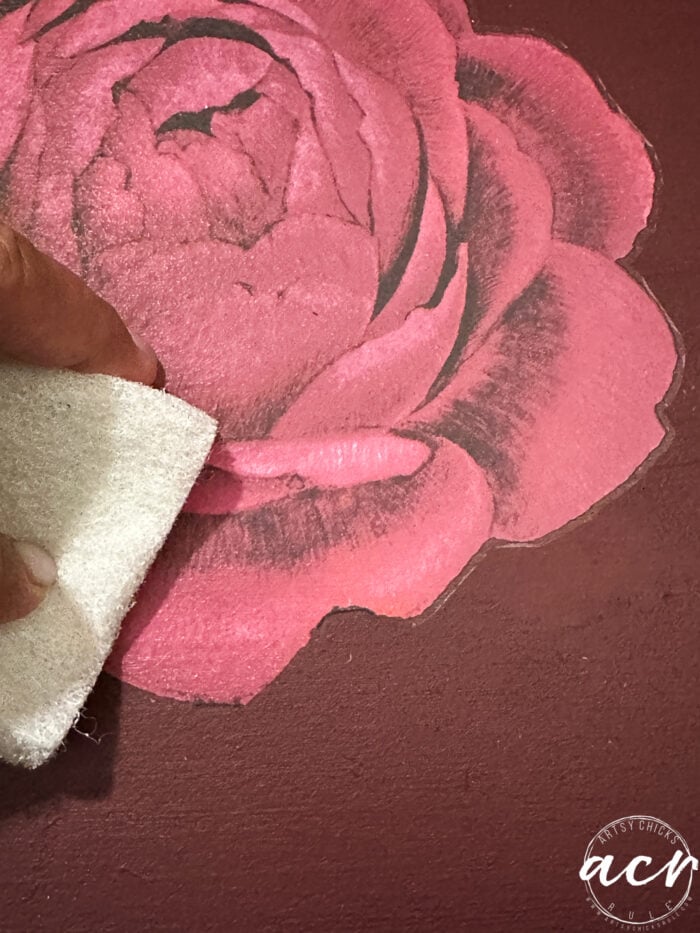
This polishing pad is great for making the edges of the transfer disappear. See the difference above where I’ve used it and where I haven’t??
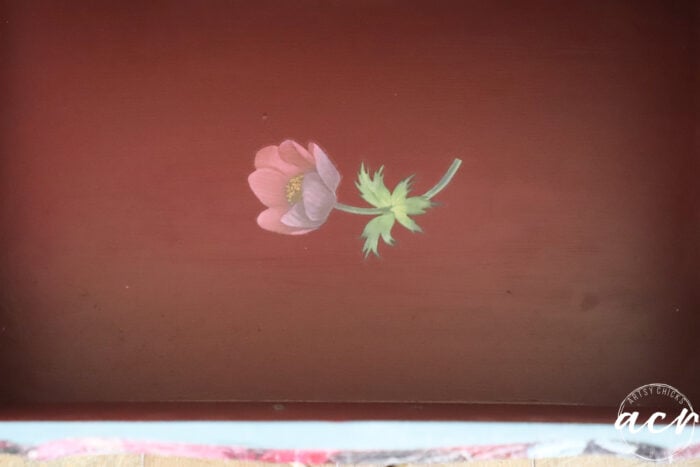
And the bottom drawer got this sweet little surprise.
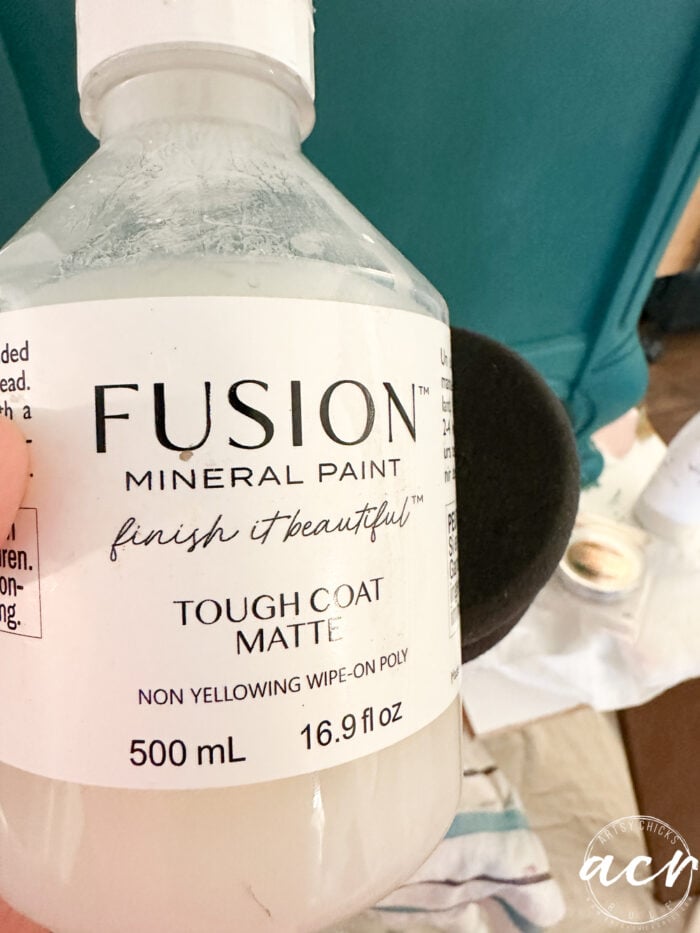
SEAL
Everything got a coat of this for seal/protect.
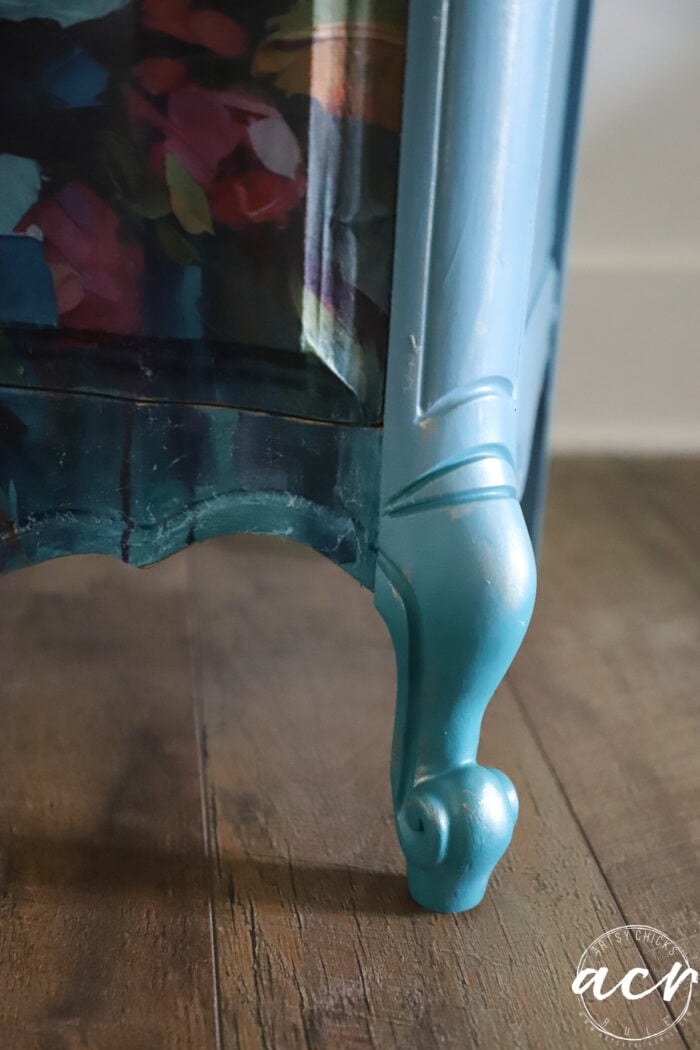
And you know me, I am never done when I’m done! lol I decided this little French Provincial nightstand was so glam with the pretty decoupage fiber and gold handles, but the rest looked blah. So I did what I do…added a little bit of pizazz to the rest of the piece.
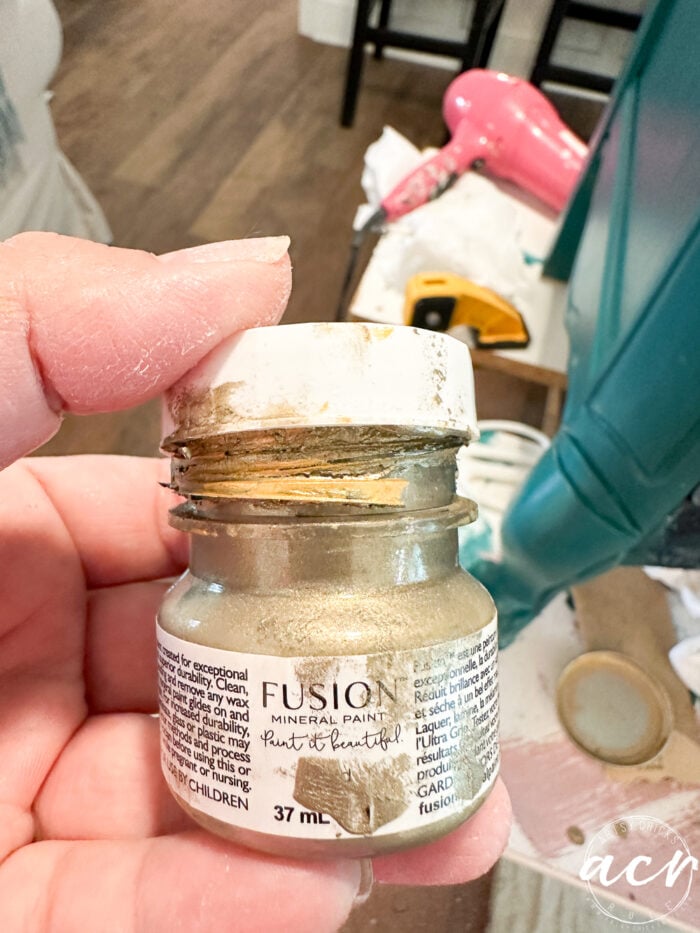
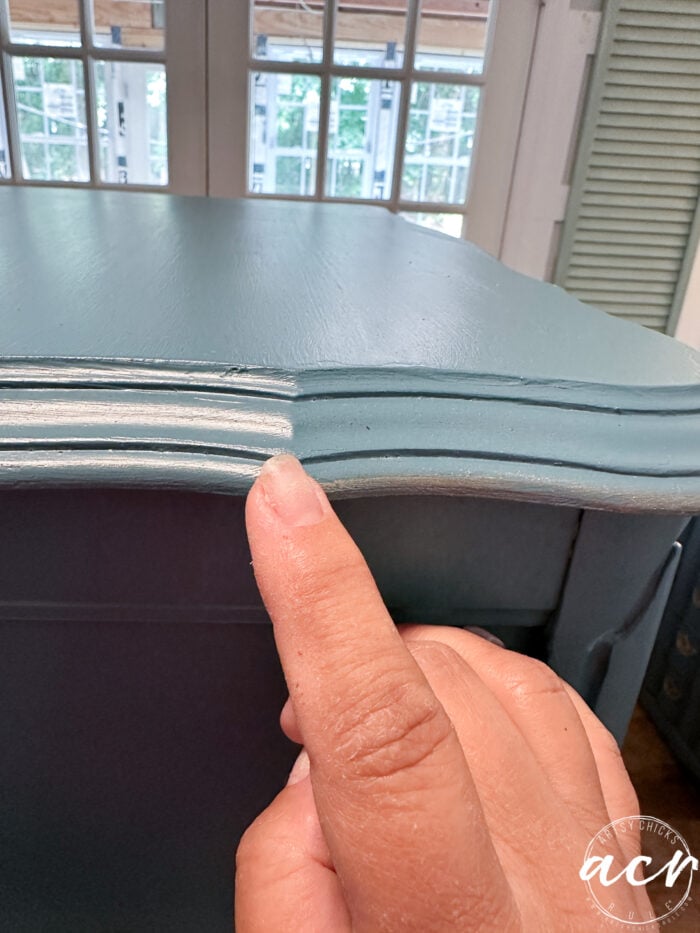
(this gold is actually a mixture of our Vintage Gold and Pale Gold metallic paints)
I simply used my finger to apply it to most of the edges for a little extra glam.
REVEAL
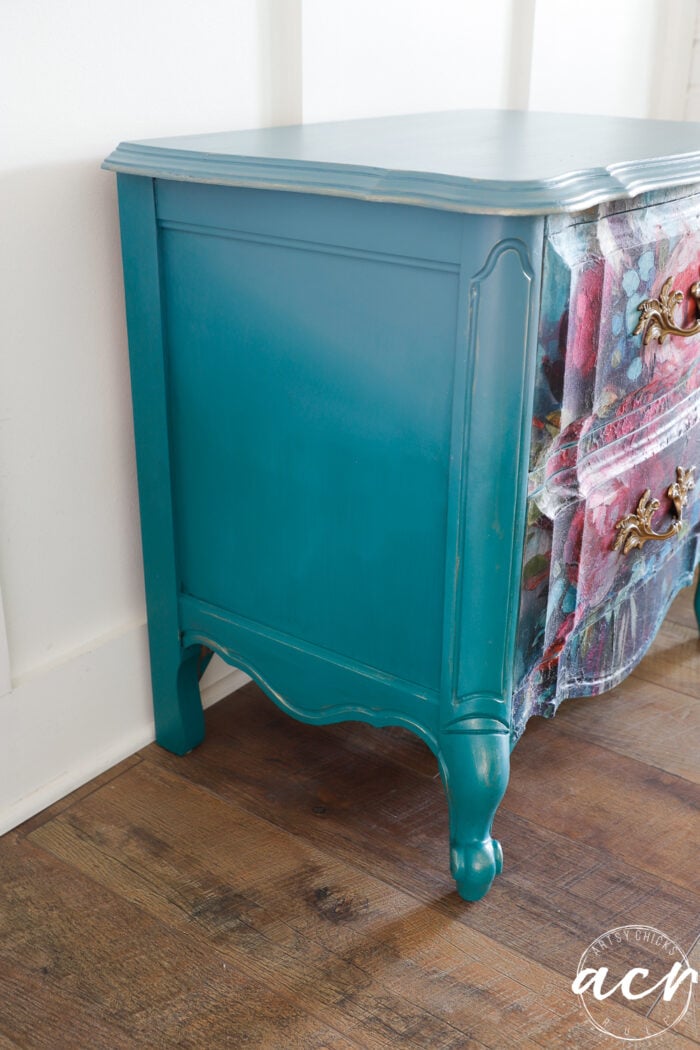
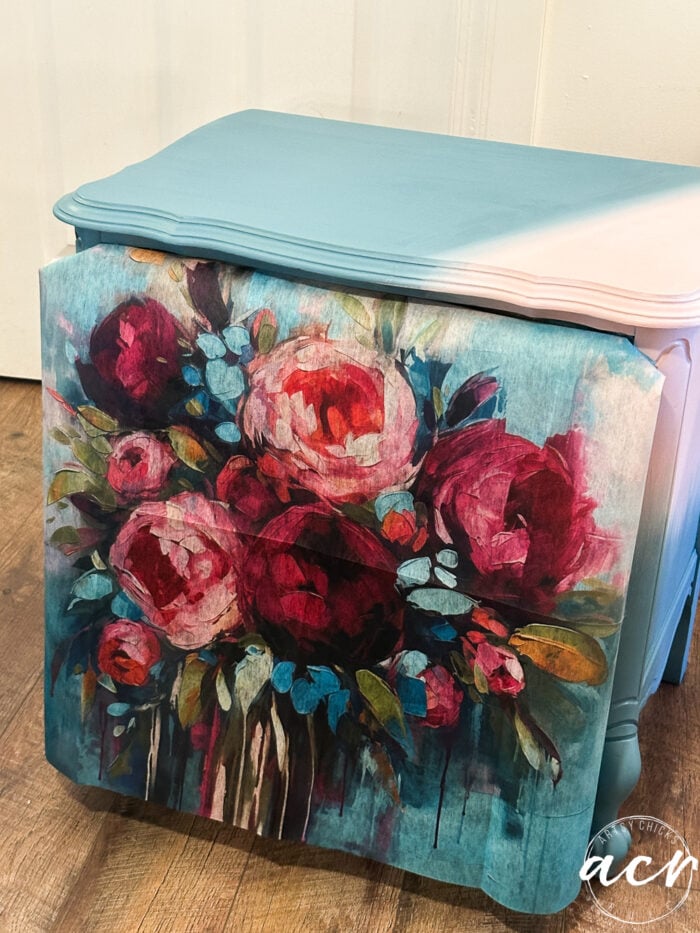
Here you can see the variation of the blues on the left.
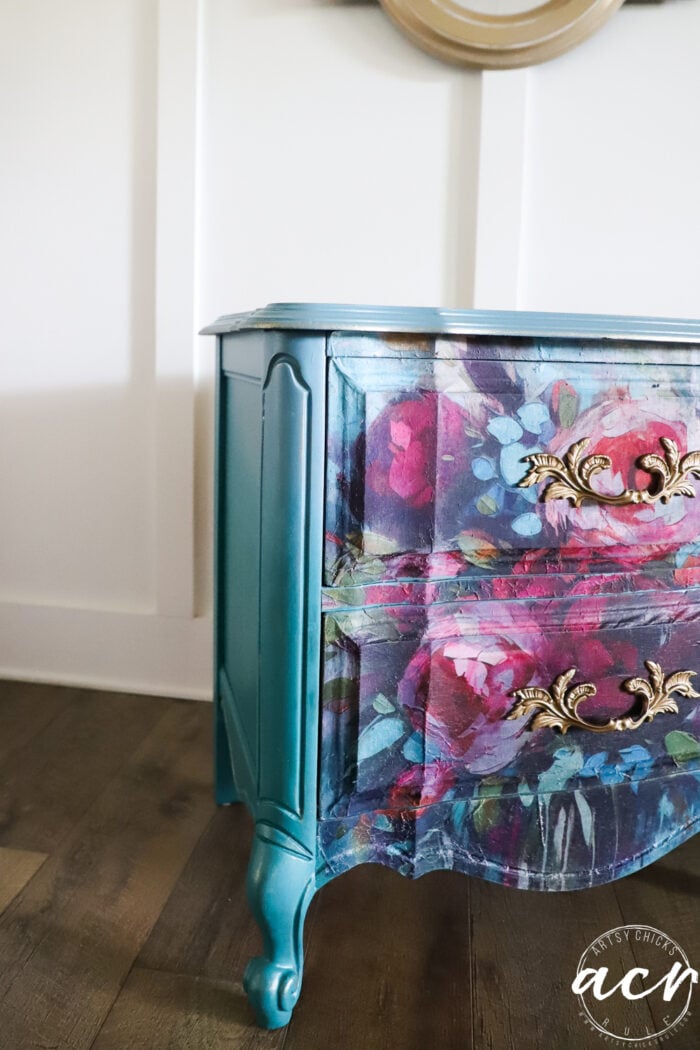
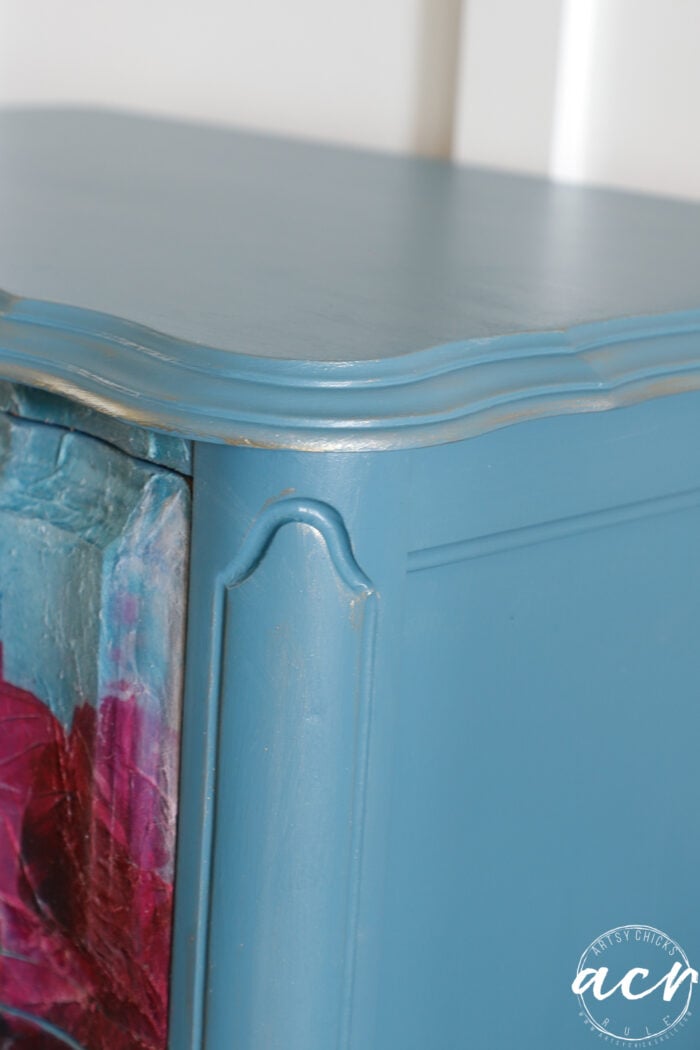
And the right.
I love the gold touches. That finished it off perfectly!
 4
4
PIN it to save it!
Don’t forget to hop over and visit my friends below!
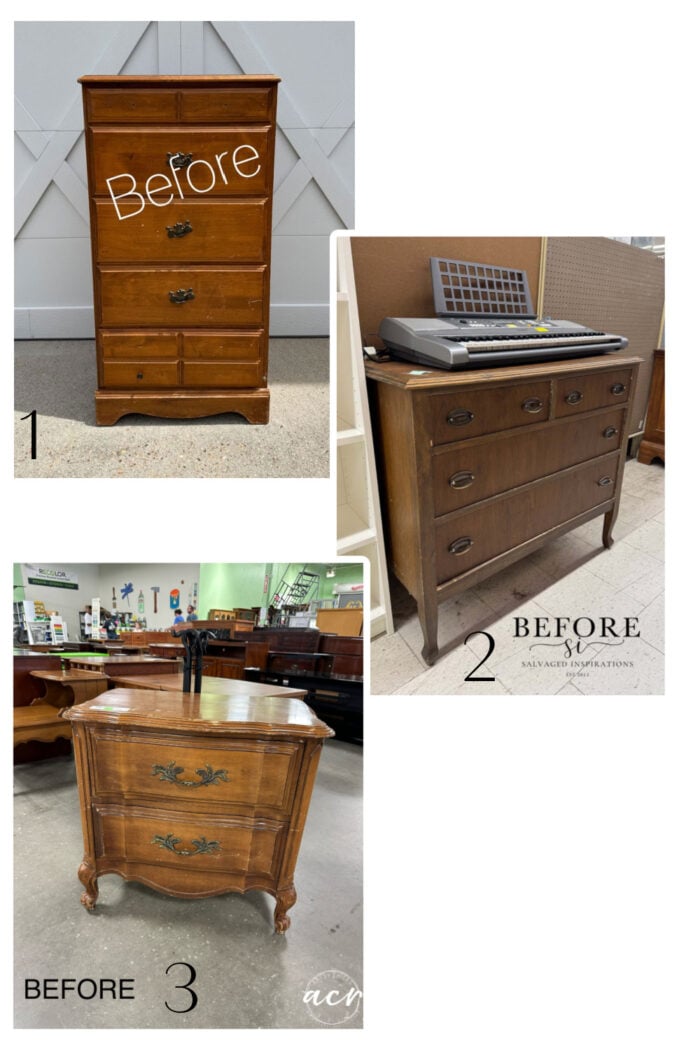
- Confessions of a Serial DIYer
- Salvaged Inspirations
- You are here!
Have a wonderful week!!
xo


