In this Path of Exile 2 article, we will be taking a look at how to put together the Beastmaster build for you to use to get into the late-game or end-game of the game. Path of Exile has become notorious for the sheer amount of skills and build possibilities available in the game, and the sequel follows suit with an extensive skill tree and a multitude of skill gems. This guide is here to help you get through all that and lay out a path for you to follow as you reach the end of the campaign and prepare for your Cruel playthroughs or endgame.
Introduction
The Beastmaster is a fun build that is different from other builds in that you are focusing on using your companions to your advantage and following up with blinding attacks of your own.
This build plays a little differently from your regular builds and can take a little while to get used to, but once you have become accustomed to its different playstyle, it is a very fun way to play the game.
Starter Class
For this build, we will be starting with the Huntress class, which is one of the seven available for now. On the expansive skill tree, the Huntress class will start on the southeast side.
This side of the skill tree consists mainly of passives related to evasion, attack speed, and flat increases in projectile damage, but the skills we will be taking advantage of are a little further down the tree and concern increasing the effectiveness of our companions.
Passive Skills
When putting this build together, especially when we are starting out in the game, we cannot tame beasts and use them as our companions yet. So, for that, we will be focusing on a different skill group to help us.
To that end, we will start by taking nodes that increase our attack damage, and we will be going for the Disorientation passive node.

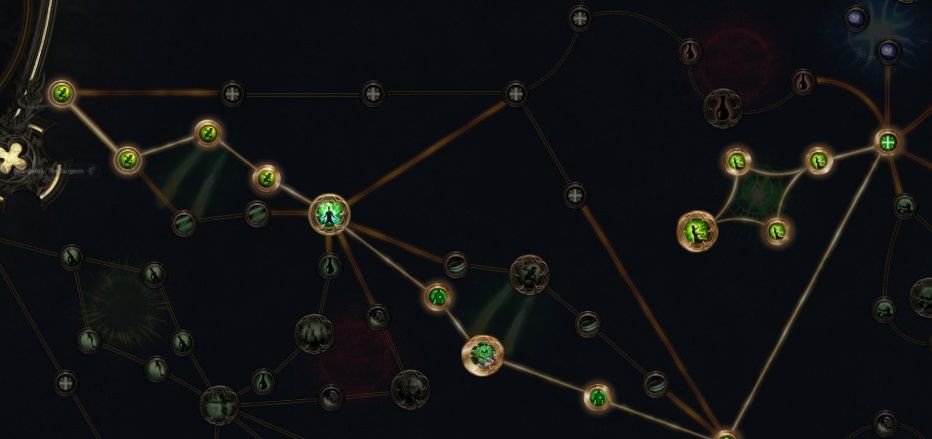
This particular skill group increases our damage against blinded enemies and goes well with our build because we will be taking advantage of our blinding skills.

After this skill group, we will go straight down the southeastern axial tree, taking attribute nodes until we reach the gem socket. At this point, we will take the north branch to reach the first core skill group for this build, which will increase the effectiveness of our tamed beast companion.
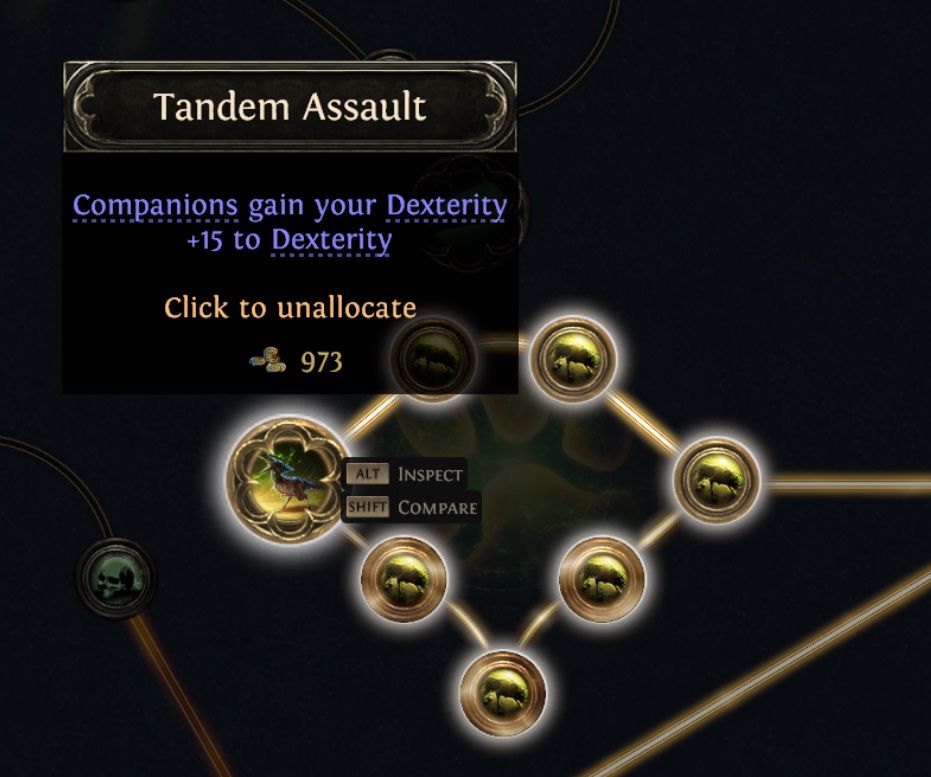
This skill group increases the damage dealt by your companions by 24% as well as gives increases in attack speed, accuracy, and dexterity to both you and your companion. Even though each node looks like it will not be of much benefit, the whole group goes a long way in helping with this build.
After this skill group, you can invest in the opposite branch immediately or come back later, but it does help with your damage output by increasing your critical chance and critical damage against enemies in your Presence.
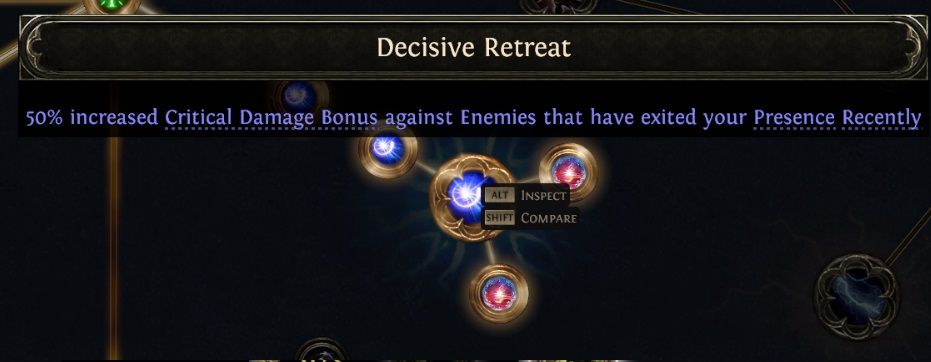
From here, we will continue down the southeastern axis of the skill tree from the gem socket and reach the second group of passive skills that forms this build.
These passive nodes give a lot of great sustainability for your companions and provide elemental resistances and faster revive speeds.
Although these might not seem necessary, they do make a difference because your companions will die a lot, especially in the later stages of the game.

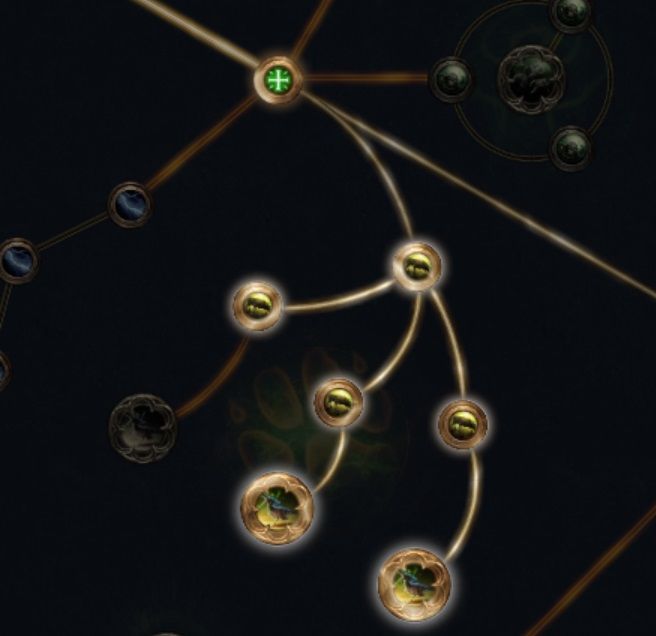
After these two skill groups, we will be aiming to reach the outermost ring of the skill tree and aim for the passive skill node Trusted Kinship.
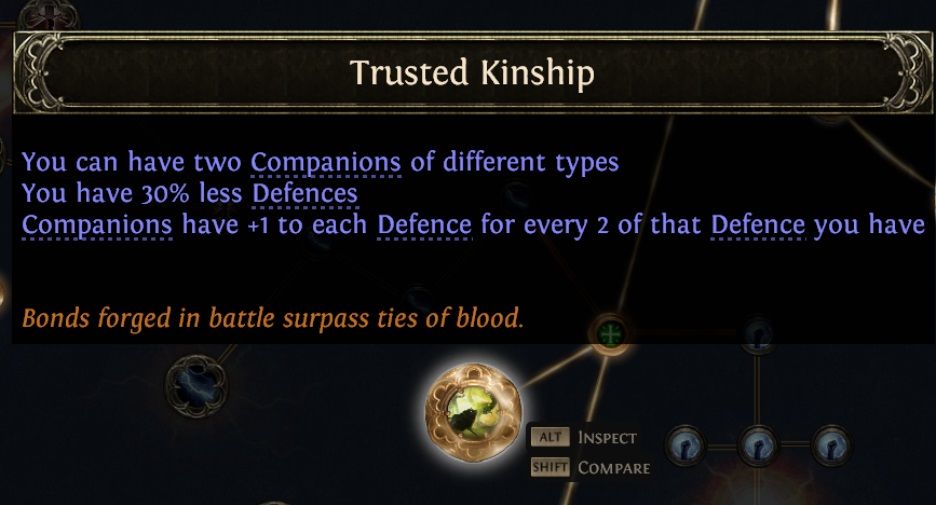
This node will allow us to have two companions active at the same time, opening up more potential for the build as a whole. Although it may look like the 30% less defenses is a huge trade-off for an extra companion, it is definitely worth the risk because having a second companion means you can have two additional modifiers from your tamed beasts, giving this build a great power boost.
After this node, we will be focusing mainly on the companion branch on the outer ring of the skill tree, as this group of passive nodes gives all kinds of buffs to your companions, ranging from increases in damage to increased maximum life.
But without a doubt, the biggest benefit comes from the Easy Going node.

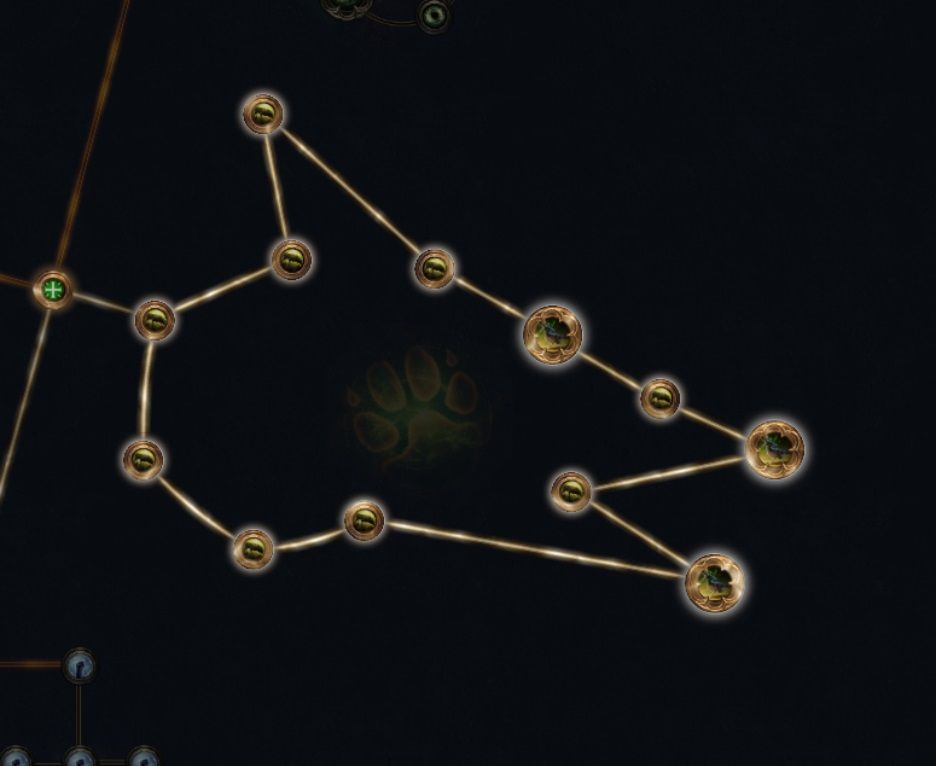
This node will reduce the spirit cost of companions, making it possible for you to have an aura active—whether it is an offensive or defensive one.
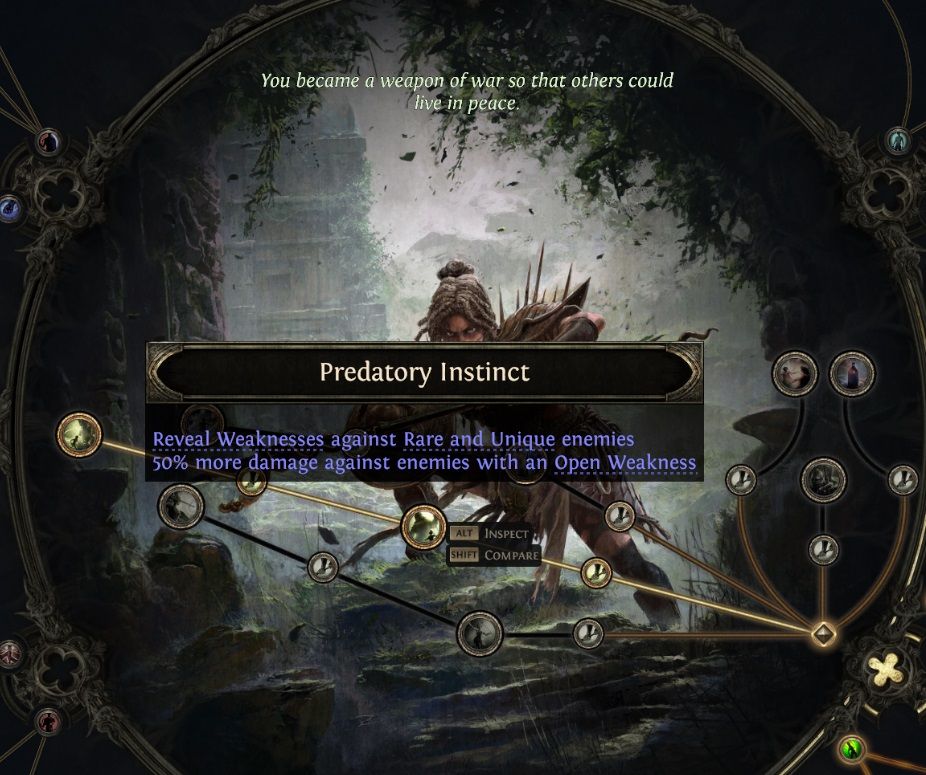
For the Ascendancy for this build, we will be using the Amazon path for the Huntress, and we will be taking the Predatory Instinct passive node of the ascendancy tree.
This will make it so that rare enemies and bosses will have areas in their health bar which are classified as “Open Weakness,” and you will receive damage bonuses, movement speed, and skill speed bonuses when fighting enemies with their health in the Open Weakness area.
Active Skills Setups
The active skills for this build, especially before we get to tame our beast companions, use a simple rotation but can take some time to get used to because of the amount of combinations you can do with the skills.
The first of the skill rotation is the first skill that we gain access to when playing with the Huntress class, and that is Whirling Slash.
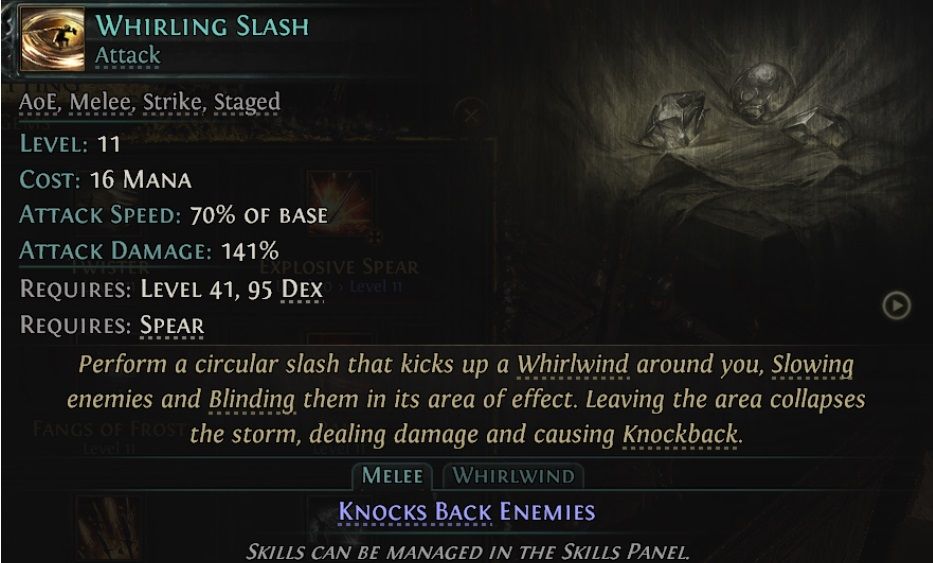
The skill, in addition to damaging enemies with a slashing melee attack, will kick up a Whirlwind which, by itself, slows and blinds enemies. What a lot of people may not realize with this skill is that casting another Whirling Slash while you are inside the Whirlwind will increase its size and increase its effects when you leave it, causing it to explode.
This skill by itself is good at dealing with groups of enemies, especially if they have you surrounded and in melee range, but it can also quickly combine with another skill to give a great ranged attack option.
The second skill in question is the Twister skill, which will shoot out a small twister that pierces through your target and damages them.
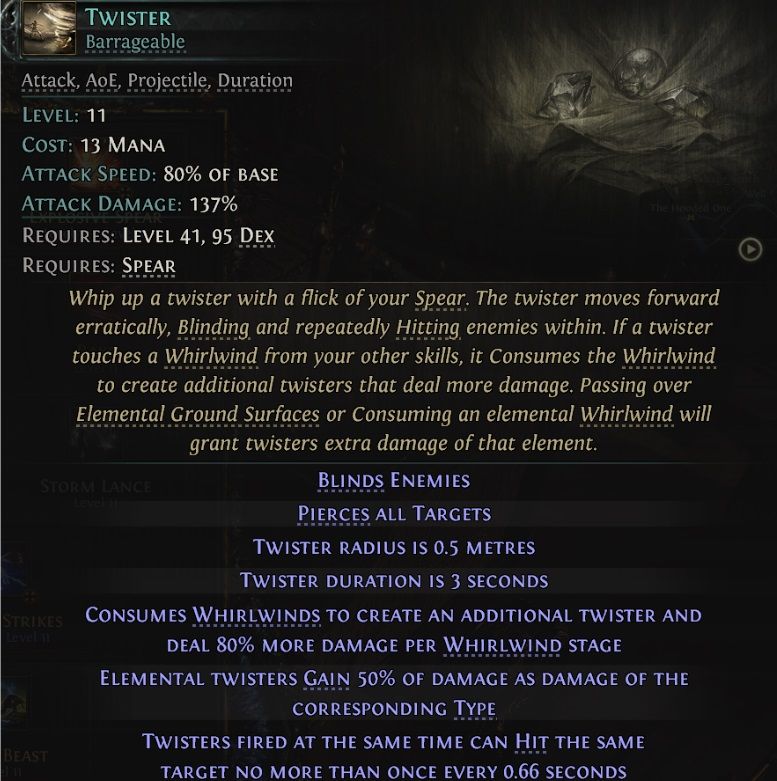
But if you fire off a Twister through a Whirlwind, the Twister will branch off into additional twisters depending on the size of the Whirlwind, covering more area and damaging more enemies.
Another cool aspect of Whirlwinds and Twisters we can take advantage of is the fact that we can combine them with any elements to deal elemental damage in a large area.
For example, exploding an explosive spear in a Whirlwind will cause it to turn into a Fire Whirlwind that deals fire damage, and if we shoot off Twisters through that Whirlwind, we can send off Twisters that deal fire damage to enemies.
This works for all the elements, and this ability to combine with the elements makes it a very effective tool we can use until we can start using the level 9 skills, which includes the Tame Beast skill.
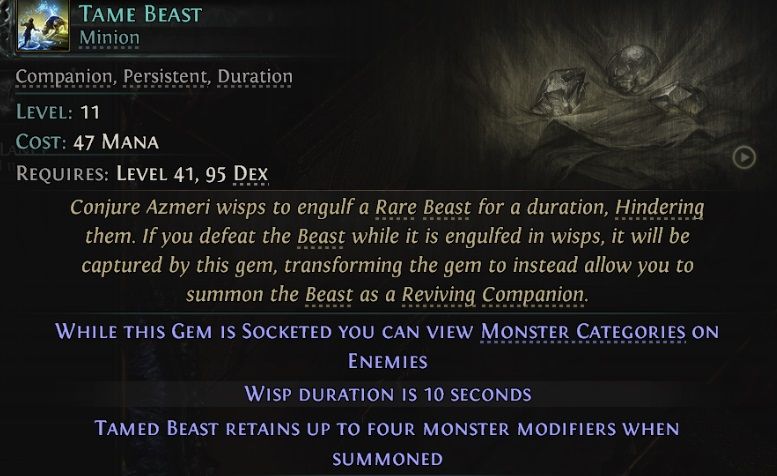
The Tame Beast skill will let us capture beast-type enemies as our companions, and this is the core skill our build is centered around.
You will want to capture beasts of at least the yellow-named rare variety, as you will get all the modifiers that come with the captured beast for yourself. Ideally, we want aura-type modifiers, as they will also give us buffs in addition to the companion, such as Haste Aura or Physical Damage Aura.
The easiest and most accessible place to start farming for the ideal beast companion is in Act 3 with the jungle area, containing multiple enemies of the beast variety. And since the Quadrilla enemy type cannot have Haste Aura on them, the most ideal beast to tame first would either be an Antlion or a Diretusk Boar enemy type. Although you don’t necessarily need to tame these beasts specifically, having them offers the best experience as I was putting this build together.
Another skill that goes well with this build is the Whirlwind Lance skill, which will allow you to form Whirlwinds from range by throwing your spear.
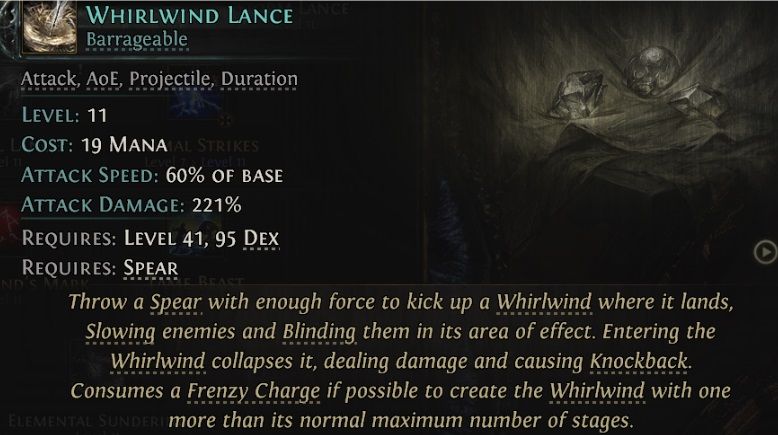
These Whirlwinds function the same way as the Whirlwind from the Slash, and we can combo it into a Twister or combine it with various elements to our advantage.
Support Gems
For this build, we will be looking to fortify our damage output using the Whirlwinds, as our own damage output is not benefitting from passive nodes.
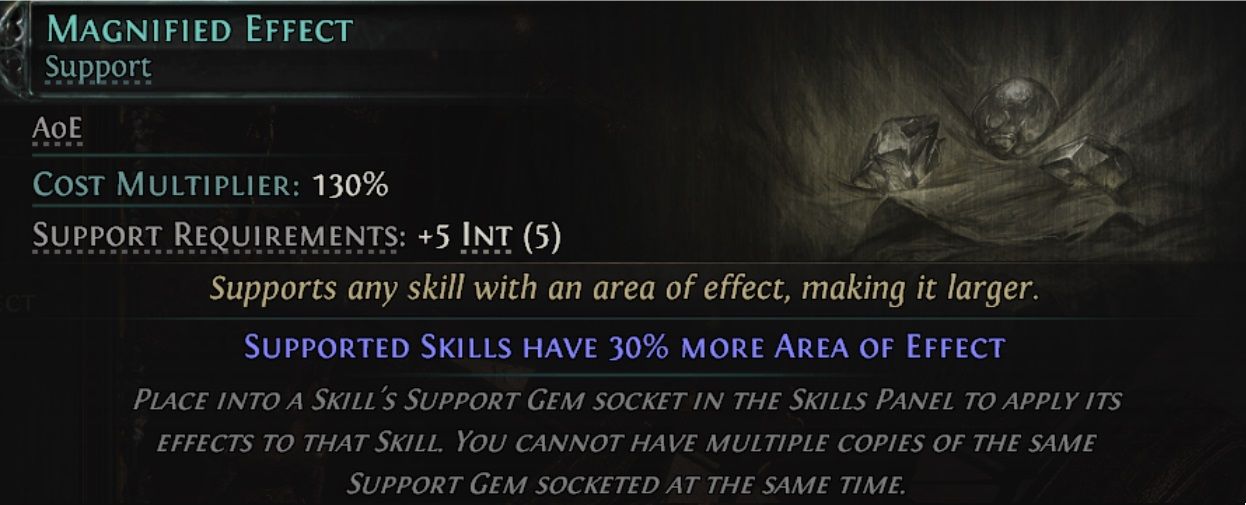
The first support gem we will be using on our Whirling Slash is the Magnified Effect gem. This will increase the size of the Whirlwind and allow you to cover more area with the explosions.
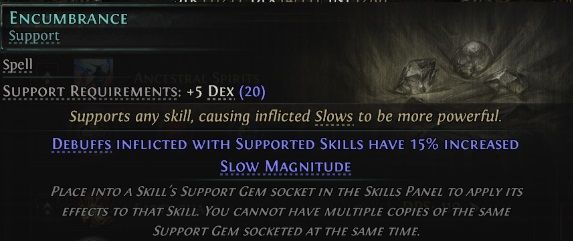
Another great support gem that works well with Whirling Slash is the Encumbrance gem.As this gem will increase the amount of slow by the Whirlwind, it will give additional crowd control to the skill.
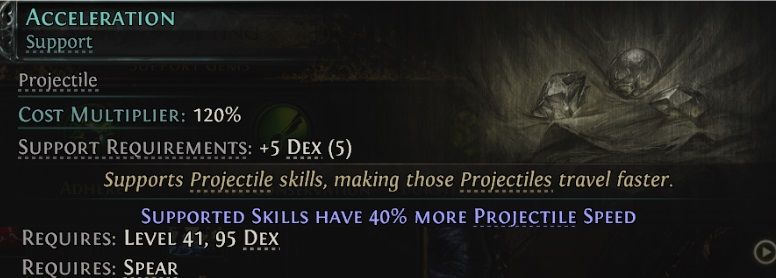
For the Twister skill, we will be looking to increase the projectile speed by putting in the Acceleration support gem, which increases the speed by 40%.
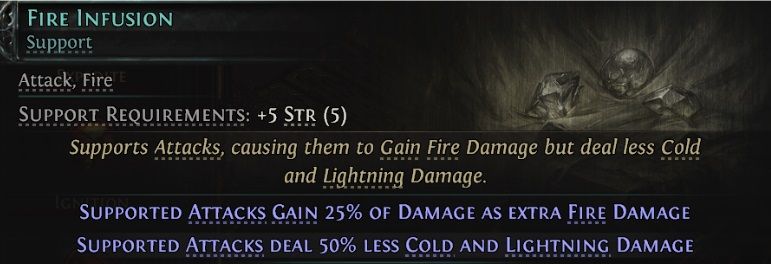
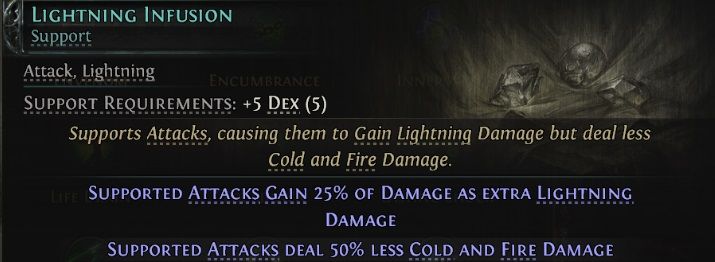
In addition, you can put in elemental support gems that increase elemental damage, such as Fire or Lightning Infusion, for an increase in damage—whichever one you find yourself using more often.
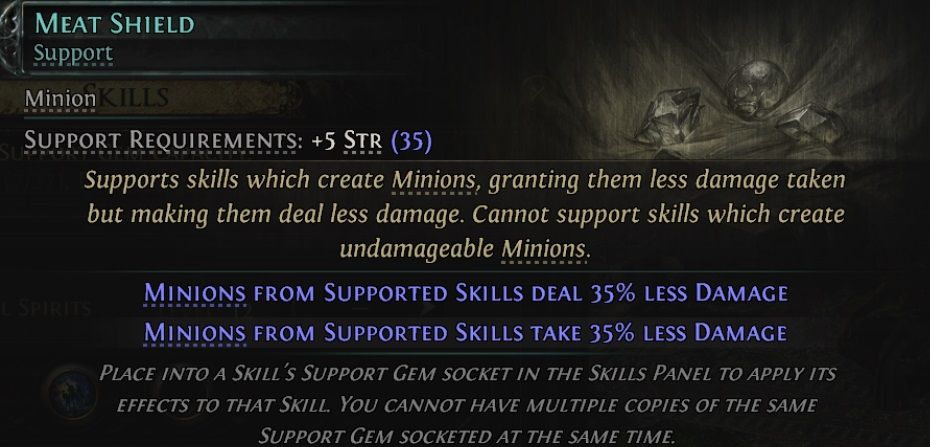
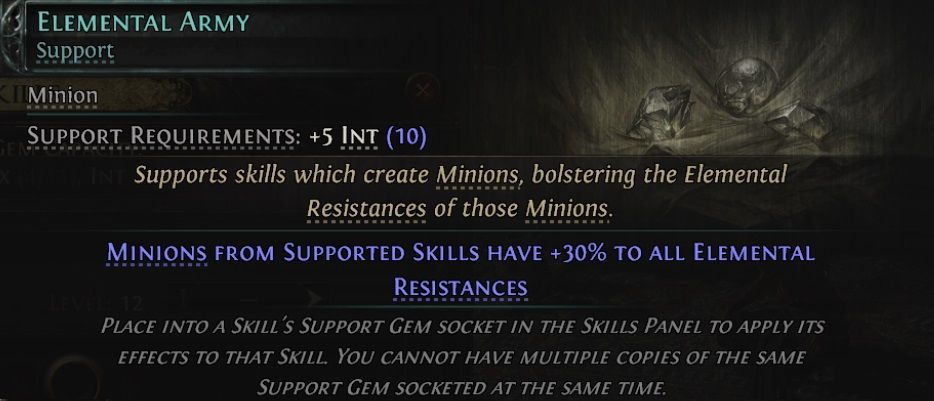
For the Tame Beast skill and your companion, having them around longer helps with your survivability by tanking hits. It helps to amplify this aspect by using support gems such as Meat Shield and Elemental Army, which will reduce the damage they take and increase their elemental resistances.
Since we will be using our tamed beasts, they will use all of our spirit reservation, and we will not be using any other spirit skills.
Another great combination of support gems to have with this build is the Envenom and Corrosion support gems, and have these slotted into the spear throw.
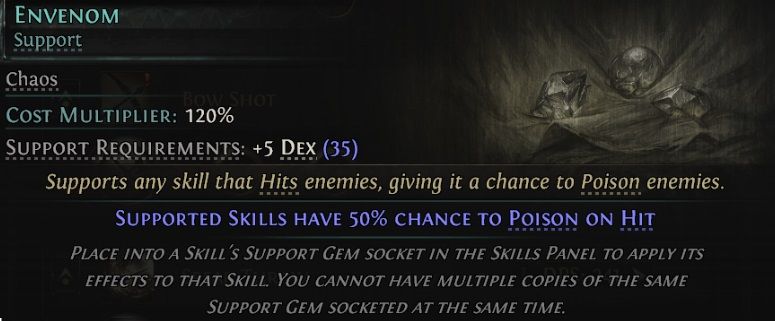
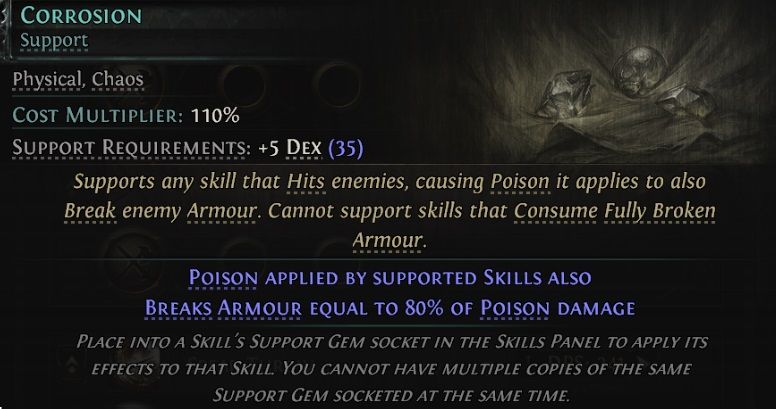
Envenom will allow you to poison enemies with your regular attacks, while Corrosion will break the armor of the poisoned enemies—ultimately increasing your damage output.
Gear and Equipment
This Beastmaster build relies on your beasts to do a lot of the damage output in combination with yours, so any gear that increases your damage really helps a lot.
Also, the main source of defense comes from your evasion, which is amplified by the enemies being blinded, and any gear with high evasion rating will really help with survivability when using this build. Although no Uniques are a necessity to use this build, the Gloomform Waxed Jacket Unique equipment really works well with this build, as you will release Smoke Cloud, which will blind your enemies—adding to your evasiveness overall.
Leveling Guide
The build levels smoothly by using the combo of Whirling Slash and Twister skills. This combo will allow you to go through most of the mobs without pressure during your playthrough as long as you don’t find yourself in situations where you run out of mana or get your mana siphoned off.
Related
Path of Exile 2 Culling Spear Build
In this article, we’ll be taking a look at how to put together The Culling Spear Build for getting into the endgame
As you level up, it is beneficial to have some intelligence attribute nodes since this will allow us to equip more intelligence support gems in addition to increasing the mana pool. You can either start investing into attack damage nodes or attack speed nodes for an upgrade in your overall offensive capability.
Mapping and Bossing
Although you can clear mobs during mapping without much problem, it can take longer compared to other damage-focused builds. Bossing is a strength of this build, as most of the time, the bosses will be focusing on your beast companions, which will allow you to put out consistent damage while avoiding big attacks that can fill the whole screen. An efficient mapping strategy involves hunting for great rare beasts with different modifiers and using different ones for different situations depending on the map you are running.
Endgame Scaling and Optimization
Endgame scaling is enhanced through cluster jewels that increase Attack Speed, Movement Speed, and Attack Damage.
The build has great options to scale by investing into either pure damage, critical hit chance and damage, or going the elemental route while combining your Whirlwinds with different elements.
This build can perform well in SSF but is not recommended for Hardcore, as it is not the highest-performing build available.
It’s more geared toward having a fun, different playstyle, but you will need to be more mindful and play the game more actively compared to some other builds. It is not reliant on expensive Uniques, and it is fun to see your tamed beasts crushing your enemies alongside you as you go through wave after wave.
So, this wraps up my guide for the Beastmaster build in Path of Exile 2. I hope you found this guide helpful, and if you have any suggestions or tips, feel free to leave them in the comment section.


