
Message Board Sheet Cake – say it with a message board inspired cake!
A new cake decorating tutorial by our contributor, Erin Gardner.
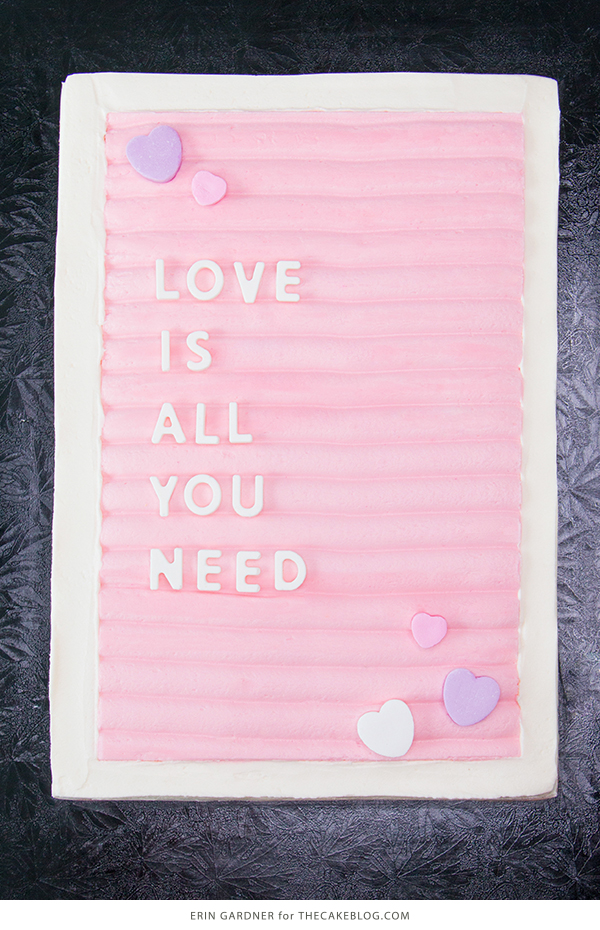
I’m a big fan of cake designs that offer many paths to the destination! Happen to have a scalloped cake comb and small letter mold on hand, awesome! No tools? No problem! Both of the key components to this design, the message board and letters, are easy to achieve no matter what you happen to have on hand.
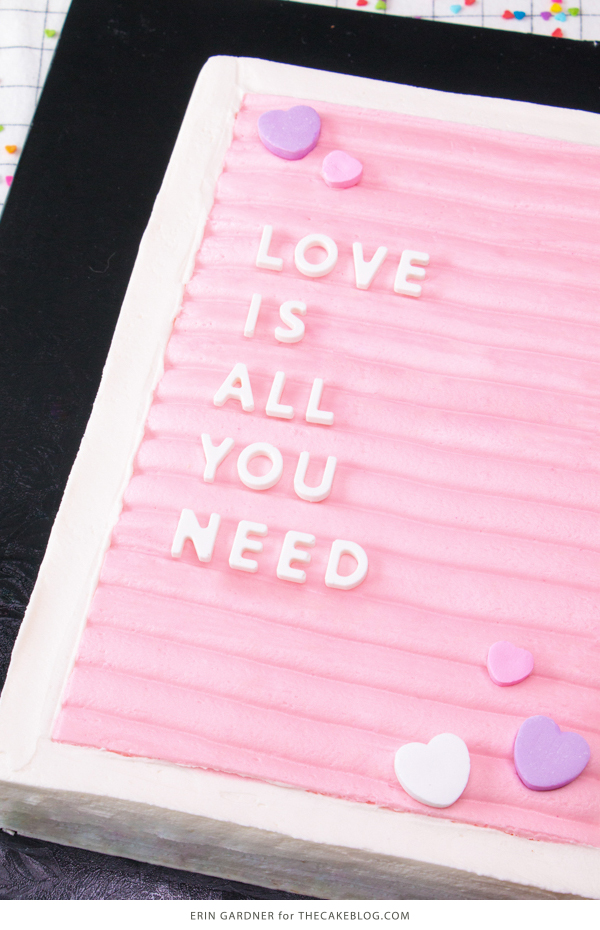
Create this cake to share your feelings this Valentine’s Day or make it any day you need to get something off your chest! The design works perfectly for a number of occasions including showers, gender reveals, and of course, birthdays. Change up the colors and font to match your event’s design.
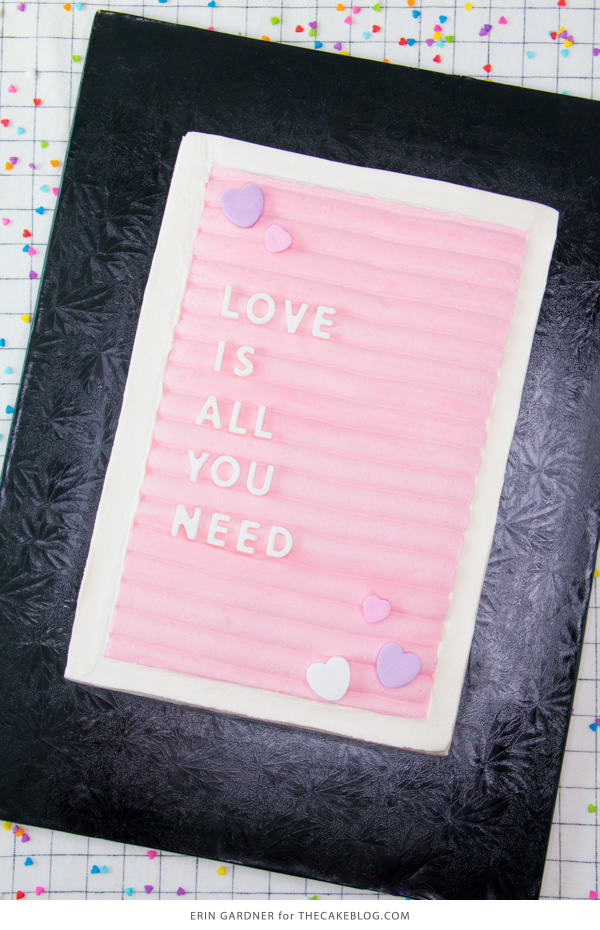
MESSAGE BOARD SHEET CAKE
a tutorial by Erin Gardner
Supplies:
- 9 x 13” Sheet cake finished with a thin layer of plain buttercream
- Extra plain buttercream, about 1 cup
- Pink Buttercream, about 3 cups
- Scalloped cake comb
- Bench scraper
- Small icing spatula
- White chocolate
- Small piping bag or paper cone
- Small letter mold (optional)
- Piping bag
- Basketweave tip (with flat side)
- Heart candies (optional)
MAKE THE MESSAGE BOARD
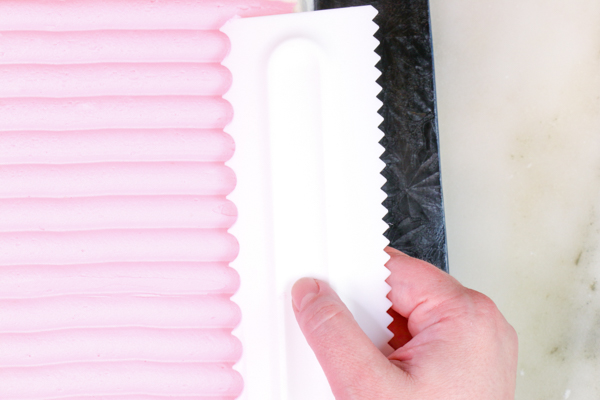
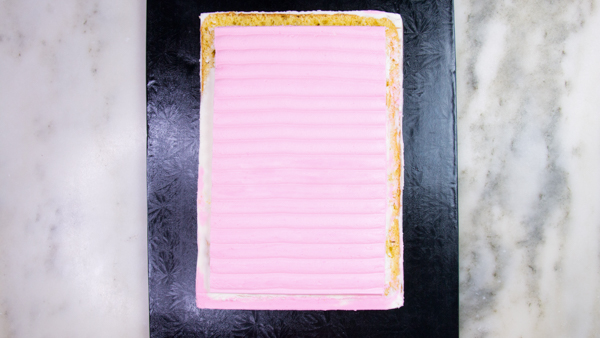
Top the sheet cake with a thick layer of pink buttercream. Don’t worry about covering the cake all the way to the edges, but do focus on making the layer as level as possible. This will make it easier for you to achieve cleaner lines. Drag a scalloped cake comb through the buttercream to create lines. Overlap the comb by a line or two as you work your way down the cake lengthwise. Chill the cake until the buttercream is firm to the touch. Alternatively, fill a piping bag with a large round tip and pipe lines across the cake. Be aware that this method will use about twice as much buttercream.
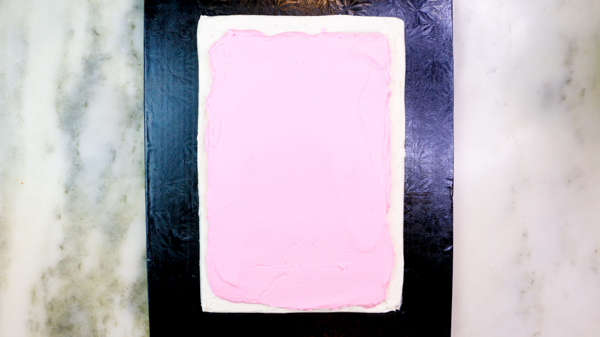
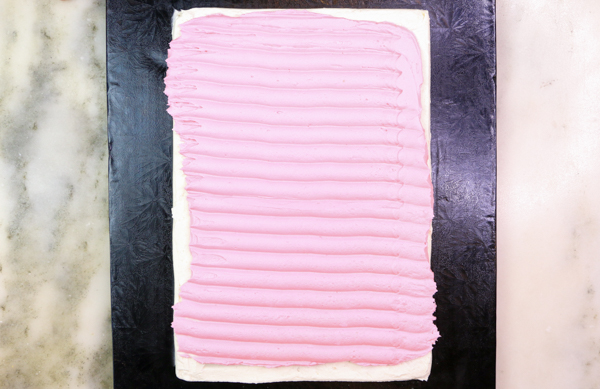
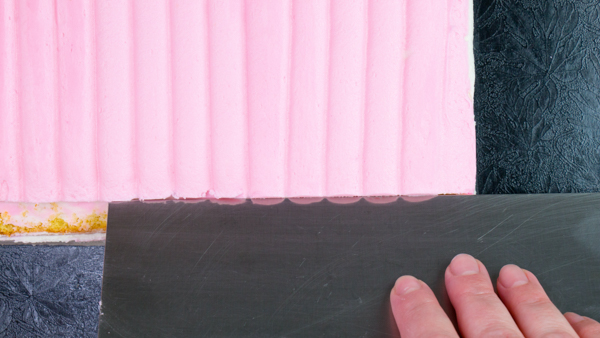
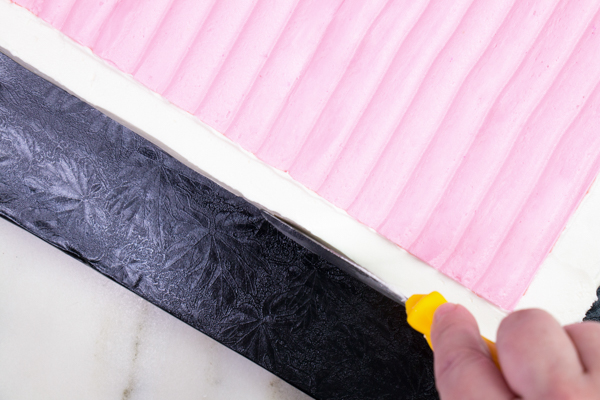
Dip your bench scraper in warm water and use the long edge to cut about an inch border on each edge of the cake. Use a small icing spatula to help lift the excess frosting away.
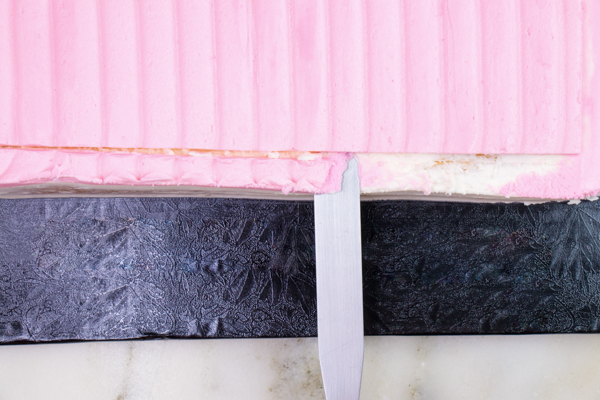
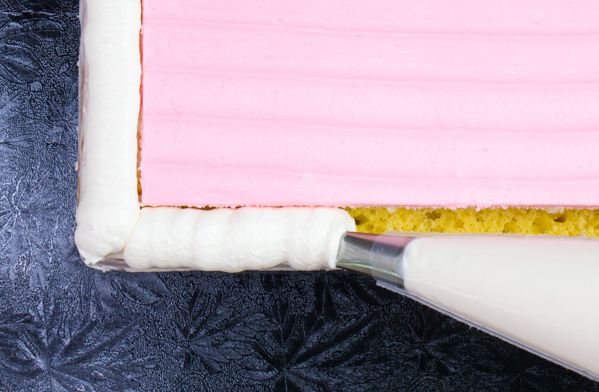
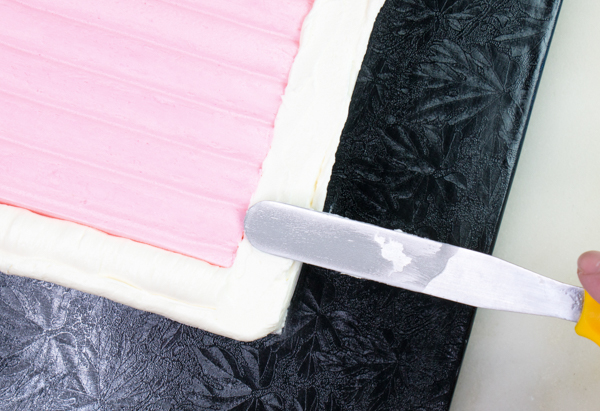
Fill a piping bag fitted with a basketweave tip with plain buttercream. Hold the bag with the smooth side of the tip facing up and fill in the cake’s border. Use a small icing spatula to flatten the piped edges.
MAKE THE CHOCOLATE LETTERS
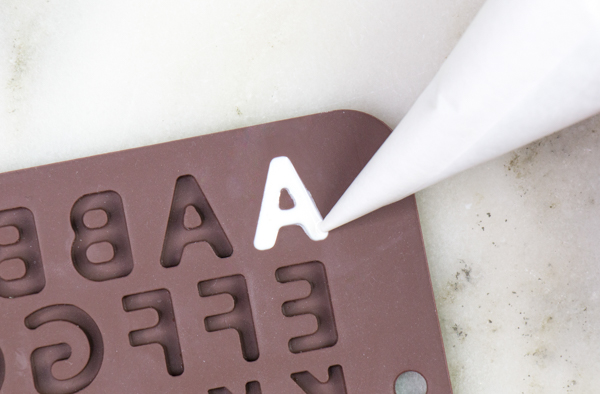
Melt the white chocolate and pour it into a small piping bag or paper cone. Fill just a few letters at a time with the melted chocolate. Shake and tap the mold against your work surface to release any air bubbles. Scrape the excess chocolate away with a small knife or icing spatula. Allow the letters to firm up at room temperature or pop the mold in the fridge to speed the process up. If you don’t have a mold, print or write out your message on a piece of paper. Layer a piece of parchment paper on top and tape it down. Trace the letters with the piped white chocolate.
COMPLETE THE MESSAGE BOARD CAKE
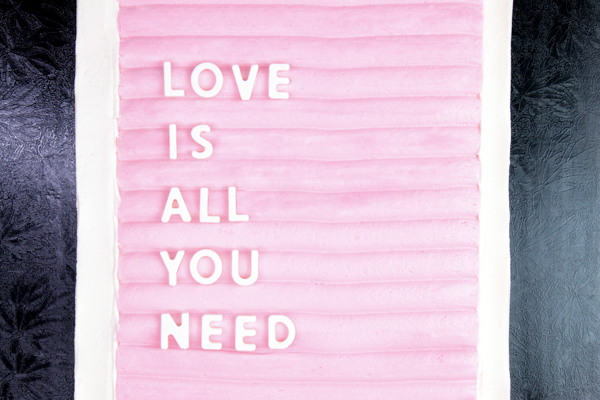
Carefully un-mold the letters or lift them from the parchment paper. Arrange your message on a piece of parchment paper to determine your layout. Count the number of ridges on the cake and begin to add your design starting from the center out. This will help ensure you don’t run out of room or have to move letters once they’re placed. If for some reason you want to change your design, pop the cake back in the fridge to firm up before carefully lifting off the letters with the tip of a small knife. Finish the design by adding a few of your favorite heart-shaped candies.
MORE VALENTINE’S CAKES TO MAKE:


