
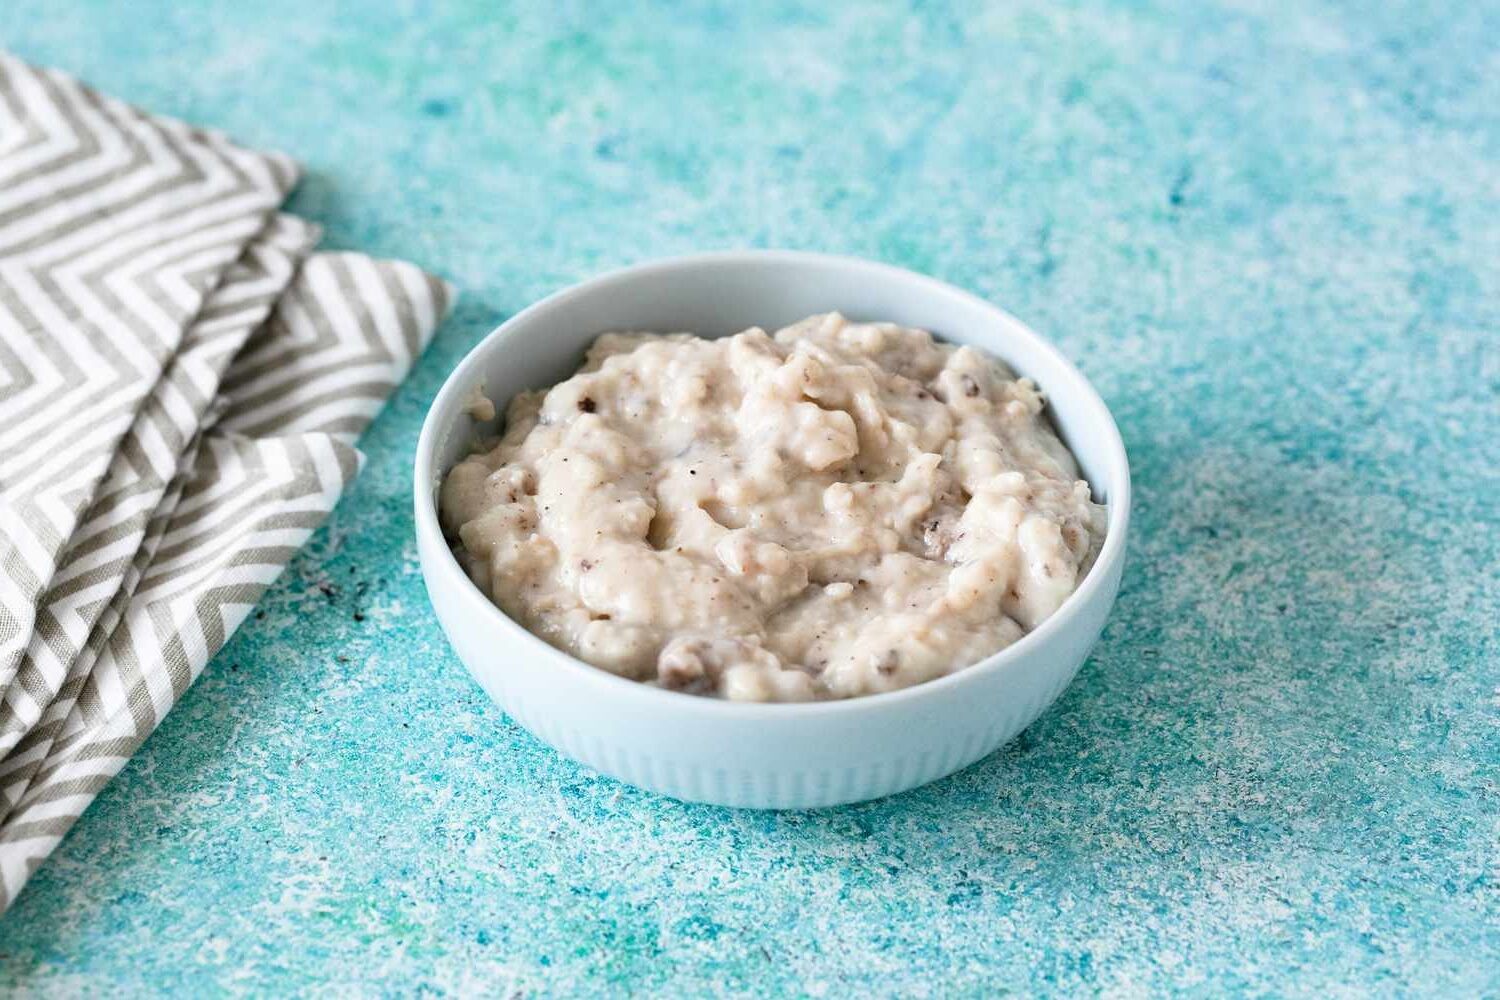
This sawmill gravy is a comforting and hearty dish that pairs perfectly with biscuits or any gluten-free bread. It’s a classic Southern recipe that brings warmth and flavor to your breakfast table. The rich and creamy gravy is made with gluten-free sausage and thickened with gluten-free flour, making it suitable for those with gluten sensitivities.
When preparing this recipe, you might need to pay special attention to the gluten-free sausage and gluten-free flour. These ingredients are essential to ensure the dish remains gluten-free. You can find them in the gluten-free section of most supermarkets. Make sure to check the labels to confirm they are certified gluten-free.

Ingredients For Sawmill Gravy Recipe
Gluten-free sausage: Provides the savory base for the gravy, adding flavor and texture.
Gluten-free flour: Used to thicken the gravy, ensuring it has the right consistency without gluten.
Milk: Adds creaminess to the gravy, creating a rich and smooth texture.
Salt: Enhances the overall flavor of the gravy.
Freshly ground black pepper: Adds a touch of spice and depth to the dish.
Technique Tip for This Gravy
When browning the sausage, make sure to break it up into small crumbles for even cooking. This will ensure that the gravy has a consistent texture and the flavors are well-distributed.
Suggested Side Dishes
Roasted Brussels Sprouts with Bacon: Imagine the crispy, caramelized edges of Brussels sprouts mingling with the smoky, savory crunch of bacon. This side dish adds a delightful contrast to the creamy Sawmill Gravy, creating a symphony of textures and flavors that dance on your palate.
Garlic Mashed Potatoes: Picture a mound of velvety mashed potatoes, infused with the aromatic essence of garlic. This comforting side dish serves as the perfect canvas to soak up every drop of that luscious Sawmill Gravy, making each bite a heavenly experience.
Apple and Walnut Salad: Envision a refreshing salad with crisp apple slices, crunchy walnuts, and a tangy vinaigrette. This vibrant side dish offers a burst of freshness and a delightful crunch, providing a lovely contrast to the rich and savory Sawmill Gravy.
Sweet Potato Casserole: Imagine a warm, comforting casserole made with creamy sweet potatoes, topped with a crunchy pecan streusel. This side dish adds a touch of sweetness and a delightful texture, perfectly complementing the savory notes of the Sawmill Gravy.
Creamed Spinach: Picture a rich and creamy spinach dish, where tender leaves are enveloped in a luscious cream sauce. This indulgent side dish pairs beautifully with the hearty Sawmill Gravy, creating a harmonious blend of flavors and textures.
Alternative Ingredients
-
gluten-free sausage – Substitute with ground turkey or chicken: These options are leaner and can be seasoned to mimic the flavor of sausage.
-
gluten-free flour – Substitute with cornstarch: Cornstarch is a great thickening agent and is naturally gluten-free.
-
milk – Substitute with unsweetened almond milk: Almond milk is a dairy-free alternative that works well in savory dishes.
-
salt – Substitute with sea salt: Sea salt has a more complex flavor and can enhance the overall taste of the gravy.
-
freshly ground black pepper – Substitute with white pepper: White pepper has a milder flavor and blends seamlessly into white sauces like gravy.
Other Alternative Recipes Similar to This Gravy
Creamy Mushroom Gravy: Dive into the rich and savory world of creamy mushroom gravy. Perfectly sautéed mushrooms blend seamlessly with a luscious, velvety sauce. This versatile gravy pairs wonderfully with mashed potatoes, roasted meats, or even as a topping for your favorite gluten-free pasta.
Country Fried Steak: Experience the ultimate comfort food with country fried steak. Tender cuts of beef are breaded in a gluten-free coating and fried to golden perfection. Serve with a generous helping of mashed potatoes and a drizzle of gluten-free gravy for a meal that’s sure to satisfy.
Southern Biscuits: Whip up a batch of fluffy, gluten-free southern biscuits that are perfect for any meal. These biscuits are light, buttery, and ideal for pairing with gravy, jams, or even a slice of cheese. Enjoy them fresh out of the oven for the best experience.
Chicken Fried Chicken: Indulge in the crispy, juicy delight of chicken fried chicken. This dish features tender chicken breasts coated in a gluten-free breading and fried to a golden brown. Serve with a side of creamy mashed potatoes and a rich, gluten-free gravy for a meal that’s pure comfort.
Vegetarian Gravy: Create a hearty and flavorful vegetarian gravy that’s perfect for topping your favorite dishes. This gravy uses a blend of vegetables and gluten-free flour to achieve a rich, savory taste. Pour it over mashed potatoes, rice, or even roasted vegetables for a delicious, meat-free option.
How to Store / Freeze This Gravy
-
Allow the sawmill gravy to cool to room temperature before storing. This prevents condensation, which can make the gravy watery.
-
Transfer the cooled gravy into an airtight container. For best results, use a container that fits the amount of gravy you have to minimize air exposure.
-
Label the container with the date you made the gravy. This helps you keep track of its freshness.
-
Store the container in the refrigerator if you plan to use the gravy within 3-4 days.
-
For longer storage, place the gravy in a freezer-safe container or a heavy-duty freezer bag. Squeeze out as much air as possible before sealing to prevent freezer burn.
-
Label the container or bag with the date and contents. Sawmill gravy can be frozen for up to 3 months.
-
When ready to use, thaw the gravy in the refrigerator overnight.
-
Reheat the gravy in a skillet over medium heat, stirring frequently. If the gravy is too thick, add a splash of milk to reach the desired consistency.
-
Taste and adjust the seasoning with salt and freshly ground black pepper if needed before serving.
-
If reheating from frozen, you can also use a microwave. Transfer the gravy to a microwave-safe dish, cover, and heat on medium power, stirring every minute until heated through.
How to Reheat Leftovers
-
For stovetop reheating:
- Place the leftover sawmill gravy in a saucepan.
- Heat over medium-low heat, stirring occasionally to prevent sticking.
- If the gravy is too thick, add a splash of milk or broth to reach the desired consistency.
- Continue to heat until the gravy is warmed through, about 5-10 minutes.
-
For microwave reheating:
- Transfer the sawmill gravy to a microwave-safe bowl.
- Cover the bowl with a microwave-safe lid or plastic wrap with a small vent.
- Heat on medium power for 1-2 minutes, stirring halfway through.
- If needed, add a little milk or broth to thin the gravy and continue heating in 30-second intervals until hot.
-
For oven reheating:
- Preheat your oven to 350°F (175°C).
- Place the sawmill gravy in an oven-safe dish and cover with foil.
- Heat in the oven for about 15-20 minutes, stirring halfway through.
- If the gravy thickens too much, stir in a bit of milk or broth before serving.
Best Tools for This Recipe
-
Skillet: A large, flat-bottomed pan used for cooking the sausage over medium heat until browned.
-
Spatula: Useful for stirring the sausage and incorporating the gluten-free flour.
-
Whisk: Essential for gradually whisking in the milk to ensure a smooth mixture.
-
Measuring cups: Used to measure out the milk accurately.
-
Measuring spoons: Necessary for measuring the salt and freshly ground black pepper.
-
Cutting board: Handy for any prep work, like cutting the sausage if needed.
-
Knife: Useful for cutting the sausage if it comes in links rather than ground.
-
Stove: Required to provide the heat source for cooking the sausage and thickening the gravy.
-
Serving spoon: Ideal for serving the hot gravy over biscuits or gluten-free bread.
How to Save Time on Making This Gravy
Pre-cook the sausage: Cook the gluten-free sausage ahead of time and store it in the fridge. This way, you can quickly add it to the skillet when you’re ready to make the sawmill gravy.
Use pre-measured ingredients: Measure out the gluten-free flour, milk, salt, and pepper beforehand. This will streamline the cooking process and save you valuable minutes.
Make a roux in advance: Prepare a batch of gluten-free roux and store it in the fridge. When it’s time to cook, simply add it to the skillet with the sausage.
Use a whisk: A whisk will help you blend the milk and gluten-free flour more efficiently, reducing the time it takes for the gravy to thicken.
Sawmill Gravy Recipe
This recipe is gluten free.
Ingredients
Main Ingredients
- 1 lb Sausage gluten-free
- ¼ cup Gluten-free flour
- 2 cups Milk
- ½ teaspoon Salt
- ½ teaspoon Black pepper freshly ground
Instructions
-
1. In a skillet, cook the sausage over medium heat until browned.
-
2. Stir in the gluten-free flour and cook for 1-2 minutes.
-
3. Gradually whisk in the milk, stirring constantly until the mixture thickens.
-
4. Season with salt and freshly ground black pepper to taste.
-
5. Serve hot over biscuits or your favorite gluten-free bread.
Nutritional Value
Calories: 300kcal | Carbohydrates: 15g | Protein: 12g | Fat: 20g | Saturated Fat: 7g | Cholesterol: 50mg | Sodium: 700mg | Potassium: 300mg | Fiber: 1g | Sugar: 6g | Vitamin A: 300IU | Calcium: 200mg | Iron: 2mg
FAQ:
Can I use a different type of sausage?
Absolutely! You can use any type of gluten-free sausage you like. Just make sure it’s gluten-free if you’re sticking to a gluten-free diet.
What kind of gluten-free flour works best for this recipe?
I usually go for a gluten-free all-purpose flour blend. It tends to work well for thickening the gravy without altering the taste too much.
Can I use a dairy-free milk alternative?
Yes, you can! Almond milk, soy milk, or any other dairy-free milk should work just fine. Just keep in mind that it might slightly change the flavor and consistency.
How do I store leftovers?
Just pop the leftover gravy in an airtight container and store it in the fridge. It should last for about 3-4 days. Reheat it gently on the stove, adding a splash of milk if it gets too thick.
Can I make this gravy ahead of time?
You sure can! Just make it as directed, let it cool, and store it in the fridge. When you’re ready to serve, reheat it on the stove and add a bit of milk to get it back to the right consistency.
I suggest you try these favourites too!


