
A step-by-step recipe for chewy, New York-style sourdough discard bagels! The addition of commercial yeast means you can make this easy sourdough bagel recipe in under 3 hours!
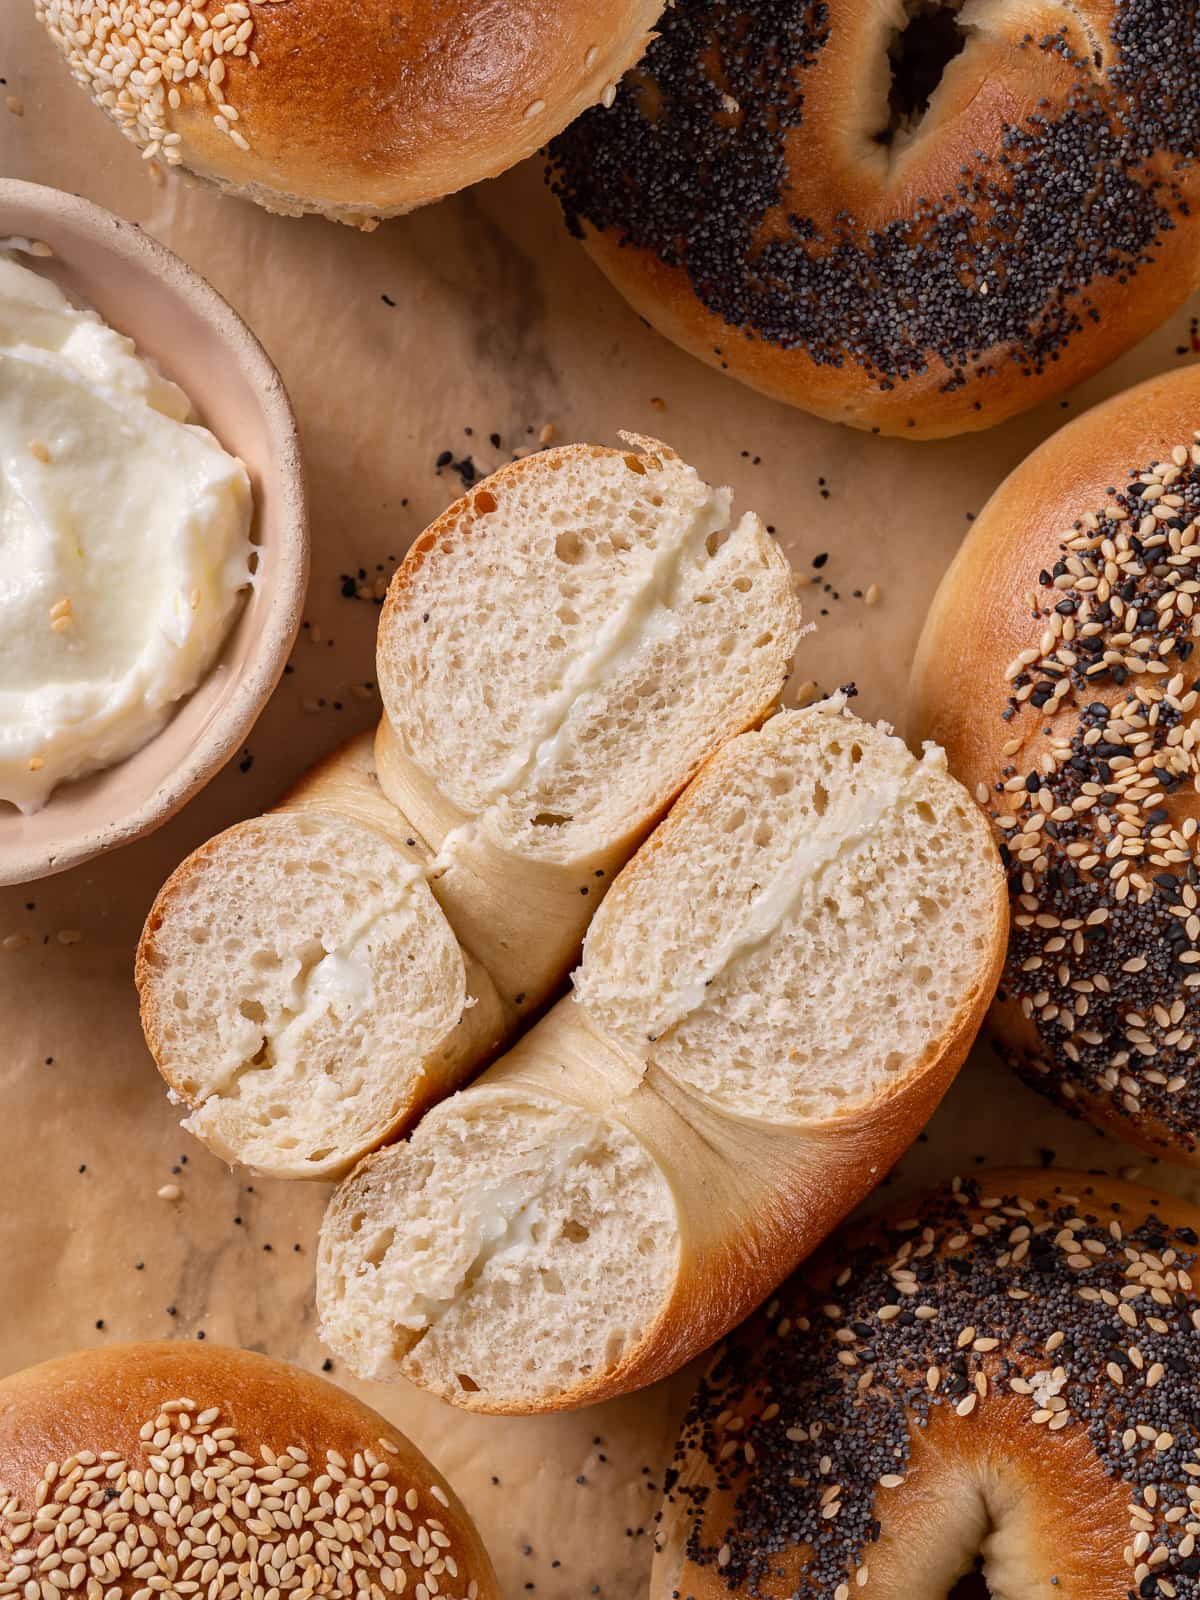
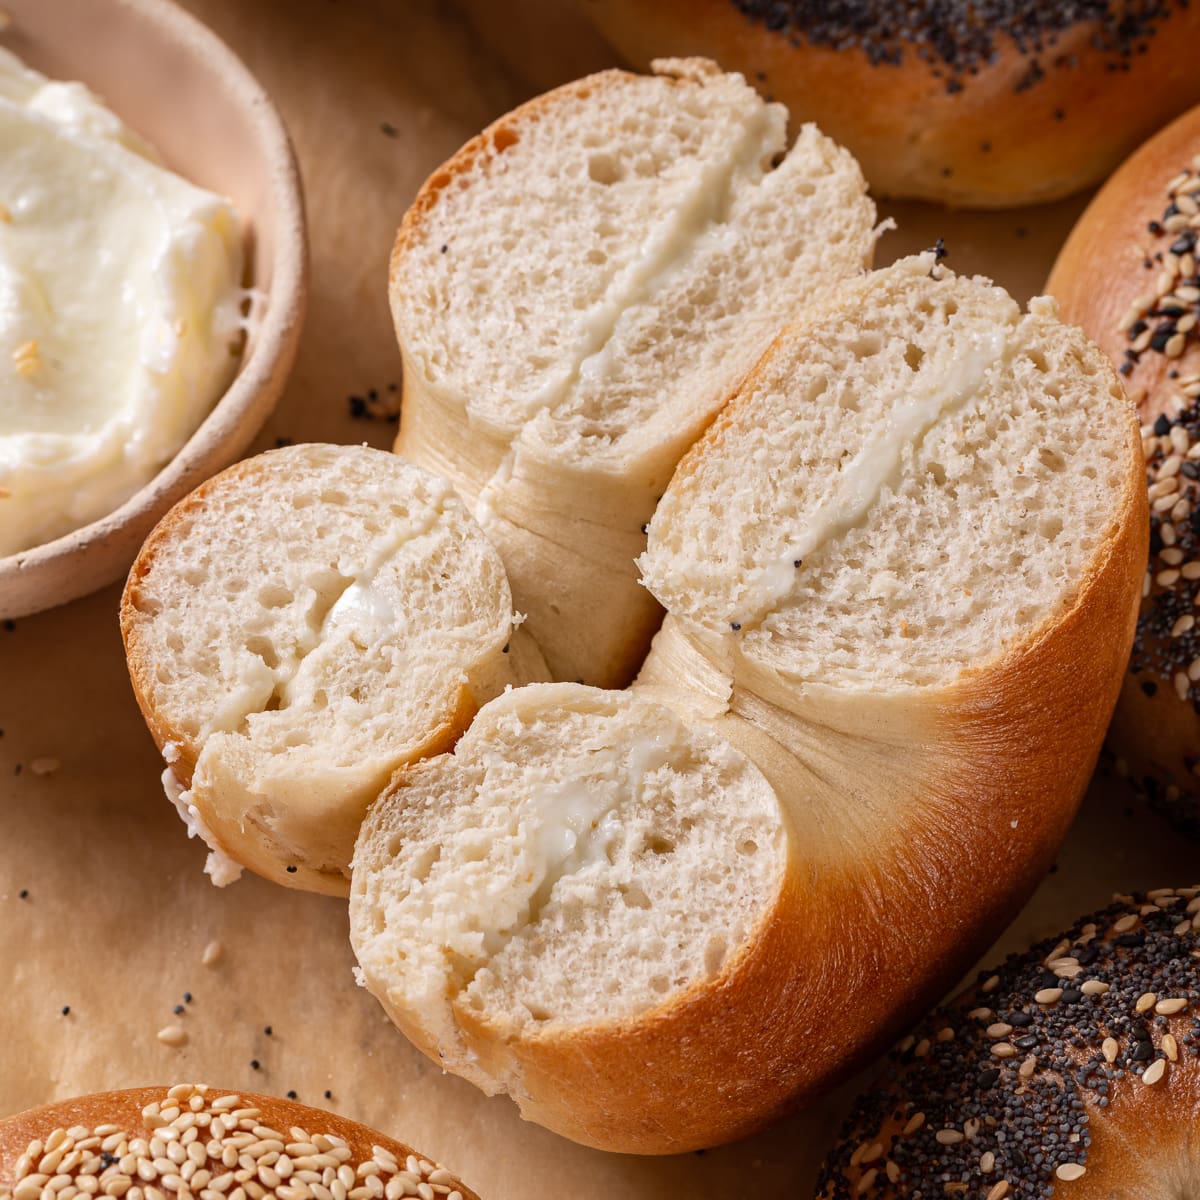
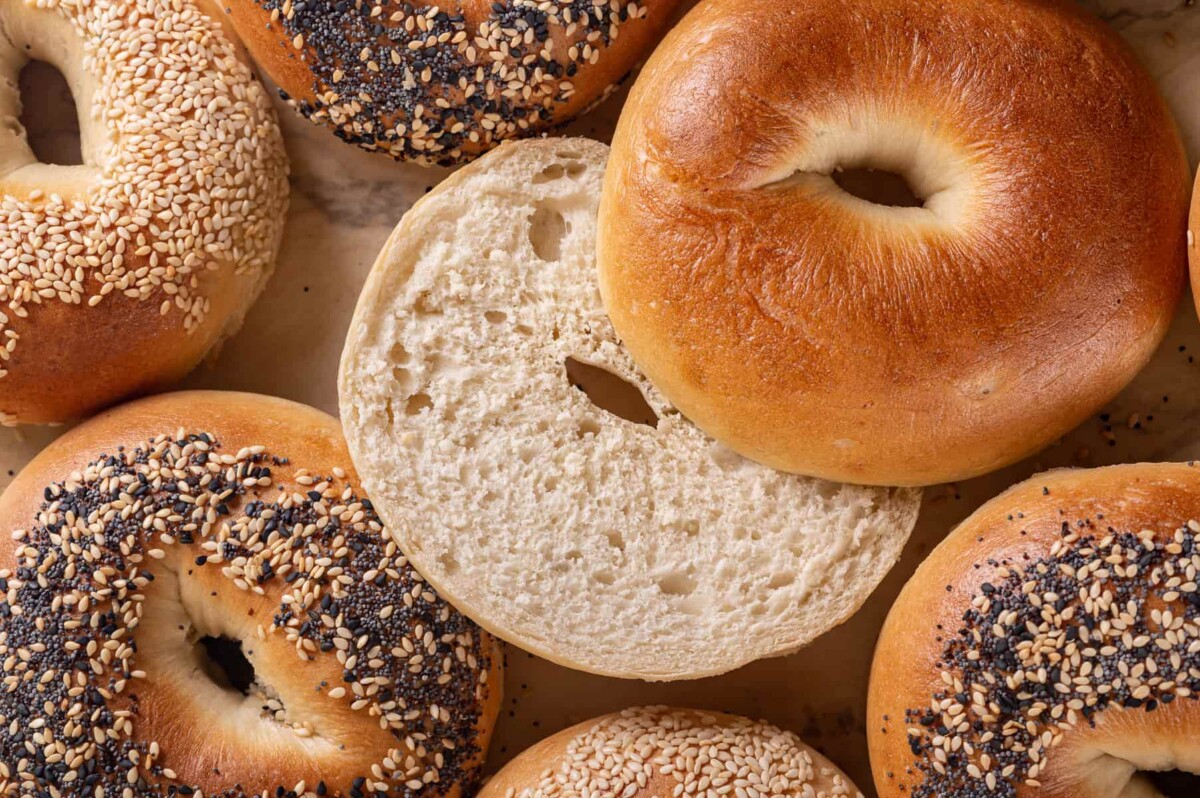
I adapted my everything bagel recipe to use sourdough starter! These easy sourdough discard bagels are soft and chewy on the inside with just the faintest hint of sourdough flavor, and the exterior is that delightfully chewy, smooth crust that you crave!
These bagels are not only an excellent way to use completely unfed sourdough discard like my sourdough discard crackers, but they have the taste and texture of bagels from an artisan bagel shop!
Why You Will Love this Recipe
- Soft, chewy bagels with that perfect glossy, chewy crust.
- You can use an active sourdough starter or sourdough discard. I’ve even made these bagels with discard straight from the refrigerator that hadn’t been fed in weeks! Unlike other discard recipes like sourdough pancakes or sourdough blueberry muffins, there was no noticeable difference.
- A fairly sturdy dough that isn’t sticky! The relatively low hydration (52%) of bagel dough, as opposed to a no knead sourdough bread or even oatmeal bread, makes a stiff dough that is easy to shape even without bench flour.
Ingredients & Substitutions
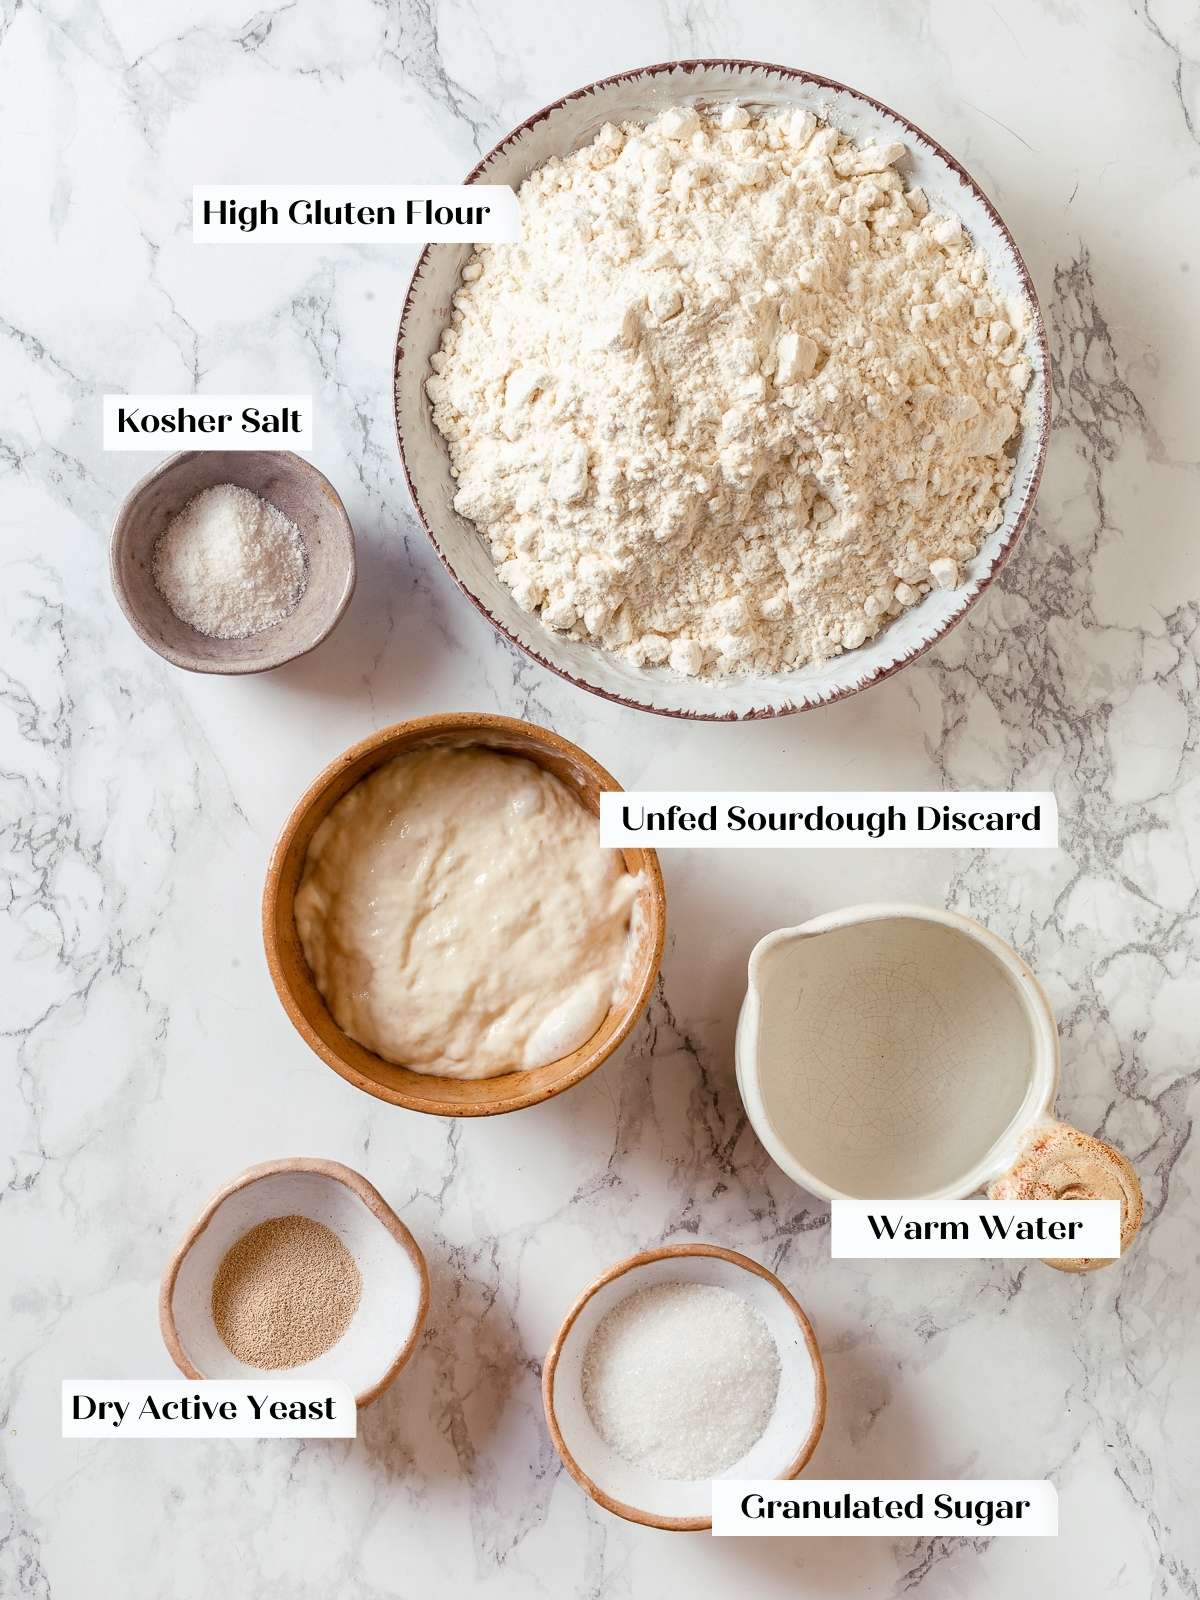
- Warm Water: I use tap water, but I do live in New York City and some bagel shops actually import our water for a “true NY style bagel.” Just use the most convenient water for you!
- Dry Active Yeast: This recipe is not relying on the natural yeast in the sourdough starter to do any of the heavy lifting! Active dry yeast will give you an even, consistent rise, especially if proofing overnight. Using fresh, active starter will speed up the fermentation process significantly, so you might consider reducing the active dry yeast by half. If you are going to mix the dough and bake in one day, you could use instant yeast instead.
- High-Gluten Flour: I use King Arthur’s High-Gluten Flour both when I make homemade bagels and when I test them. It is important to know that high-gluten flour, bread flour and all-purpose flour have different gram measurements per cup. If you do not have High-Gluten flour, I would strongly recommend using 3 2/3 cup bread flour instead.
- Sourdough Discard: You can use sourdough discard or starter at its peak for this recipe. This does assume that you have an active sourdough starter; if you are lost or just beginning your journey, start with my sourdough starter recipe and learn how to feed sourdough starter.
- Kosher Salt: I recommend using kosher salt or half the amount of table salt or fine sea salt. It is integral to gluten development and the final chewy texture of the bagels.
- Optional Toppings: These make excellent plain bagels but you can also dip the boiled bagels in a variety of toppings before baking like I did with these Montréal style bagels. Try everything bagel seasoning, poppy seeds, sesame seeds, or just flakey sea salt. I did add several pinches of Maldon sea salt to my everything bagel seasoning before topping some of these!
See the recipe card for full information on ingredients and quantities.
Variations
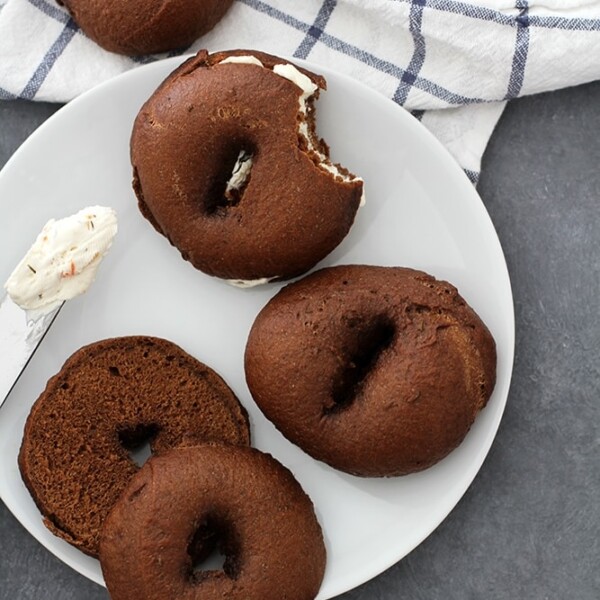
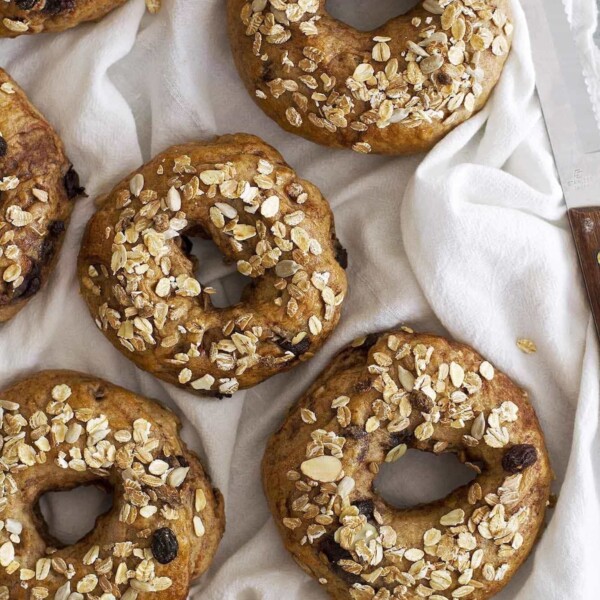
- A cinnamon sugar topping: I mention using your favorite toppings in the ingredients section above, but those are all of the savory variety. I also love a good cinnamon sugar topping like this panera copycat French toast bagel recipe!
- Mix in some dried fruit, nuts or spices! Just like I do in my cinnamon raisin bagel, cranberry bagels, and chocolate chip bagels, there are infinite combinations of flavors you can mix in on low speed after development.
Pro Tips for Making Sourdough Discard Bagels
- The volume of 200g of sourdough starter varies drastically. In my experience 200 grams (g) of starter discard fed equal parts flour and water will be 1 cup approximately 24-48 hours after feeding, whereas the same mass of stored discard that hasn’t been fed for a week or more will be ¾ cup. Active and bubbly starter at its peak can also vary in volume.
- Overnight is my preferred proofing method. You can make and bake them the same day but I love proofing them overnight. It is also nice to wake up and only need to have to boil and bake the bagels.
- The secret to chewy, shiny, professional bagels is using high-gluten flour, properly developing the dough and briefly simmering the bagels in water before baking. The water keeps the exterior crust soft, which allows for maximum expansion and it also cooks the outside crust for that perfect New York bagel chew! These steps make egg wash superfluous.
How to Make Sourdough Discard Bagels
Use these instructions to make chewy sourdough bagels! Further details and measurements can be found in the recipe card below.
Step 1: Bloom the yeast. In the bowl of a stand mixer, whisk together dry active yeast and water. Add half the sugar if you want, as this helps feed the yeast more gradually. Allow to sit for 10 minutes or until foamy.
Step 2: Mix the dough. To the stand mixer bowl add high-gluten flour, remaining granulated sugar, sourdough starter and kosher salt. Use the dough hook attachment to combine all the ingredients on low speed. (photo 1)
Step 3: Knead until smooth. Increase to medium speed until a smooth dough forms. You should be able to pull a window pane. This is a stiffer dough because it only has 52% hydration, so it might seem developed when it is not. You are looking for a smooth dough. The surface should be smooth, not rough or mottled. If it is rough, it isn’t mixed. There is no bulk fermentation, so it is important that it is properly developed. (photo 2)
Pulling the window pane: Due to the low hydration of this dough, you’ll want to make sure you use a small piece of dough for the window pane test. Gently wiggle the dough apart. If it tears instantly or it seems impossible, just put it back in the mixer. (photo 3)
Step 4: Divide and rest. Turn the dough out onto a smooth surface. Divide into 8 equal pieces, approximately 115g each. Place them close together and cover with a piece of plastic wrap so the surface doesn’t dry out as you work. (photo 4)
Step 5: Pre-shape into logs. Working with one piece at a time, pre-shape the dough into a log shape. Stretch the dough into a rectangle. Fold the top 1/3 down to the center and then continue folding the folded over section the final 1/3, sealing it against the counter with your fingers. Place it to the side and keep covered while you repeat with all remaining pieces. (photo 5)
You’ll notice that each piece will be easier than the last because even just the little bench rest helps relax the gluten.
Step 6: Envelope fold. Starting with the first piece of dough that you pre-shaped, gently work it into a square or rectangle. The size isn’t important. Place it down on the bench. Fold one straight side towards you into the center. Press to seal. Rotate the dough 180 degrees or so the part you just folded is on the opposite side (close to your body). Fold the other side of the dough towards you overlapping with the first fold. Press to seal. You just folded it like you would a letter (that’s why it’s called an “envelope fold.”) Place your left thumb on the seam that you just made. Your hand will make an “L” shape. Using your left hand, fold the dough in towards your body around your left thumb and then seal it with the heel of your right hand. Repeat this down the length of the rectangle. You are making a log shape. Repeat once more to make a tight log shape. (photos 6, 7, & 8)
Step 7: Roll the log out like a rope or a snake, using both hands. Start with both hands in the center and gently roll it back and forth while moving your hands apart. This will lengthen the rope. Get it to around 8 inches.
If it shrinks on you, don’t stress about it, just proceed to the next step.
Step 8: Shape the bagels. Take the rope and wrap it around your hand, overlapping the ends by about 2 inches. Flip your palm flat with the overlapped portion underneath it. Roll the overlap gently underneath your palm to seal them together. The goal isn’t further lengthening, rather just to seal the ends together. This is the traditional way to shape bagels, not by poking a hole in the center. (photos 9, 10, & 11)
Step 9: Place shaped bagel on parchment paper lined baking sheet. Repeat with all 8 pieces of dough. Wrap the entire baking pan with plastic wrap so the surface doesn’t dry out.
Step 10: Proof. If baking the same day, allow to proof for 45-60 minutes at room temperature then refrigerate at least 60 minutes until they feel light and airy. It is a little tricky when the dough is cold but you can still feel the difference. If you are baking the next day, immediately refrigerate the shaped bagels for up to 24 hours. (photos 12 & 13)
Refrigerating the bagels will help them hold their shape and not over-expand in the water.
Step 11: Preheat the oven to 470°F (no fan). Set up your boiling station. Place a wire rack inside a rimmed baking sheet, gather a spider (like for frying) or large slotted spoon, and bring a large pot of water (about 4 inches of water ) to a boil. Place your everything bagel seasoning or other toppings, if desired, in a large bowl near the wire rack, and line a baking sheet with parchment paper. You are now ready!
They call it boiling bagels, but the water isn’t actually boiling. You don’t want to cook them too hot or too long in the water or the yeast will die. If that happens they will not continue to rise in the oven.
Step 12: Simmer the bagels. Take the cold bagels from the refrigerator, lower the heat on the burner and cook 1-3 bagels at a time (depending on your comfort), for 10-15 seconds on each side in the simmering water. I like to place each one in the water gently, top side down, then flip after about 15 seconds. Remove to the wire rack. (photo 14)
You can test if they have proofed enough by placing one in the water. It should float immediately, if not, they aren’t ready to bake (or they proofed too long, but probably the former).
Step 13: Add toppings. Allow the first set of bagels to drip for 5-10 seconds on the wire rack (really just the amount of time it takes to get all 3 out of the water). Then flip the first one top-side-down into the seasoning of choice. The residual water will stick the toppings to the bagel. Place right-side-up onto parchment lined baking sheet. Repeat with all bagels. (photo 15)
If the bagels are too wet, they will stick to the paper. You can lightly spray it if you want.
Step 14: Bake in a preheated oven for 15-20 minutes until they are a nice golden brown, rotating after 8 minutes. Mine baked 15 minutes. If the garlic or any other toppings begin to burn before the bagels are cooked, reduce the oven temperature to 400°F. (photo 16)
Step 15: Cool before slicing, if you can wait that long! My son and husband could not!
Recipe FAQs
Allow sourdough bagels to cool to room temperature before storing. No matter the timeline, I prefer to store bagels that will not be consumed within 1 day in an airtight container or zip top baggie in the freezer. You can also store them for up to a week at room temperature, though they will gradually dry out. The freezer helps them maintain that chewy skin.
Reheat room temperature bagels in a toaster oven, preheated oven or microwave until hot through. I prefer to thaw bagels either at room temperature or in the microwave. To heat further, they are best warmed in a toaster oven.
This recipe was developed in a professional kitchen by a pastry chef who is trained in professional bread baking, so you can absolutely make a larger batch of this recipe. I would recommend using the metric conversions by toggling to “Metric” under the Ingredients heading in the recipe card.
Recommended Bagel Recipes
Bagels

Bagels
Bagels

Breakfast & Brunch
If you enjoyed this recipe, please leave a star rating and let me know how it goes in the comments below! I love hearing from you and your comments make my day!
Prevent your screen from going dark
-
In the bowl of a stand mixer, whisk together dry active yeast and water. Add half the sugar if you want. Allow to sit for 10 minutes or until foamy.
-
To the stand mixer bowl add high-gluten flour, remaining granulated sugar, sourdough starter and kosher salt. Use the dough hook attachment to combine all the ingredients on low speed.
-
Increase to medium speed until a smooth dough forms. You should be able to pull a window pane. This is a stiffer dough because it only has 52% hydration, so it might seem developed when it is not. You are looking for a smooth dough.The surface should be smooth, not rough or mottled. If it is rough, it isn’t mixed. There is no bulk fermentation, so it is important that it is properly developed.
-
Pulling the window pane: Due to the low hydration of this dough, you’ll want to make sure you use a small piece of dough for the window pane test. Gently wiggle the dough apart. If it tears instantly or it seems impossible, just put it back in the mixer.
-
Turn the dough out onto a smooth surface. Divide into 8 equal pieces, approximately 115g each. Place them close together and cover with a piece of plastic wrap so the surface doesn’t dry out as you work.
-
Working with one piece at a time, pre-shape the dough into a log shape. Gently work the piece of dough into a square or rectangle. The size isn’t important. Place it down on the bench. Fold one straight side towards you into the center. Press to seal. Rotate the dough 180 degrees or so the part you just folded is on the opposite side (close to your body). Fold the other side of the dough towards you overlapping with the first fold. Press to seal. You just folded it like you would a letter (that’s why it’s called an “envelope fold.”) Place your left thumb on the seam that you just made. Your hand will make an “L” shape. Using your left hand, fold the dough in towards your body around your left thumb and then seal it with the heel of your right hand. Repeat this down the length of the rectangle. You are making a log shape. Repeat once more to make a tight log shape. Set it to the side to bench rest while you preshape the rest. Keep covered with plastic wrap as you work.
-
Starting with the first piece, roll the log out using both hands like a snake or rope. Start with both hands in the center and gently roll it back and forth while moving your hands apart. This will lengthen the rope. Get it to around 8 inches. If it shrinks on you, don’t stress about it, just proceed to the next step.
-
Take the rope and wrap it around your hand, overlapping the ends by about 2 inches. Flip your palm flat with the overlapped portion underneath it. Roll the overlap gently underneath your palm to seal them together. The goal isn’t further lengthening, rather just to seal the ends together. This is the traditional way to shape bagels, not by poking a hole in the center.
-
Place shaped bagel on parchment paper lined baking sheet. Repeat with all 8 pieces of dough. Wrap the entire baking pan with plastic wrap so the surface doesn’t dry out.
-
If baking the same day, allow to proof for 45-60 minutes at room temperature then refrigerate at least 60 minutes until they feel light and airy. It is a little tricky when the dough is cold but you can still feel the difference.
-
If you are baking the next day, immediately refrigerate the shaped bagels for up to 24 hours.
-
Preheat the oven to 470°F (no fan). Set up your boiling station. Place a wire rack inside a rimmed baking sheet, gather a spider (like for frying) or large slotted spoon, and bring about 4 inches of water in a large pot to a boil. Place your everything bagel mix or other toppings in a large bowl near the wire rack, and line a baking sheet with parchment paper. You are now ready!
-
Take the cold bagels from the refrigerator, lower the heat on the burner and cook 1-3 bagels at a time (depending on your comfort), for 10-15 seconds on each side in the simmering water. I like to place each one in the water gently, top side down, then flip after about 15 seconds. Remove to the wire rack.
-
Allow the first set of bagels to drip for 5-10 seconds (really just the amount of time it takes to get all 3 out of the water). Then flip the first one top-side-down into the seasoning of choice. The residual water will stick the toppings to the bagel. Place right-side-up onto parchment lined baking sheet.
-
Repeat with all bagels. Bake in preheated oven for 15-20 minutes until they are a nice golden brown, rotating after 8 minutes. Mine baked 15 minutes. If the garlic begins to burn before the bagels are cooked, reduce the oven temperature to 400°F.
-
Cool before slicing, if you can wait that long! My son and husband could not!
Sourdough Tips – The recipe above is written for true discard from the refrigerator. Completely unfed for weeks. If you are using discard that has been fed in the past 48 hours, you’ll still use 200g but it will be approximately 1 cup.
Technique – Due to the low hydration of this dough, you’ll want to make sure you use a small piece of dough for the window pane test.
Storage – Allow sourdough bagels to cool completely, then store in an airtight container, preferably in the freezer to preserve their chewy texture, though they can sit at room temperature for up to a week.
Calories: 256kcal, Carbohydrates: 50g, Protein: 9g, Fat: 0.1g, Saturated Fat: 0.01g, Monounsaturated Fat: 0.04g, Sodium: 584mg, Potassium: 9mg, Fiber: 2g, Sugar: 3g, Vitamin C: 0.003mg, Calcium: 2mg, Iron: 1mg
Nutrition information is automatically calculated, so should only be used as an approximation.
 Like this recipe? Rate & comment below!
Before You Go
I hope you enjoyed this professional chef created recipe. Check out our other delicious, bagel recipes!


