
Creating homemade yogurt is a rewarding and simple process that allows you to enjoy a fresh, creamy, and healthy treat. With just two basic ingredients, you can make a delicious batch of yogurt that is free from additives and preservatives. This recipe is perfect for those who want to control the quality of their dairy products and enjoy the rich taste of homemade yogurt.
The ingredients for this yogurt recipe are quite simple, but it’s important to use whole milk and plain yogurt with live cultures. Whole milk provides the best texture and creaminess, while plain yogurt with live cultures is essential for the fermentation process. If you don’t already have these items at home, you can easily find them at your local supermarket.

Ingredients For Yogurt Recipe
Whole milk: This is the primary ingredient that forms the base of your yogurt. Using whole milk ensures a rich and creamy texture.
Plain yogurt: This acts as the starter culture for your yogurt. Make sure it contains live cultures to kickstart the fermentation process.
Technique Tip for This Recipe
To ensure your yogurt has the perfect texture, make sure to maintain the milk at a steady 110°F (43°C) when you whisk in the plain yogurt. This temperature is crucial for the live cultures to thrive and ferment properly. Additionally, using whole milk will give your yogurt a richer and creamier consistency.
Suggested Side Dishes
Roasted Vegetable Medley: Imagine a colorful array of carrots, zucchini, and bell peppers, all roasted to perfection with a hint of olive oil and herbs. The natural sweetness of the vegetables pairs beautifully with the creamy tang of your homemade yogurt.
Herbed Quinoa Salad: A delightful mix of quinoa, cherry tomatoes, cucumbers, and fresh herbs, all tossed in a light lemon vinaigrette. This refreshing salad complements the smooth texture of your yogurt.
Grilled Chicken Skewers: Tender pieces of chicken marinated in a blend of garlic, lemon juice, and spices, then grilled to juicy perfection. The smoky flavor of the chicken enhances the subtle tanginess of your yogurt.
Berry Compote: A luscious mix of blueberries, strawberries, and raspberries, simmered with a touch of honey and lemon zest. This vibrant compote adds a burst of fruity sweetness to your creamy yogurt.
Spiced Lentil Soup: A hearty bowl of lentils simmered with onions, carrots, and a blend of warming spices. The earthy flavors of the soup create a comforting contrast to the cool, smooth yogurt.
Alternative Ingredients
-
whole milk – Substitute with coconut milk: Coconut milk provides a creamy texture and rich flavor, making it a great dairy-free alternative.
-
whole milk – Substitute with almond milk: Almond milk is a lighter option that works well for those avoiding dairy, though it may result in a slightly thinner yogurt.
-
plain yogurt with live cultures – Substitute with coconut yogurt with live cultures: Coconut yogurt maintains the probiotic benefits while being dairy-free.
-
plain yogurt with live cultures – Substitute with almond yogurt with live cultures: Almond yogurt provides a nutty flavor and is suitable for those who are lactose intolerant.
Other Alternative Recipes Similar to This
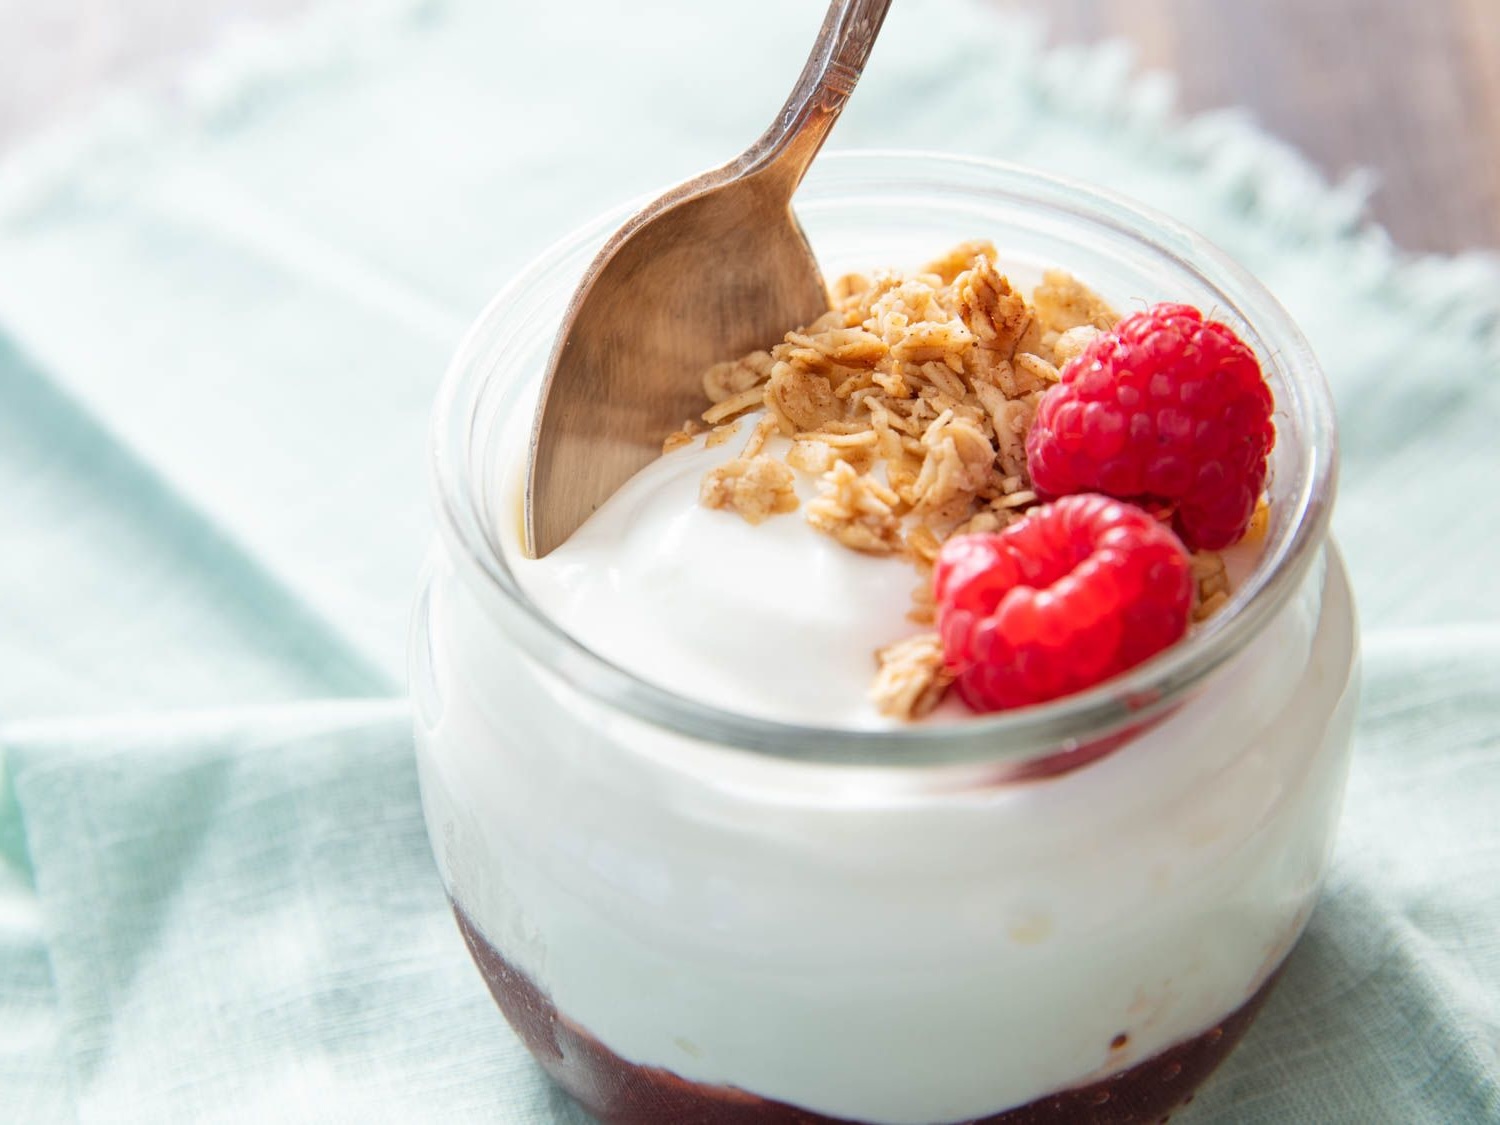
Greek Yogurt Parfait: Layer creamy Greek yogurt with fresh berries, a drizzle of honey, and a sprinkle of granola for a delightful breakfast treat.
Homemade Kefir: Ferment milk with kefir grains to create a tangy, probiotic-rich drink that’s perfect for a healthy start to your day.
Chia Seed Pudding: Mix chia seeds with almond milk and a touch of vanilla extract. Let it sit overnight for a nutritious, pudding-like breakfast.
Overnight Oats: Combine rolled oats with milk, yogurt, and your favorite fruits and nuts. Let it soak overnight for a quick and easy breakfast.
Smoothie Bowl: Blend frozen fruits with yogurt and a splash of juice. Top with granola, nuts, and fresh fruits for a refreshing and nutritious bowl.
How to Store or Freeze This Dish
-
Allow the freshly made yogurt to cool to room temperature before storing. This helps maintain its creamy texture and prevents condensation inside the container.
-
Transfer the yogurt into airtight containers. Glass jars with tight-fitting lids work best, but BPA-free plastic containers are also a good option.
-
Label the containers with the date of preparation. Homemade yogurt typically stays fresh for up to 2 weeks in the refrigerator.
-
Store the yogurt in the coldest part of your refrigerator, usually the back of the bottom shelf. This ensures it stays at a consistent temperature.
-
For freezing, portion the yogurt into smaller, single-serving containers. This makes it easier to thaw only what you need.
-
Leave about half an inch of space at the top of each container before freezing. Yogurt expands as it freezes, and this prevents the containers from cracking.
-
Label the containers with the date of freezing. Frozen yogurt can be stored for up to 2 months.
-
To thaw, transfer the desired amount of yogurt from the freezer to the refrigerator. Allow it to thaw slowly overnight for the best texture.
-
Stir the yogurt well after thawing. Freezing can cause some separation, but a good stir will bring it back to a creamy consistency.
-
Avoid refreezing yogurt once it has been thawed. This can affect both the texture and the flavor, making it less enjoyable.
How to Reheat Leftovers
-
Stovetop Method:
- Pour the yogurt into a small saucepan.
- Heat on low, stirring frequently to prevent curdling.
- Warm until it reaches your desired temperature, but avoid boiling.
-
Microwave Method:
- Place the yogurt in a microwave-safe bowl.
- Heat on medium power in 15-second intervals.
- Stir between intervals until it reaches the desired warmth.
-
Water Bath Method:
- Fill a larger bowl with hot water.
- Place the container of yogurt into the hot water.
- Let it sit, stirring occasionally, until it warms up.
-
Oven Method:
- Preheat your oven to the lowest setting.
- Place the yogurt in an oven-safe dish.
- Warm in the oven for about 10-15 minutes, checking frequently.
-
Double Boiler Method:
- Fill the bottom pot of a double boiler with water and bring to a simmer.
- Place the yogurt in the top pot.
- Heat gently, stirring occasionally, until it reaches the desired temperature.
Best Tools for This Recipe
-
Saucepan: A large saucepan is essential for heating the milk to the desired temperature without scorching it.
-
Thermometer: A thermometer is crucial to ensure the milk reaches 180°F and then cools down to 110°F accurately.
-
Whisk: A whisk is used to incorporate the plain yogurt into the cooled milk smoothly.
-
Jars: Use jars to pour the yogurt mixture into for fermentation. They should be clean and have tight-fitting lids.
-
Lids: Lids are necessary to cover the jars and keep the mixture free from contaminants during fermentation.
-
Towel: A towel can be used to wrap the jars, helping to maintain a consistent warm temperature during fermentation.
-
Stove: A stove is needed to heat the milk in the saucepan.
-
Measuring spoons: Measuring spoons are used to measure the exact amount of plain yogurt with live cultures.
-
Cooling rack: A cooling rack can be used to let the heated milk cool down evenly.
-
Timer: A timer helps keep track of the 8-hour fermentation period.
How to Save Time on This Recipe
Use a thermometer: Using a digital thermometer ensures you quickly and accurately reach the desired temperatures for heating and cooling the milk.
Pre-warm jars: Pre-warm your jars by rinsing them with hot water to maintain a consistent fermentation temperature.
Batch preparation: Prepare larger batches of yogurt at once to save time on future servings.
Instant pot: Use an Instant Pot with a yogurt setting to automate the process and save time on monitoring temperatures.
Yogurt Recipe
A simple and delicious homemade yogurt recipe.
Ingredients
Main Ingredients
- 4 cups Milk Whole milk works best
- 2 tablespoon Plain Yogurt With live cultures
Instructions
-
Heat the milk in a saucepan until it reaches 180°F (82°C).
-
Let the milk cool to 110°F (43°C).
-
Whisk in the plain yogurt.
-
Pour the mixture into jars and cover.
-
Let it ferment in a warm place for 8 hours.
Nutritional Value
Calories: 150kcal | Carbohydrates: 12g | Protein: 8g | Fat: 8g | Saturated Fat: 5g | Cholesterol: 30mg | Sodium: 100mg | Potassium: 400mg | Sugar: 12g | Vitamin A: 500IU | Calcium: 300mg
FAQ:
How long does homemade yogurt last in the fridge?
Homemade yogurt typically lasts about 1 to 2 weeks in the fridge. Just make sure to store it in an airtight container.
Can I use non-dairy milk to make this yogurt?
Yes, you can use non-dairy milk like almond, soy, or coconut milk. However, the texture and taste might vary, and you may need to add a thickener like agar-agar or cornstarch.
What if my yogurt doesn’t set properly?
If your yogurt doesn’t set, it could be due to a few reasons: the milk might not have been at the right temperature, the yogurt starter might not have had live cultures, or the fermentation environment wasn’t warm enough. You can try incubating it for a few more hours or starting over with a fresh batch.
Can I use flavored yogurt as a starter?
It’s best to use plain yogurt with live cultures as a starter. Flavored yogurts often contain added sugars and other ingredients that can interfere with the fermentation process.
How can I make my yogurt thicker?
To make your yogurt thicker, you can strain it through a cheesecloth or a fine-mesh strainer to remove some of the whey. Alternatively, you can add a bit of powdered milk to the mixture before fermenting.
I suggest you try these favourites too!


