Over the past few years, I’ve been brewing Hazy IPAs that are so delicious that they don’t last longer than a few weeks in the keg before they get finished! I’ve always been really happy with how my Hazy IPAs (or NEIPAs) have turned out. From an aroma and flavour point of view they were spot on – a silky mouthfeel and bursting with tropical hop flavours. The thing is….something was missing from them.
As time went on, they all seemed to have one thing in common. When I leave them in the keg for a couple of months (or more) they all seem to drop clear and lose their “haze”. In those first few weeks they looked amazing, but gradually they started to resemble a clear look to them that I can only describe as a “shine”. After 4 months or more, I’ve even had those same hazy IPAs drop completely clear and almost look like a lager!
After a lot of searching online, a lot of head scratching and trying out a few tricks for myself, I think I’ve finally managed to lock in a decent haze on my IPAs that sticks around permanently. In this article, I’ll run through my tips for maintaining haze stability in your IPAs.
The basics
Making a beer hazy isn’t the hard part. Making a beer that has haze stability that sticks around for a long time is the true art of creating great hazy IPAs. As I’ve learnt over time, it’s not one exact thing that creates haze, but rather a combination of things that all lend themselves to creating that perfect haze.
Before we go any further, I have made a number of assumptions on your brewing process for Hazy IPAs.
- Your mash pH is around the 5.2 – 5.5 mark.
- You pitch an adequate amount of healthy yeast and a mid-to-low flocculating yeast strain that works best for the hazy IPA style (Yeast Bay Vermont Ale, London Ale III, etc).
- You oxygenate your wort adequately before pitching yeast.
- Your grain bill includes high-protein grains such as raw/flaked wheat. Whilst oats will modify the body of the beer (and produce a “silkier” mouthfeel), they will not necessarily improve haze.
- You are using a decent amount of hops during whirlpool / dryhop. I aim for a minimum of 5-6 grams of hops per litre when dry hopping. I have also found that dry hopping during active fermentation is not necessary to create haze stability.
All the things that I listed out above are prerequisites to ensuring that you brew a great hazy beer.
The key to haze stability is pH
I’ve been reading a lot of information on brewing forums trying to determine how the pros manage to get their beers to maintain haze stability even after months of being in a can. If you read many homebrew websites, they all seem to give confusing advice…use biotransformation during active fermentation, use loads of oats in your malt bill or “oh, you aren’t using enough hops“.
While all of these pieces of advice can contribute to haze, the one thing that I have found that really locks in haze is the pH of the wort post boil. This means that once you have finished the boil, you check the pH and adjust it accordingly before adding your whirlpool hops. I have found that aiming for a post boil pH of between 4.6 – 4.9 is the key to maintaining haze stability. You could go for a lower pH, but then you might find that your beer develops a distinctive tang / sourness.
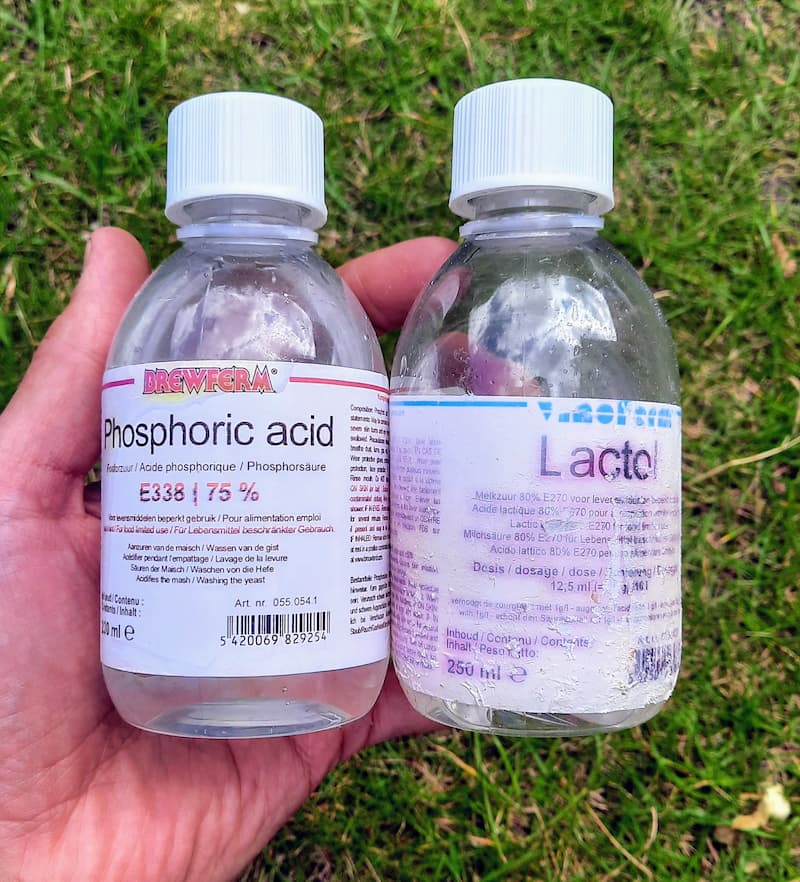
By ensuring that my post boil pH is in the range above, I have found that I can lock in the haze permanently. I use a pH meter to take readings and use Phosphoric acid to adjust the water accordingly. I use Brewfather as my brewing software which makes it a lot easier to adjust your water chemistry calculations.
There is also a bit of science to back up why pH is so important in haze stability. Authors of a 2003 Journal of the American Society of Brewing Chemists paper measured maximum haze formation in wort at a pH between 5 and 5.5. A beer with 6% ABV registered the most turbidity between 4.5-5 pH, and at 12% ABV, they found the most haze potential at 4.5. If you’d like to learn more about the science behind pH and haze formation, please follow this link.
Ensure that your water chemistry is correct
When brewing a hazy IPA (or New England IPA), most brewers will suggest that you aim for a 3:1 or 2:1 chloride to sulphate ratio in your water. This will help you achieve a beer with a soft pillowy mouthfeel that compliments the hop character and is the signature of this style. As you can imagine, if you flipped those ratios around, you’d be left with a beer that tastes sharper and more hop forward.
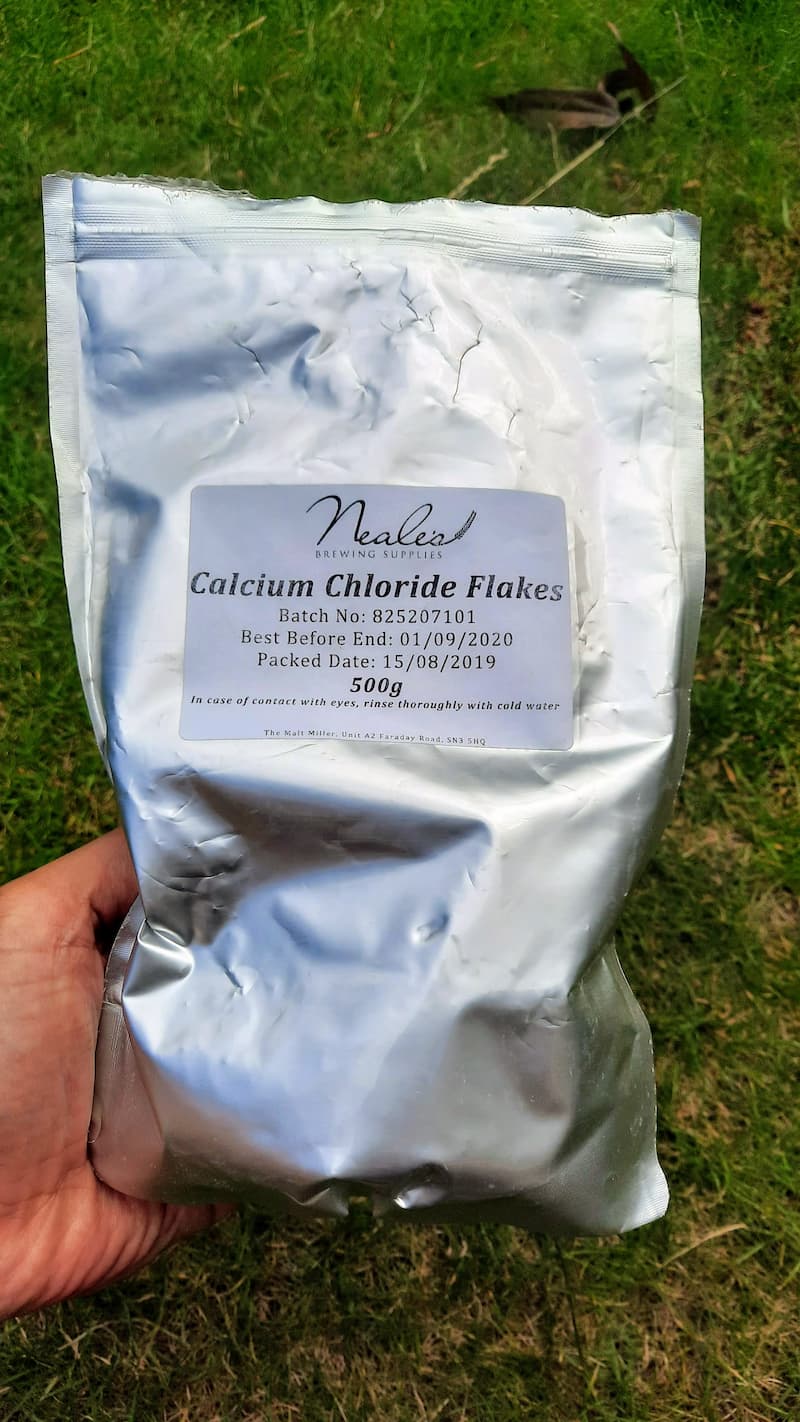
When it comes to water chemistry, I like to shoot for a 3:1 chloride to sulphate ratio. Of this, I will add a 2:1 ratio of chloride in the mash and then the remaining during the start of the boil.
Summary
If you’ve ever spent a lot of time brewing a Hazy IPA only for it to drop clear after a few months in the keg (or bottle), you’ll know how frustrating it can be.
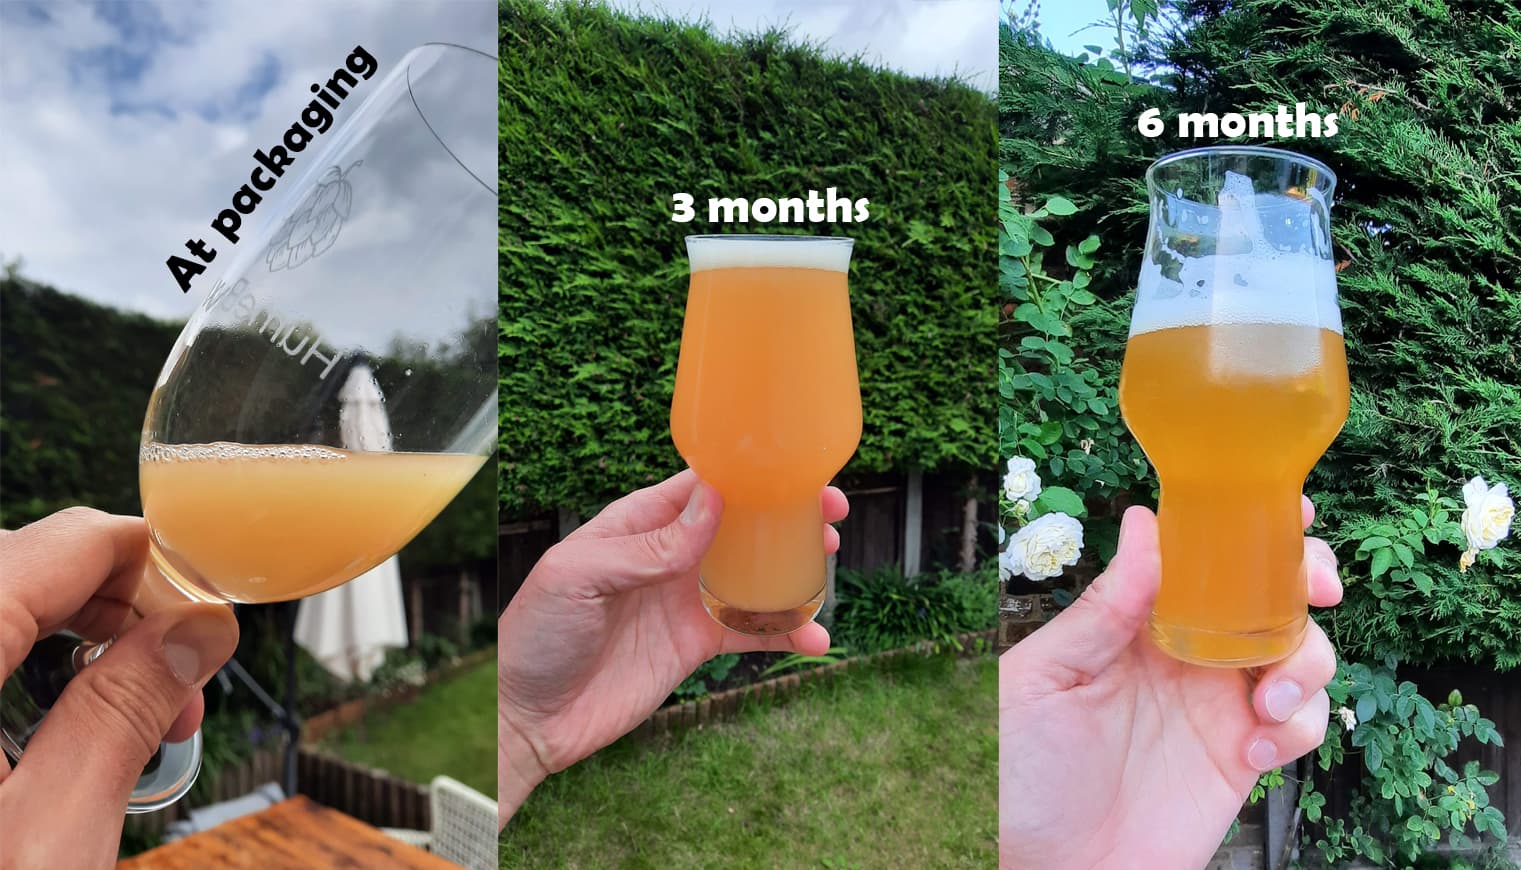
Using the techniques outlined in this article, I’ve been able to maintain haze stability long term. The picture below shows a Hazy IPA over six month with consistent haze stability.
I have found that water chemistry is key to achieving that long lasting haze in your beers. As I’ve mentioned above, adjusting your pH post boil and ensuring that you have the correct chloride to sulphate ratio is key to locking in that haze permanently.
I hope this helps you – happy brewing!