
Ah, a perfectly crafted slider – that ideal bite-sized burger that combines flavors and textures in just the right proportions. But what if we took it up a notch with homemade sourdough? Today, we’ll be getting into sourdough slider recipes that you’ll absolutely love!

Table of Contents
Creating Your Sourdough Starter
Before we jump into our slider recipes, let’s first cover making the perfect sourdough slider buns.
Don’t worry if you’re new to sourdough – we’ll start with creating your first easy starter.
It does require time to develop, but not active working time – you can go about your day and let the starter do its thing.
Time: 5-7 days
You’ll need
- Whole wheat flour
- All-purpose flour
- Filtered water at room temperature
Schedule
- Day 1: Mix 50g whole wheat flour with 50g water in a clean jar. The whole wheat flour provides more nutrients for the wild yeast to feed on. Cover loosely and let sit at room temperature (68-72°F).
- Days 2-7: Each day, discard all but 50g of the mixture and feed with 50g all-purpose flour and 50g water. Keep the jar in a draft-free spot. By day 5-7, you should see regular bubbling and a sweet-sour smell. Your starter is ready when it doubles in size within 4-6 hours after feeding.
Maintenance
- Keep your starter at room temperature if baking frequently
- Store in the refrigerator and feed weekly if baking occasionally
- Always save some starter for your next batch
- A mature starter should smell pleasantly sour, never harsh or unpleasant
Basic Sourdough Slider Buns
These slider buns have a tender crumb and subtle tang that complements any filling.
Makes 12 slider buns
Active time: 30 minutes
Total time: 12-14 hours
Ingredients
- 300g active sourdough starter (fed 4-6 hours prior)
- 400g bread flour
- 50g whole wheat flour
- 230g warm water (around 85°F)
- 10g salt
- 30g honey
- 45g softened butter
- 1 egg for wash (optional)
- Sesame seeds for topping (optional)
Schedule
Evening before
- Combine starter, flours, water, salt, and honey in a large bowl
- Mix until just combined, creating a shaggy dough
- Let rest 30 minutes (this is called autolyse)
- Add softened butter and knead until smooth and elastic (about 10 minutes)
- Perform 3 sets of stretch and folds over the next hour
- Cover and refrigerate overnight (8-12 hours)
Morning
- Remove dough from refrigerator
- Divide into 12 equal portions (about 85g each)
- Shape into tight balls using a circular motion on an unfloured surface
- Place on parchment-lined baking sheet
- Let rise 3-4 hours or until noticeably puffy
- Brush with egg wash and sprinkle with sesame seeds if desired
- Bake at 375°F for 15-18 minutes until golden brown
Now, let’s dive into our slider recipes. You’ll find a mix of different kinds you can make on this post, so check them out!

Classic Beef & Cheddar Sliders
These simple yet satisfying sliders are perfect for beginners (makes 6 sliders)!
Difficulty: Easy
Prep time: 20 minutes
Cook time: 10 minutes
Ingredients
- 360g ground beef (80/20)
- 6 slices sharp cheddar
- 2 medium onions, thinly sliced
- 2 tablespoons butter for onions
- 2 cups shredded lettuce
- Special sauce:
- 1/4 cup mayonnaise
- 2 tablespoons ketchup
- 2 tablespoons pickle relish
- 1 teaspoon Worcestershire sauce
- 1/2 teaspoon garlic powder
How to Make
- Caramelize onions in butter over medium-low heat (30-40 minutes)
- Mix special sauce ingredients
- Form six 60g patties, making them slightly larger than the buns
- Create a small dimple in center of each patty
- Season generously with salt and pepper
- Cook 2-3 minutes per side for medium
- Add cheese in final minute of cooking
- Assembly order: bottom bun, sauce, patty with cheese, onions, lettuce, top bun
Mediterranean Chickpea Sliders
A vegetarian option that’s packed with flavor and protein.
Difficulty: Easy (makes 8 sliders)
Prep time: 15 minutes
Cook time: 15 minutes
Ingredients
- 2 cans chickpeas, drained and rinsed
- 4 cloves garlic, minced
- 1/2 cup fresh parsley, chopped
- 1/4 cup fresh mint, chopped
- Zest of 1 lemon
- 1 teaspoon ground cumin
- 1 teaspoon ground coriander
- 1/2 cup breadcrumbs
- 2 eggs
- Salt and pepper to taste
Toppings
- Tahini sauce (1/2 cup tahini, lemon juice, garlic, water)
- Thinly sliced cucumber
- Red onion rings
- Fresh tomato slices
How to Make
- Pulse chickpeas in food processor until roughly chopped
- Add herbs, spices, and garlic, pulse to combine
- Mix in eggs and breadcrumbs by hand
- Form into 8 patties
- Refrigerate 30 minutes to firm up
- Pan-fry in olive oil until golden and crispy (4-5 minutes per side)
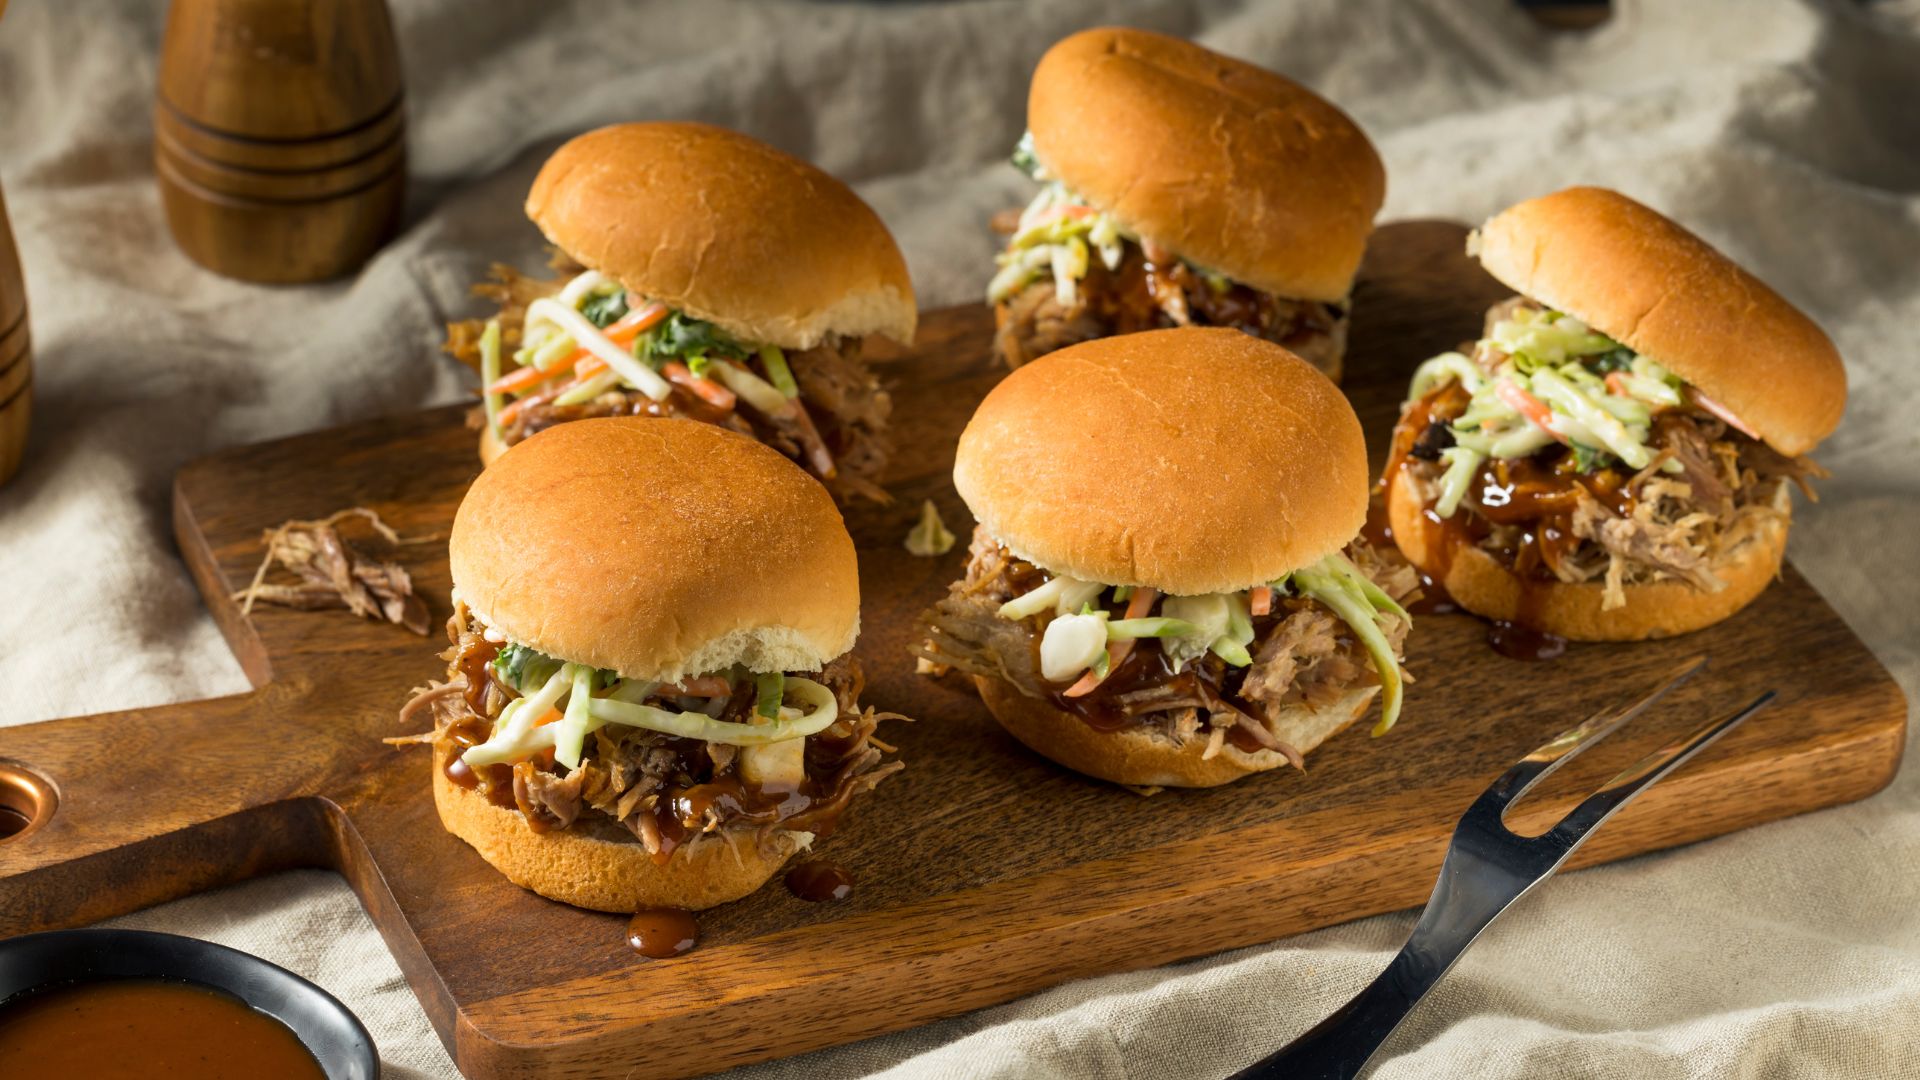
Korean BBQ Pork Belly Sliders
A fusion creation that combines Korean flavors with the slider form.
Difficulty: Intermediate
Prep time: 30 minutes + overnight marinade
Cook time: 2 hours
Ingredients (makes 8 sliders)
- 1.5 lbs pork belly, sliced 1/4 inch thick
Marinade
- 1/2 cup soy sauce
- 2 tablespoons gochugaru (Korean red pepper flakes)
- 6 cloves garlic, minced
- 2 tablespoons ginger, grated
- 3 tablespoons brown sugar
- 2 tablespoons sesame oil
- 1/4 cup mirin
Quick Pickles
- 2 Persian cucumbers, thinly sliced
- 1/2 cup rice vinegar
- 1 tablespoon sugar
- 1 teaspoon salt
Gochujang Mayo
- 1/2 cup mayonnaise
- 2 tablespoons gochujang
- 1 teaspoon sesame oil
- 1 tablespoon honey
How to Make
- Mix marinade ingredients, combine with pork belly
- Marinate overnight
- Make quick pickles at least 2 hours ahead
- Cook pork belly in 275°F oven for 2 hours until tender
- Crisp under broiler before serving
- Mix gochujang mayo
- Assemble with pickles and sliced green onions
Duck Confit & Fig Jam Sliders
An elegant twist that’s worth the time investment for sure!
Difficulty: Advanced
Prep time: 24 hours
Cook time: 36 hours
Ingredients (makes 8 sliders)
- 4 duck legs
- 4 cups duck fat
- 4 sprigs fresh thyme
- 2 bay leaves
- 8 garlic cloves, crushed
- Salt and pepper
Fig Jam (from scratch)
Of course you don’t have to do this (so may fig jams are available out there), but if you want to know what’s going into your jam, here’s a recipe:
- 1 lb fresh figs, chopped
- 1/2 cup honey
- 1 tablespoon lemon juice
- 1 sprig rosemary
Assembly
- Baby arugula
- Crumbled blue cheese
- Fresh cracked pepper
Make
- Cure duck legs with salt and herbs for 24 hours
- Rinse and pat dry
- Submerge in duck fat, cook at 250°F for 36 hours
- Make fig jam while duck cooks
- Shred duck meat, crisp in pan before serving
- Layer: bottom bun, fig jam, crispy duck, blue cheese, arugula, top bun
Lobster Thermidor Sliders
The ultimate special occasion slider!
Difficulty: Expert
Prep time: 45 minutes
Cook time: 30 minutes
Ingredients (makes 6 sliders)
- 2 whole lobsters (about 1.5 lbs each)
- 2 shallots, minced
- 2 tablespoons butter
- 1/4 cup brandy
- 1 cup heavy cream
- 2 egg yolks
- 1/2 cup grated Gruyere
- 2 tablespoons fresh tarragon
- Salt and white pepper
- Microgreens for garnish
How to Make
- Cook lobsters in court bouillon for 7 minutes
- Shell and chop meat
- Make classic thermidor sauce:
- Sauté shallots in butter
- Flambé with brandy
- Add cream and reduce
- Temper in egg yolks
- Add cheese and tarragon
- Fold in lobster meat
- Fill buns, top with extra cheese
- Broil briefly until golden
- Garnish with microgreens
Advanced Sourdough: Herb & Cheese Slider Buns
Once you’ve mastered the basic buns in our recipe at the beginning, try this extra special version:
Add to basic recipe:
- 2 tablespoons fresh rosemary, chopped
- 2 tablespoons fresh thyme, chopped
- 1 cup aged cheddar, grated
- 2 teaspoons garlic powder
- Everything bagel seasoning for topping
Technique modifications:
- Add herbs and garlic powder with initial dry ingredients
- Incorporate cheese during final fold
- Top with everything bagel seasoning before baking
- Reduce baking temperature to 350°F to prevent cheese burning
Slider Tips
- Keep patties small (about 60g for meat versions)
- Make patties slightly larger than buns to account for shrinkage
- Use a kitchen scale for consistency
- Let meats come to room temperature before cooking
- Always preheat your pan or grill properly
- Use a meat thermometer for perfect doneness
- Always toast your buns lightly
- Let meat rest 3-5 minutes before serving
- Layer ingredients strategically – sauce on bottom bun, vegetables on top
- Consider textural contrast in each bite
- Buns can be frozen for up to 3 months
- Prepare sauces and condiments in advance
- Have all toppings ready before cooking proteins
- Serve immediately for best texture
- Use small picks or skewers to hold sliders together
- Arrange on a platter with complementary sides
- Consider temperature contrast (hot proteins, cool toppings)
Starter to Spectacular
And please don’t be discouraged if your first few attempts aren’t perfect – each batch will teach you something new.
Start with the classic beef sliders and work your way up to the more complex recipes as you gain confidence.
Happy baking and slider crafting!


