
This post may contain affiliate links for products and ingredients I use and recommend. For more information, see my affiliate disclosures.
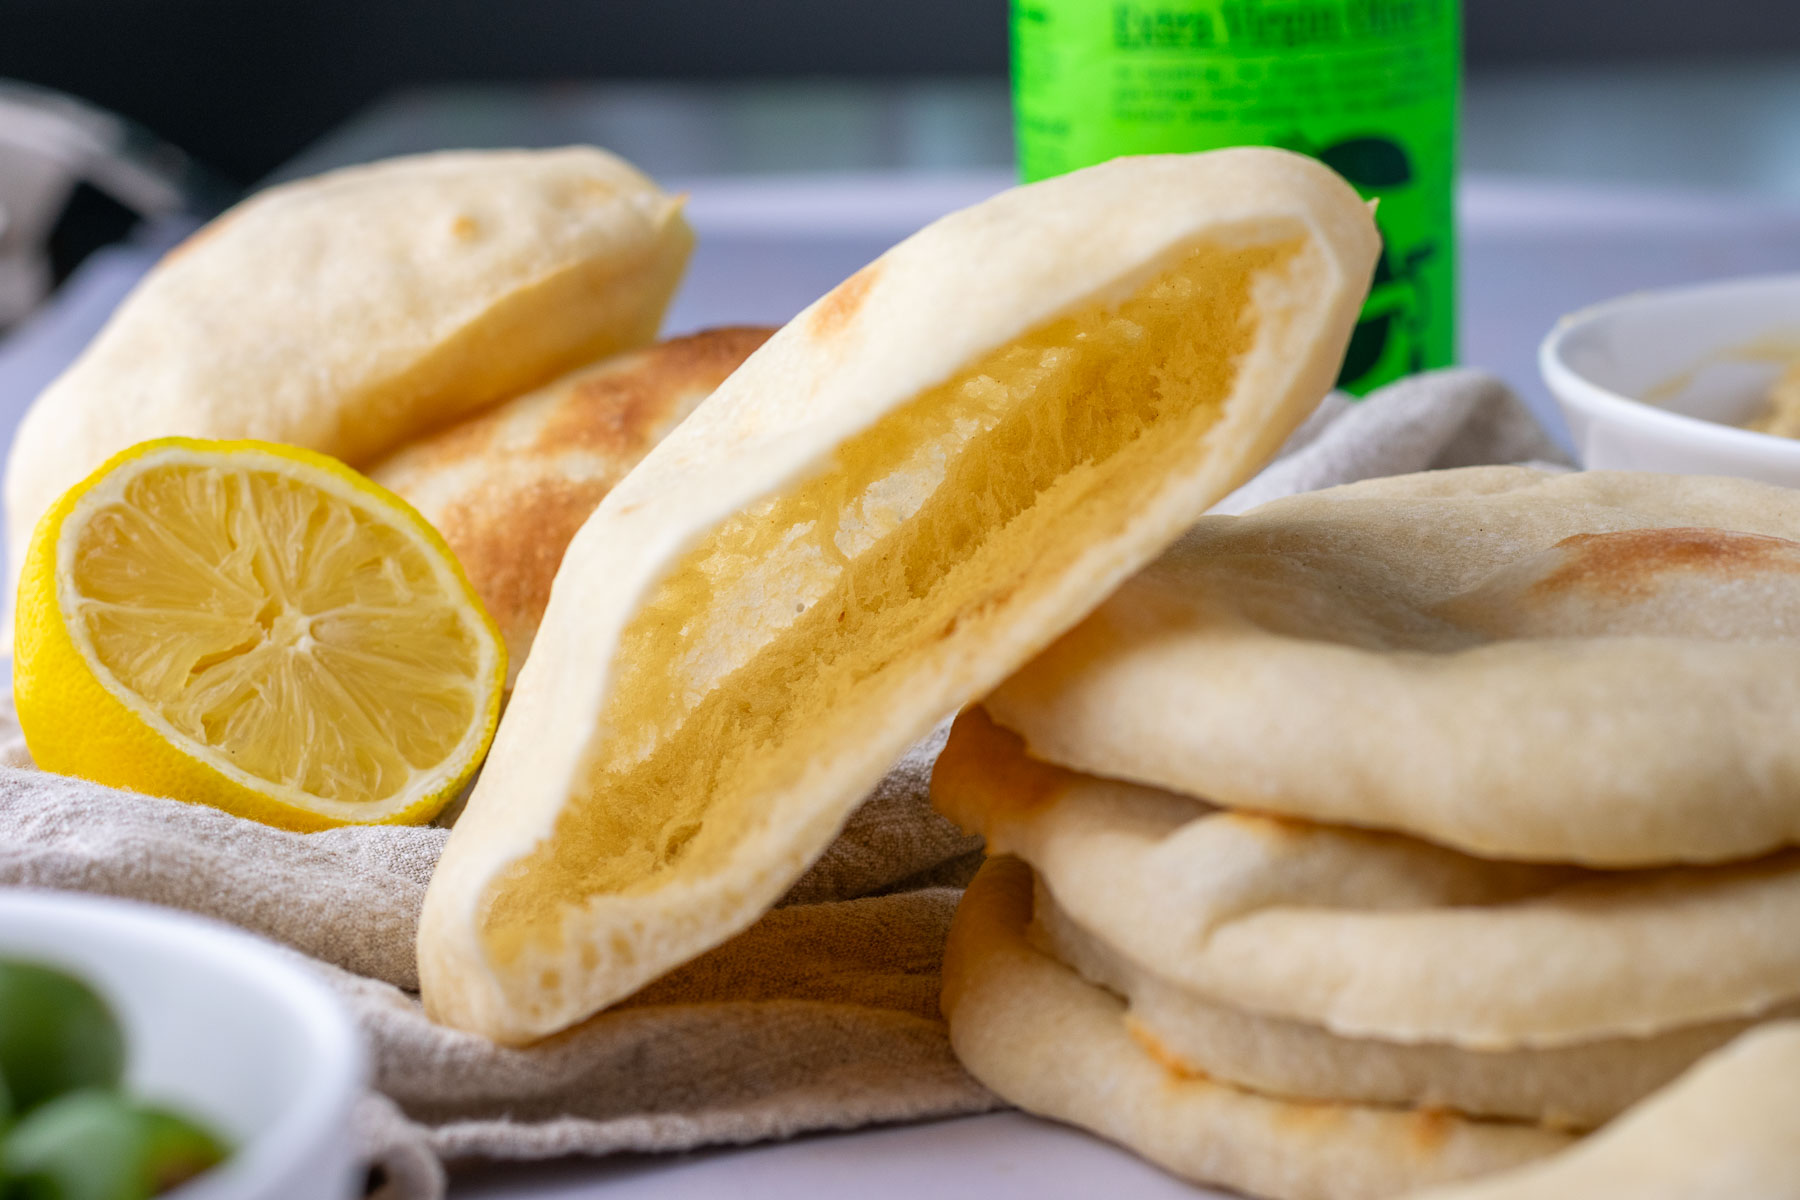
This fluffy Sourdough Pita Bread is soft, pillowy, and naturally leavened for incredible flavor. Made with active sourdough starter, the dough puffs beautifully in the oven, creating signature pockets perfect for stuffing or dipping.
You only need a few simple ingredients to make these sourdough flatbreads and they’re quick enough to make on the same day!
Rolling the dough into thin rounds and baking for a few minutes at a high temperature helps the sourdough pita bread rise tall and puff up. They’re the perfect tender and soft flatbread to serve with hummus, wraps, or falafel.
This detailed recipe guide will walk you through every step of the process with lots of images and pro tips.

⭐️ Why You’ll Love This Recipe
- Fluffy homemade sourdough pita bread with large pockets.
- Only need a few simple ingredients to make.
- Can make same day or overnight
- Easy to shape and roll out.
- Great flatbread side dish, fried into pita chips, or used as a versatile wrap or sandwich.

- Baking Scale
- Measuring your ingredients by weight instead of volume is essential so you get a more consistent and accurate bake.
- Stand Mixer with dough hook attachment (recommended)
- If you have a stand mixer, it’ll help bring the dough together better. It’s a very sticky and high-hydration dough and the stand mixer will do a lot of the hard work for you to build the gluten development.
- Bench Scraper: for dividing the dough
- Rolling Pin
- Baking Steel
- Preheat the steel in your oven so it gets very hot. That way, when you bake the pita bread, it will create steam and rise tall. This is what creates the poofy pita pockets.
- I like the Brød and Taylor bread steel because it’s lightweight and heats up fast!
- If you don’t use a steel, you can use a large cast-iron skillet or a pizza stone.
- Optional: Brød and Taylor Folding Bread Proofer
- This folding proofing box by Brød & Taylor is a game changer to keep your sourdough starter and doughs at the perfect temperature while proofing.
- The proofer folds up easily, includes a humidity tray, is multifunctional, and can even be a slow cooker.
🛒 Ingredients Needed
Pita bread is made with only a few ingredients, so I recommend using the highest-quality ingredients available.
See below for more information, variations, and possible substitutions.

- All-purpose Flour
- If you want to add more nutrition and flavor, substitute 100g with whole wheat flour.
- Water
- Use warm water to raise the dough temperature so it will ferment faster.
- Salt
- Granulated Sugar
- Sugar tenderizes the dough, adds a touch of sweetness, and assists with providing additional sugars for the sourdough yeast so it ferments faster.
- Sourdough Starter
- Extra Virgin Olive Oil
- Since there aren’t many ingredients in pita bread, it’s essential to use a high-quality extra virgin olive oil in this recipe.
- One of my favorite brands you can find at most grocery stores is Graza Olive Oil. The olive oil should be grassy, peppery, rich, and smooth.
🥙 How to Make Sourdough Pita Bread
Follow this visual step-by-step guide to help make this easy sourdough pita bread.
1. Mix the Dough
In the bowl of a stand mixer fitted with the dough hook attachment, mix the all-purpose flour, salt, sugar, warm water, and sourdough starter.
No autolyse is needed for this dough, but may be helpful for hand mixing.
This dough is about 66% hydration, so it will be a bit wet and sticky at first. Mixing is required to develop enough gluten strength.
Mixing by Hand: You can mix and knead sourdough pita bread by hand, but it will be quite sticky at first and will require longer hand mixing.
Mix for 5 minutes and then slowly drizzle in the olive oil while continuing to mix.
It’s helpful to incorporate the olive oil last when mixing the pita bread dough so the dough can develop gluten before adding in the fat, which can hinder gluten development. It’s the same technique I use for enriched doughs like Sourdough Brioche Bread or Sourdough Cinnamon Rolls.
Continue mixing on medium speed for 10-15 minutes until the dough smooths out, clears the sides of the bowl, wraps around the dough hook, and can be stretched with your hand without tearing.


2. Bulk Fermentation
Transfer the dough to a mixing bowl or cover the stand mixer bowl for bulk fermentation, which will take about 5 ½ hours at 78ºF.
If your dough and environment are colder, bulk fermentation will take longer. Conversely, in warmer conditions, the dough will ferment faster.


During bulk fermentation, it’s helpful to strengthen the dough with a couple of stretch & folds every 30 minutes apart for the first hour.
To stretch & fold, moisten a hand, reach down to the bottom of the bowl, grab a portion of the dough, and fold it up and down upon itself. Repeat four of these folds per set (four sets total every 30 minutes).
The folds help build gluten strength, distribute gases, and regulate the temperature.
Bulk fermentation is complete when this dough has about doubled in size, is smoother, and domes in your bowl.
Overnight Option: At this point, you can cover the bowl and place it in the refrigerator for a long ferment overnight.
3. Shape
Line a baking sheet with parchment paper or a silicone baking mat, sprinkle flour on it, and set aside.
Dump the dough out onto a lightly floured surface and use a bench scraper to divide the dough into 8 equal-sized portions by weight. They should be around 84g each.
Just like making Sourdough Dinner Rolls or Sourdough Maritozzi (Italian Sweet Buns), shape the dough into rounds.
To shape pita bread, pat the dough into a flat round, pinch the corners in like making a dumpling, turn over, and use the palm of your hand to create surface tension and make a perfect dough sphere.
Only flour your hands as necessary to prevent sticking.


4. Final Proof
Space the shaped rounds on the prepared baking sheet with a few inches apart.
Cover with a baking sheet lid or plastic wrap and set in a warm location for the final proof.
At 78ºF, the dough should proof for 1 ½-2 hours.
Proofing is complete when they almost double in size, feel full of air, and become puffy.


5. Roll Out and Bake
Preheat the oven to 450ºF (232ºC) with your bread steel, pizza stone, or large cast-iron skillet in the oven.
You want the steel to be very hot to create maximum steam. Follow the directions for your steel as they all vary. It may require 30 minutes to an hour of preheating depending on the thickness.
Note how many 8″ round pitas you’ll be able to fit on your steel or cast-iron skillet. I can fit four on my bread peel and steel at a time, so I roll them out and bake in two successive batches.
Line your bread peel or a cutting board with parchment paper for easy transfer to the hot oven.
On a lightly floured surface, gently deflate and pat down the proofed dough. Then, use a rolling pin to roll into a thin 8-inch round. Try to keep the pita an even thickness (about ⅛” thick and circular). Repeat with however many others you can fit on your bread peel.


Quickly slide the pita bread onto the preheated steel.
Bake for 4-5 minutes until the pitas are puffed and just starting to develop a few brown spots on top. No need to flip or turn the pitas over during baking.
Finally, use tongs or the bread peel to remove from the oven, keep them covered so they stay warm on a large plate or platter, and repeat with the remaining pitas.
How to Get Perfect Pita Pockets: To achieve pita breads that puff high in the oven and make large pita pockets, the dough must be rolled thinly (about ⅛”) and baked on a very hot surface. Steam will release and force the pita to rise tall, creating perfectly puffed pitas.
It’s a similar idea to the steam creating flaky layers in Sourdough Biscuits, Sourdough Pie Crust, or puff pastry in Sourdough Pop Tarts.
If some of the pitas don’t puff up, that’s okay. They’ll still be delicious and likely still have pockets.


How to Store & Serve Sourdough Pita Bread
The sourdough pita bread is best served warm or at room temperature on the day it’s made.
You can store cooled pita bread in an airtight bag for 2-3 days or in the refrigerator for 4-5 days. I recommend warming slightly before serving.
Pita bread originated as a flatbread in the Middle East thousands of years ago, and it’s often served as a sandwich for kebabs, gyros, and falafel.
The sourdough flatbread is great as a side or appetizer dipped in hummus, labneh/yogurt, tzatziki, baba ghanoush or other Middle Eastern and Mediterranean dips and spreads.


❓Frequently Asked Questions:
Why didn’t my pita bread puff up?
It may not have been rolled thinly enough or baked at a high enough temperature.
Why is my pita bread tough?
It may have baked too long, creating a tough flatbread.
Can I double the recipe?
Yes, double the recipe and divide the dough into 16 pita breads.
Can I cook sourdough pita bread in a skillet?
Yes, you can bake the pita bread in a preheated cast-iron skillet in the oven. You can also cook them on the stovetop, but you’ll need to flip them after a couple of minutes so they don’t burn.
Is sourdough pita bread vegan?
Yes, no animal products are used to make this sourdough pita bread.
Other Bread Recipes You May Enjoy

Sourdough Croissant Bread Loaf
Buttery, flaky, and naturally leavened, this pull-apart Sourdough Croissant Bread Loaf combines the delicate and…

Sourdough Hot Dog Buns
Bring these soft homemade Sourdough Hot Dog Buns to your next cookout! They have a…

Sourdough Focaccia
This easy Sourdough Focaccia recipe is great for beginners! It’s soft and fluffy with a…

Sourdough Hot Cross Buns with Brown Butter
These soft brown butter Sourdough Hot Cross Buns are the perfect addition to your Easter…

Sourdough Cinnamon Raisin English Muffins
Sourdough Cinnamon Raisin English Muffins are fluffy with plump raisins, warm cinnamon, and are sweetened…

Einkorn Sourdough Sandwich Bread
This 100% Einkorn Sourdough Sandwich Bread recipe is easy to make, hearty, and stays soft…
⭐️ Did You Make This Recipe? ⭐️
Leave a star review and/or comment below!
Tag me on Instagram or Facebook @SourdoughBrandon or PIN this recipe on Pinterest to come back to it later!
Sourdough Pita Bread
This fluffy Sourdough Pita Bread is soft, pillowy, and naturally leavened with sourdough starter for incredible flavor. The dough puffs beautifully in the oven, creating signature pockets perfect for stuffing or dipping.
Yield or Serving: 8 Pitas
Prevent your screen from going dark
-
Mix the Dough:In the bowl of a stand mixer fitted with the dough hook attachment, mix the flour, salt, sugar, warm water, and sourdough starter on medium speed for 5 minutes. The dough will be shaggy.While mixing, slowly drizzle in the olive oil and continue mixing for another 10-15 minutes or until the dough clings to the dough hook, clears the sides of the bowls, and is strong enough to pull some with your hands without it tearing.
340 g All-purpose flour, 8 g Granulated Sugar, 9 g Kosher Salt, 180 g Warm Water, 25 g Extra Virgin Olive Oil, 120 g Sourdough Starter
-
Bulk Fermentation:Cover the bowl and place it in a warm location for bulk fermentation. At 78ºF, bulk fermentation takes about 5 ½ hours (longer if cooler).Complete a couple sets of stretch & folds every 30 minutes for the first hour to continue to strengthen the dough.Bulk fermentation is complete when the dough is doubled, domed in the bowl, and smooth.[Overnight proof: at this point, you can place the dough in the refrigerator to proof overnight to bake the next day]
-
Shape:Line a half-sheet pan with parchment paper or a silicone baking mat, lightly dust with flour, and set aside.Dump the dough out onto a lightly floured surface and use the bench scraper to divide into 8 equal-sized portions (about 84g each).To shape into rounds, pat the dough into a circle, pinch the edges toward the center as if you’re making a dumpling, flip over, and use the palm of your hand to create tension and shape into a perfect sphere like making dinner rolls. Only lightly flour your hand and the surface as needed.
-
Final Proof:Place the rounds a few inches apart on the prepared baking sheet, cover with a lid or plastic wrap, and proof for 1 ½-2 hours until they’ve almost doubled in size and are poofy.
-
Roll Out and Bake:Preheat the oven with your bread steel in it at 450ºF (232ºC) and prepare a bread peel or cutting board with a piece of parchment for easy transfer to the oven.On a lightly floured surface, use a rolling pin to roll the dough rounds into thin 8-inch rounds. Transfer however many pitas can bake at a time on your surface to the bread peel (I do four at a time), and quickly slide them into the preheated bread steel.Bake for 4-5 minutes until the sourdough pita breads puff up and the tops have a few brown spots. Remove from the oven with tongs or the peel, place on a plate and cover with a towel to keep warm, and repeat with the remaining pita breads.
- Try to keep the dough at a constant, warm temperature (between 75-80ºF) as much as possible throughout fermentation. I use the Brød and Taylor bread proofer to keep my dough at a constant 78ºF. If your dough and environment are cooler, bulk fermentation will take longer. Conversely, in warmer conditions, the dough will ferment faster.
- View my guide above for more detailed instructions, including photos of each recipe step, and FAQs.
- To make a sourdough discard pita bread, substitute the active starter with 120g of sourdough discard and add a teaspoon of instant yeast.
![Sourdough Pita Bread [Easy & Fluffy]– Sourdough Brandon](https://som2nynetwork.com/wp-content/plugins/phastpress/phast.php/c2VydmljZT1pbWFnZXMmc3JjPWh0dHBzJTNBJTJGJTJGc29tMm55bmV0d29yay5/jb20lMkZ3cC1jb250ZW50JTJGdXBsb2FkcyUyRnRodW1ic19kaXIlMkZUZWxhbmdhbmEtaG91c2luZy1pbi1zaXR1LWRldmVsb3BtZW50LW9mLWJhc3Rpcy1yOTU1MmhmeGhmd3R2cnczbWdjeXRmNmh6bDAzMTJobW1qMHZ5OWpiNW8uanBnJmNhY2hlTWFya2VyPTE3NTM5NzI0ODgtMjQxMiZ0b2tlbj04ODg0OTBjNDdmNDFiYWE2.q.jpg)
![Sourdough Pita Bread [Easy & Fluffy]– Sourdough Brandon](https://som2nynetwork.com/wp-content/plugins/phastpress/phast.php/c2VydmljZT1pbWFnZXMmc3JjPWh0dHBzJTNBJTJ/GJTJGc29tMm55bmV0d29yay5jb20lMkZ3cC1jb250ZW50JTJGdXBsb2FkcyUyRnRodW1ic19kaXIlMkYyMDIxXzEyXzIxX193aWxkX3JpY2Vfc2FsYWRfMS1yOTU1OHR1cG02bGk5MG9ia3AzYjViamljN3E5emlvZWh4anZraTRuNW8uanBnJmNhY2hlTWFya2VyPTE3NTM5NzI0MjQtMzU0MyZ0b2tlbj04MmFmODdlY2U0MDE0MGMx.q.jpg)


