

I spent the weekend at my daughter’s, and she had picked up my groceries before my arrival. My payment for house and pet sitting. Her boyfriend’s son had a hockey tournament, so they needed to be away from home and wanted me to stay with the animals. I do this quite willingly for two reasons. First, who couldn’t use a little pet therapy once in a while. Second, I rent a room, in a house. When my daughter goes away, I get to stay at her place and have a whole house to myself. It’s great!
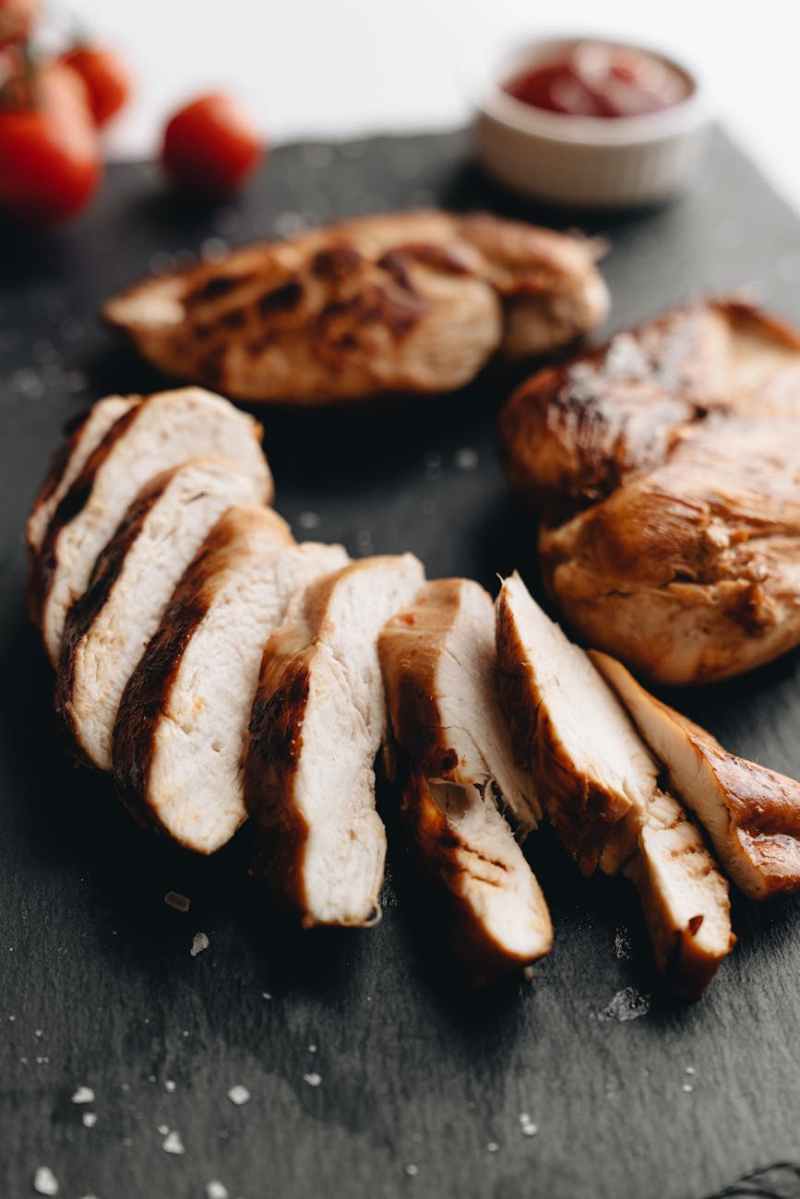
I’d asked for chicken breast so I could make chicken salads for the weekend. She chose thin chicken breasts which worked out perfectly. If I’d had lemon, I would have used that as well. But I didn’t even think to ask. Still, I was happy with the result.
It’s hard for me to know exactly how much of the other ingredients I used, as I don’t always measure. I just kinda throw things together. It *usually* works out in my favor.
Garlic Chicken Butter
Serves 5 to 6
Ingredients:
5 or 6 thin chicken breasts
1/4 cup Organic olive/avocado oil (I had avocado oil on hand so used that)
1/2 a stick of butter
1 tbsp minced garlic
1 tbsp parsley
1 tsp garlic powder
1/2 tsp onion powder
sea salt to tatse
pepper to taste
- Preheat the oven to 350*.
- Place the butter into a baking dish and put the dish into the oven while it preheats.
- When the butter is melted pull the baking dish out and place it on the stove top. Be careful as the pan is now hot.
- Add the oil, minced garlic, and powdered garlic and onion to the baking dish and mix it with the melted butter, making sure the bottom of the baking dish is well coated. You can add more butter and/or oil if you need to.
- Place the chicken breasts in the baking dish. Let sit a moment and then flip them over in the pan being sure there is still plenty of the mixture under the chicken.
- Sprinkle half the parsley, as well as some sea salt and pepper, over the breasts.
- Place the baking dish back in the oven and bake the chicken for about 15 minutes.
- Pull the baking dish out of the oven and place it back on the stove.
- Turn the chicken over, again being sure there is plenty of the mixture on the bottom.
- Sprinkle the rest of the parsley along with more sea salt and pepper over the chicken.
- Place the baking sheet back into the oven and bake another 10 to 20 minutes. You just want to be sure the chicken is cooked through.
- Take the baking dish out of the oven and place on a towel on the counter. Cover with another towel if you need to keep the chicken warm.
Notes:
- You can do this with turkey as well.
- Play around with the amounts and types of seasonings to see what you like best.
- You can use other cuts of meat, but you might have to adjust the cook time to do so.
- The chicken was the only thing purchased for this meal. Everything else I had on hand from making previous meals with the cost already accounted for in those meals. I don’t know how much Skye paid for the chicken but, for my part, this was essentially a free meal. My guess is the cost would have been around $6 or $7. Split between the 6 meals it was used for; I would say maybe $1.17 per meal. It would have been quite a bit more if I’d had to buy butter oil, and garlic or other seasonings.
Serving Suggestions:
- Serve over pasta or rice if you are not watching your blood sugar.
- I used this to make a big chicken salad to have throughout last weekend. I used the Simple Tossed Salad recipe, and some grapes and strawberries.
- When I could eat what I wanted, I would have had this with potato, corn and peas, and bread or biscuits with butter.
How do you enjoy chicken? I really liked this and want to try it again when I have some lemon. If you have diabetes, how have you changed how you enjoy a meal that includes chicken? I am always looking for new ideas.
~ Shannon


