
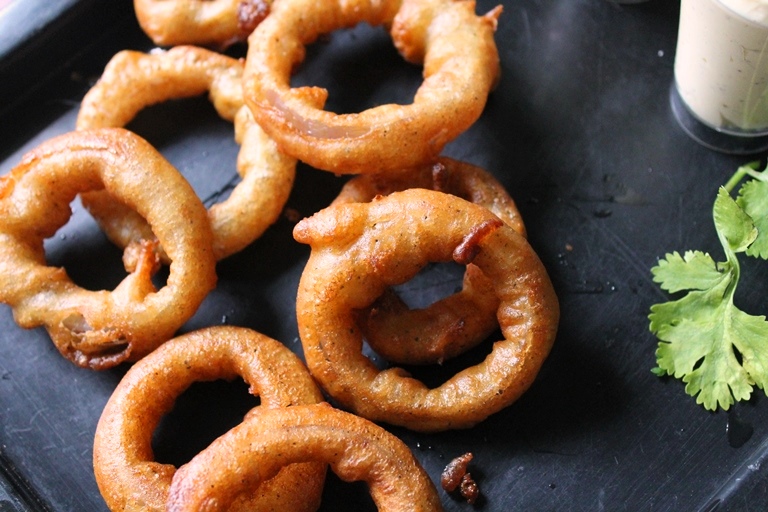
Fried Onion Rings are crispy, golden snacks made by dipping thick onion slices in a simple milk-based batter and deep-frying till crispy. The outer layer becomes crisp, while the inside becomes sweet and soft, giving in the perfect bite. They are easy to cook and make an excellent side dish with burgers or snacks on its own. No breadcrumbs, no eggs—just basic ingredients and a chilled batter that fries perfectly.
Making onion rings can be so much funs than eating them. It taste so delicious too..I love to make them when i make burgers, it taste so heaven with them. It is so simple to make. There are few ways of making them, you can make breadcrumbed onion rings, beer battered onion rings, i made a plain milk battered onion rings and it turned out so good.
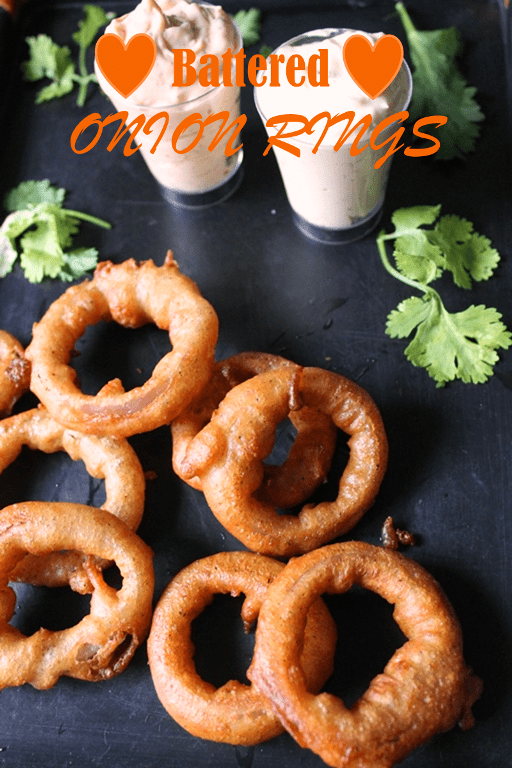
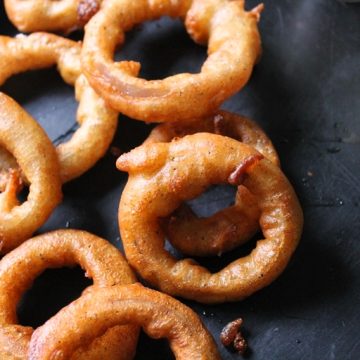
Fried Onion Rings
I served these onion rings with homemade mayo. Onion rings and mayo taste so yummy, you got to try that combo. I hope you will try this out and let me know how it turned out.
Jump to:
About Onion Rings
This recipe is simple but effective. The recipe begins with simple ingredients: all-purpose flour, baking soda, salt, and pepper. Milk brings it all together, resulting in a smooth mixture that is neither too thick nor too runny. After some time in the fridge, the batter thickens just enough to stick to the onion rings without sliding off. This process increases the coating’s fryability.
You want to slice them thickly so they keep their shape and do not overcook in the hot oil. Before dipping them into the batter, each ring is lightly dusted with flour. The thin layer enhances batter grip and results in a more even cook. Once coated, the rings are dipped in hot oil, where they puff up to golden, crispy in just a few minutes.
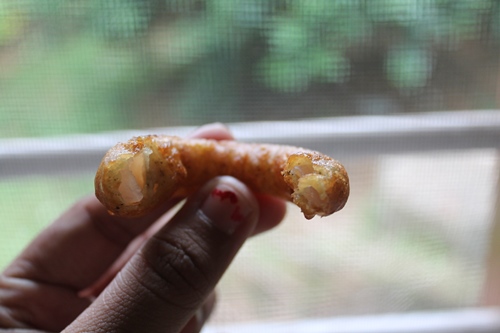
The crisp crust contrasts with the soft, sweet onion inside. It’s best to eat them hot, right away from the frying pan, while the edges are still crispy. A side of mayonnaise or any creamy dip enhances the dish. Whether served as a side, snack, or as part of a burger meal, they quickly disappear. Simple ingredients, few steps, and satisfying results.
Similar Recipes
Why this recipe works
The flour coating is what gives the crunch. It makes a dry surface, helping the batter to stick better. The milk-based batter coating the onions in a light outermost layer that is solid during frying. Chilling the batter is the most important step, it provides shape, letting it stay sticky and crisp without falling off or becoming mushy.
Why I like this recipe – I first made these for movie night in college, and they’ve since been a weekend favorite. The flavor of frying onions combined with warm milk batter was delightful. My friends and I would always make extras, not just for the first round, but also for the second, because they disappeared so quickly. It became a favorite memory: crisp rings, calm nights, and laughter. Even now, making them reminds me of those carefree evenings. It’s one of those rare foods that seems like both a snack and a memory.
When baking soda comes into contact with hot oil, it changes the texture, making it lighter and puffier. Using thick cut onion rings keeps the insides moist and flavorful while the outside crisps up correctly. That’s why every bite tastes like something you’d order at a restaurant, rather than just fried onions with dip on the side.
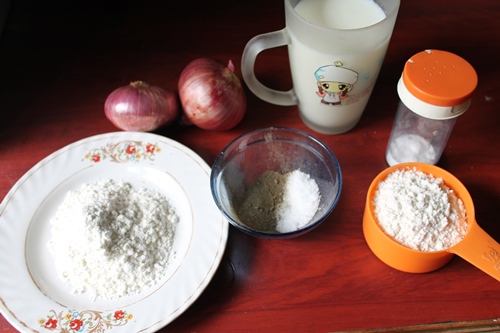
Ingredients
1 cup all-purpose flour (plus extra for dusting) : This is the base for your batter. It helps the coating stick and adds a good crunch. Dusting the onions with dry flour before dipping ensures that the batter stays and does not slip off in the oil.
¼ teaspoon baking soda: It’s only a pinch, but it adds up. It creates tiny bubbles in the batter as it fries, giving the coating a lighter, crispier texture. Without it, the batter could feel flat or dense.
Salt and 1 teaspoon pepper: Don’t just season the onions, season the batter. This ensures that the flavor is absorbed and balanced from the start. The pepper has a subtle taste that enhances the sweet onion.
¾ cup milk (plus more if needed): This blends everything into a nice batter. It allows the coating to cook golden and somewhat soft. If the batter is too thick or too thin, add a little milk or flour.
2 large onions: Use large, firm onions, cut thickly. That way, the inside stays soft and juicy, while the outside crisps nicely. Sweet yellow or white onions give the good texture contrast.
Oil for deep frying: Select a neutral oil with a high smoking point, like canola, sunflower, or peanut. The oil should be hot enough to crisp up the rings without soaking them in grease. Always test a drop of batter first.
Hacks
Chill the batter: Allowing the batter to sit in the refrigerator for 30 minutes can be very useful. It thickens somewhat, allowing it to stick better to the onions. This little step is what gives the coating its uniform, crisp appearance. Do not skip it; it is worth the wait.
Keep batter thick:You want a batter that is thick enough to coat and yet flowing. If the mixture feels too thin and runs off the onion, add a spoonful of flour. If it becomes too thick, add a splash of milk. Adjust till it seems perfect.
Double-coat rings: Always coat the onion rings with dry flour before dipping them into the batter. The layer provides grip, allowing the moist batter to stick without sinking into the oil. It’s a basic technique with a huge impact.
Maintain oil temp: Keep the oil at a medium-high temperature. Too much heat causes the coating to brown early, leaving the inside undercooked. Too cold, and the rings absorb oil, becoming mushy. Test with a small bit of batter; it should bubble up but not burn.

Fried Onion Rings (Step by Step Pictures)
|
| Take all your ingredients |
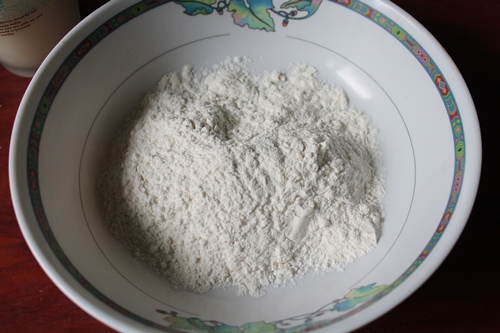 |
| Take flour in a bowl |
 |
| Add a pinch of baking soda |
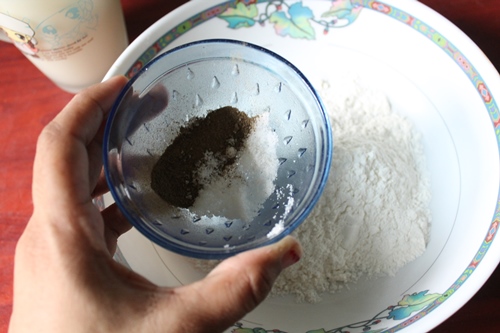 |
| Add in some salt and pepper |
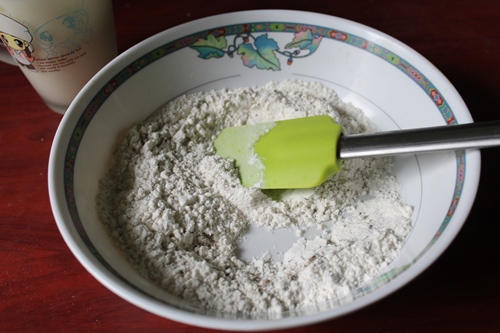 |
| mix it up |
 |
| Add in some milk |
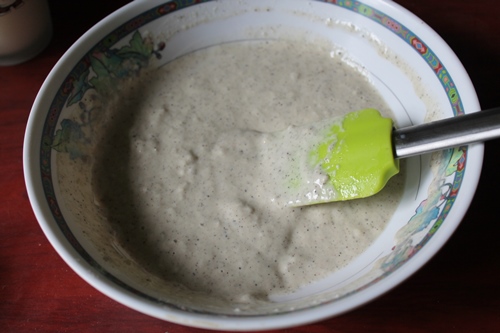 |
| mix it up |
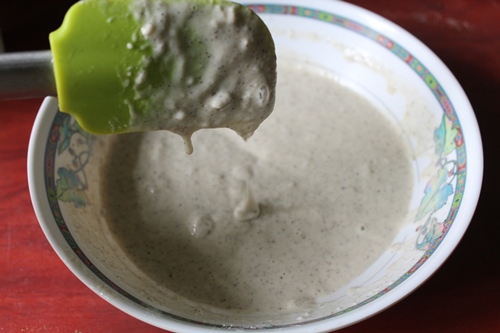 |
| It should be little thick, not too thin |
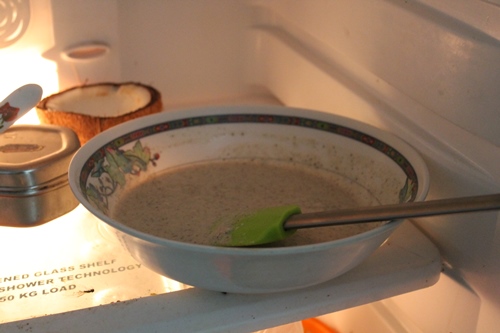 |
| Put the batter in fridge for 30 mins |
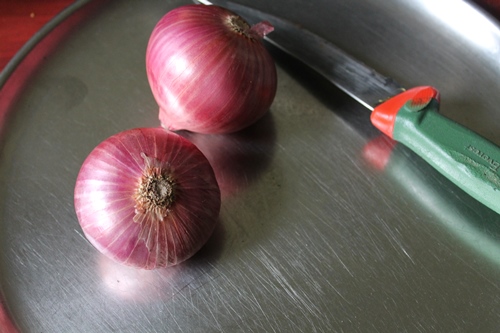 |
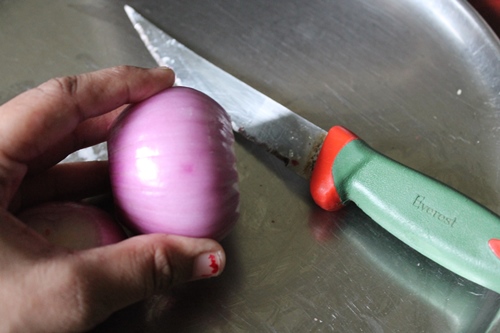
| Take some onions |
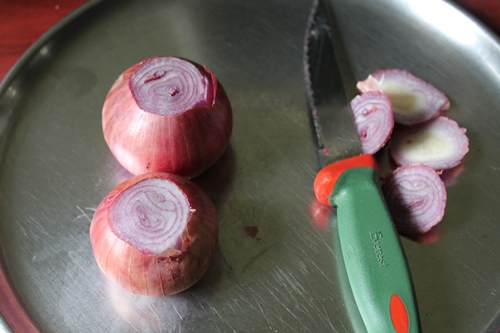 |
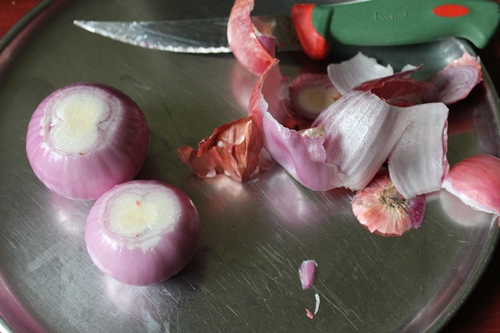
| cut the top and bottom of onions |
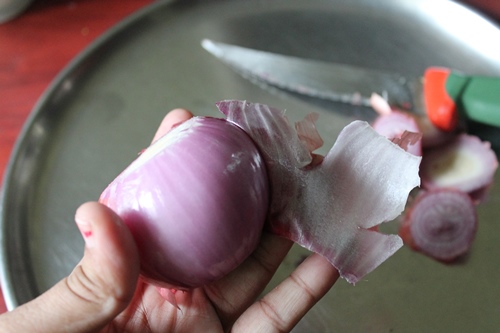 |
| Peel em |
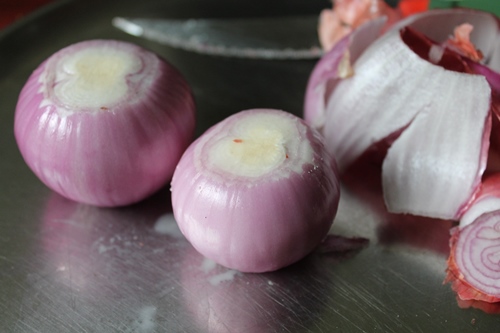 |
| like this |
 |
| Now lets make the rings |
 |
| Use a sharp knife to make the rings |
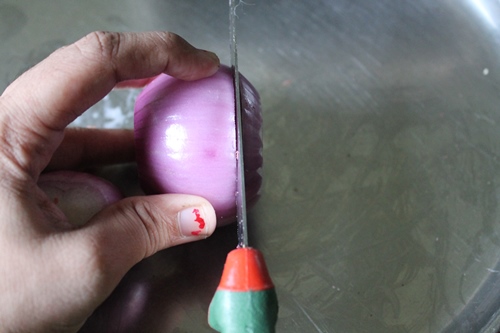 |
| Cut the rings little thick |
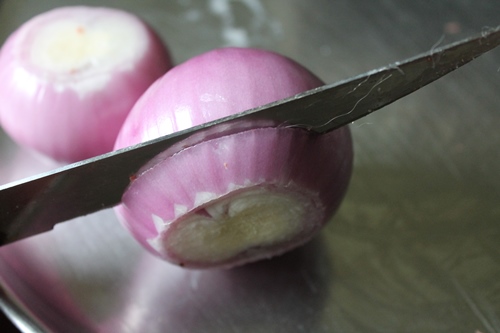 |
| about this much |
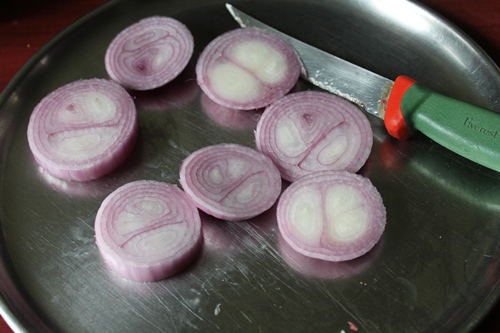 |
| All sliced |
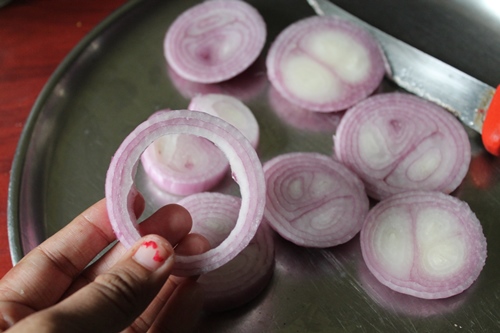 |
| separate each rings |
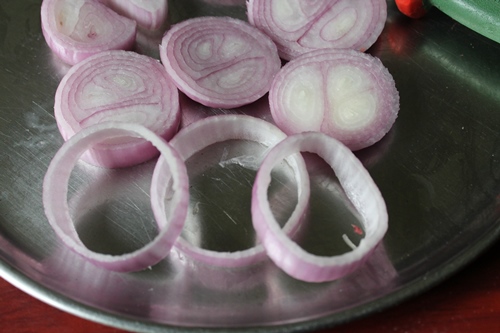 |
| like this |
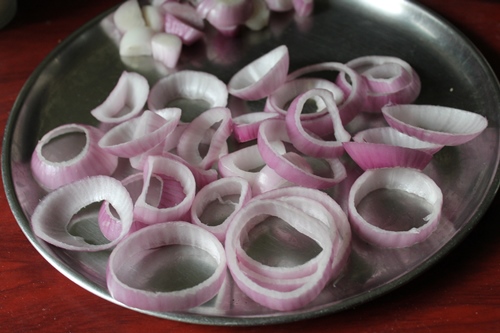 |
| all separated |
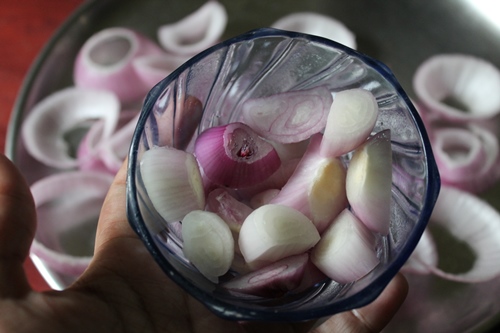 |
| you can use the middle part of these onions for some curries |
 |
| Now take a onion rings and coat them with plain flour |
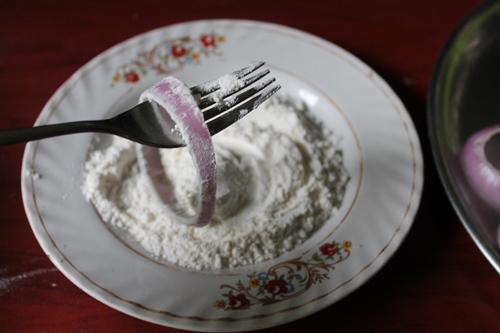 |
| Once they are coated |
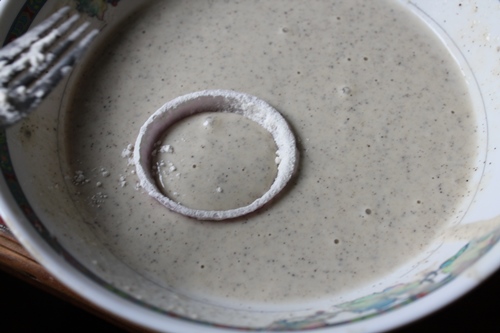 |
| Dip them in batter |
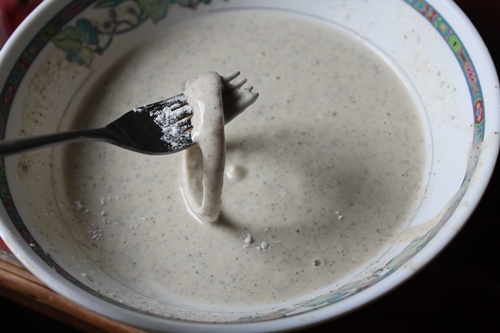 |
| coat them |
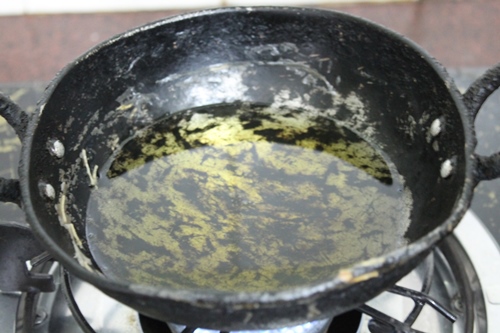 |
| heat oil for frying |
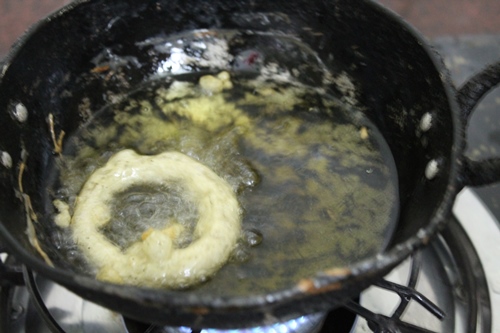 |
| Fry the onion rings till golden |
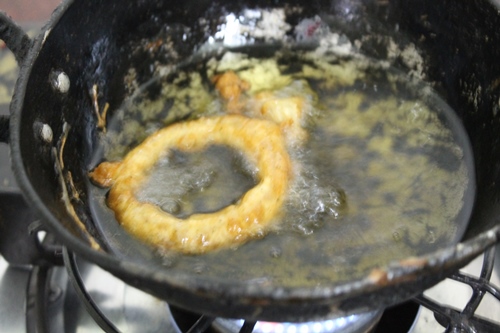 |
| it should be golden on both sides |
 |
| Drain on paper towel |
 |
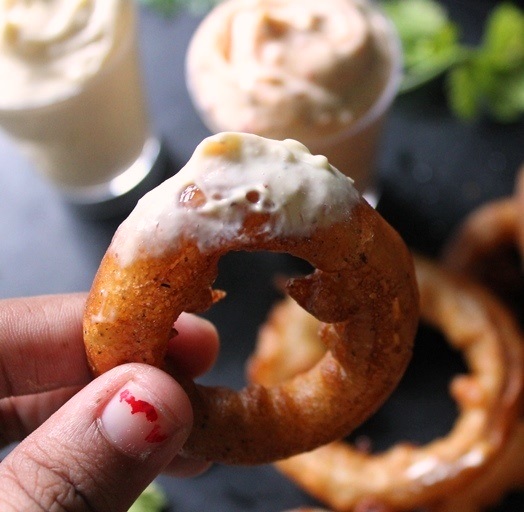
| serve with mayo |
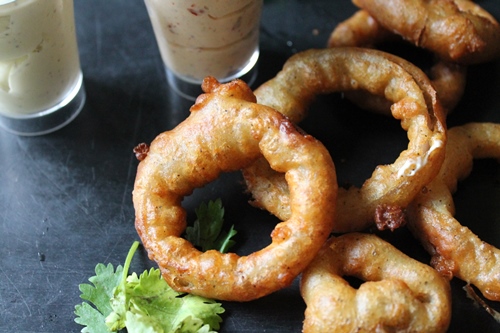 |
| it taste amazing.. |
Expert Tips
Storage
Onion rings are at their best right after frying—hot, crisp, and golden. If you only need to store them for a short time, place them on a wire rack in a warm oven at roughly 200°F. Avoid covering or stacking them since they collect steam and become mushy. They will be OK for about an hour this way. Reheating in the oven or air fryer returns some of the crunch, but they’ll never be exactly as fresh.
Serving
Serve the onion rings hot, straight from the paper towel or rack. They’re most satisfying when they’re crispy on the outside and mushy on the inside. I usually serve them with homemade mayo, but they also work well with ketchup, garlic aioli, or even a little hot sauce if you like it spicy. They’re perfect for pairing with burgers and sandwiches, or as a snack on its own.
Oil temperature
Everything depends on getting the oil temperature just correct. The ideal temperature is around 350°F (175°C), which is hot enough to crisp but not burn. If you don’t have a thermometer, use a single ring. If it bubbles steadily and turns golden in a minute or two, you’re done. Too quickly, and it will burn outside but remain raw within; too slowly, and it will absorb oil and turn mushy. Keep the heat consistent between batches.
FAQ
Can I use buttermilk instead of regular milk?
Yes, buttermilk works great. It gives a little taste to the batter and makes the coating more soft and delicious. Simply swap it for milk in equal parts. If your buttermilk is too thick, you may need to thin it up with water to get the right consistency.
Can I bake instead of fry?
If you don’t want to deep fry, baking is a great substitute. Brush each ring with oil before baking at 425°F (220°C) for 15-20 minutes, flipping halfway. They won’t be as crunchy as fried, but they’ll still have a good texture and taste.
What about gluten-free?
You can use rice flour or chickpea flour instead of all-purpose flour. The texture will be different more delicate or somewhat nutty, but still pleasant. Adding a little cornstarch can help you get the desired crunch.
Can I make the batter ahead?
Yes! Mix the batter and chill it overnight. It may thicken as it sits, so give it a little stir before using. If required, add a small bit of milk or water to help it loosen up. Very good for planning ahead of time.
Variations
Cheesy twist: Add one tablespoon of grated Parmesan to the batter. It melts into the coating, adding a sweet, nutty flavor that complements the onion’s sweetness. Just don’t overpower it; too much cheese can cause the batter to clump.
Spiced up: Add a pinch of paprika or chili powder for a little heat. Not only does it offer warmth and depth, but it also gives the rings a slight red color that enhances the dish. You can experiment with the amount depending on your heat preference.
Breadcrumb finish:After dipping the onion rings in the batter, coat them with breadcrumbs before frying. This adds an extra layer of crunch that’s quite satisfying. Panko is very useful if you want them crispy and golden.
Herb-infused: Add some finely chopped fresh herbs, such as parsley or cilantro, to the batter. It provides a burst of green and a soft freshness that cuts through the richness of the fried rings.
📖 Recipe Card
Onion Rings Recipe (Batter Fried Onion Rings Recipe)
Servings: 2 servings
Calories: 345kcal
Nutrition
Serving: 1servings | Calories: 345kcal | Carbohydrates: 67g | Protein: 11g | Fat: 4g | Saturated Fat: 2g | Polyunsaturated Fat: 0.4g | Monounsaturated Fat: 1g | Cholesterol: 11mg | Sodium: 760mg | Potassium: 437mg | Fiber: 4g | Sugar: 11g | Vitamin A: 157IU | Vitamin C: 11mg | Calcium: 161mg | Iron: 3mg
If you have any questions not covered in this post and if you need help, leave me a comment or mail me @[email protected] and I’ll help as soon as I can.
Follow me on Instagram, Facebook,Pinterest ,Youtube and Twitter for more Yummy Tummy inspiration.
IF YOU MAKE THIS RECIPE OR ANYTHING FROM YUMMY TUMMY, MAKE SURE TO POST IT AND TAG ME SO I CAN SEE ALL OF YOUR CREATIONS!! #YUMMYTUMMYAARTHI AND @YUMMYTUMMYAARTHI ON INSTAGRAM!
More Snacks Recipe
–>
About Aarthi
Reader Interactions


