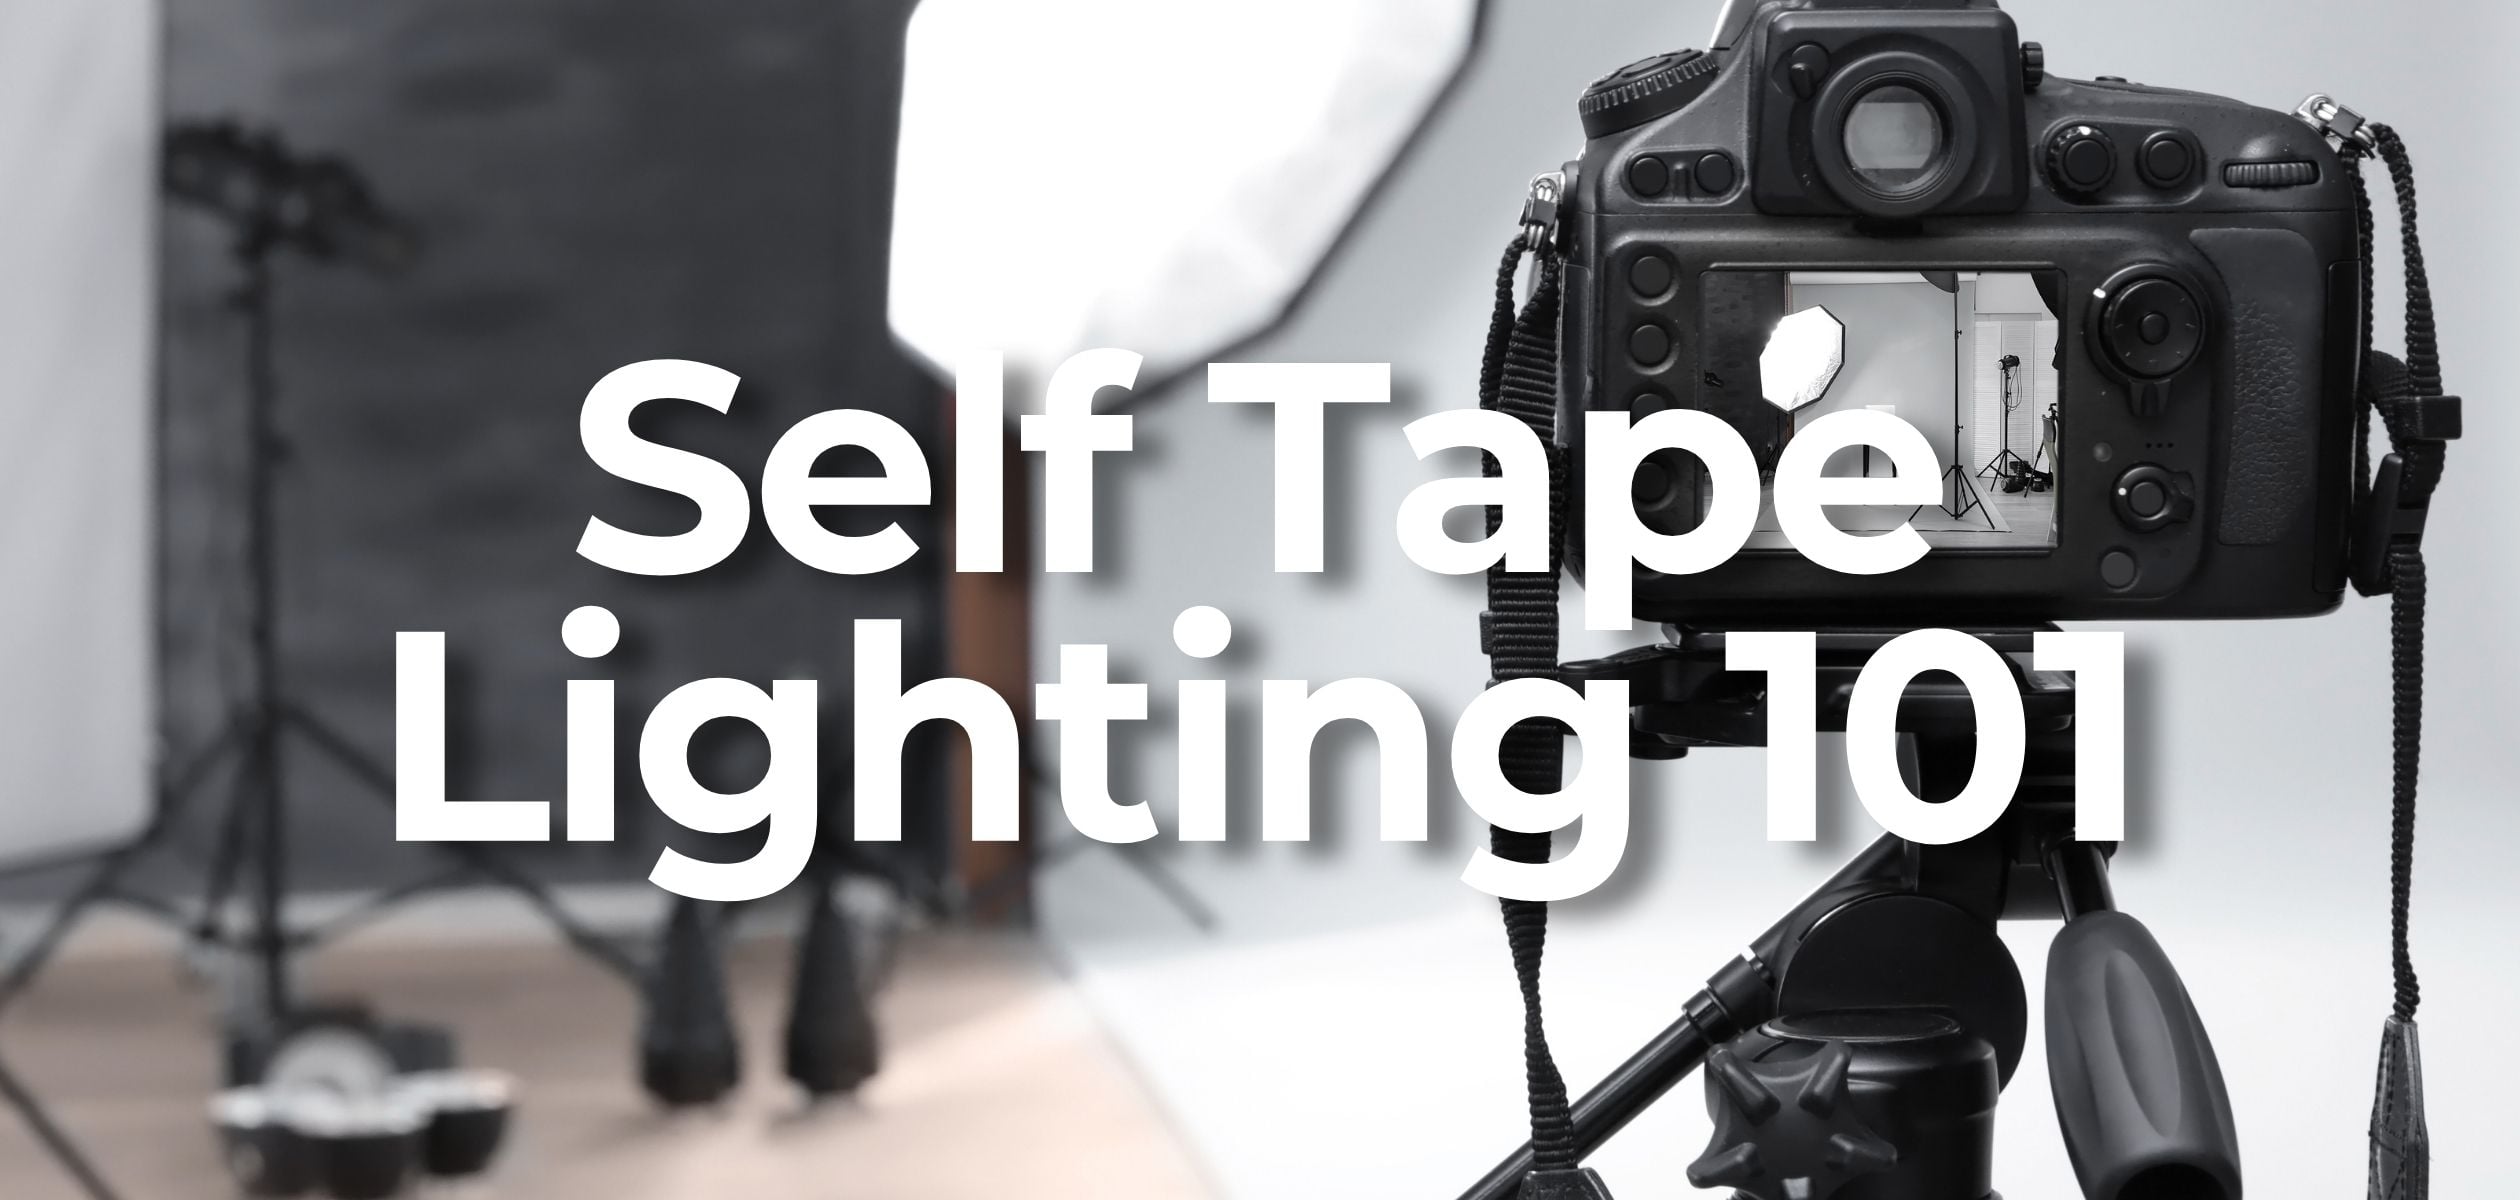
Great self tape lighting helps actors create compelling self tapes that stand out. While performance always comes first, smart lighting shapes your face, adds dimension, and draws casting directors’ eyes to your best work (no matter your budget!)
This guide covers everything from natural light setups to professional 3-point lighting. You’ll get insight into key lighting principles, appropriate lighting equipment and common mistakes to avoid. Whether you’re filming your first self tape audition or upgrading your home studio, here are the practical, proven techniques to make your tape stand out.
Why Lighting Matters in Self-Tapes
Film and TV are visual mediums. On a professional set an entire lighting department works to make actors look their best. As a self-taping actor, you are your own lighting crew!
Good lighting:
- Highlights your facial expressions and performance
- Eliminates unflattering shadows (like raccoon eyes)
- Creates depth and dimension
- Makes your tape look polished and professional
Bad lighting, on the other hand, can distract from your acting. It has the potential to make even an experienced actors seem amateur. A great lighting set up comes down to a few key principles (and doesn’t require a Hollywood lighting rig). Most working actors succeed with a few affordable softboxes, LED panels, or strategically placed natural light!
Finally, remember that lighting is there to support your performance. Don’t let your lighting setup distract you from what really matters. You can absolutely book jobs with a minimal setup, like this incredible audition from Britt Lower for Severance proves.
Entry Level Simple Self Tape Lighting (Natural Light Only)
Natural light is flattering, free, and often the simplest way to get results. This setup is best for beginners and actors working on zero-budget. All you need is a window, and a plain wall or backdrop to perform in front of.
How to do it right:
- Film in the morning for the cleanest, most consistent daylight.
- Turn off all ceiling and artificial lgihts
- Position yourself facing the window (camera between you and the window) — never with the window behind you.
- Stand out of direct sunlight to avoid harsh shadows.
- Use a plain wall or neutral backdrop.
Limitations: Natural light changes throughout the day and disappears at night, so many actors eventually invest in basic artificial lights for consistency.
The Essential Self Tape Lighting Setup
A 3-point lighting set up is the gold standard for a home self tape studio. You only need two lights to start (key + fill), but three creates the most polished look. Prioritise soft light over unfiltered LED panels or lightbulbs.
Recommended equipment:
- 2 x LED panels or softbox lights (bicolour and dimmable preferred)
- Diffusion (a white shirt works in a pinch)
- Avoid ring lights. They create distracting circular reflections in the eyes.
For most actors, the best self tape lighting set up uses a key light at a 45 degree angle (above eye-level) to shape and define the face, accompanied by a fill light on the opposite side to soften shadows. Additionally, an optional back light can help to define the actor from their background and create a dynamic subject within the frame. Expensive gear isn’t required. If you’re looking for product recommendations, we do have plenty of guides you can check out for how to create a great budget self tape setup.
Standard 3-Point Lighting Set Up Explained
The standard 3 point lighting setup is made up of three lights: the key light (your brightest light), the fill light (to fill the shadows created by the main light source), and a back light (to separate the subject from the background).
1. Key Light
They key light is the brightest and most important light. It defines and sculpts your face. The key light creates natural shadows that contour the face and define the jawline.
Positioning:
- 1.5–2 meters away from you
- 45° angle to the side of the camera
- Above eye level, angled down ~45° toward face (avoids unflattering upward shadows)
- Brightness: 50–100% (adjust so camera doesn’t need high ISO)
If the light isn’t bright enough, the camera can compensate by trying to raise the ISO which causes the image to go fuzzy.
2. Fill Light
The fill light fills in the shadows created by the key light and helps create a more dynamic image. It creates a balanced, cinematic look, and who doesn’t want that?
Positioning
- Opposite side of the key light (mirroring the 45° angle)
- Same distance or slightly farther.
- Lower brightness: 20–50% of key light (or farther away)
- Keep it soft.
Tip: If your fill light is too strong, bounce it off a white wall.
3. Back Light (Optional… but powerful!)
The back light separates you from the background and adds depth to your tape. It’s not essential, but it can look great.
Common placements:
- Behind you, pointing at the backdrop for separation
- Above and behind, angled down to create a subtle halo on your hair or shoulders
- Illuminating the backdrop at a 45° angle
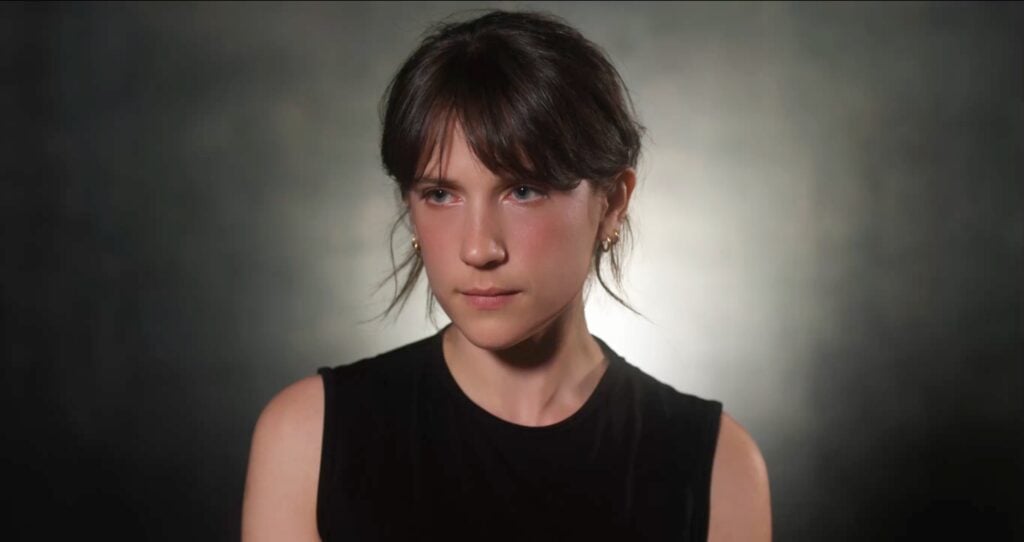
Near Side vs Far Side Lighting for Actors
In film and television, different lighting setups are used to create different effects. To really nail your self tape lighting setup, borrowing these lessons can help to create a standout tape.
- Far Side Key Lighting (most common in TV + film): Lights the side of your face farther from the camera. Slims and contours the face. It’s great for definition.
- Near Side Key Lighting: Lights the side closer to the camera. Plumps the face, softens wrinkles, and fills sunken eyes. Can make the face appear wider.
Near side and far side lighting is determined regardless of the direction of your eye line. For example, if the right hand side of the face is closer to the camera, and the right side is illuminated, it’s an example of ‘near side’ lighting.
Pro tip: Test both during setup and choose what flatters your face and the scene’s emotional tone.
Common Self Tape Lighting Mistakes (and How to Fix Them)
Actors encounter several common pitfalls as they refine their lighting setups. The main three problems are: flat or dull lighting, white balance problems, and distracting shadows. Chasing perfection is a fruitless exercise, but being aware of these common mistakes you can help easily avoid them!
1. Flat or Dull Lighting
When actors are less knowledgable about where to place their lights, they can end up creating a dull or flat appearance on screen. It’s usually caused by:
- Key light directly in front of or behind the camera. (Widens face + removes shadows that sculpt the face)
- Lights at eye level fill in the shadow under the jawline. (No jaw definition)
To fix this, use lights positioned at a side angles (30 – 60°) and placed at the right height.
2. White Balance & Colour Temperature issues in Self Tapes
Incorrect white balance in a self tape can make an actor look washed out, or create strange skin tones. Issues usually come from:
- Mixing natural and artificial light
- Mixing different bulb temperatures
To fix these issues, use consistent lighting. Choose 5600K (daylight) for most self tapes. If shooting with a DSLR, set the camera white balance manually to match the colour temperature.
Quick guide to colour temperature
3200K = warmer (more like a bedroom lamp and yellow in colour)
5600K = cooler (same as daylight)
3. Distracting Shadows
Positioning yourself or your lights incorrectly can can create distracting shadows on your face and backdrop. Actors with limited space in a self tape studio often encounter this problem.
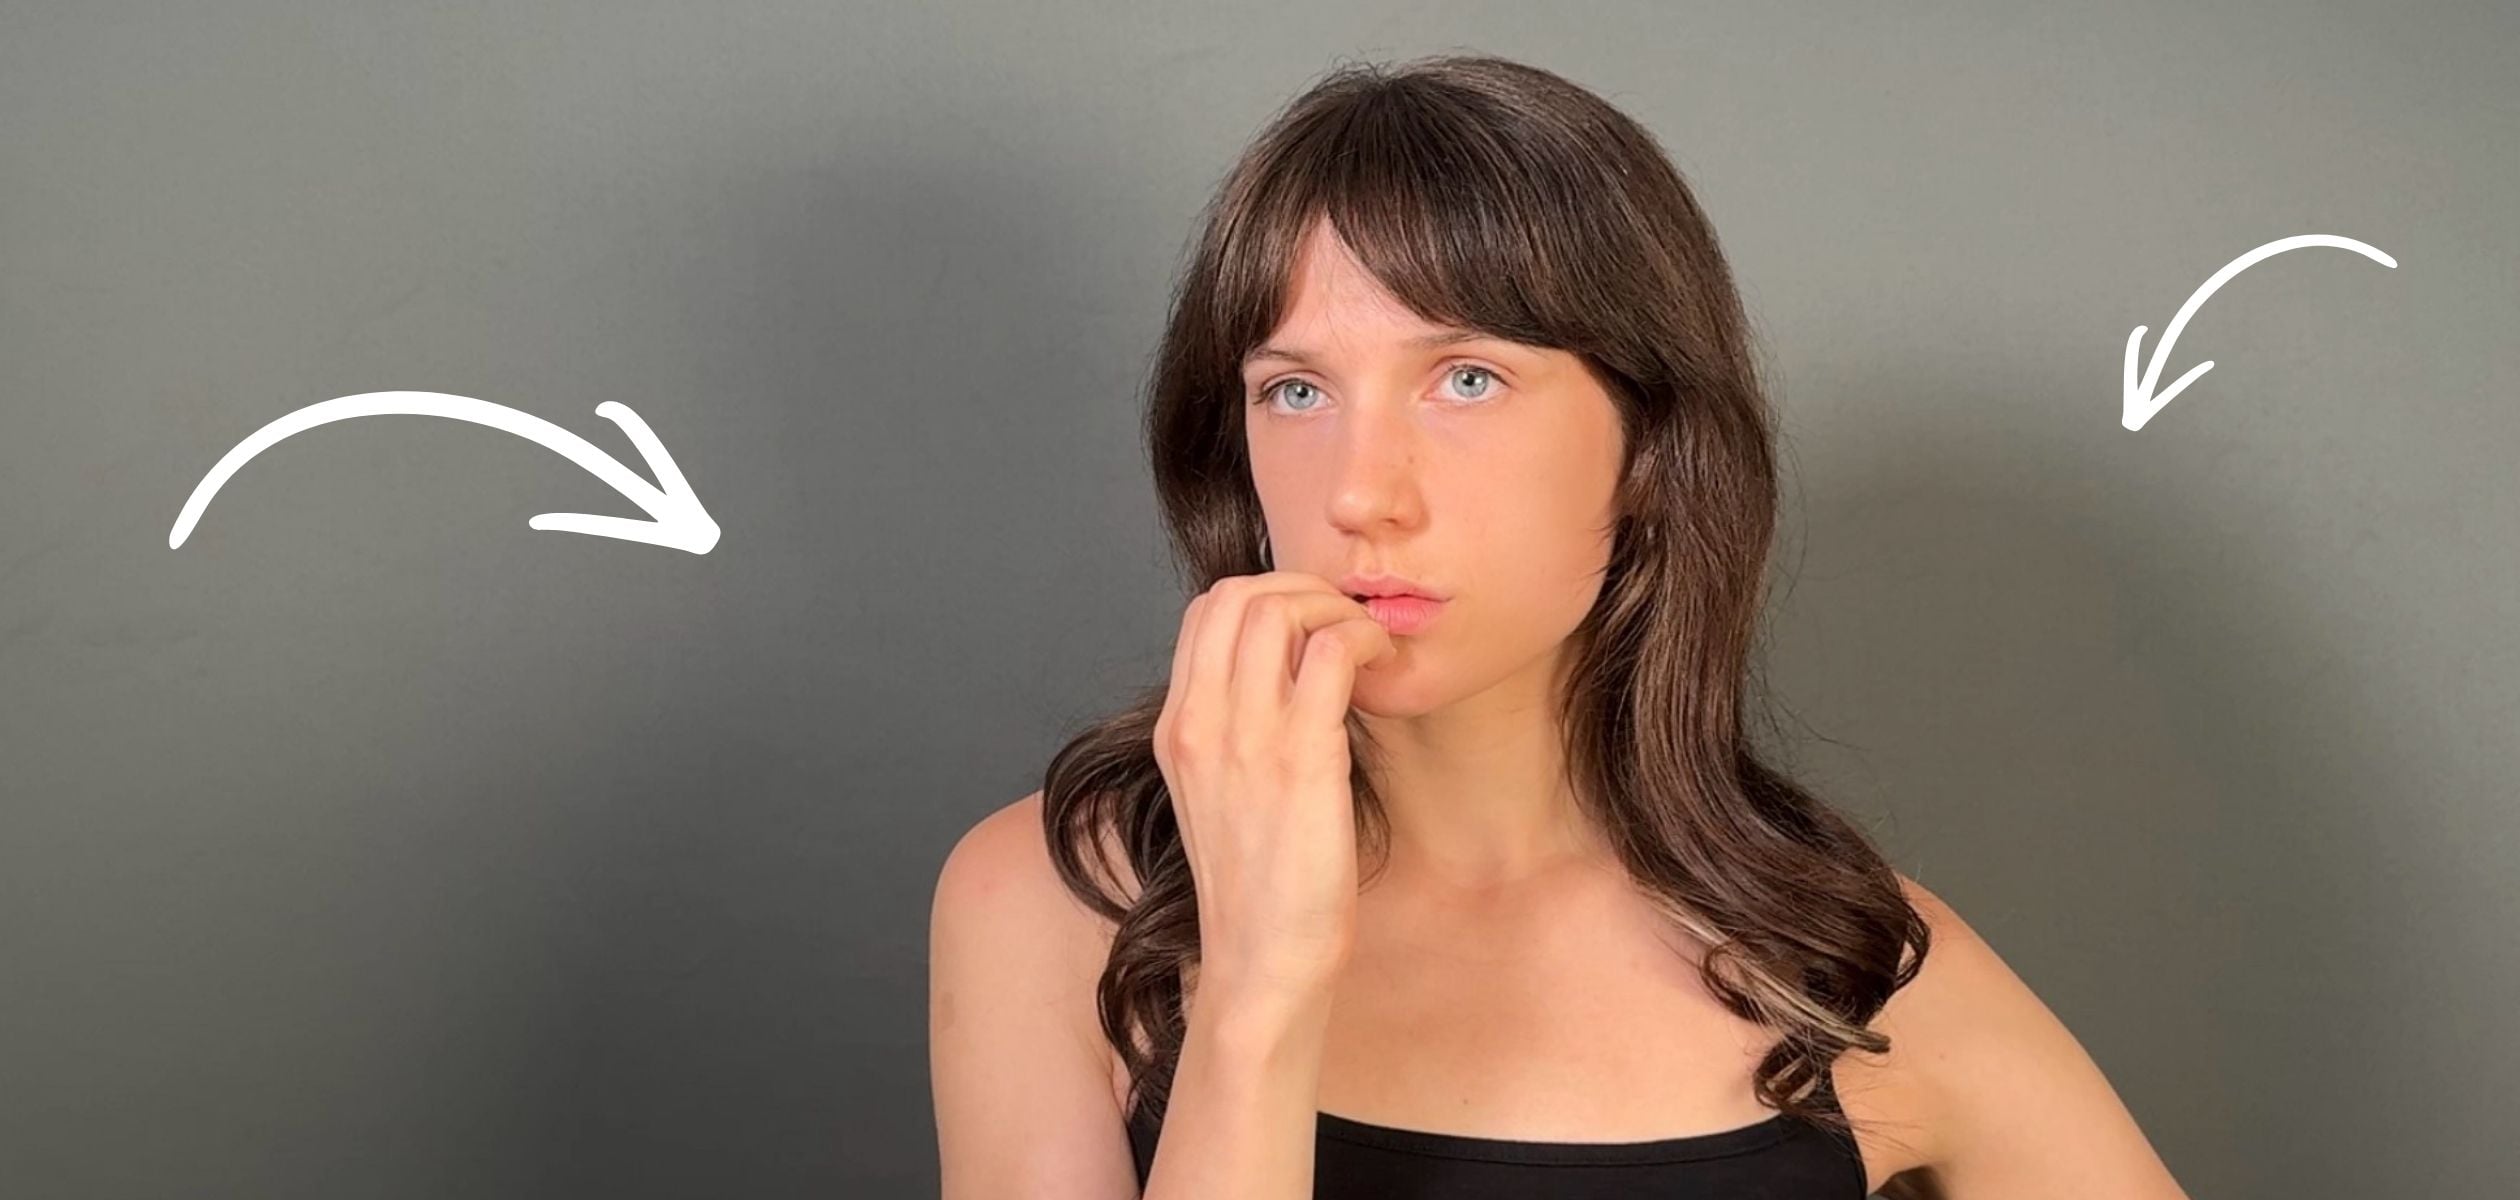
- Background shadows = standing too close to wall/backdrop (pictured above)
- Raccoon eyes = lights too high overhead
To fix: Keep 1 and 2 metres away from the backdrop, if possible. Angle lights at ~45°. Turn off ceiling lights.
Quick Self Tape Lighting Checklist
To recap, lets go through how to nail that self tape set up one last time.
- Use a consistent color temperature (all 5600K or all 3200K)
- Position key light at 45° on side + above eye level
- Create definition with the key light.
- Use the fill light to soften harsh shadows.
- Create soft diffusion on all light sources.
- Aim for good exposure (no crushing shadows or blown out highlights)
Following these simple guidelines will help you to create a professional looking self tape that lets your performance shine!
Final Thoughts on Self Tape Lighting
A professional self tape lighting setup shows casting directors you’re prepared and take your craft seriously. But its important to remember lighting supports your performance. It never replaces it!
Start simple with natural light or a basic two-point lighting set up. As you refine your practice, you can experiment and discover what works best for your studio space (and your face!). Over time, you’ll develop a reliable setup that showcases you in your best light.
Casting doesn’t expect you to be a cinematographer, but mastering these principles will help you to create compelling tapes that book!