

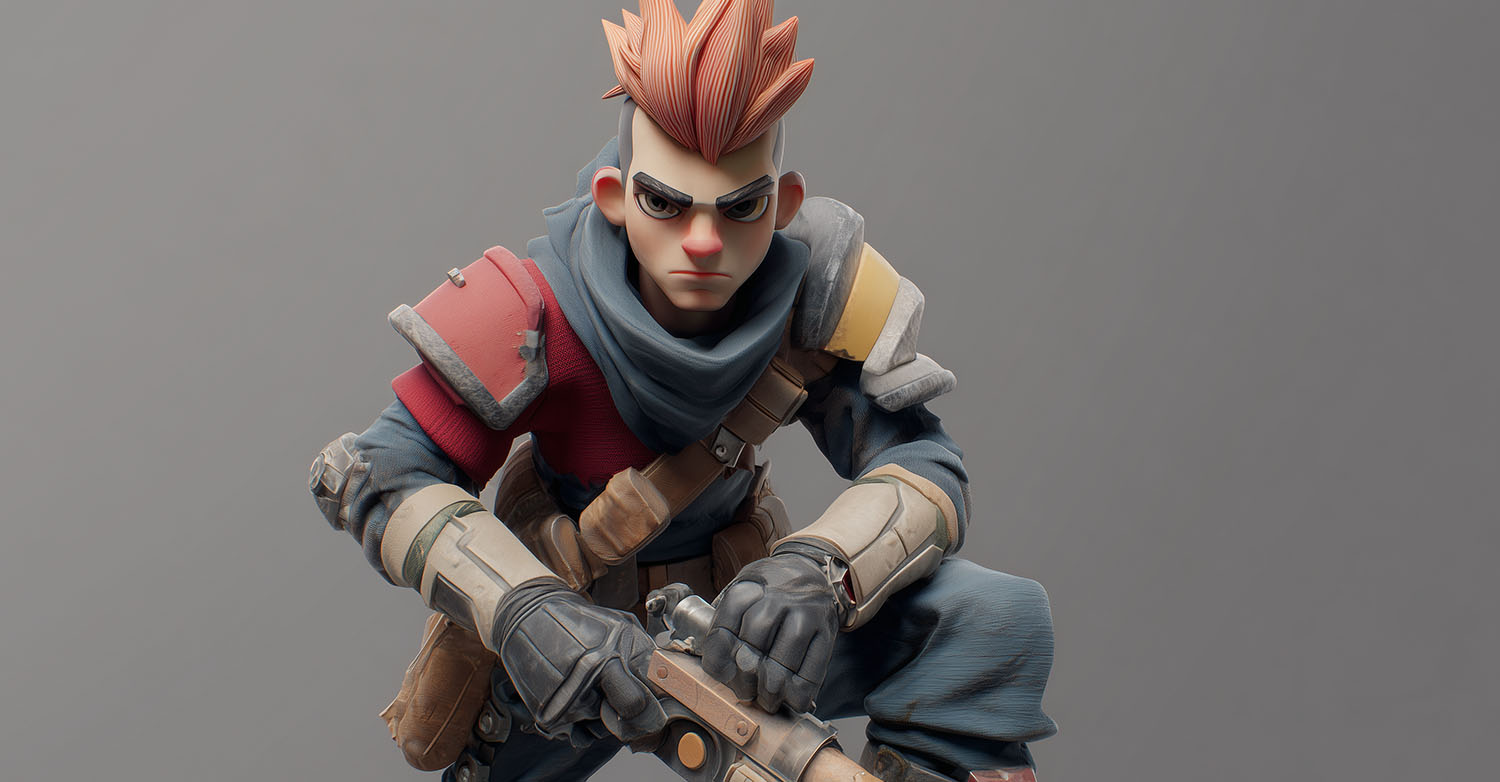
Have you ever spent hours animating a 3D character, only to play back the scene and realize something doesn’t feel right? The character moves, the keyframes are there, and the animation might even look technically smooth. But the performance still feels stiff, robotic, or strangely weightless.
It’s a common problem in 3D character animation, and one that can affect everyone from animation students to experienced artists working with complex character rigs. The frustrating part is that adding more keyframes or polishing the movement doesn’t always make the animation better. Sometimes, it makes the problem worse. That’s because stiff animation usually isn’t caused by a lack of detail. It often comes down to something more fundamental: timing, spacing, weight distribution, posing, and the way different parts of the body move together.
In this guide, we’ll explore why 3D character animation sometimes feels stiff and how to fix it. We’ll look at practical techniques for improving timing, weight, posing, body mechanics, and animation curves, along with common mistakes to watch for when working in Blender, Maya, or other 3D animation software.
Quick Answer: How Do You Fix Stiff 3D Animation?
The best way to fix stiff 3D character animation is to improve the timing and spacing of the movement, create stronger key poses, establish believable weight shifts, and introduce natural overlap between different parts of the body. Instead of immediately adding more keyframes, start by identifying what isn’t working in the performance.
Ask yourself whether the character has a clear intention, whether the poses communicate the action, and whether the movement has a believable sense of force and balance. Pay particular attention to whether different body parts move simultaneously, whether the character appears grounded, and whether the animation curves introduce unnatural pauses or changes in speed.
These are the foundations of convincing character animation. You don’t necessarily need more complicated software or a more advanced rig to improve them. You need to understand how the character should move and make sure every part of the animation supports that movement.
What Makes 3D Character Animation Look Stiff?
Stiff animation happens when a character’s movement lacks the natural variation, weight, timing, or flexibility that makes it feel believable. One common cause is that too many body parts move at the same time. When the hips, torso, arms, and head all begin and end their movements together, the result can feel mechanical. Real movement is usually more complicated, with different parts of the body responding at slightly different times.
Another common problem is evenly spaced timing. If a character moves between every pose at a constant speed, the movement may feel robotic because there is no clear acceleration, deceleration, anticipation, or reaction. Weak posing can also contribute to stiffness. A character might move smoothly between two positions, but if those positions don’t communicate weight, balance, or intention, the animation will still feel unconvincing.
The same applies to animation curves. Smooth interpolation doesn’t automatically produce good animation. In some cases, the curves can cause characters to float between poses, slow down at the wrong moments, or lose the energy established during blocking. The important thing is to identify the underlying cause before trying to fix the shot, rather than adding more movement to an already weak performance.
1. Improve Timing and Spacing
Timing and spacing are two of the most important principles in animation, and they are often responsible for the difference between stiff and convincing movement. Timing refers to how long an action takes, while spacing refers to the distance an object or character moves between successive frames. Together, they determine the rhythm, speed, energy, and feel of an animated action.
Imagine a character reaching for a glass of water. If the character’s arm moves toward the glass at a constant speed, the action may feel mechanical. Now imagine the same action with different timing. The character notices the glass, pauses briefly, reaches toward it, slows down as the hand approaches, and adjusts the fingers before making contact. The action becomes more believable because the movement has intention and variation.
Different actions need different rhythms. A heavy character preparing to stand might require more time to shift their weight, while a sudden reaction could happen over only a few frames. If your animation feels stiff, examine whether everything is moving at a similar speed. Sometimes, changing the timing of just a few poses can make a dramatic difference.
2. Give Your Characters a Believable Sense of Weight
Weight is one of the most important elements of convincing 3D character animation. A character that doesn’t feel connected to the ground can appear to float, even if the movement itself is technically correct. This often happens when animators focus on moving the character’s limbs without considering how the entire body responds to gravity, balance, and force.
Think about what happens when someone lifts a heavy box. Before lifting, they usually adjust their stance, bend their knees, lower their body, and prepare for the effort. As they lift, the torso, hips, shoulders, and arms work together. The movement may slow under the weight, and the person might need to adjust their balance afterward. If an animated character simply bends down, grabs the box, and raises it at a constant speed, the object may appear almost weightless.
The same principle applies to lighter movements. When a character takes a step, their center of mass shifts. When they stop running, their body needs to respond to the change in momentum. When they sit down, their weight transfers from their feet to the chair. You don’t need a physics simulation to achieve convincing weight. You need to observe how forces affect movement and translate those observations into clear animation.
3. Create Stronger Key Poses
Good animation usually starts with good poses. If your character’s key poses are weak, adding more in-between frames won’t necessarily improve the result. The key poses should communicate the action clearly, even when viewed as individual images. This means considering the character’s silhouette, line of action, balance, body language, and how effectively the pose communicates intention.
Imagine a character preparing to throw a ball. A strong anticipation pose might show the torso rotating backward, the throwing arm extending behind the body, and the weight shifting toward the rear leg. That pose communicates what is about to happen before the movement even begins. A weaker version might show the character standing almost upright, with only the arm moving backward. The audience can still understand the action, but it lacks energy and physical commitment.
One useful exercise is to temporarily remove the in-between movement and review only the major poses. If the action is difficult to understand from those poses, the animation may need stronger planning before additional polishing. If you want to strengthen your understanding of posing, timing, and animation principles, Bloop’s Animation Foundations course explores the core techniques behind effective character animation.
4. Avoid Moving Every Body Part at the Same Time
One of the easiest ways to make 3D animation look robotic is to animate every part of the character at the same time. In natural movement, different body parts often lead or follow an action. For example, when a character turns to look behind them, the head might begin moving first, followed by the shoulders and torso. Alternatively, the torso might lead if the character is turning their entire body in response to something.
This is where overlapping action and follow-through become useful. Overlapping action describes how different body parts move at different times during the same action, while follow-through describes how parts of the body continue moving after the main action has stopped. Consider a character suddenly stopping after running. The feet may plant first, but the torso can continue forward briefly before recovering. The arms may follow, while the head and other flexible parts settle afterward.
These small differences in timing communicate momentum and make the body feel more connected. However, overlapping action should be purposeful. Randomly offsetting every animation curve doesn’t automatically improve a shot. Start by identifying which body part drives the action, then consider which parts should respond and when.
5. Pay Attention to Body Mechanics
Body mechanics describe how the human or animal body moves and responds to physical forces. They are particularly important in actions involving walking, running, lifting, jumping, pushing, pulling, and changing direction. Weak body mechanics can make animation feel stiff because the movement doesn’t follow a believable physical sequence.
Consider a character standing up from a chair. A convincing performance usually begins with preparation. The character may move their feet into position, lean their torso forward, and shift their center of mass before pushing upward. As they rise, the hips, knees, and spine work together to transfer the character’s weight from the chair to the feet. If the character simply moves vertically upward without these adjustments, the animation may look unnatural.
The same problem appears in walk cycles. A character’s hips should respond to the transfer of weight between the supporting legs. The torso may rotate and counterbalance the movement, while the arms swing in response to the walking rhythm. The solution is to study how the body works as a connected system, identifying which parts create movement and which parts respond to it.
6. Use Reference Footage to Understand Movement
Reference footage is one of the most effective tools for improving character animation. It allows you to study movement in ways that are difficult to understand from imagination alone. Even familiar actions can involve surprisingly complicated physical details. Walking, reaching, sitting, turning, and lifting all require coordinated changes in balance and posture.
Recording yourself performing an action can help reveal those details. For example, if you’re animating a character pushing a heavy object, you might record yourself safely pushing a chair across the floor. Notice how your feet move, how your torso leans, and how your arms respond to resistance. Pay attention to the preparation before the push and the recovery afterward.
The goal isn’t to copy every frame exactly. Reference footage provides information about how movement works, but animation often requires exaggeration or simplification to communicate the action clearly. A realistic movement may even need to be adjusted to look convincing in a stylized animated character. Use reference to understand the physical action, then make creative decisions that support the performance.
7. Fix Problems in the Graph Editor
Sometimes, the key poses are strong and the timing seems correct, but the animation still feels stiff or floaty. This often becomes noticeable when moving from blocking into spline animation. During blocking, animators typically focus on establishing the major poses and the overall timing of a shot. When the animation is converted to smooth interpolation, the software calculates movement between those keyframes, which can introduce unwanted pauses, overshooting, or changes in speed.
In Blender and Maya, the Graph Editor allows you to adjust how animated properties change over time. By modifying curves and tangents, you can control acceleration, deceleration, and transitions between poses. For example, if a character’s arm slows down too much before reaching a target, adjusting the relevant curves may help maintain a more appropriate speed. If the hips float upward during a movement, the position curves may need to be revised.
The important thing is to use the Graph Editor to support the intended movement rather than simply trying to make every curve look smooth. Sometimes, an action needs a sharper change in speed, a stronger hold, or a more deliberate transition. Bloop’s Blender Animation course covers key poses, splining, and polishing, while the Maya Animation course explores animation curves, blocking, and shot refinement.
8. Watch for Foot Sliding and Unnatural Contact
Foot sliding is a common problem in 3D character animation, especially in walk cycles, runs, and actions involving changes in weight. It happens when a foot appears to move across the ground even though it should be planted. This breaks the illusion that the character has weight and is interacting with the environment.
Imagine a character taking a step forward. Once the supporting foot makes contact with the ground, it should generally remain in position until the character begins lifting it again. If that foot continues sliding while the body moves forward, the character may appear to be walking on a slippery surface. The same problem can happen with hands. If a character places a hand on a table for support, the hand should normally remain connected to the surface while the body shifts around it.
Unwanted sliding can occur because of incorrect root movement, keyframe timing, interpolation, rig controls, or the relationship between the body and the planted limb. To fix it, identify when contact begins and ends, then review the position of the hand or foot throughout that interval. Depending on the rig, IK controls, constraints, or carefully adjusted animation curves may help maintain contact and make the character feel more grounded.
9. Use Arcs to Create More Natural Movement
Most organic movement follows curved paths rather than perfectly straight lines. When a character reaches for an object, turns their head, or swings an arm, the movement often follows an arc. If those motions travel along unnatural paths, the animation can feel mechanical even when the timing is reasonable.
Consider a character waving. If the hand moves in a straight diagonal line between poses, the action may feel stiff. A curved path can make the gesture feel more natural and expressive. You can examine these paths using motion trails or by reviewing the movement frame by frame. In 3D software, motion paths help visualize where a body part travels over time.
These tools can reveal unwanted changes in direction, sudden jumps, or movement that doesn’t follow the intended action. However, not every movement needs to follow a large or perfectly smooth arc. The correct path depends on the action, body mechanics, and character performance. The objective is to make the motion feel intentional and physically convincing.
10. Add Secondary Animation Without Overdoing It
Once the main movement feels believable, secondary animation can help bring the character to life. Secondary animation includes smaller movements that support the main action, such as subtle head adjustments, hand gestures, clothing movement, eye direction, or facial reactions. These details can add personality and make the performance feel less mechanical.
For example, a character turning toward someone might also shift their eyes before moving their head. A character sitting down might adjust their hands as they settle into the chair. Someone reacting to an unexpected sound might make a small shoulder movement before turning around. These details help communicate thought and physical response, making the animation more engaging.
However, there is an important distinction between useful secondary movement and unnecessary animation. Adding constant movement to every part of the character can make a shot feel distracting or overly busy. Sometimes, the most effective choice is to let the character remain still. Secondary animation should support the main performance, not compete with it.
11. Improve Your Animation in Passes
One of the most effective ways to avoid stiff animation is to work through the shot in stages rather than trying to perfect everything at once. A common mistake is polishing individual body parts before the main action is fully established. For example, an animator might spend time refining finger movement, facial expressions, or small head rotations while the overall body mechanics are still incorrect.
A more efficient approach is to start by establishing the main storytelling poses and timing. Focus on whether the character’s action is clear and whether the shot communicates the intended performance. Next, refine the body mechanics by reviewing weight shifts, balance, root movement, and how the hips, torso, and limbs work together.
Once the movement feels convincing, begin refining the transitions between poses and adjusting the animation curves. Finally, add secondary animation, facial details, and smaller movements that support the performance. This process helps keep your attention on the most important problems first and reduces the likelihood of spending time polishing movement that later needs to be replaced.
A Practical Exercise: Fixing a Stiff Character Lift
One useful way to apply these techniques is to take an existing animation and improve it. Imagine you have a 3D character lifting a heavy box from the floor. In the original version, the character bends down, picks up the box, and stands upright. The movement is smooth, but the box looks weightless and the character’s body feels rigid.
Instead of adding more keyframes immediately, start by examining the main action. Does the character prepare for the lift? Are the feet positioned for balance? Do the hips lower and the torso lean toward the box? As the character begins lifting, consider whether the movement communicates effort. A heavy object might require more preparation and a slower initial lift, followed by a change in speed as the character gains control.
Once those elements are working, review the movement of the torso, head, and arms. These parts should respond naturally to the changing effort and balance. Finally, examine the recovery, where the character might adjust their stance or settle into a new position after completing the lift. The improvement may not involve many additional keyframes. Instead, it comes from better posing, timing, weight distribution, and a clearer understanding of the action.
Common Mistakes That Make 3D Animation Look Robotic
Even experienced animators can fall into habits that make their work feel less natural. One common mistake is relying too heavily on automatic interpolation. Smooth curves are useful, but they can also introduce unwanted movement or remove the intended rhythm from a shot. Another mistake is using symmetrical poses too often. Perfectly balanced shoulders, evenly positioned arms, and identical body angles can make characters feel unnatural when the performance would benefit from asymmetry.
Poor weight distribution is another frequent issue. If a character’s hips and center of mass do not respond to movement, the character may appear disconnected from the ground. Animators can also make the mistake of adding too much secondary motion. Constant movement does not automatically make a character feel alive. In some situations, a strong pose and a well-timed pause are far more effective.
Finally, polishing too early can make animation harder to improve. If the timing and major poses are not working, small details will not solve the underlying problem. The best way to avoid these mistakes is to review your animation regularly, study reference, and focus on the larger movement before refining the details.
How to Review Your 3D Animation Before Finalizing It
Before considering a shot finished, it helps to review the animation from several different perspectives. Watch the shot at normal speed without stopping. Does the action feel natural? Is the intention clear? Does the character have believable weight and balance? These initial impressions are important because they reveal how the animation feels as a complete performance.
Next, review it frame by frame. Look for unexpected changes in movement, awkward poses, contact problems, and unwanted curve overshoots. Try watching the shot in silhouette or with simplified lighting. This makes it easier to judge posing and movement without being distracted by textures, materials, or rendering quality.
You should also review the animation from different angles, particularly when checking body mechanics and contact points. Finally, compare the shot with your reference footage and consider getting feedback from another animator. After working on a shot for several hours, it becomes easy to overlook problems that someone else may notice immediately.
Is Blender or Maya Better for Fixing Stiff Animation?
Both Blender and Maya provide the tools needed to create natural, convincing character animation. Blender includes keyframing, the Dope Sheet, Graph Editor, character rigs, and posing controls that allow animators to refine movement and develop detailed performances. Maya offers a similarly extensive set of animation tools, including its Graph Editor, animation layers, rigging systems, and keyframe controls.
The most important difference is not which program automatically creates better animation. Neither program can replace strong animation fundamentals. A character with weak posing and timing will still feel stiff regardless of whether it was animated in Blender or Maya. The skills that matter most, including body mechanics, weight, timing, spacing, arcs, and performance, transfer between both applications.
If you want to improve your Blender skills, explore Bloop’s Blender Animation course, taught by animator Dillon Gu. If you prefer Maya or want to develop skills relevant to professional 3D production, Bloop’s Maya Animation course covers the process from keyframes and blocking through to splining and refining a finished shot.
Bringing Your 3D Character Animation to Life
Stiff 3D character animation can be frustrating, especially when you’ve spent hours refining a shot that still doesn’t feel right. But the solution is rarely to make the animation more complicated. In most cases, the biggest improvements come from returning to the fundamentals. Better timing, stronger poses, believable weight, clear body mechanics, and purposeful overlapping action can transform how a character moves and feels.
The key is to understand why the movement isn’t working before trying to fix it. Study reference footage, look closely at weight shifts and balance, and check the main poses before refining the in-between movement. Use the Graph Editor to support the performance, and avoid adding unnecessary detail before the primary action feels convincing. Remember that smooth animation isn’t always good animation. What matters is whether the movement communicates the right action, personality, and emotion.
If you’re looking to improve your character animation skills, explore Bloop’s Blender Animation course and Maya Animation course, or browse our complete animation course library. You can also get lifetime access to Bloop’s full collection of courses with the All-Access Pass, covering animation, character design, filmmaking, and professional production workflows.


