Configuring your online store with Zen Cart is quite simple, and in this article, we share the steps you can take to get the most out of the platform.
1. Install Zen Cart
The first step is to install Zen Cart. The platform is free to use with all AwardSpace hosting plans, and it is easy to install.
2. Log in to Zen Cart
Once you install Zen Cart, you should log in to the admin panel to start configuring your online store.
3. Configure the Basic Store Settings
You can start the process by setting up your store information, language, and currency preferences.
To set your store information, via the admin panel, head to Configuration->My Store:
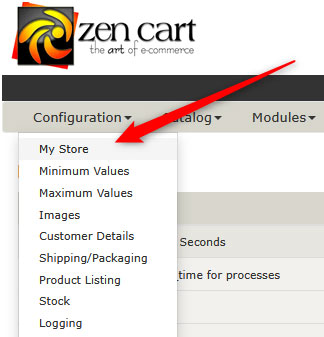
From there, you can add key details such as:
- Store Name
- Email for official correspondence.
- Country and zip code.
- Store address
- Phone numbers
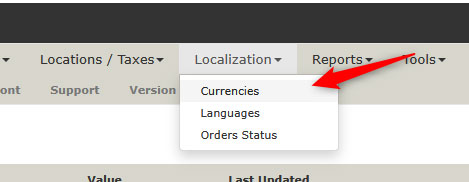
To set your currency preferences via the admin panel, head to Localization->Currencies:
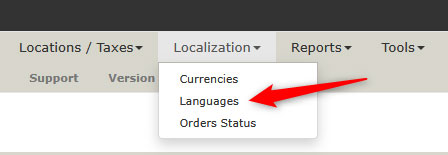
To set your language preferences, head to Localization->Languages:
4. Add Product Categories and Products
Now that your basic details are filled, you can start adding products and distributing them into various categories.
To add a new product category, head to Catalog->Products/Categories:
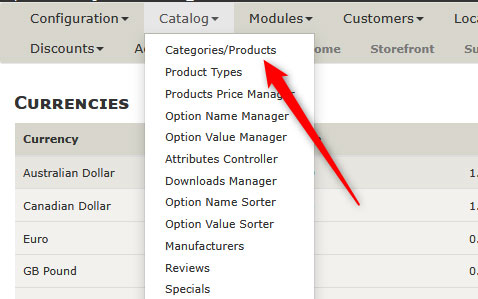
You can add a new individual product by opening each category and clicking the blue New Product button.
Check our comprehensive guide on how to add products to Zen Cart.
5. Configure Payment Options
Zen Cart supports various payment methods. To configure them, via the admin panel, go to Modules -> Payment:
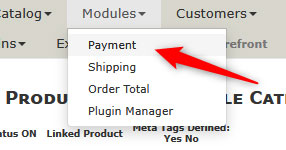
Once there, you can enable and configure settings such as:
- PayPal
- Stripe
- Authorize.Net
- Bank Transfer
- Cash on Delivery
6. Set Up Shipping Options
Zen Cart allows you to tweak various shipping options. To access these, head to Modules->Shipping:
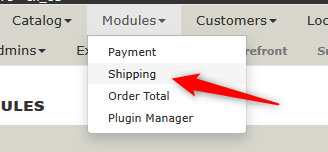
Once there, you can access and enable/disable settings such as:
- Flat Rate
- Table Rate
- Free Shipping
- Carrier Integrations
From this page, you can also define shipping zones, rates, and rules based on region and order value.
7. Configure Tax Settings
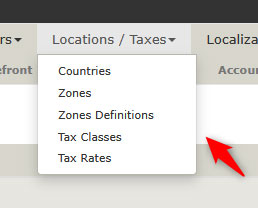
There are several configurations that you can set up right away. To access them, head to:
- Location/Taxes -> Zones to define geographical tax zones.
- Location/Taxes -> Tax Classes to categorize your taxable products.
- Locations/Taxes -> Tax Rates to assign rates to specific zones and classes.
8. Customize Store Design
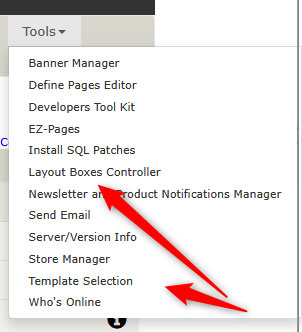
Zen Cart allows you to customize your online store via various design options. To access them, head to:
- Tools -> Template Selection to choose your layout theme
- Tools-> Layout Boxes Controller to manage your sidebar and box content:
9. Improve Store Security
To keep your store safe, do the following:
- Rename your admin directory to something other than Admin to reduce the risk of brute-force attacks.
- Enable SSL and HTTPS on your domain.
- Install CATCHA and configure login attempt limits.
Conclusion – How to Configure Your Online Store in Zen Cart
Now you know how to configure your online store in Zen Cart – the platform offers numerous customization options, and its versatility makes it an excellent choice for merchants looking for control and security for their online store.