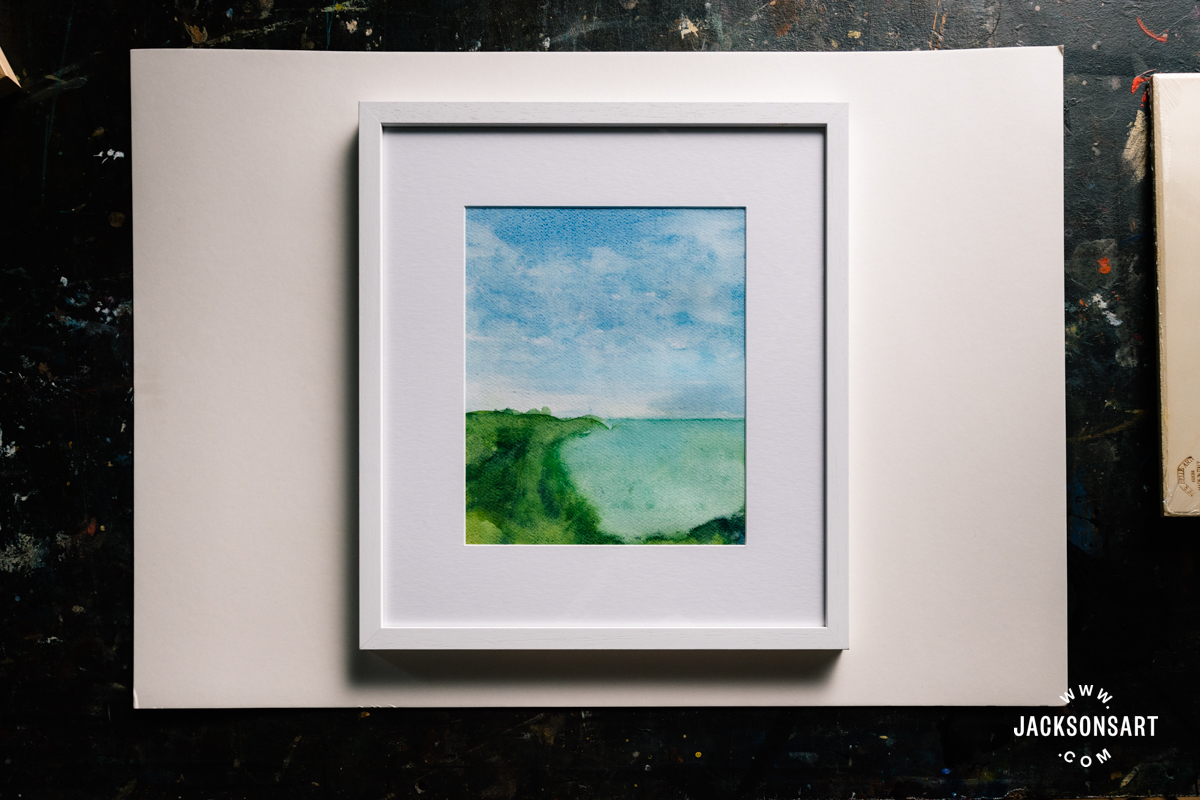
Framing protects watercolour paintings and other works on paper from dust, humidity, and damage while giving them a finished, display-ready appearance. This article explains how to frame a watercolour painting, drawing, or print using a window mount, with either a ready-made frame or a frame from our bespoke framing service. Our How to Frame Artwork series covers the fundamentals of framing your artwork through clear, visual guides.
Why Framing Matters
Framing an artwork protects the work, provides a way to attach hanging fasteners, and adds a finished, decorative look. This is particularly important for watercolour paintings and other works on paper because they are more vulnerable to damage, can’t easily be hung unframed, and can sometimes benefit from the flattening of the surface that framing provides.
A work on paper needs different framing than a painting on a stretched canvas or wooden panel. Usually, a frame with glazing is used to protect the paper, and then something is used to raise the glass off the surface of the paper. This is generally either a window mount that is visible in the frame, or, if you use a deep frame that is set up for it, you can use spacers that are hidden under the frame moulding to raise the glass away from the artwork. The latter is a technique called float mounting, in which the work can be mounted from behind to float in the frame.
Works on paper can be damaged by sunlight, humidity, dust, insects, skin oils, and the acids in framing mounts, backing boards, and adhesives. The acid from these framing materials can ‘burn’ the artwork paper and cause it to brown and become brittle. There are a variety of quality levels to consider when framing an artwork, each leading to different outcomes in preserving the artwork from all of these potentially damaging factors.
A professional, custom framing job that uses conservation quality materials and techniques allows for the best preservation of the artwork, but can be very expensive, and many people will save this for a particularly valuable artwork. At the other end of the spectrum is using the cheapest ready-made frame, trimming the artwork to fit (rather than getting a frame to fit the artwork), not using a mount, which means that the glass rests directly on the painting or print, and using household paper and tape to hold the artwork in the frame. The DIY framing we are demonstrating here is closer to the conservation end of the spectrum, and by choosing acid-free mounts and tapes, you can frame an artwork yourself at a more affordable price that will still preserve the artwork for many years.
A Ready-Made Frame or a Bespoke Frame?
Our ready-made glazed frames come with a window mount, a barrier board, a backing board, acrylic glass, flexi inserts for the back that are already inserted, and a D-ring and cord for hanging. You will still need acid-free tape for fixing your painting to the mountboard.
A ready-made frame is an affordable, convenient solution for framing work on paper if the work is a standard size. However, you will be limited in the mouldings that are offered. If, on the other hand, you would prefer a different moulding or need a non-standard size, then you can order a bespoke frame. With our bespoke framing service, you can choose from a wider range of moulding styles and colours, with frames made to a custom size to suit your artwork.
This article explains framing a watercolour, drawing, or print using a window mount. If you want the entire piece of paper to be visible because you have painted to the edge of the paper and do not want any of it covered, or because your paper has a lovely deckled edge that you want to show, then a frame with spacers will allow you to hinge the work so that it floats in the centre. How to Float Mount Works on Paper will be the next article in this framing series.

The bespoke frames come as pairs of bars with dovetail joiners that are easy to assemble. If you order a bespoke frame and want a custom-size window mount, you will need to purchase it separately. They can be ordered with the frame pieces at the bottom of the frame builder page, along with acrylic glass, backing boards, mounting fixings like glazier points or spring clips, and hanging fixings. If you have already ordered a bespoke frame and need to assemble it, please take a look at our article How to Assemble a Jackson’s Bespoke Frame.
Framing a Work on Paper with a Window Mount
If you are using a mount, then the perimeter of the paper will be hidden behind the mount. Watercolour painters who stretch their paper using gummed tape or staples may have a border that is not part of the painting that has either a rim of tape or staple holes. That border can be hidden behind a mount, but it may need to be flattened or trimmed if it is very wavy.
With a ready-made frame, the mount width will already be decided. But with a custom mount, you can decide to use an unusually narrow or wide mount for aesthetic reasons that add to the appearance of the artwork, or for practical reasons, such as to make your artwork fit a frame that you already have.
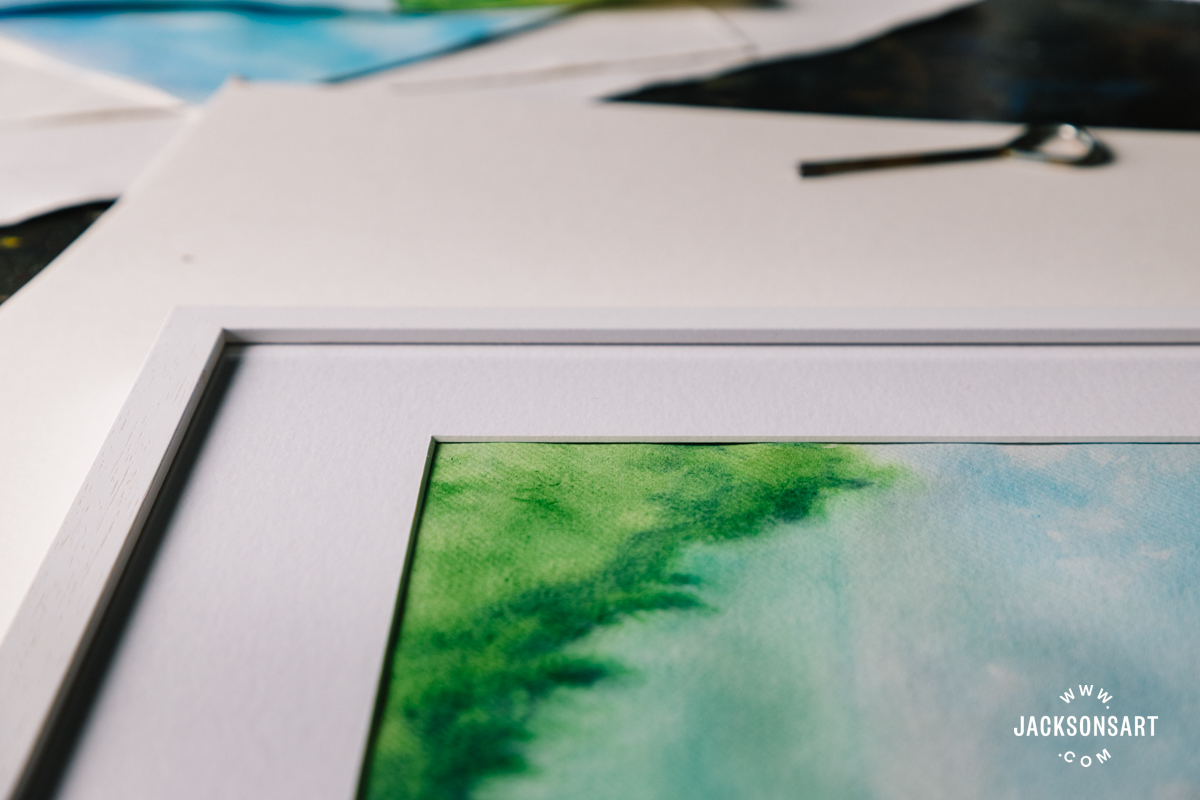
First decide if you want the artwork to go under the edge of the mount by a couple of millimetres, or if you’d like a border of the white paper to show around the painting or print. Perhaps because you’ve signed or titled it there. Then measure that to be your aperture. Finally, decide how wide you’d like the mount to be between the artwork edge and the frame. In our ready-made frames, the mat sizes range from 5 to 7 cm wide. You may wish to make a statement or to give a small work more visual and physical space, so you may want an oversized mount. The outer mount measurement will give you the frame size that you need.
How to Flatten a Cockled Watercolour Painting
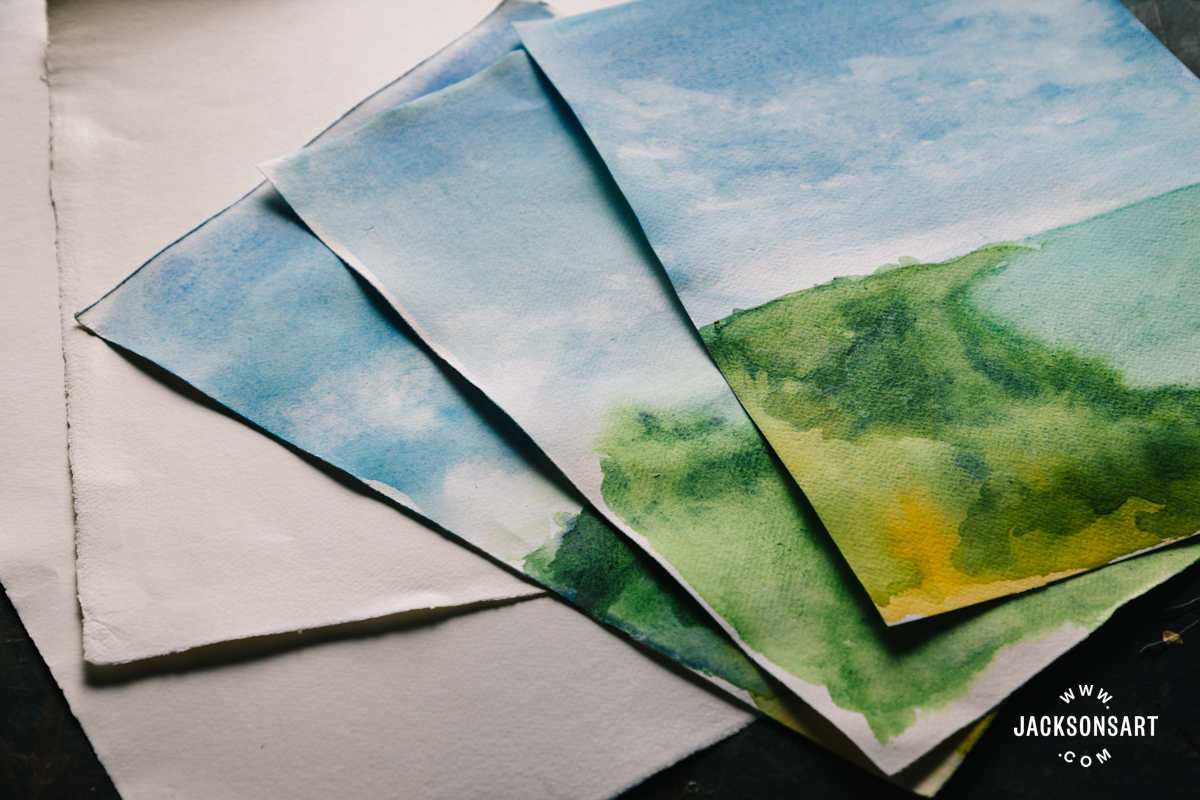
If your paper is cockled, you can follow this step-by-step guide to flattening a cockled watercolour painting.
Mounting a Work on Paper in a Frame with a Window Mount
Materials:
- Artwork on paper, flattened if needed
- A frame of the correct size with glass and a window mount
- Acid-free hinging tape
- Inserts to attach the back
- Framers tape (optional for tidying up the back of the frame)
- Hanging hardware
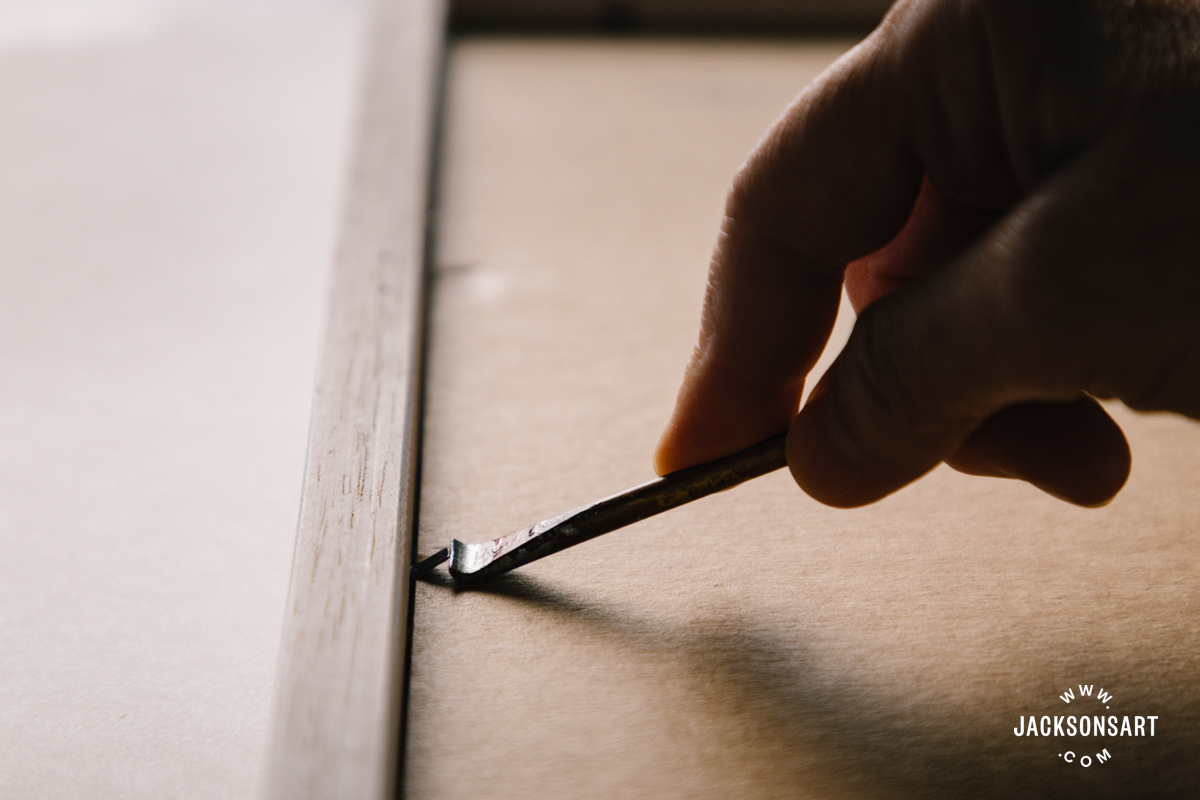
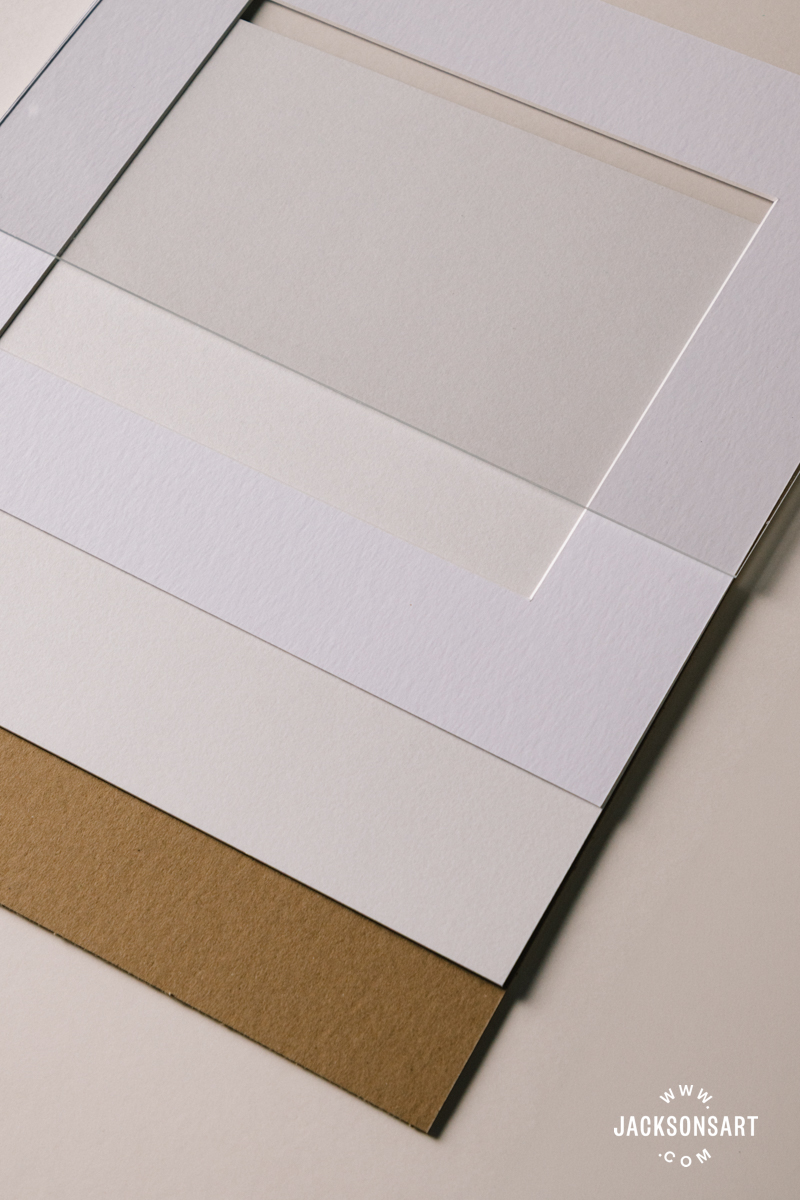
Making a Window Mount Package and Inserting the Artwork
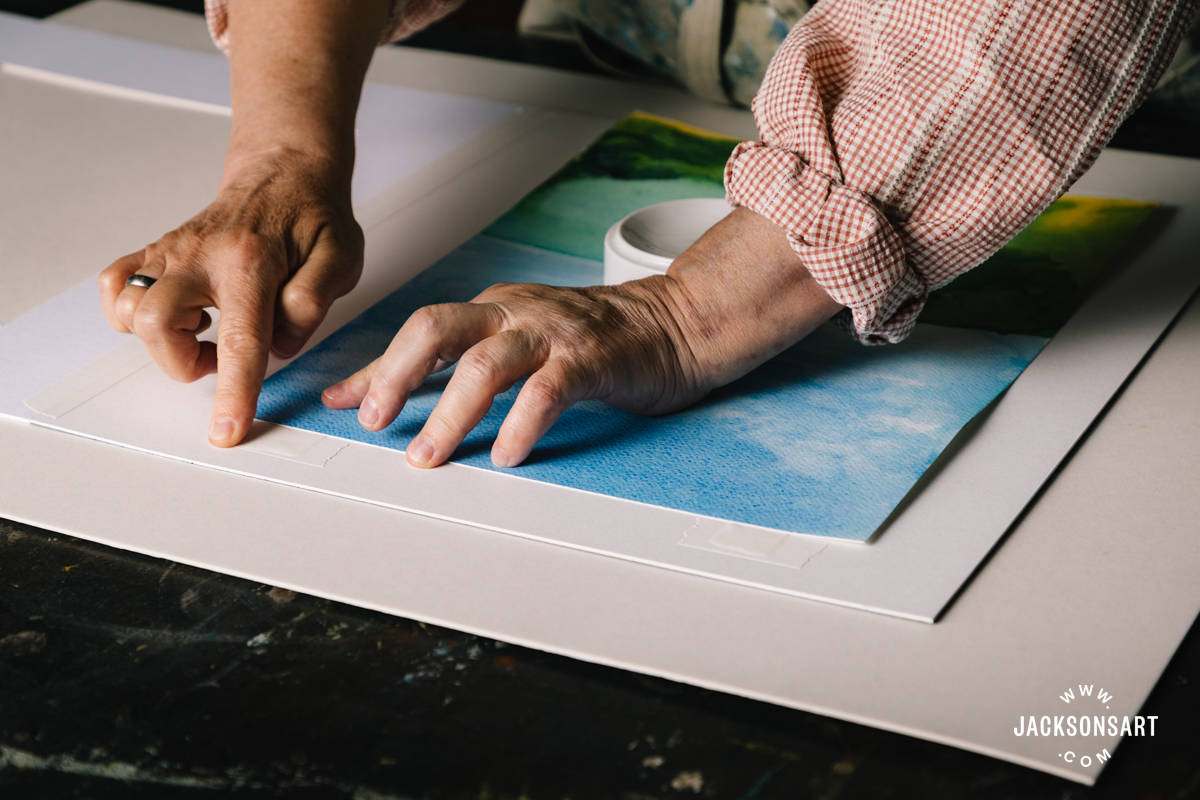
There are a few ways to attach your artwork to the back of the window mount. Your first thought might be to tape the work to the back along all four sides. There are two problems with that. Firstly, similarly to when you soak watercolour paper to stretch it, paper will expand with everyday changes in humidity. After it does this a few times, the tape will become loose. When you see pictures on the wall with the painting slid down behind the mount inside the frame, this is normally the cause. The other problem is that it is a lot of adhesive to be in contact with the artwork, so more chances for tearing if the work needs to be reframed later. The general rule of thumb is to let the work be as free as you can behind the mount so it can swell and shrink a tiny bit every day, and to attach as little tape as you can to the work so it isn’t damaged.
The simplest way to do this is with a T-hinge. Which is what I’ll show you now.
Making the Mount Package
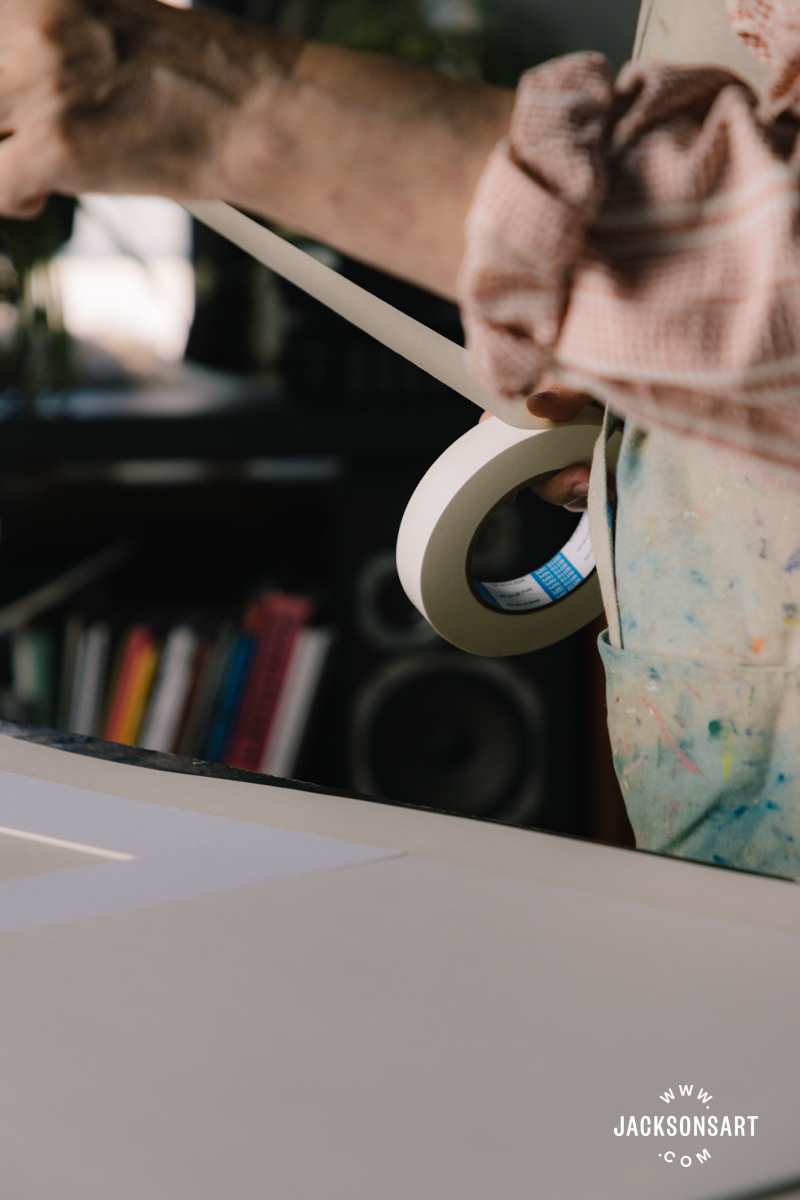
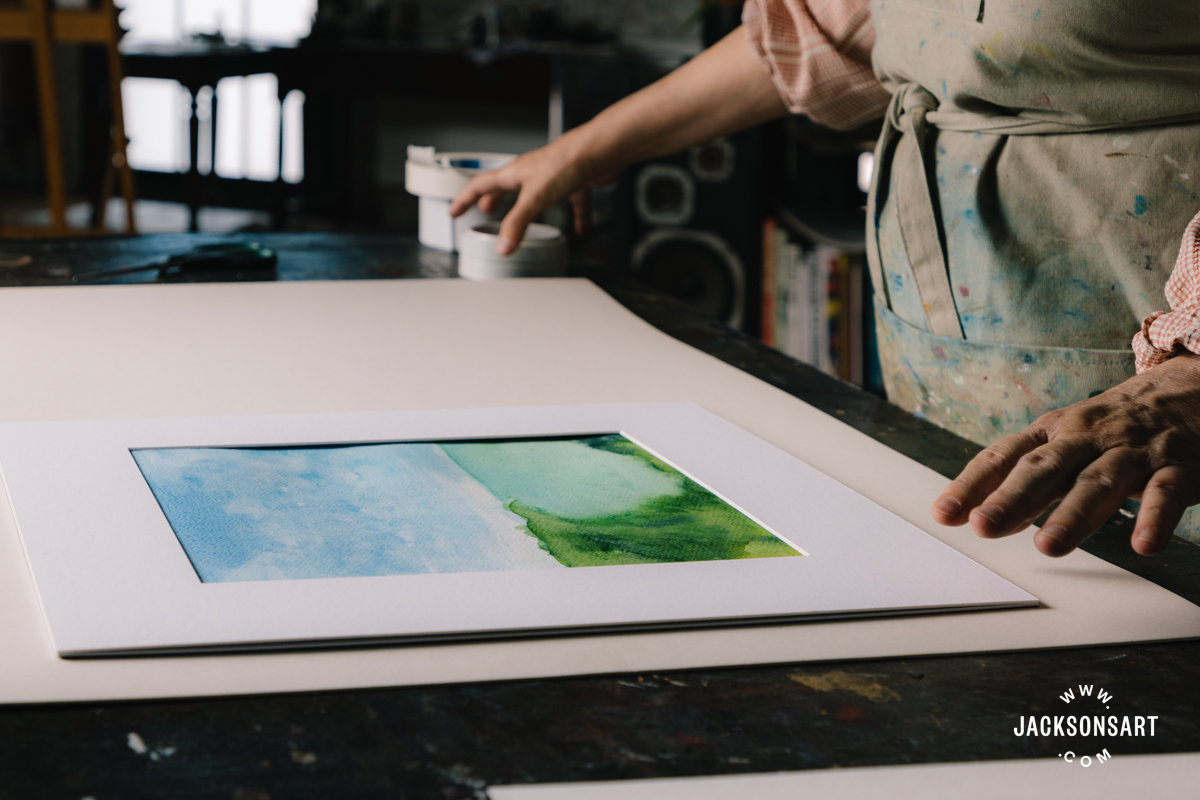
Set aside the glass and wooden backing board. To make the mount package (also called a book mount because it has a central hinge like a book), you will be using just the window mount and the uncut mount behind it, the barrier board. It is worth the price to get acid-free hinging tape, as you’ll be putting some tape on the artwork. You can use self-adhesive conservation hinging tape or acid-free water-activated gummed linen tape. Although it seems expensive per roll, you will use less than one pound’s worth for an A3 painting.
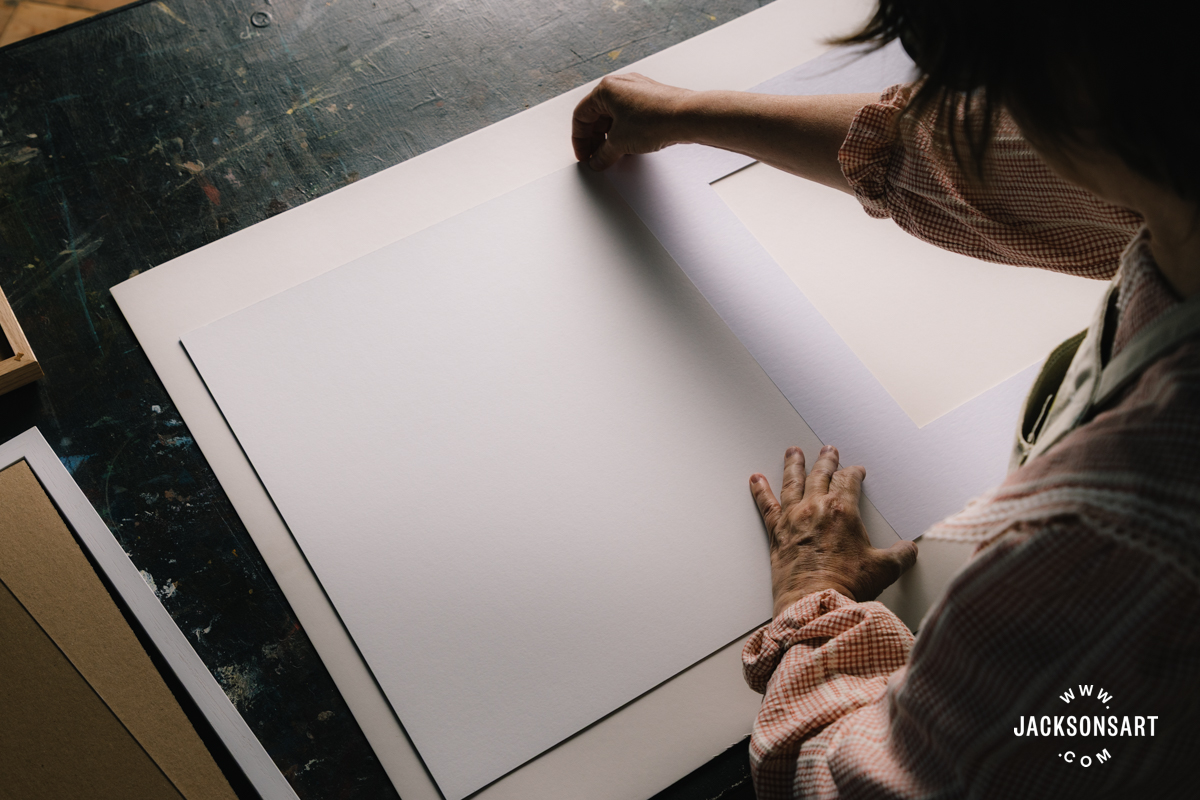
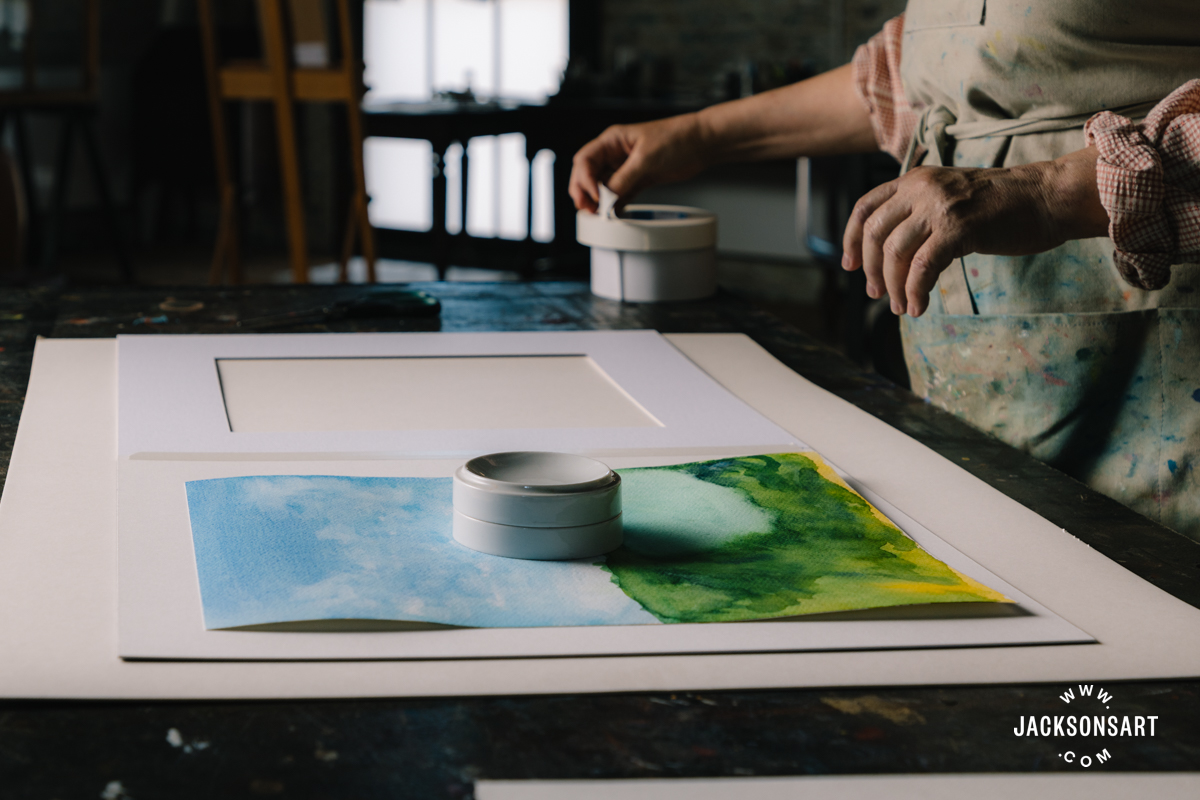
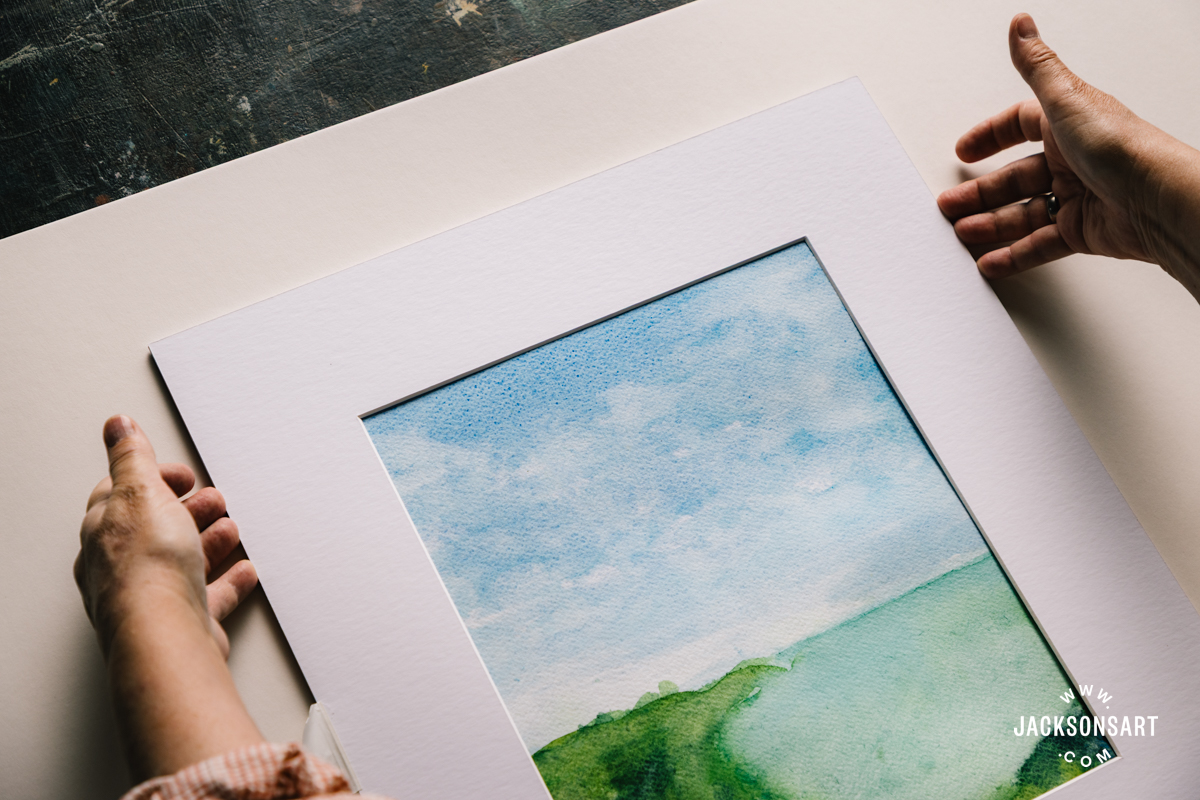
Work on a large, very clean surface, such as a full sheet of fresh paper. Place the window mount on top of the barrier board, facing upwards as it will when the artwork is framed. Then lift the window mount from one side, as though opening a book, and lay it face down beside the barrier board. Butt the two edges together in the middle, making sure they are level at the top and the bottom, and run a strip of tape down the entire length of that join. If you are framing a landscape-format artwork, choose either the top or bottom edge for the hinge, as the tape should run along one of the long sides. Press the tape down firmly and run a thumbnail along the crease. Fold the window mount back over so that it is facing upwards again. Your mount package is now ready for the artwork to be inserted.
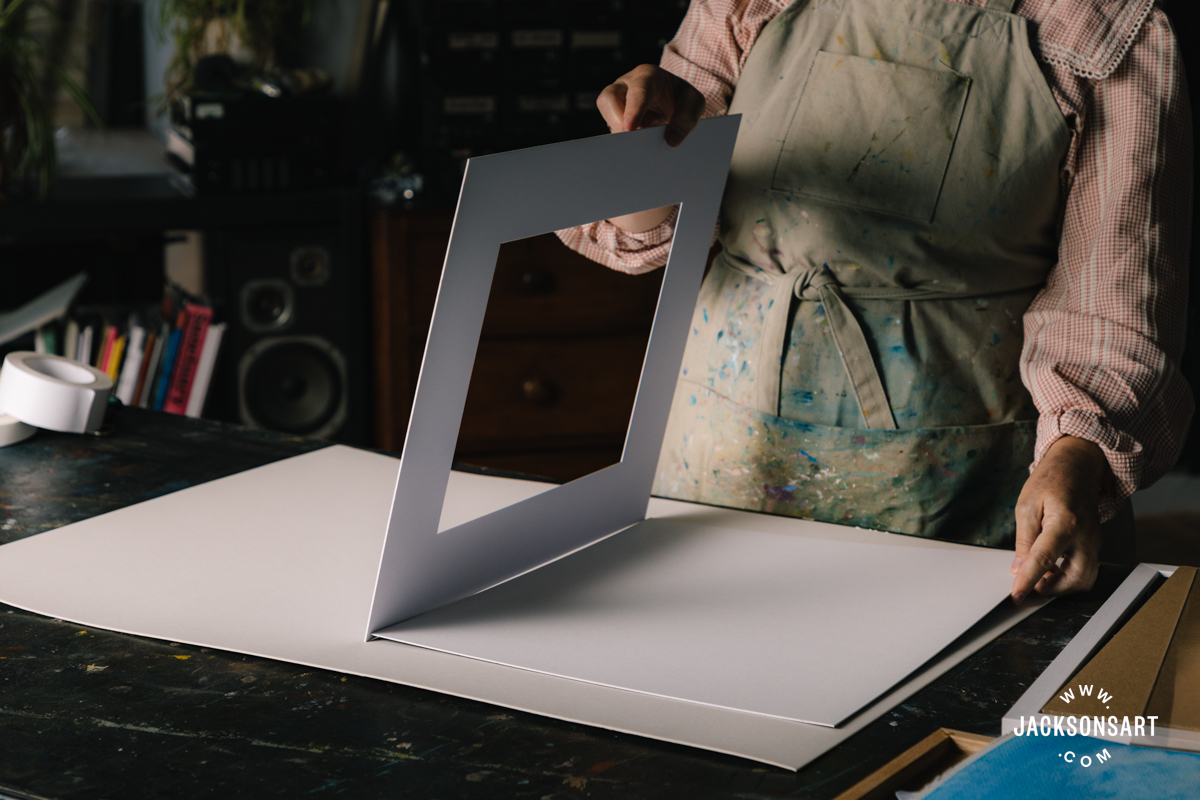
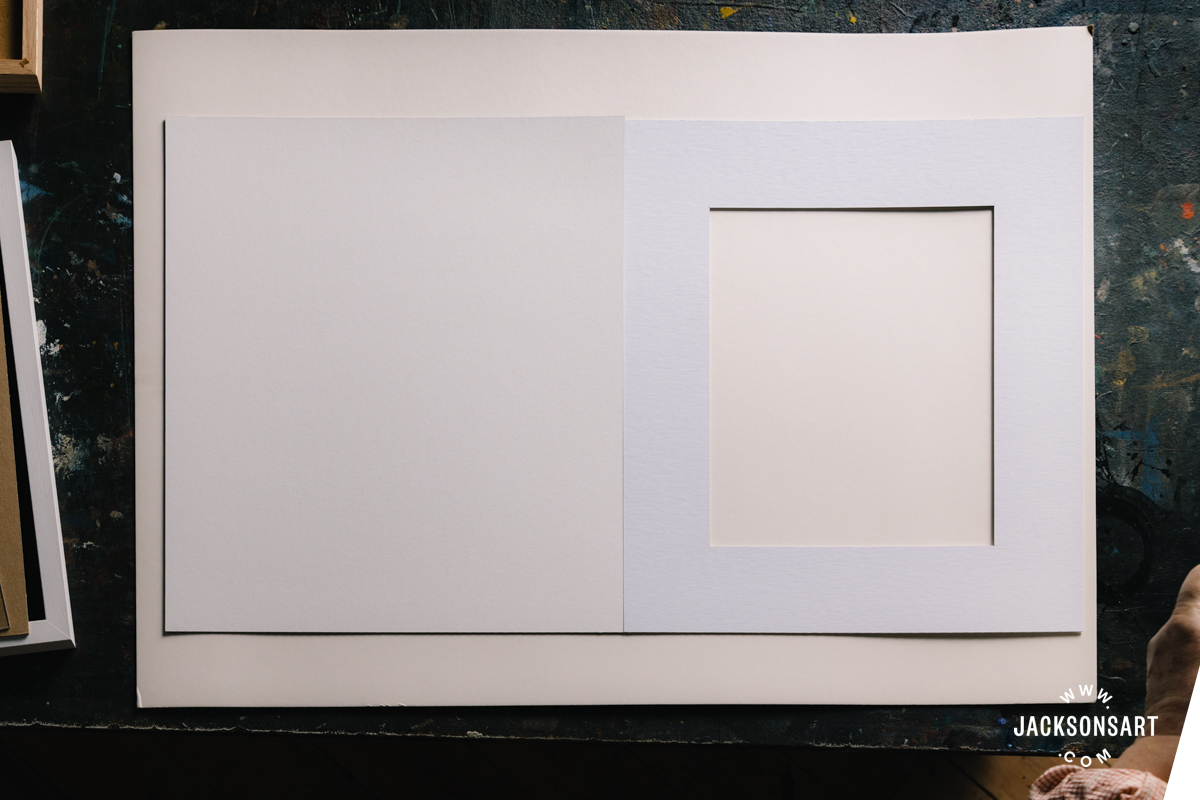
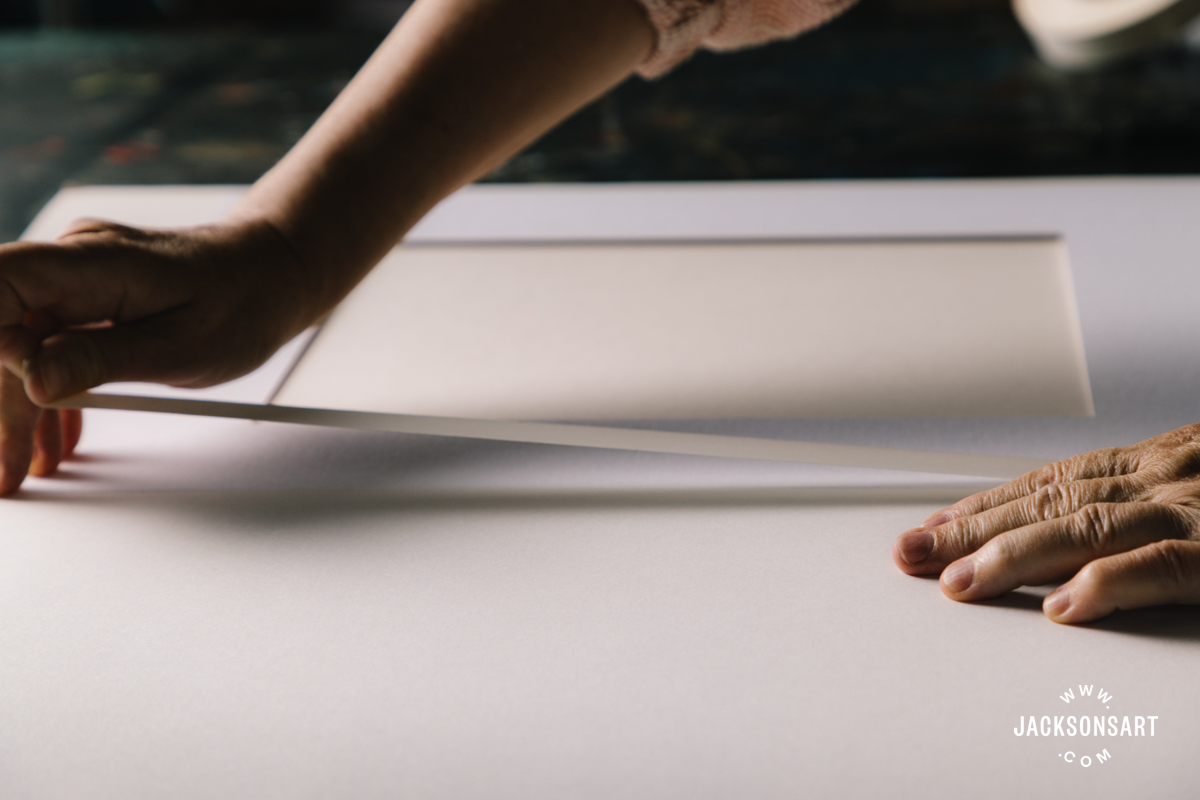
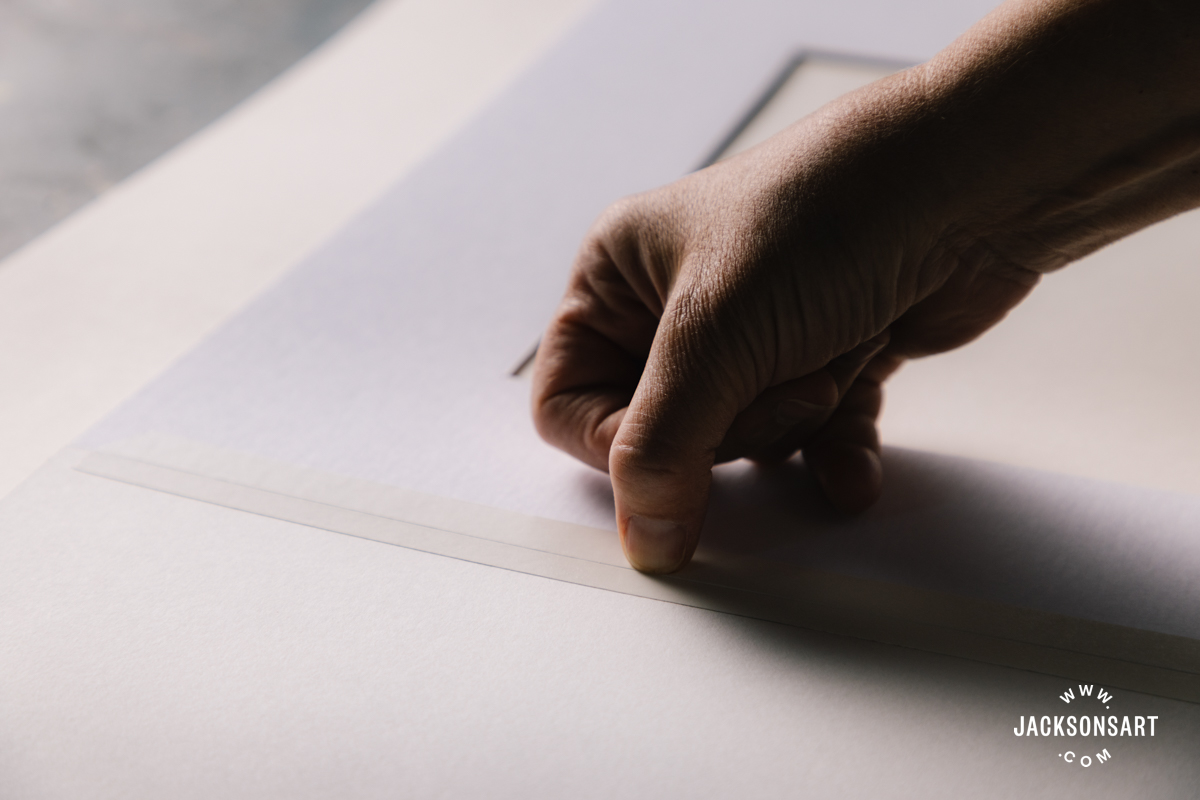
Inserting the Artwork in the Mount Package with a T-hinge
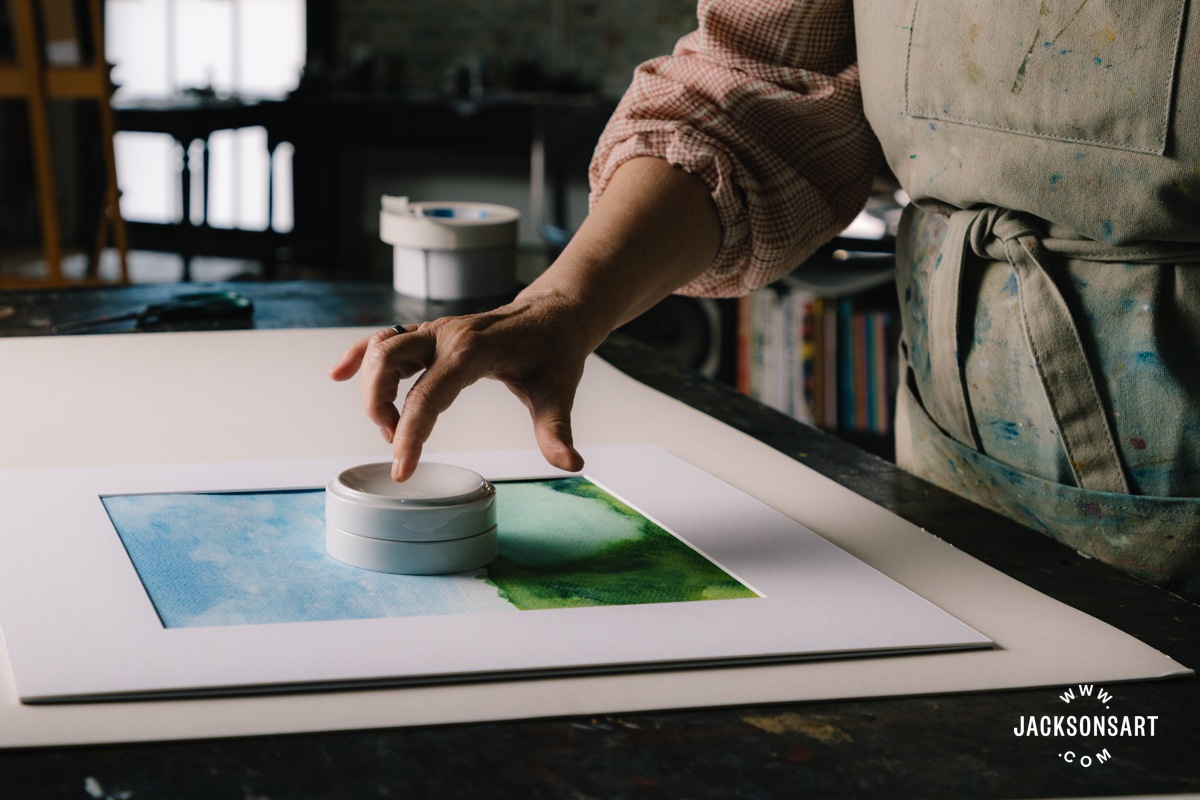
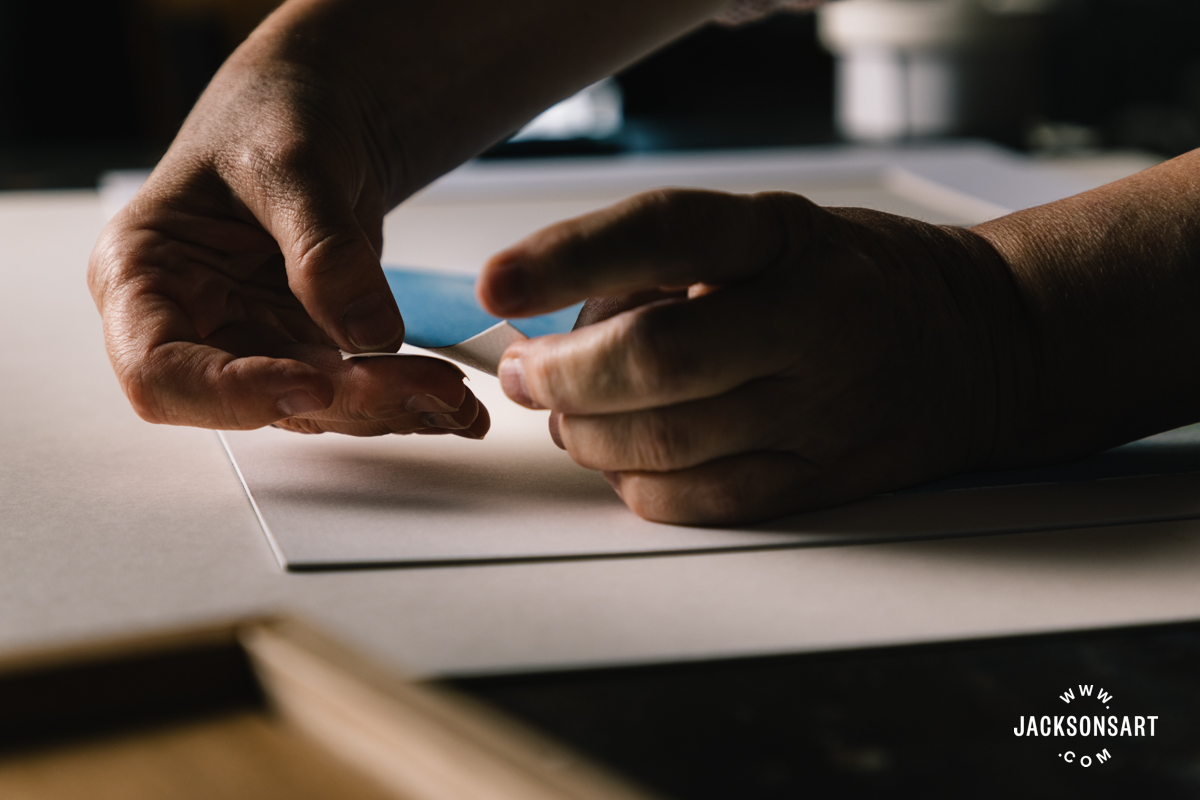
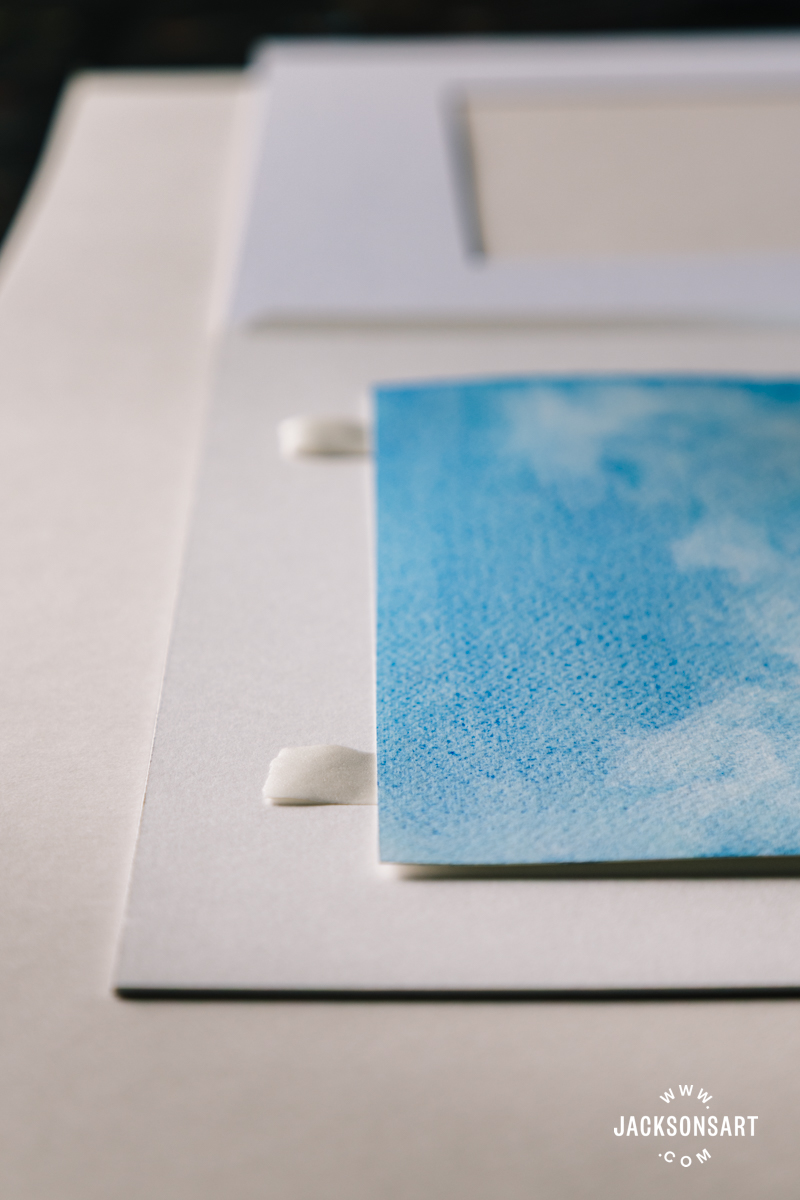
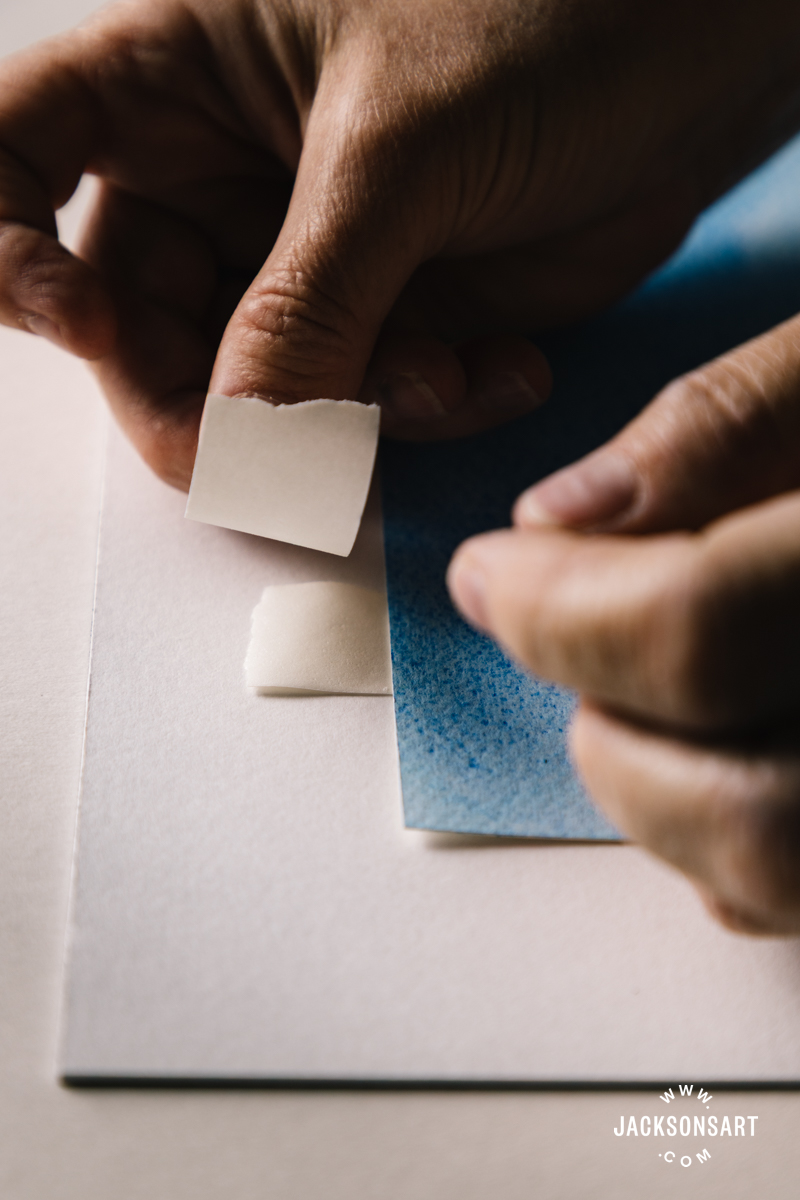
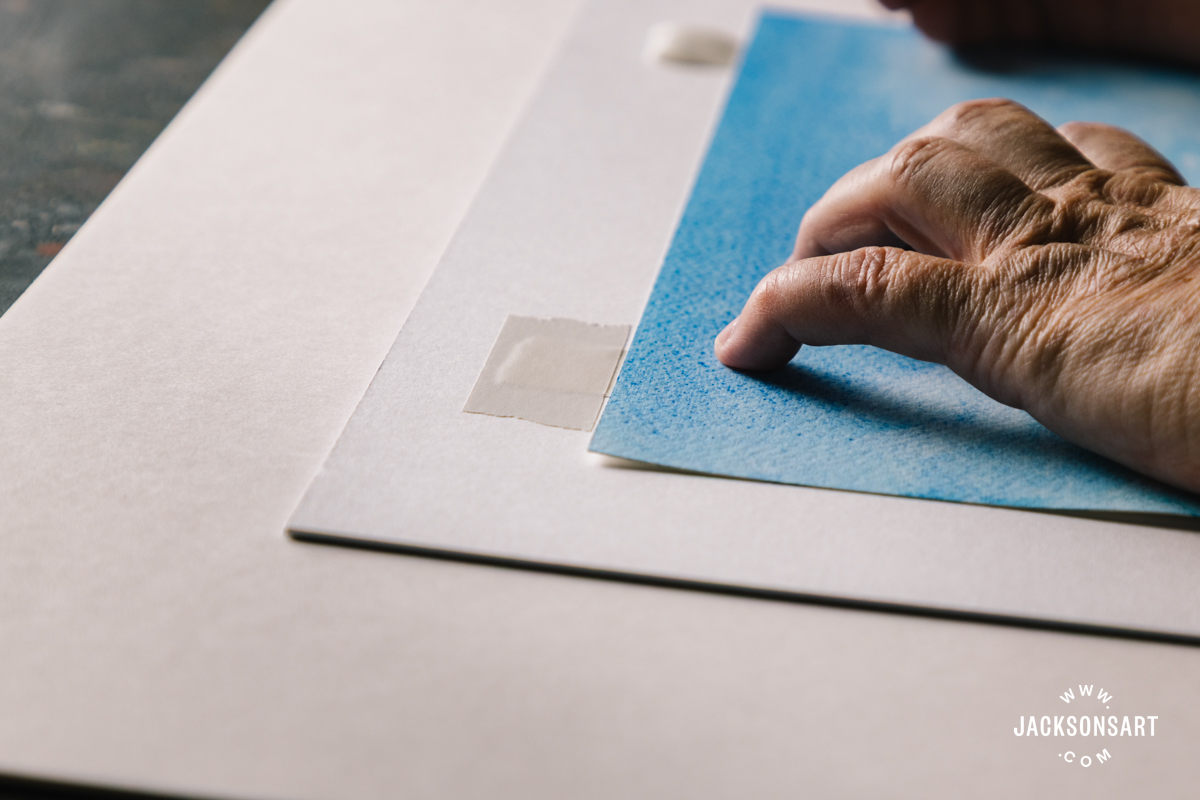
Place the artwork in the package, close the mount back over the top, and move the painting around to position the artwork. Place a paperweight to hold it there, and then open the mount hinge. Take two short lengths of hinging tape, 3-4 cm, and attach about 1 cm to the top back of the artwork with the rest sticking out from behind, face up. Press it on well. Then take two more short lengths and tape across the sticky part of the tape that is facing up. With this last top bar of the T, you are both attaching the artwork to the backing board by these two hanging points and covering all the sticky tape that is facing upwards. Then close the mount package and place a small piece of tape along the other long side to keep the package closed.
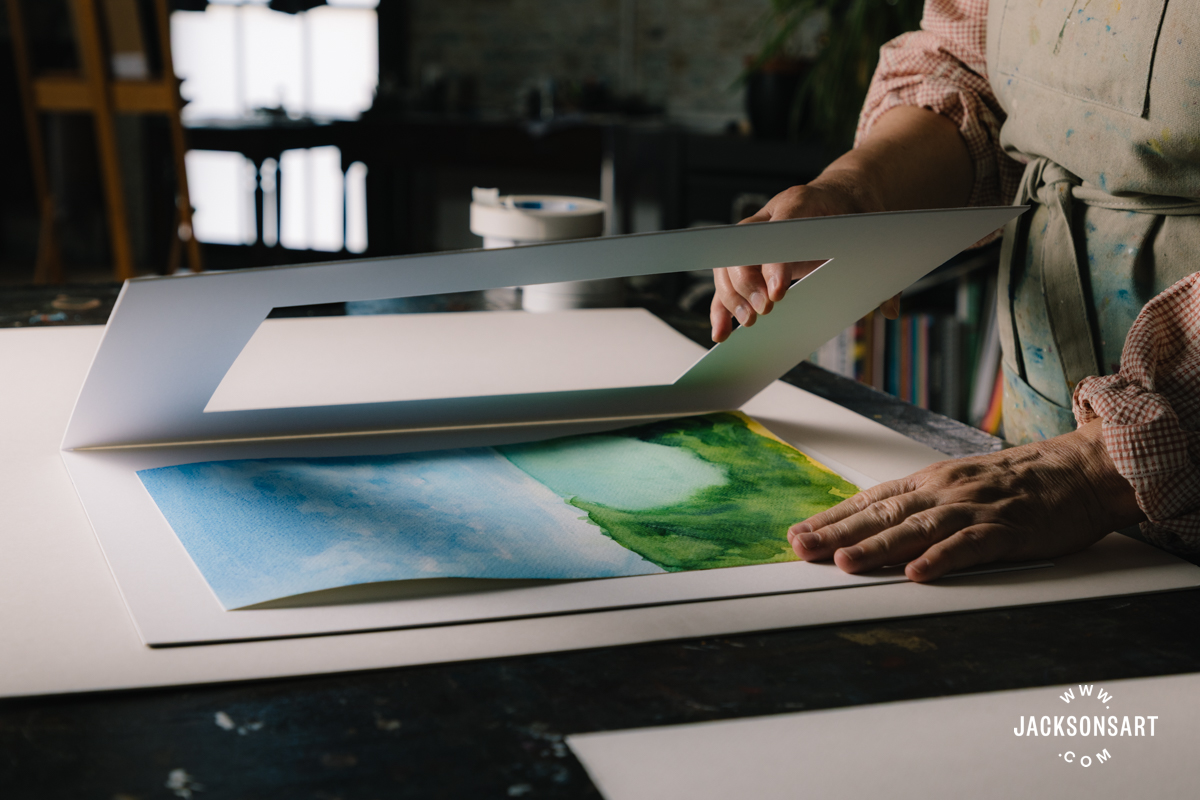
Putting it all in the Frame
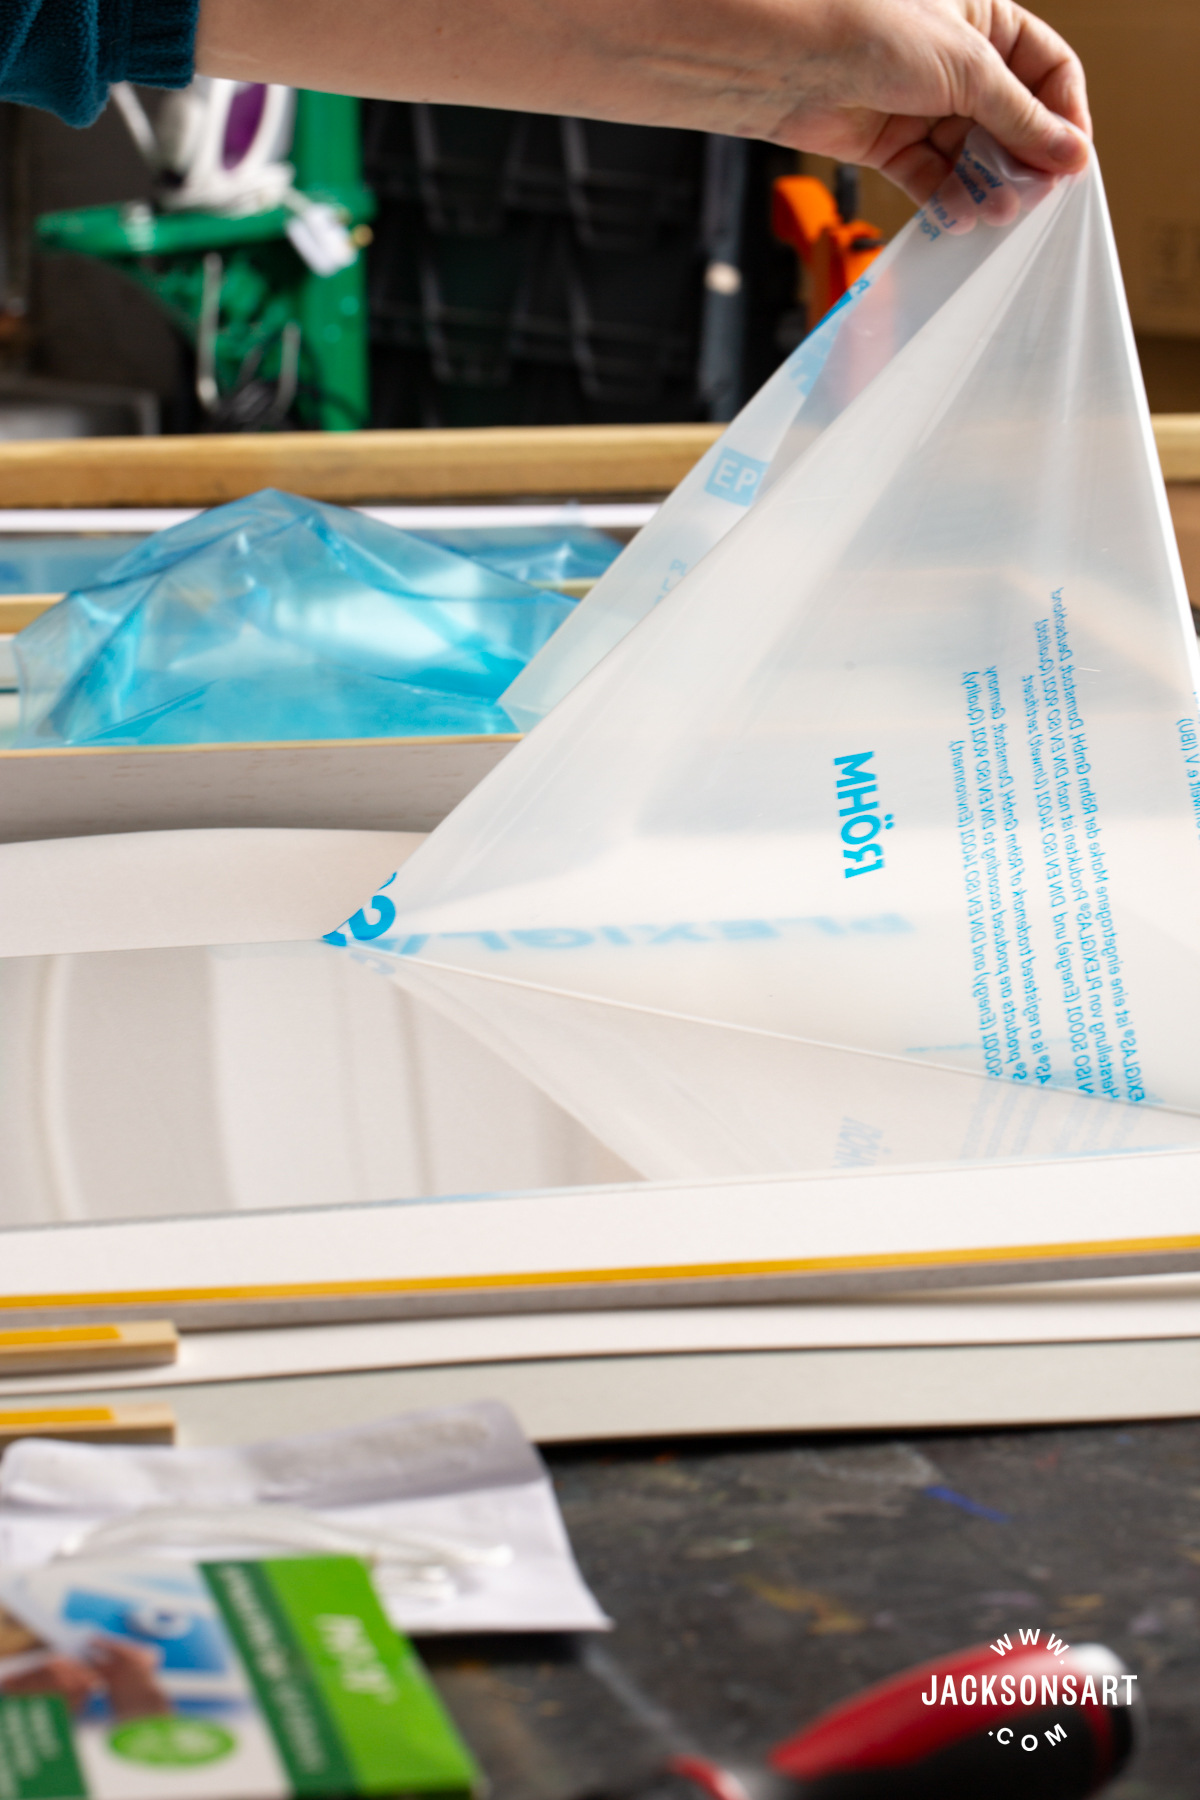


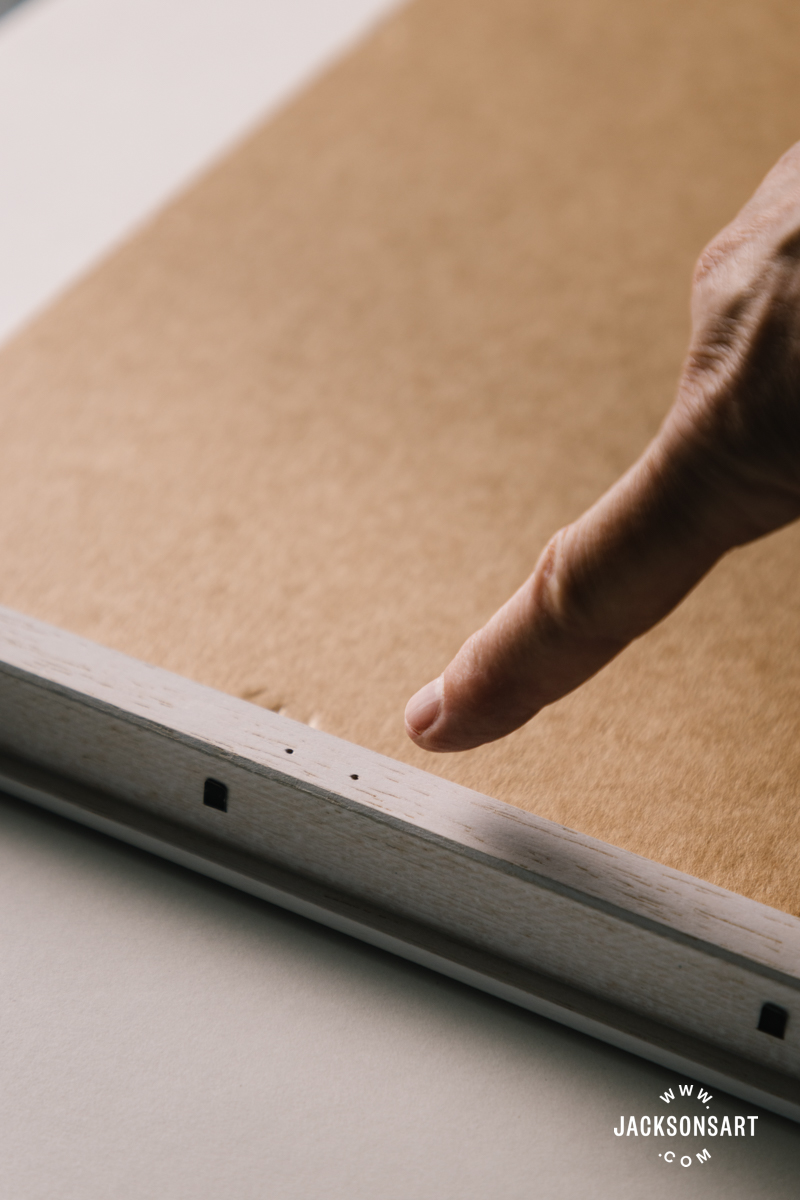
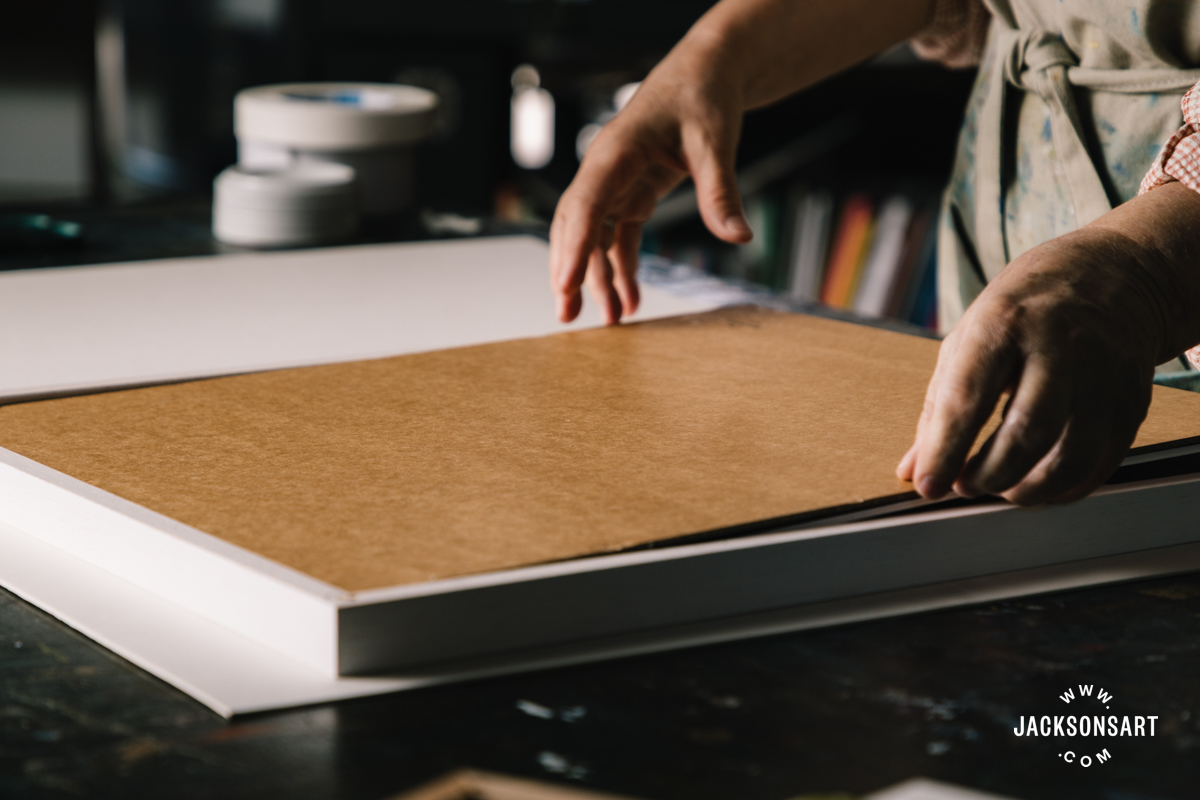
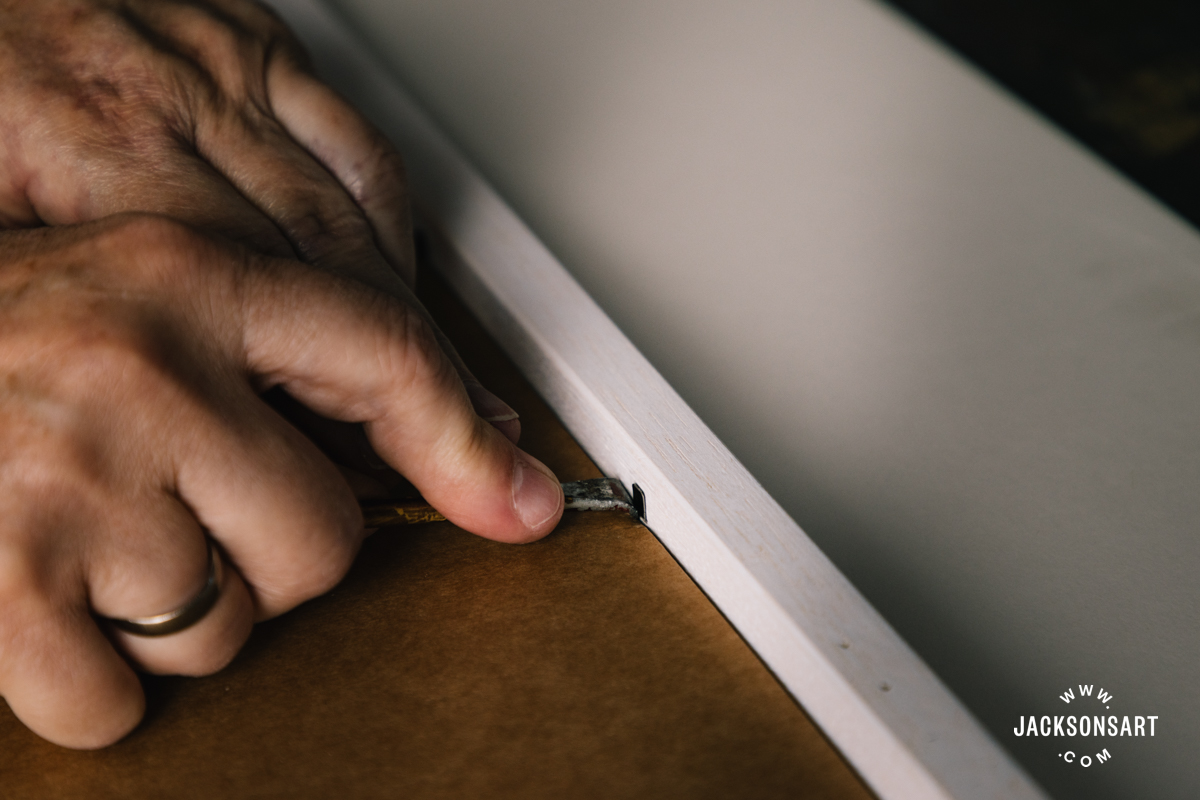
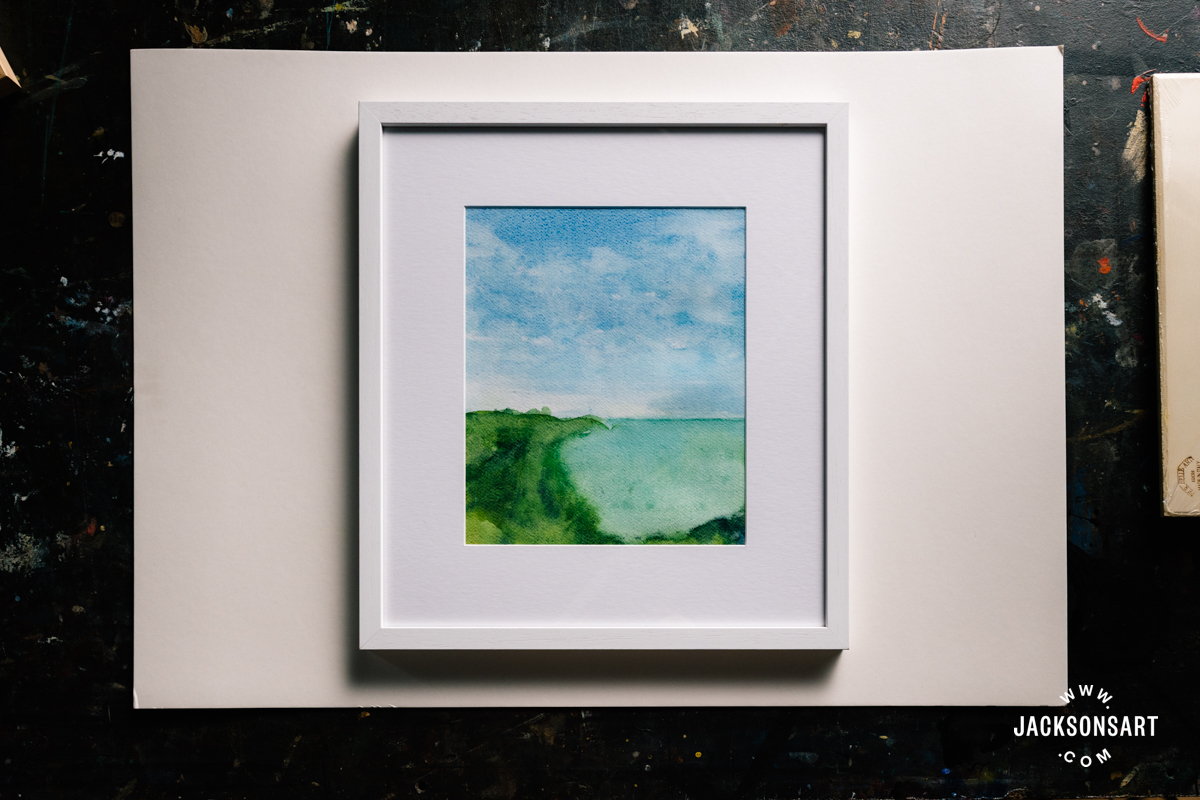
Securing the Backing Board
Glazier points, flexible frame inserts, or spring clips can be used to secure the backing board behind the artwork and mount package. For the push points or inserts, you will need the frame butted up against something solid so you can push against it without putting stress on the frame.
You may wish to take a look at our article How to Mount Artwork in a Frame.

Hanging Hardware
After the painting is securely mounted in the frame, the next step is to attach the hanging hardware. You may wish to take a look at our article How to Choose Hanging Hardware for a Picture Frame.
Further Reading
Choosing the Right Frame for Your Artwork
How to Assemble Jackson’s Bespoke Frames
How to Mount Artwork in a Frame
How to Choose Hanging Hardware for a Picture Frame
Shop All Framing on jacksonsart.com