DIY Holiday Decor with Thrifted Frames

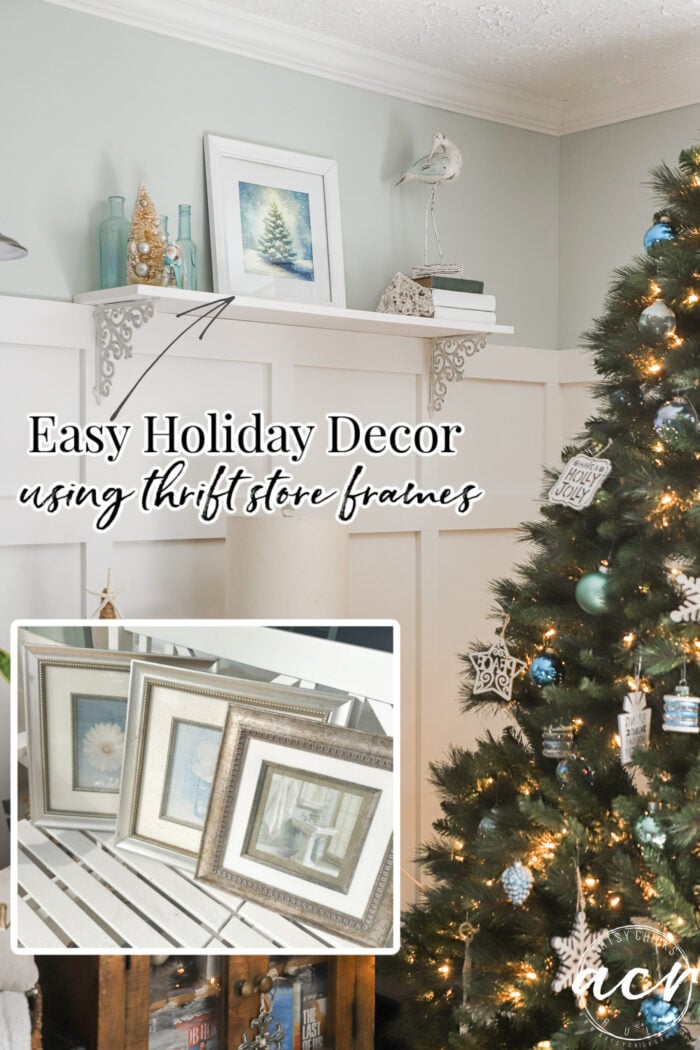
Create your very own DIY holiday decor with thrifted frames. So simple, fun, and creative too! Save money and make your own!
Hello, beautiful friends!
I’m staring out the window at beautiful snowfall as I write this. So fitting for today’s post! I’m sharing some thrift store finds I made into holiday decor.
Today is Trashy Treasures Tuesday. And we are introducing a brand-new member today. Kathy from Petticoat Junktion. Woohoo!! We are so happy to have her join our little group. I have known Kathy since, gosh, almost since the start of my blogging journey way back in 2012. We used to collaborate on lots of posts/groups, etc, back in the early days. So it’s an absolute joy to have her here with us now!
Please give her a big welcome!
THRIFT
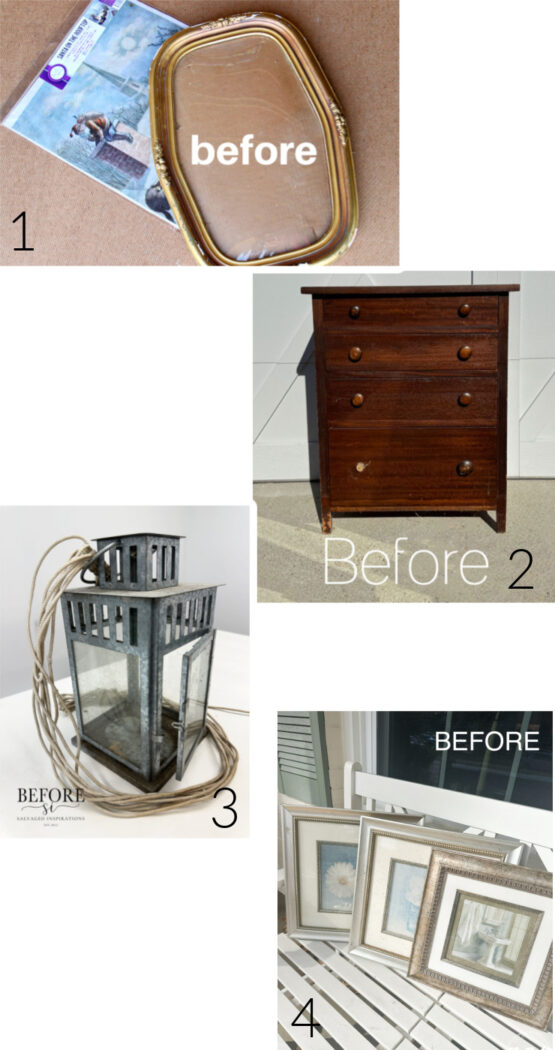
Okay, the first thing you need to do is run on down to your local thrift store and find a few frames or old framed prints.
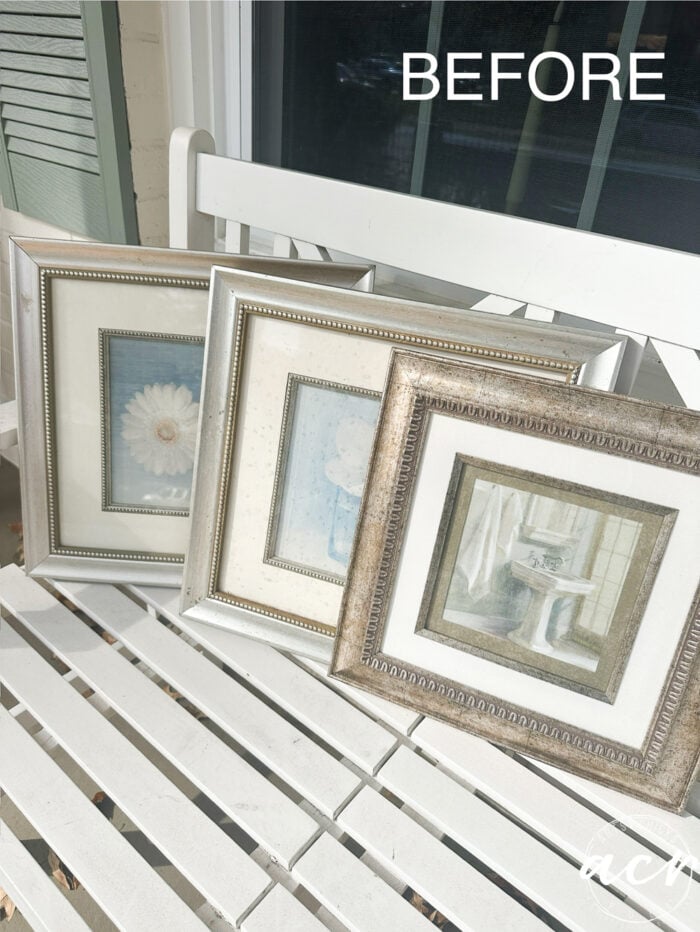
Which is usually pretty easy to do/find! There are always tons of options for these small, framed prints at all the thrift stores I visit.
MATERIALS LIST FOR THRIFY HOLIDAY DECOR
DISMANTLE
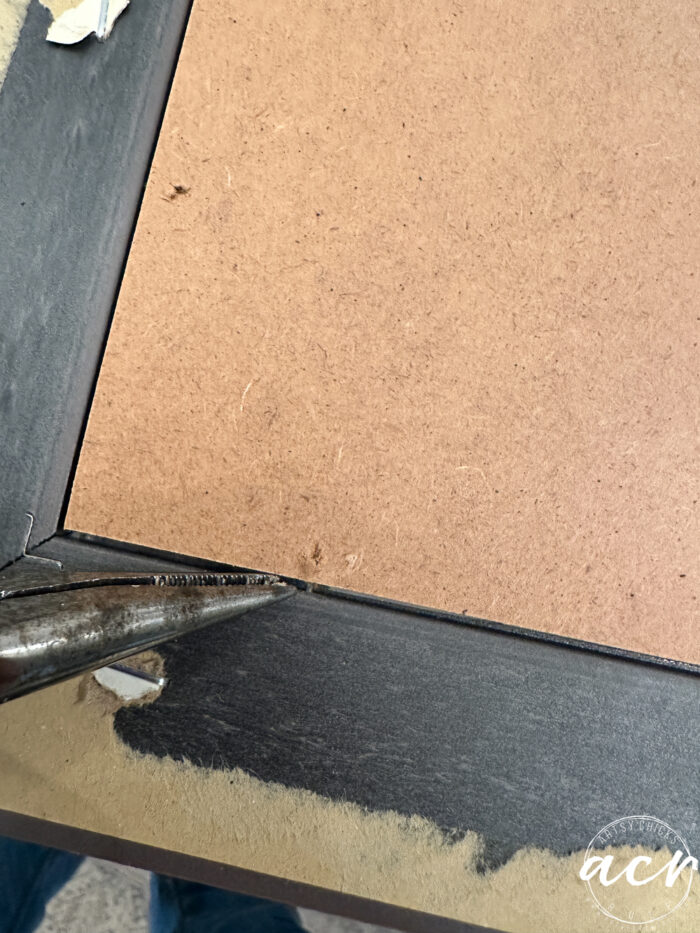
Next, you’ll want to dismantle the frames from the insides, which is always fun, not! haha!

Can’t ever have enough staples. Wow.
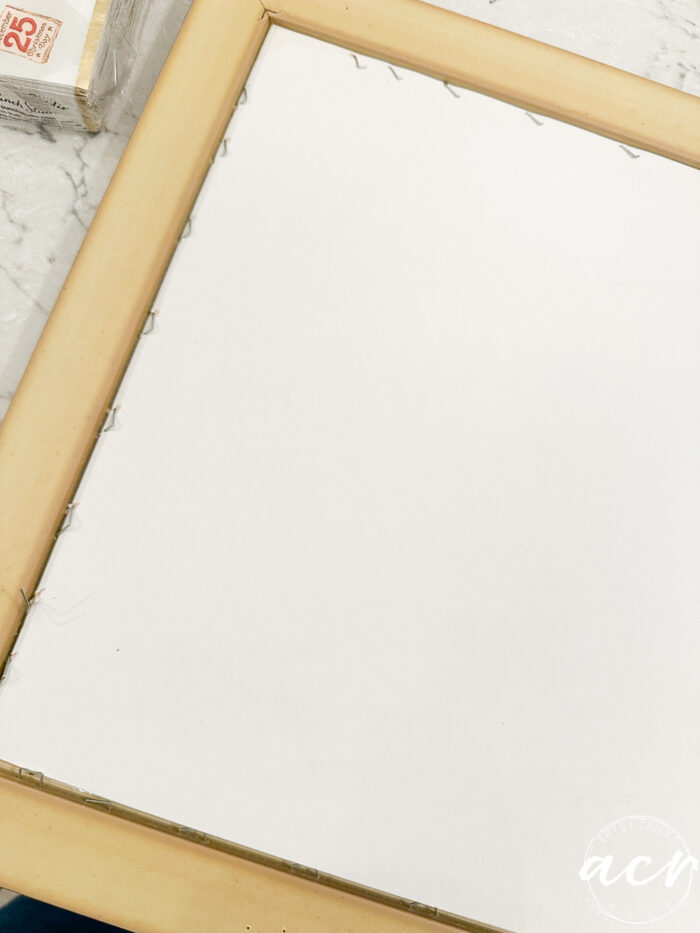
All of them! And yep, pull all of those out. You can use this handy tool or basic pliers.
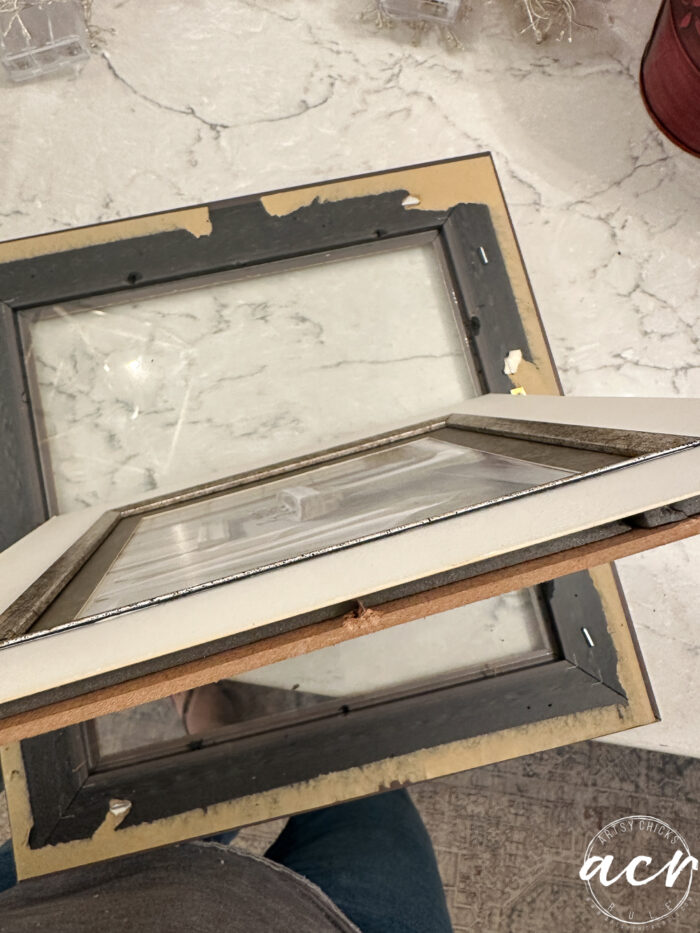
You can also use the mats, if you like. But sometimes they are glued like this and can be tough to separate.
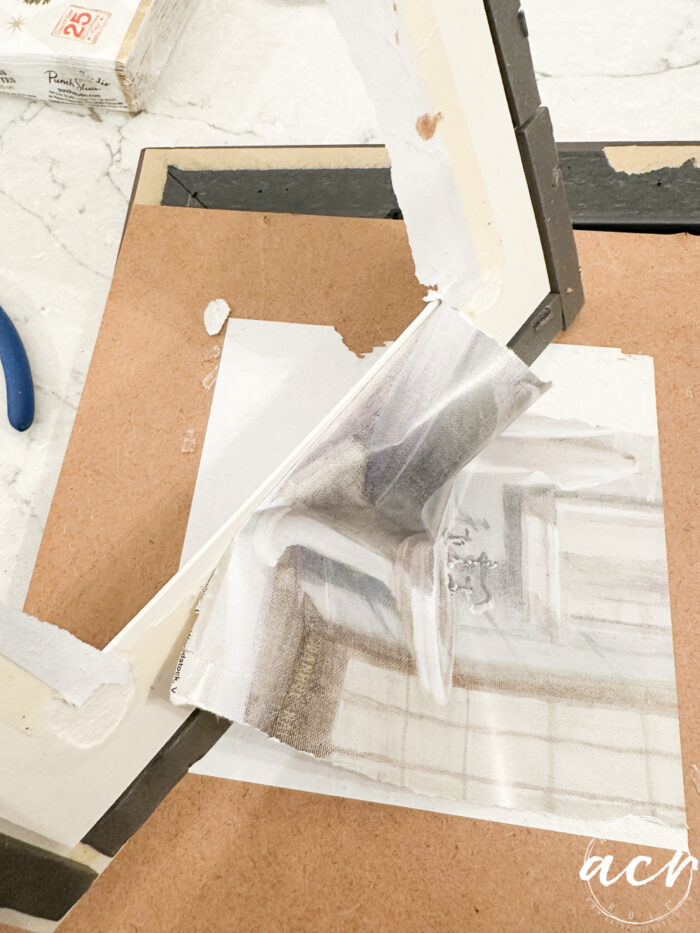
I wanted to use them, so I got all of that off. Can you believe the pretty art is just a thin print like that??
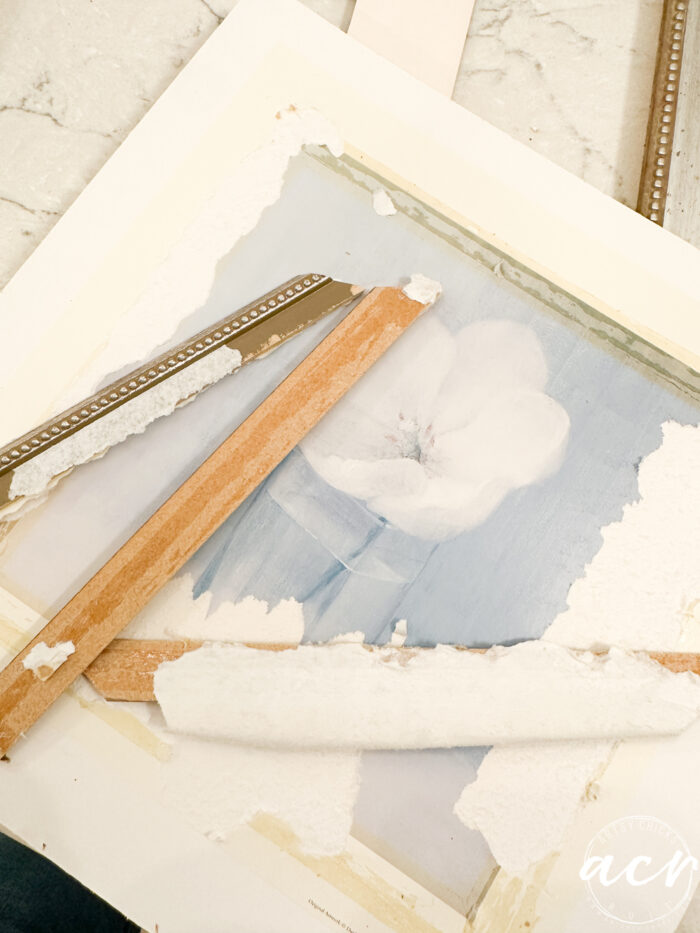
I decided not to use this trim part on the holiday art, though. It was attached to the print and not the mat, thank goodness.
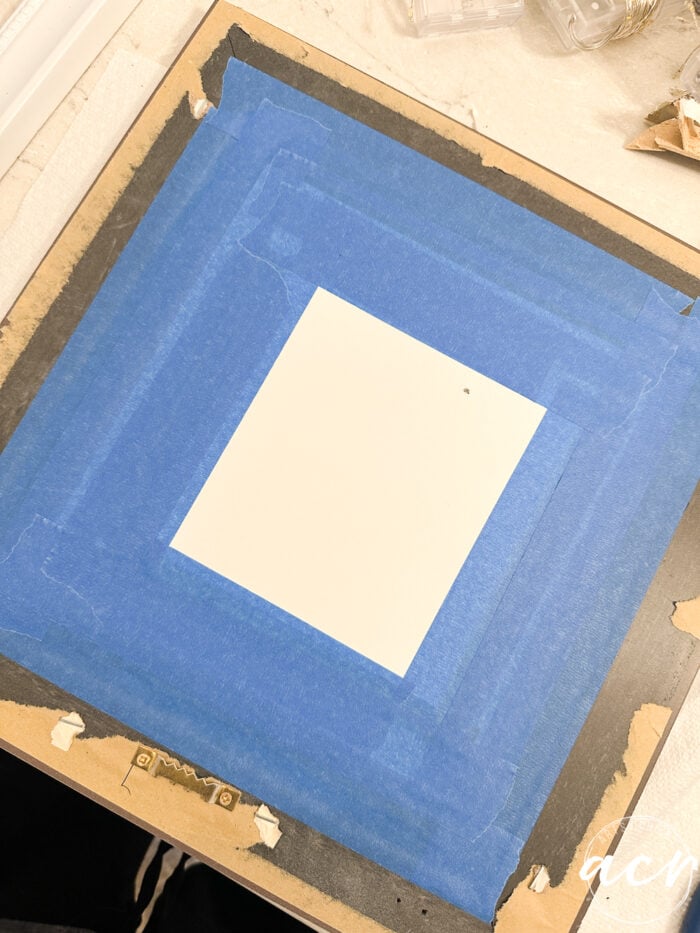
SPRAY PAINT
I used a white semi-gloss spray paint to paint mine. You can hand-brush them, too, if you like. However, spray painting is so much faster.

I painted the mats and the frames in the same color.
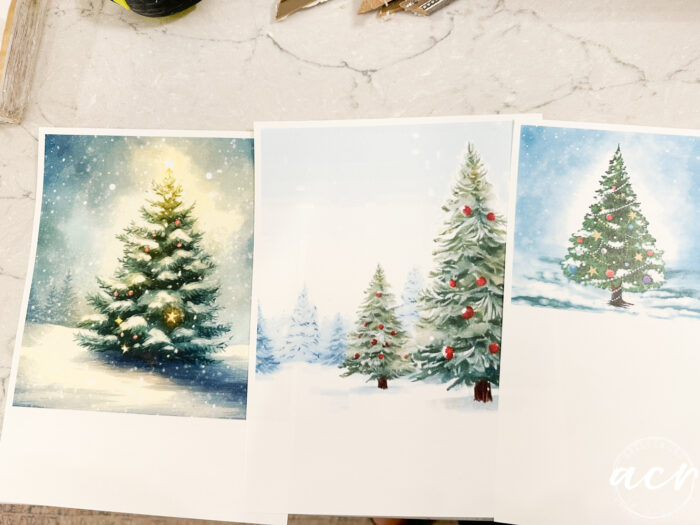
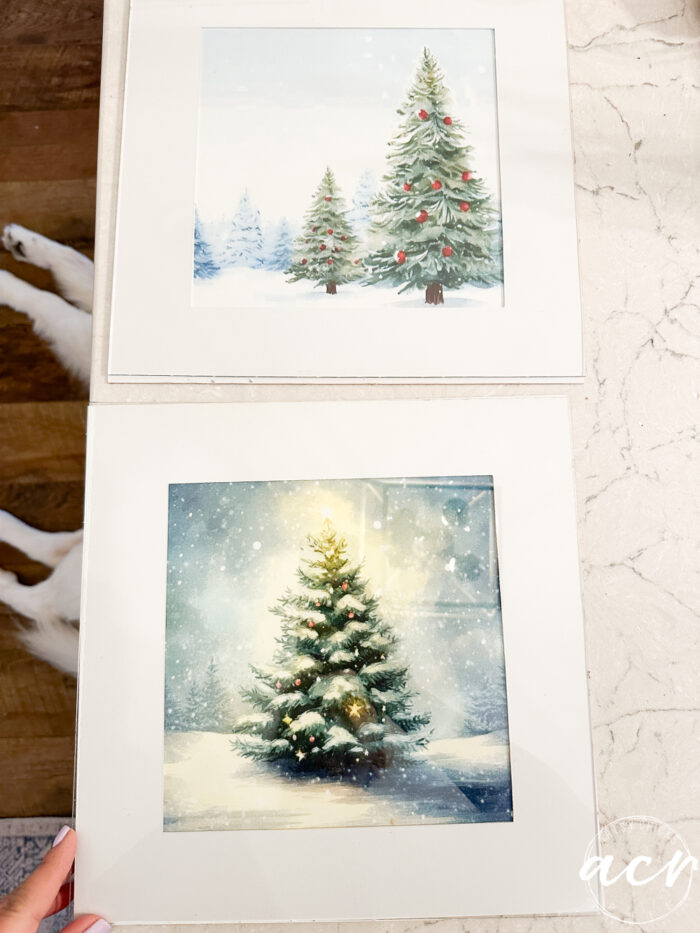
FIND ARTWORK AND PRINT
I created a couple of images in ChatGPT and also found a few online that I liked.

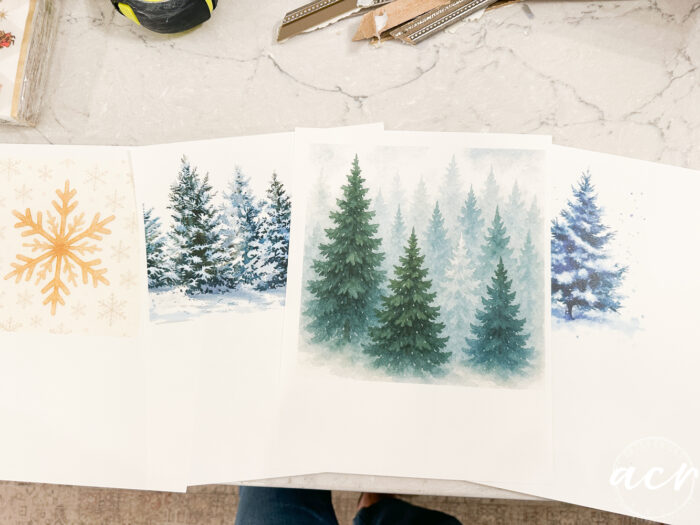
I ended up choosing these three from the list above.
I used this paper to print them out on.
I printed them to the size I needed for each mat in the frame.

Then I cut them out with one of these paper cutters to make perfect cuts.
PUT BACK TOGETHER
Be sure to clean both sides of each glass before you put them back together.
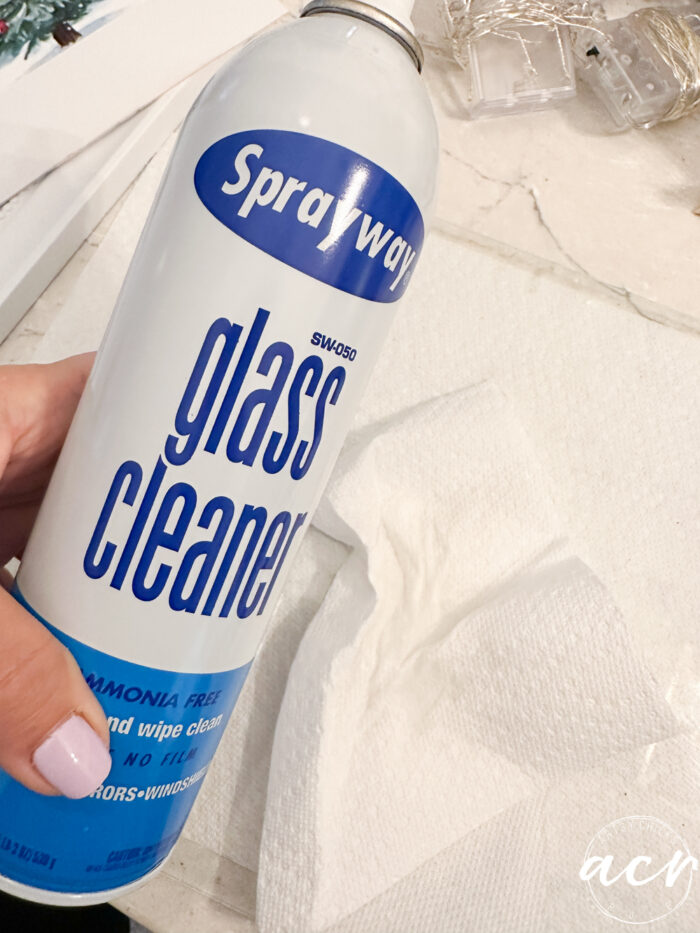
This is my favorite! No streaks. You can find it here.
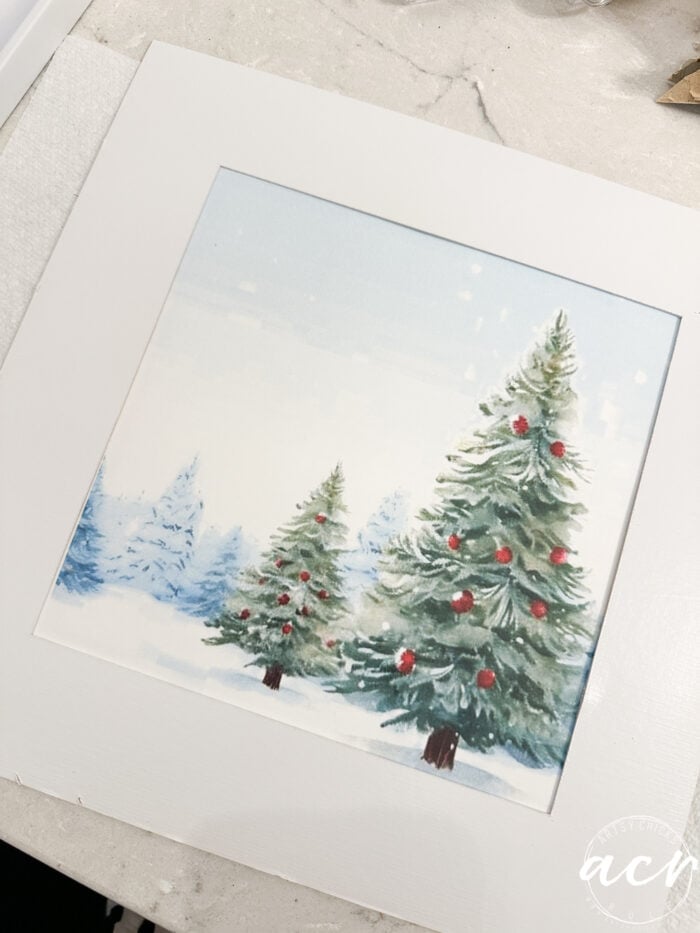
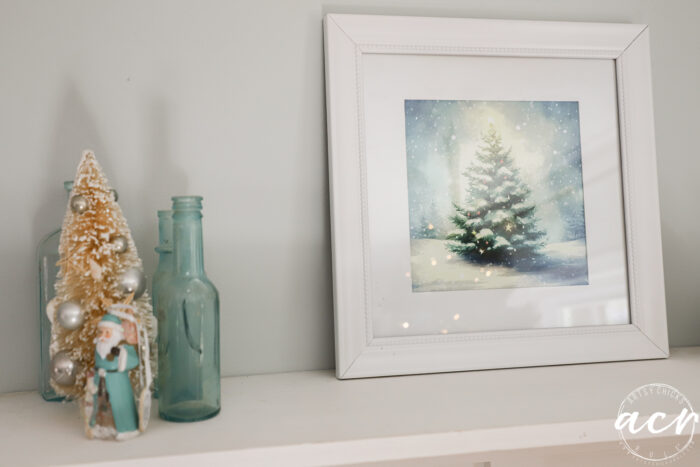
Isn’t that so pretty??
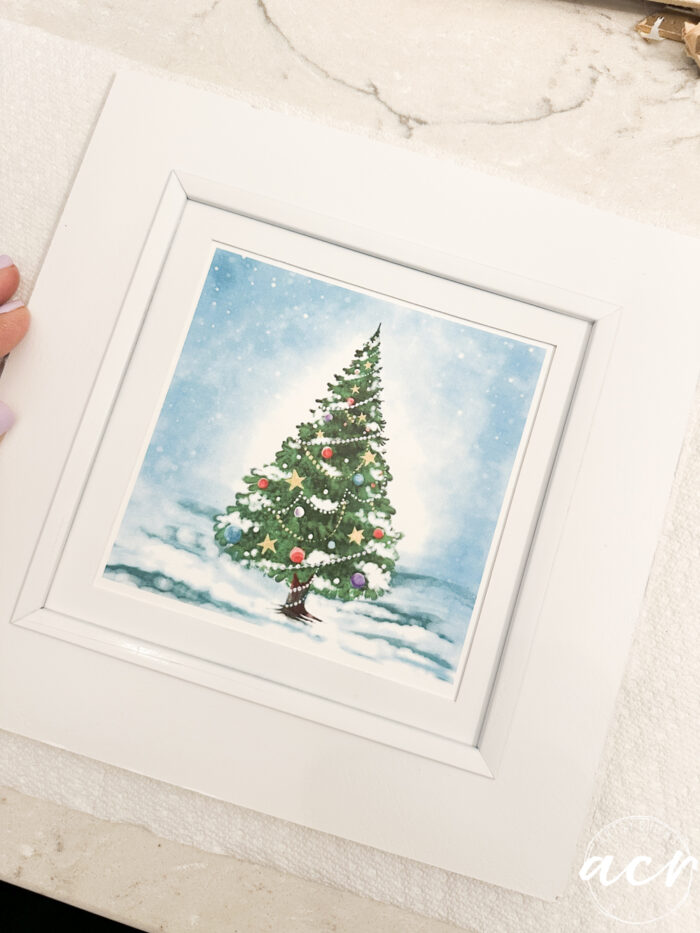
Look at how pretty that mat turned out.
Spy those feet of my constant companion??
I used tape to secure them in the back. You could staple the back in, also. I didn’t feel like it! Lol, real life here. 😉
And it’s not my first time. Holds great.
DECORATE WITH THEM!
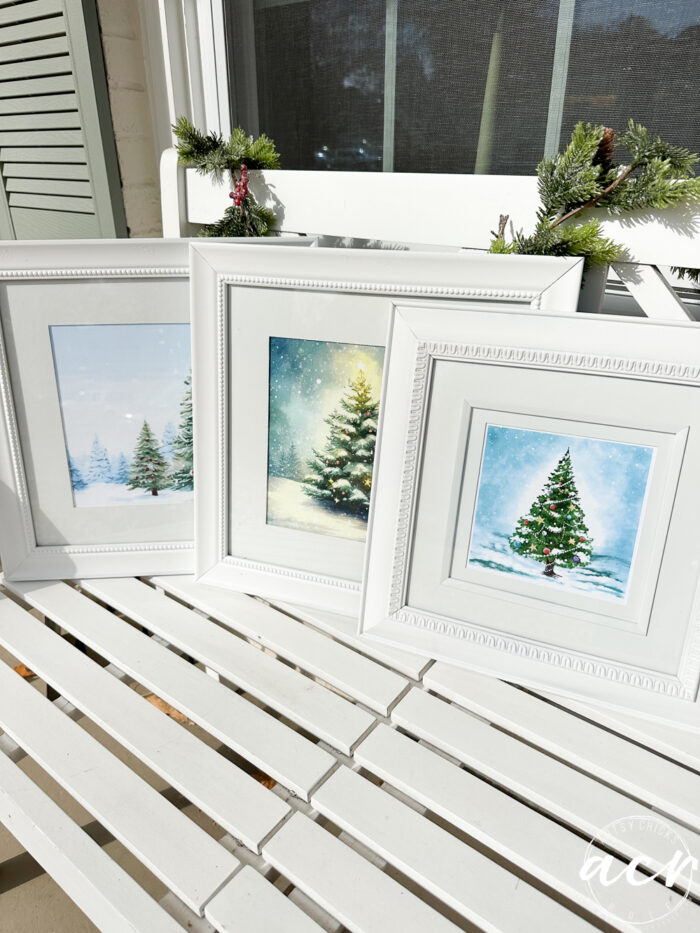
Aren’t they so pretty?!! Who would ever have thought those were cheap thrifted frames/prints??
And beautiful holiday decor on a dime, for sure.
Here’s where I put them around my house.
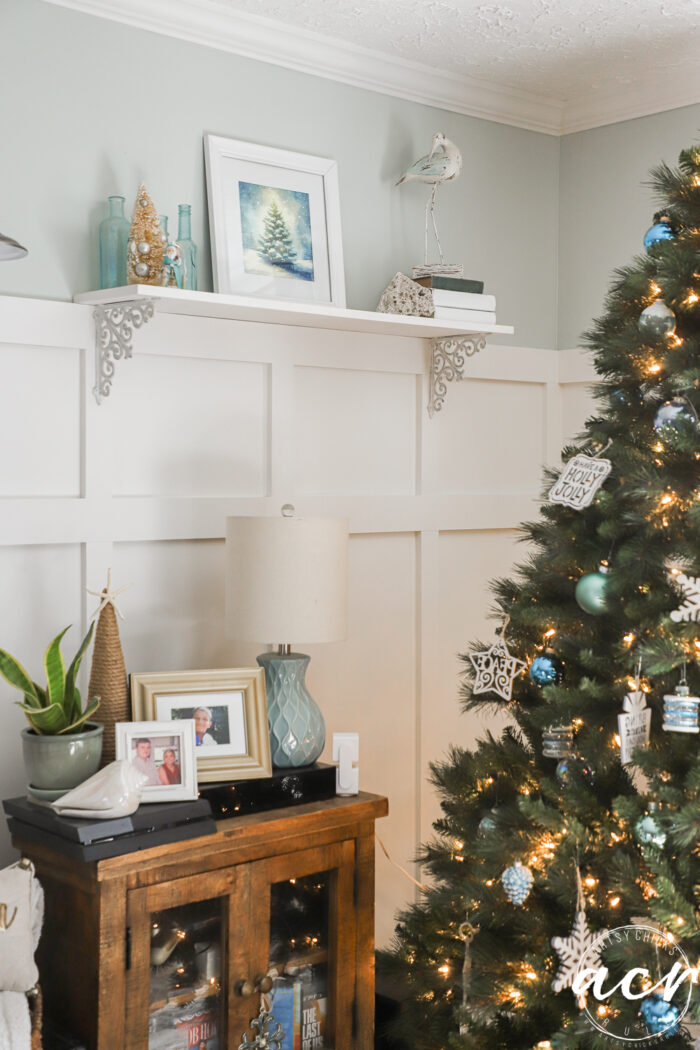
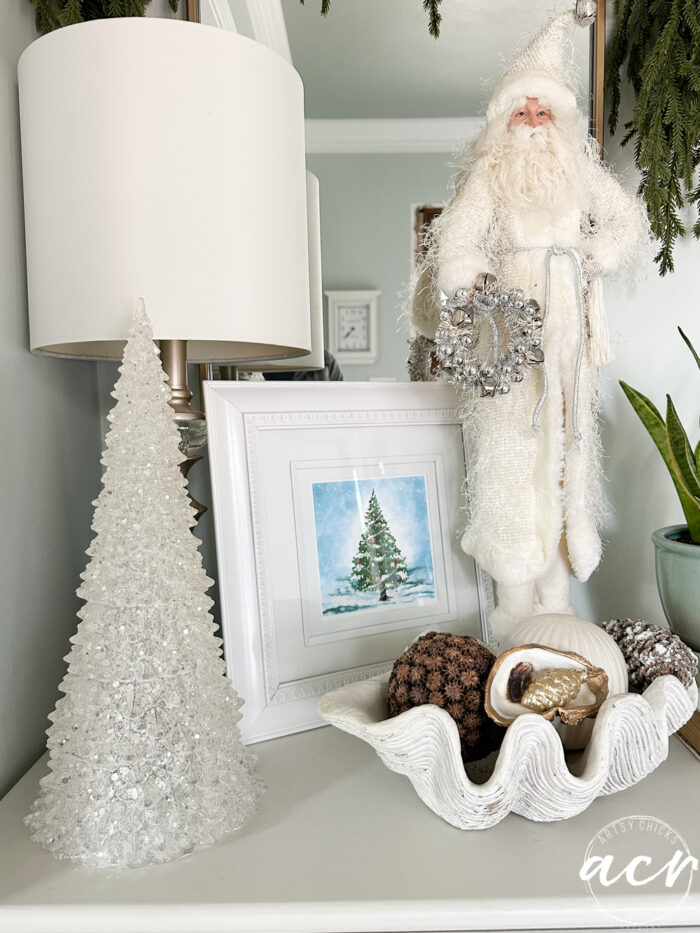
I moved the picture that usually lives here and replaced it with the pretty tree.
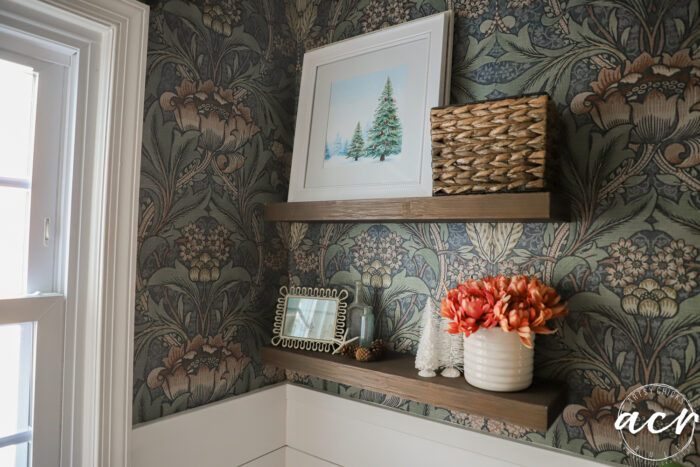
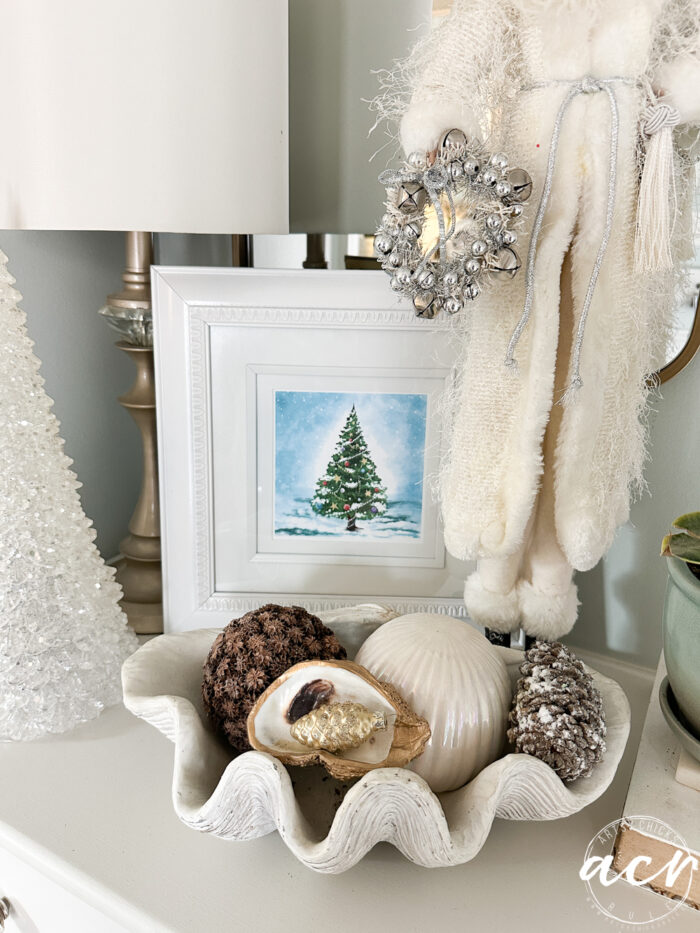
I sat this one in front of the framed print that is usually here on this shelf, giving it a layered look I suppose.
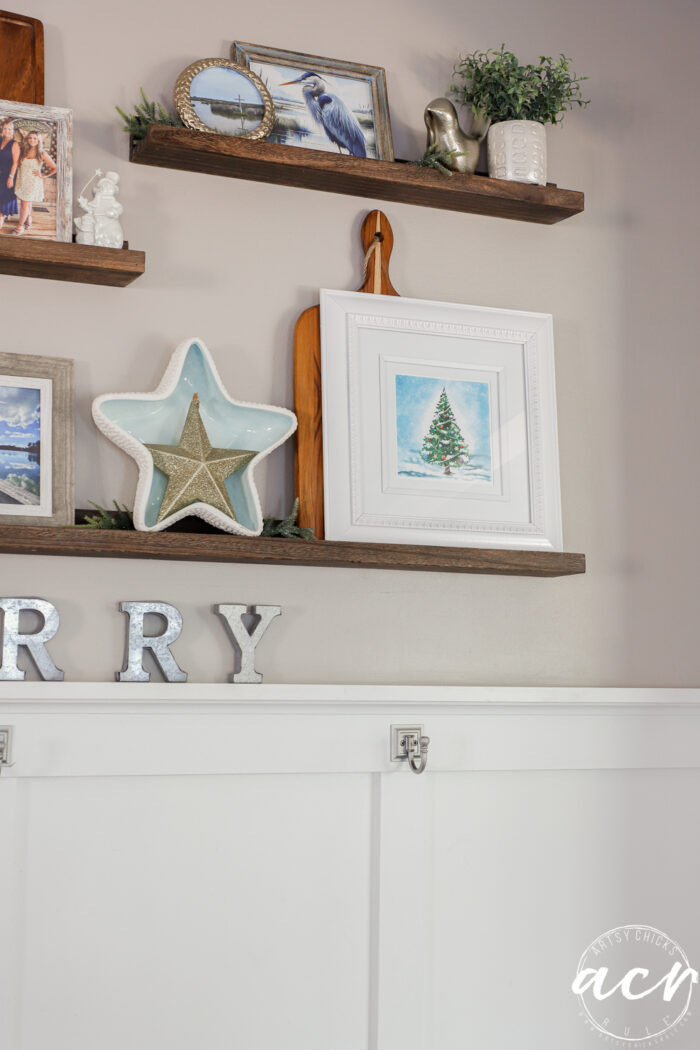
The last one went onto our new slim shelves in the kitchen.
And before I figured out where I wanted to put them, I snapped this photo in the foyer with my favorite Santa.
It didn’t say here, as you know.
I love my DIY holiday decor with thrifted frames—such a fun, creative project that anyone can do. And a cheap way to decorate that doesn’t look cheap!
PIN it to save it!

Don’t forget to hop over and check out what my friends did this week! Also, say hi to Kathy!!
- Kathy at Petticoat Junktion
- Christy at Confessions of a Serial DIYer
- Denise at Salvaged Inspirations
- Me! You are here.
Have a blessed week, friends! OH! And don’t forget that I still have a sale in my shop and my Etsy shop too. (30% off everything!)
xoxo


