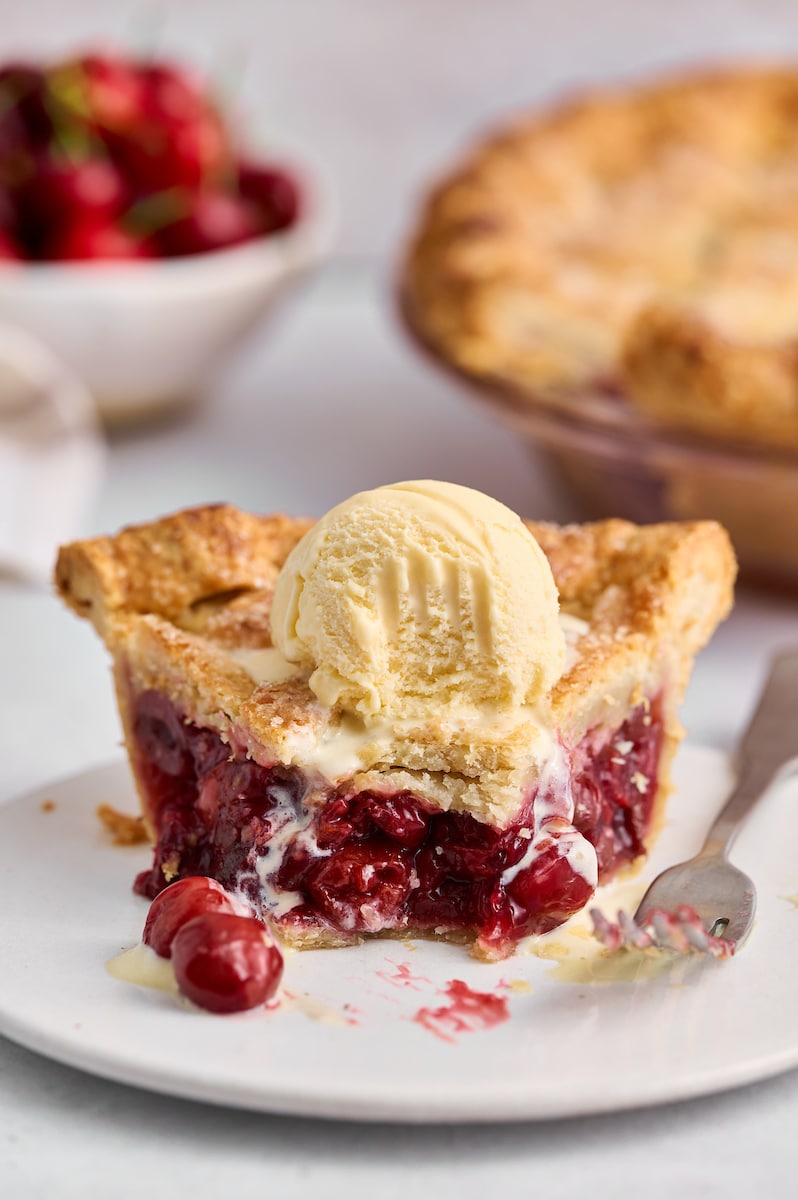
Homemade Cherry Pie is the QUEEN of summer desserts… and a million times better than store bought pie! Use my homemade pie dough for a golden brown all-butter pie crust. And use fresh cherries or frozen cherries for the cherry pie filling. Serve with vanilla ice cream or whipped cream.

Mom’s Cherry Pie Recipe
Originally published in 2018, my mom’s favorite cherry pie has become a favorite recipe of thousands of readers, too! So many of you have made special memories with this recipe. From 4th of July parties to sunny picnics to Christmas dessert… you guys seriously love this pie!
This is especially touching for me, because heartbreakingly, my mom passed away a few years ago. But her beloved pie lives on! And knowing it brings so many of you great joy… well, that’s priceless!

Why You’ll Love this Homemade Cherry Pie
- Use fresh or frozen cherries! And any variety of sweet or tart cherries will work.
- The cherry pie filling is juicy and full of sweet/tart cherry flavor.
- I use a cooking method for the cherry pie filling that leaves just the right amount of cherry juices… it’s juicy but not soupy!
- Assemble the pie dough easily, then wrap it in plastic wrap and refrigerate for up to 2 days before using.
- The best dessert for any summer event… especially when served with ice cream!
- Make the pie, cool completely at room temperature, and wrap in plastic wrap and it’ll stay fresh for up to 2 days! Or 2 months in the freezer.
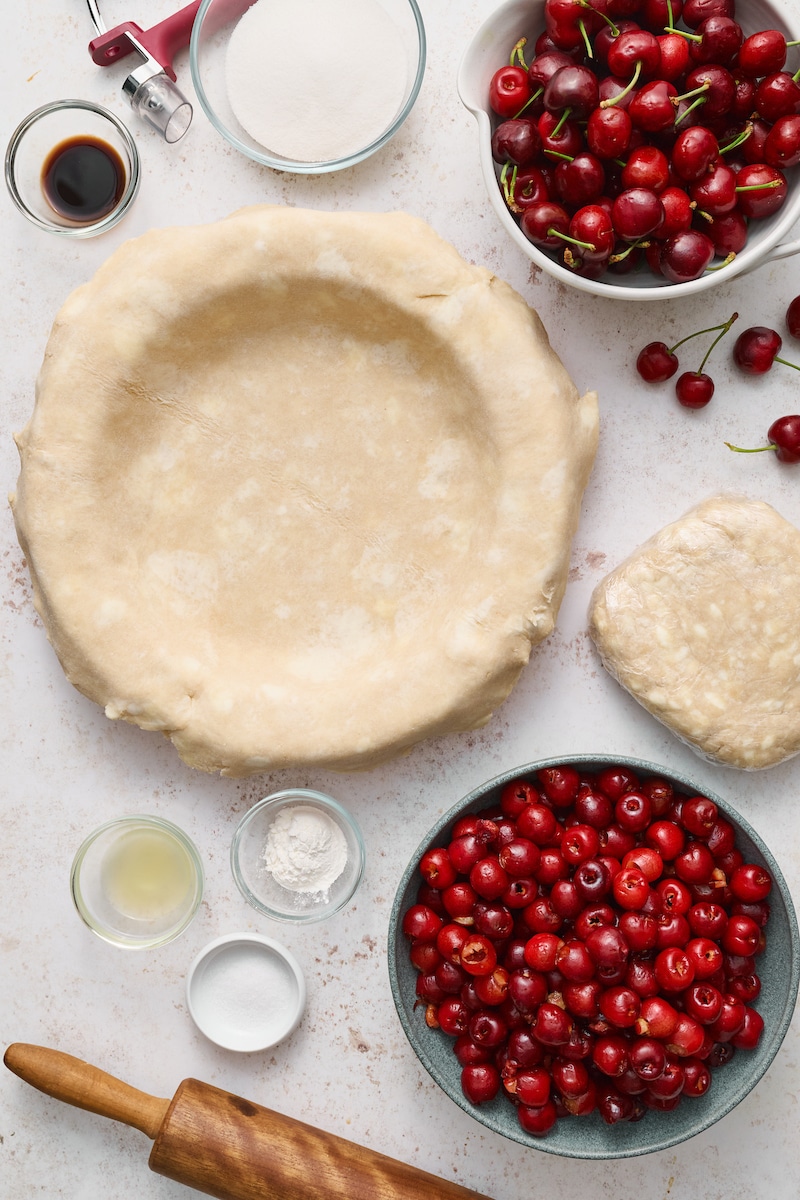
How to Make Cherry Pie
- Make the Pie Dough: You can make the pie crust recipe up to 2 days in advance. Simply make as directed, then store in the fridge until needed. Or freeze the pie dough for up to 2 months.
- Make the Cherry Pie Filling: Feel free to store this in the fridge for up to 2 days! Just give it a good stir before use.
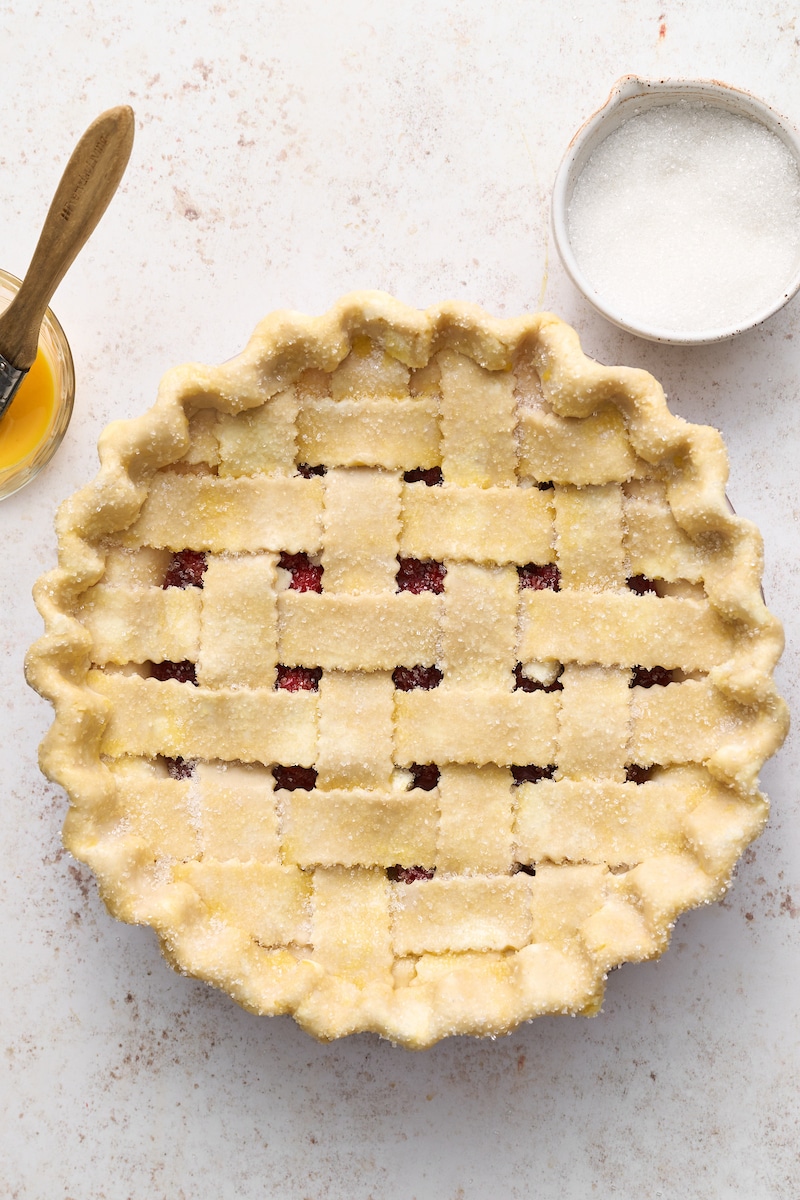
- Roll out the Pie Dough: You’ll roll the bottom crust into a large circle and fit it into the pie plate. For the top crust, you’ll slice it into strips and create a lattice top crust.
- Make an Egg Wash: This is the key to a golden brown crust! You’ll gently brush the egg wash all over the top crust using a pastry brush.
- Preheat the Oven: For this recipe, you’ll start with the oven at 425 degrees, then reduce then temperature after 15 minutes. Be sure to preheat the oven at least 20 minutes before you plan on baking.
- Assemble the Pie: Place the bottom crust in the pie plate, add the cherry pie filling, then add the top crust. Brush with egg wash and place on a baking sheet.
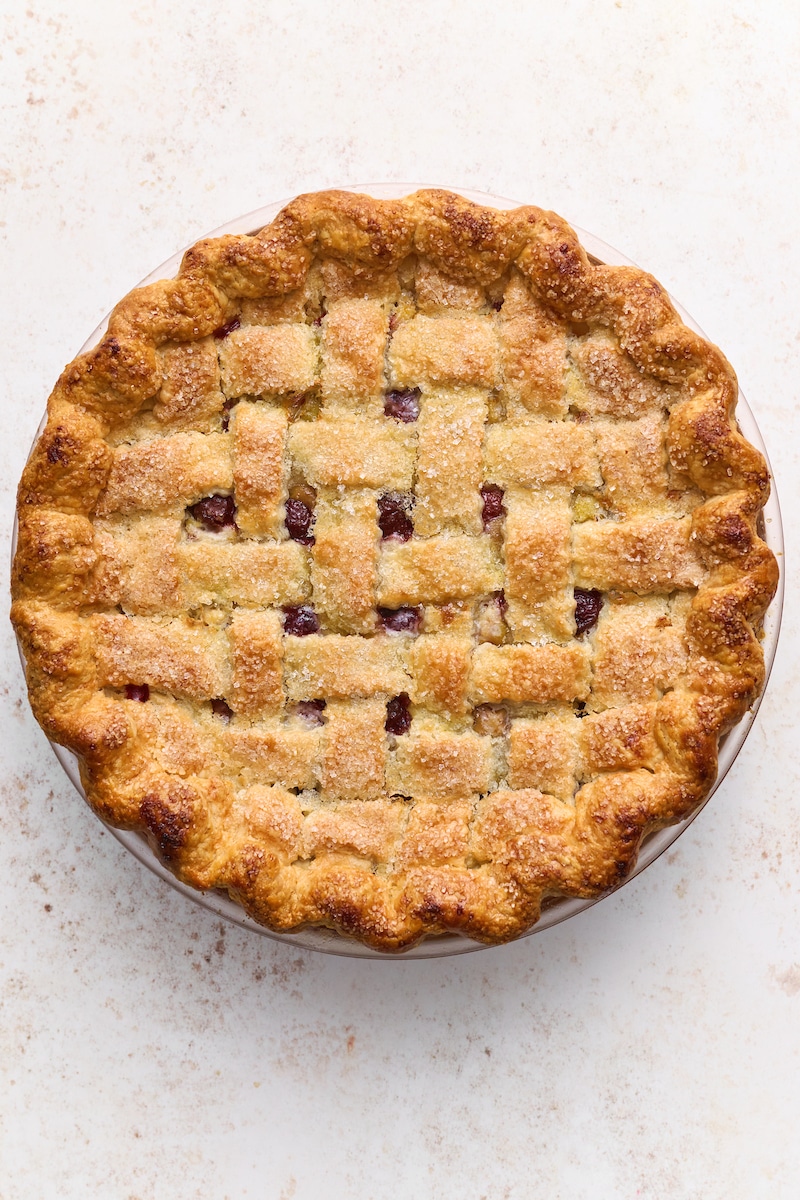
- Bake the Pie: Place the pie plate in the preheated oven until the crust is golden brown and the cherry juices are bubbling.
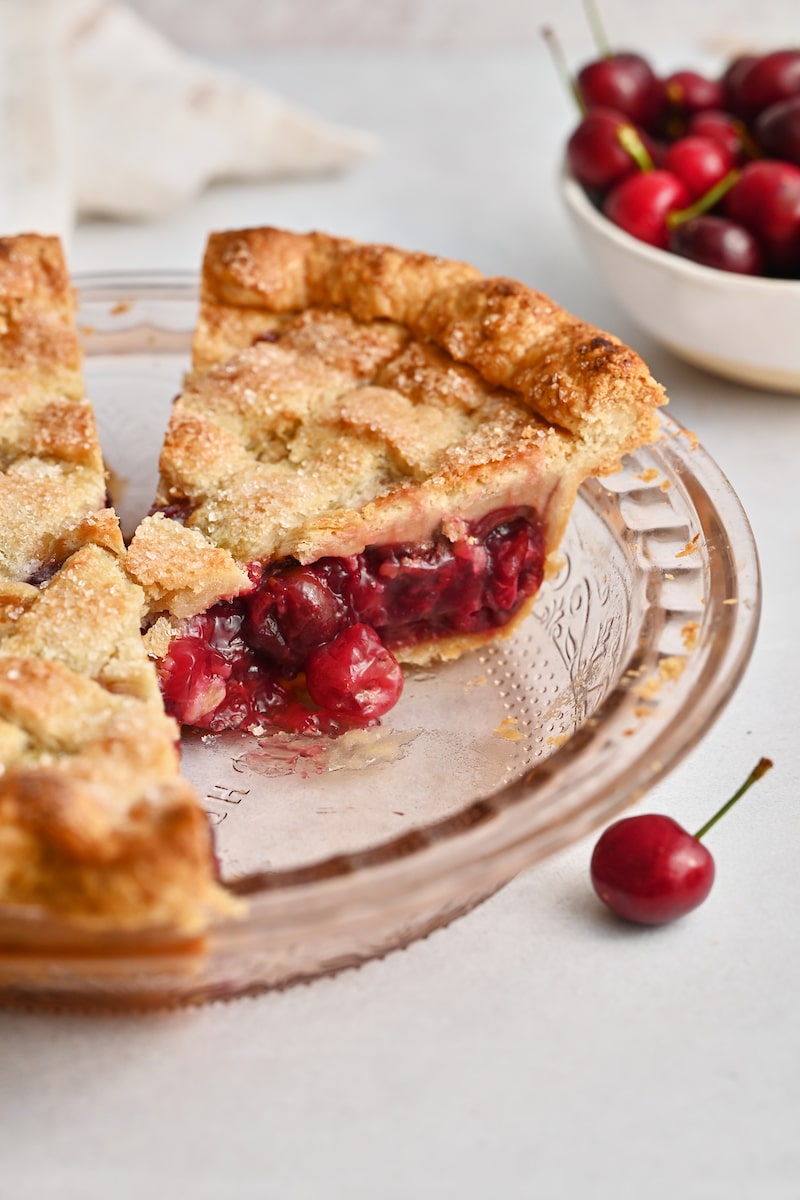
- Cool Completely: To get clean slices that don’t ooze everywhere, be sure to cool this pie at room temperature. To cool completely, it’ll take about 3 to 4 hours.
Pie Dough 101: The Best Pie Crust Recipe
- Cold Butter is Key: No matter what pie crust recipe you use, make sure your butter is ice cold before beginning. I suggest placing your sticks of butter in the freezer for 10 to 20 minutes before use.
- Use a Pastry Cutter: But if you don’t have one, you can cut the butter into the pie dough using two forks. Avoid using your fingers if you can, because they can cause the butter to melt.
- Add Just Enough Water: You want the pie dough to be a bit shaggy. It’ll come together once kneaded. Adding too much water will cause a tough and gluey pie crust.
- Chill the Pie Dough: The disks of pie dough need to chill for at least 2 hours, but will keep in the fridge for up to 48 hours.
- Prepare the Lattice Strips: For the top crust, you’ll cut the pie dough into lattice strips. Practice makes perfect here, so be patient with yourself! And don’t worry if it’s not picture perfect.
Cherry Pie Filling: Fresh Cherries vs Frozen Cherries
- Fresh or frozen cherries will work in this cherry pie recipe, so feel free to use either!
- I typically use fresh cherries in the summer and frozen cherries in the winter/fall.
- One major pro for using frozen cherries? You don’t need to wash or pit them. This definitely will save you time… especially if you don’t have a cherry pitter.
- Any variety of cherries will work with this cherry pie filling! But I love using sweet red cherries the best. Rainier cherries will also work great. You can use sour cherries, but you’ll need to add an extra 1/4 cup of sugar.
- My favorite brand of frozen cherries is Wyman’s dark sweet and red tart cherries are *chef’s kiss delicious! And yes, they are available in 2 pound bags, so they are all ready to use in this recipe. I always stock up on them when they go on sale!
- Not all almond extracts are equal in quality, so be sure to choose a pure almond extract for this recipe. If you’re allergic to almonds, you may omit the almond extract completely.
- If omitting the almond extract, I suggest adding an extra teaspoon or two of vanilla extract in its place.
- For best results, use fresh lemon juice! Avoid bottled lemon juice, which tastes artificial. Do not skip the lemon juice; it will not make your pie taste lemony!
Bake on a Baking Sheet: Until the Crust is Golden Brown
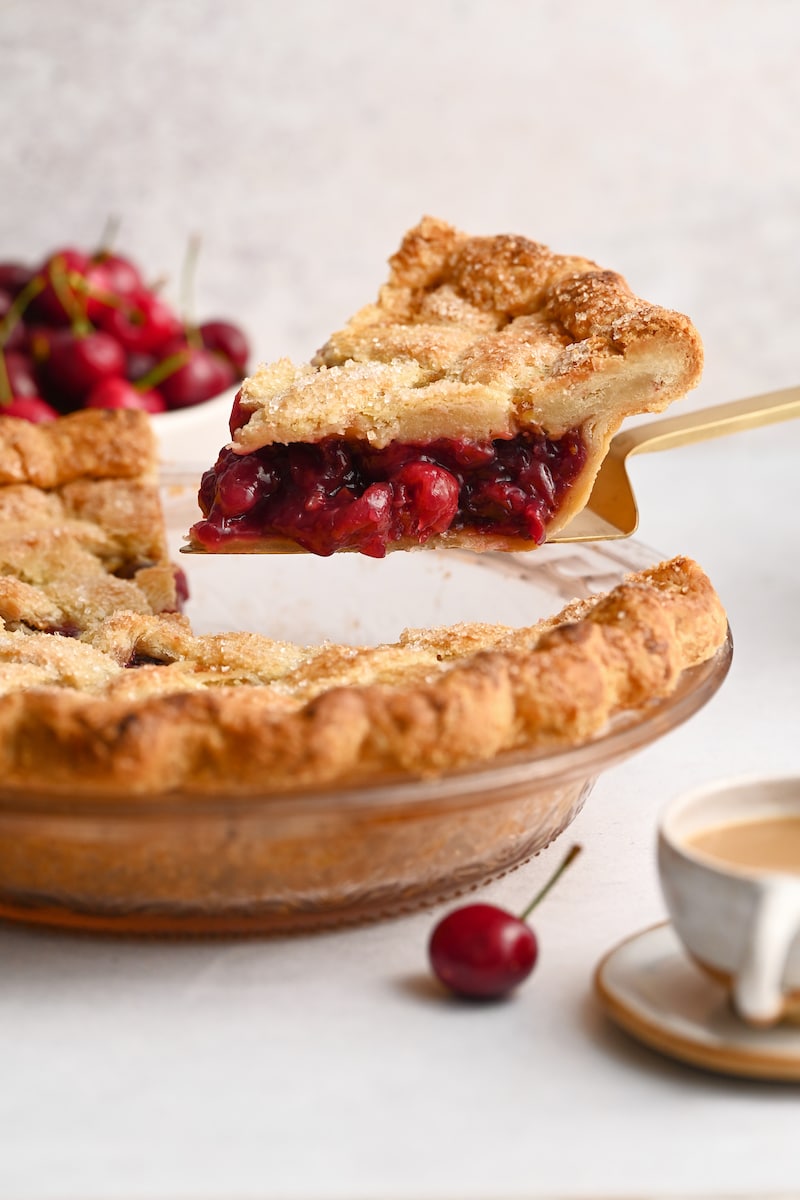
- The cherry juices bubble up as the pie bakes in the oven… and sometimes, they land on the bottom of the oven. My solution? Bake the pie on a baking sheet.
- Baking the pie on a large baking sheet also makes removing the hot pie from the oven easier – and safer!
- You’ll want to bake this pie until the crust is golden brown and the cherry juices bubble up and smell incredible! This typically takes about an hour and 5 minutes.
- If your top crust is getting too brown, you can cover it with a pie shield or lightly tent the top of the pie with aluminum foil. But you shouldn’t need either option.
Cool Completely Before Slicing
If you’ve ever cut into a hot pie before… you already know why it’s essential to cool completely before slicing, right? Because hot pies are still mainly liquid! And the filling will flow and ooze and run everywhere.
So be sure to allow this homemade cherry pie to cool completely at room temperature before slicing! This usually takes about 4 hours. But you should be able to get semi-neat slices after 2 hours… if you just can’t wait to dig in.
For picture perfect slices, I suggest making this pie the night before you need it. That way it can chill and firm up overnight. And if you prefer to serve it slightly warm, you can always reheat a slice in the microwave or oven. I ALWAYS do this when I plan on enjoying a piece with a scoop of vanilla ice cream!
More Cherry Pie Recipes: