When it comes to bread with inclusions, this cheddar jalapeño sourdough is a favorite alongside our Olive Rosemary Bread. Toasted and buttered, this cheese and pepper flavored bread is droolworthy. It goes well with savory stews and can be used for sandwiches too. The original post for this recipe is in the Breadtopia forum from back in 2017 and finally here are full instructions on the blog.

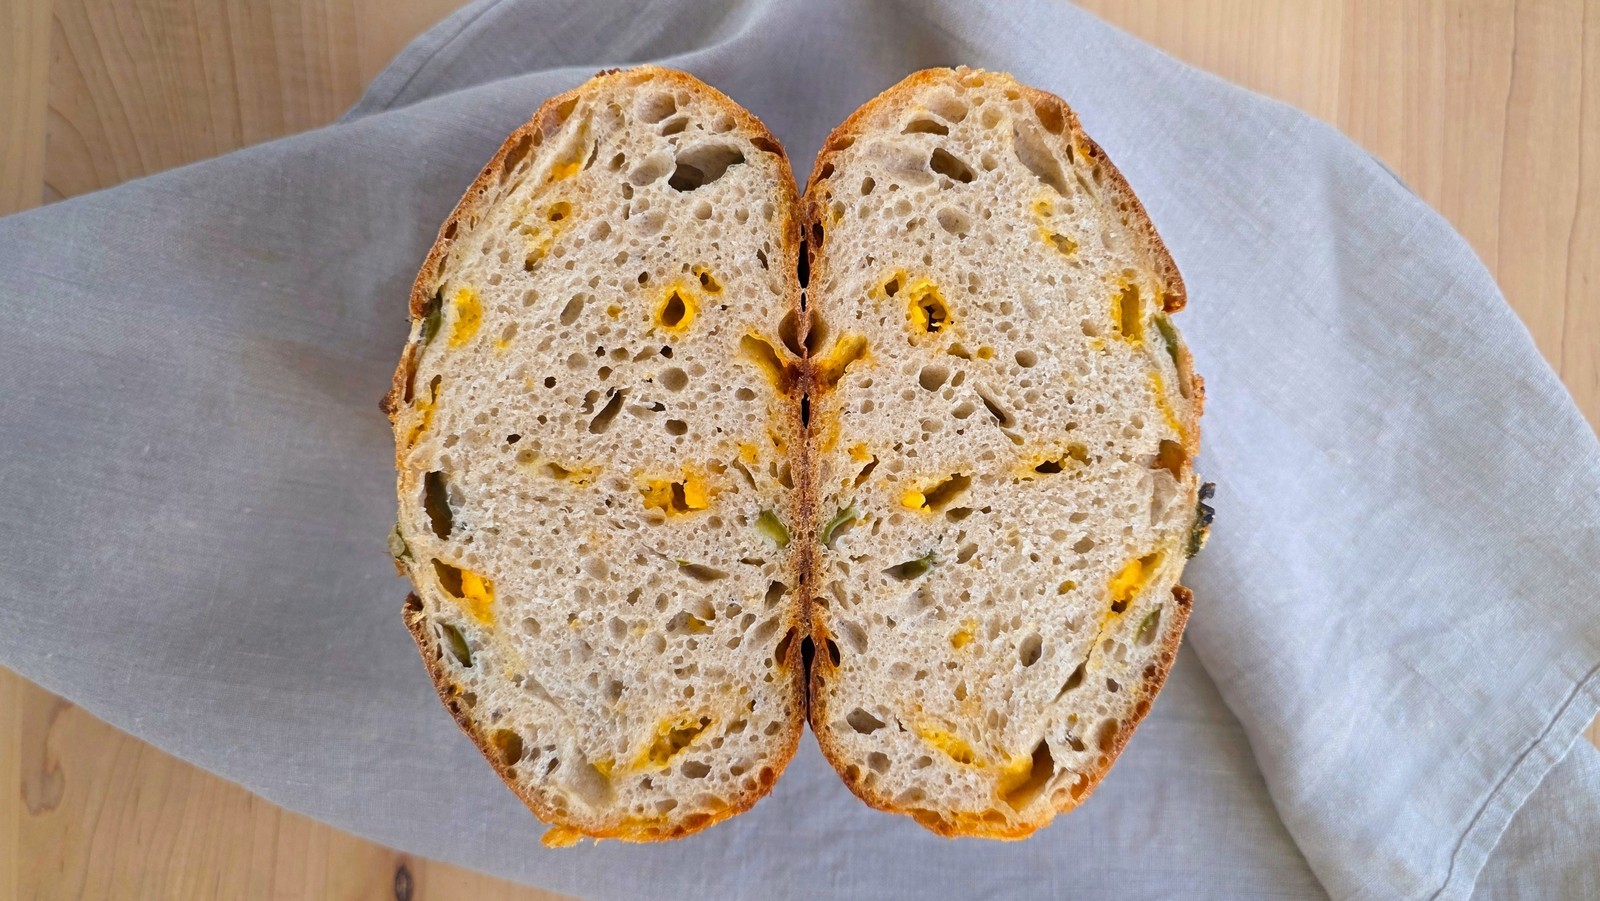
Relatively even crumb
When to Add Dough Inclusions
For the bread in these photos, I used an Ankarsrum mixer, initially mixing the dough with the roller attachment, and then an hour later, folding in the cheddar and jalapeños with the dough hook.
-

- Ready to mix

-

- Adding cheese and jalapeños

This is just one of many ways to add inclusions to a sourdough* dough. You can pick what works for your space, appliances, schedule, and crumb preference. Some options include:
Everything mixed together at the start. I do this when my schedule demands I abandon the dough to develop on its own.
About 1 hour after mixing to let the gluten develop a bit before introducing the bulky inclusions. This can be done with a mixer (dough hook), by hand, or if you have the work space, via lamination. After laminating, one or more rounds of coil folding can reduce large bubbles in the dough if that is desired.
At the end of the first rise. laminating makes the most sense to get as even a distribution of inclusions as possible, though they’ll still be slightly swirled throughout the loaf. Some de-gassing happens in this method, so you may try a less extensive bulk fermentation and more extensive final proof to compensate.
* These methods work with yeast leavening instead of sourdough when you use less yeast and aim for long rising times. If you have a short 2-3 hour process, I recommend you autolyse or saltolyse the dough for at least an hour, holding back 20 grams or so water to dissolve the yeast in later. After the dough has gained strength, add the water-yeast and inclusions.
If you laminate the inclusions into the dough, you can expect a more wild crumb with some large holes like in the example below.


Take a look at our recipe for Corn Cheddar Jalapeño Sourdough if you would like to try a more complex cheddar and jalapeño adventure.
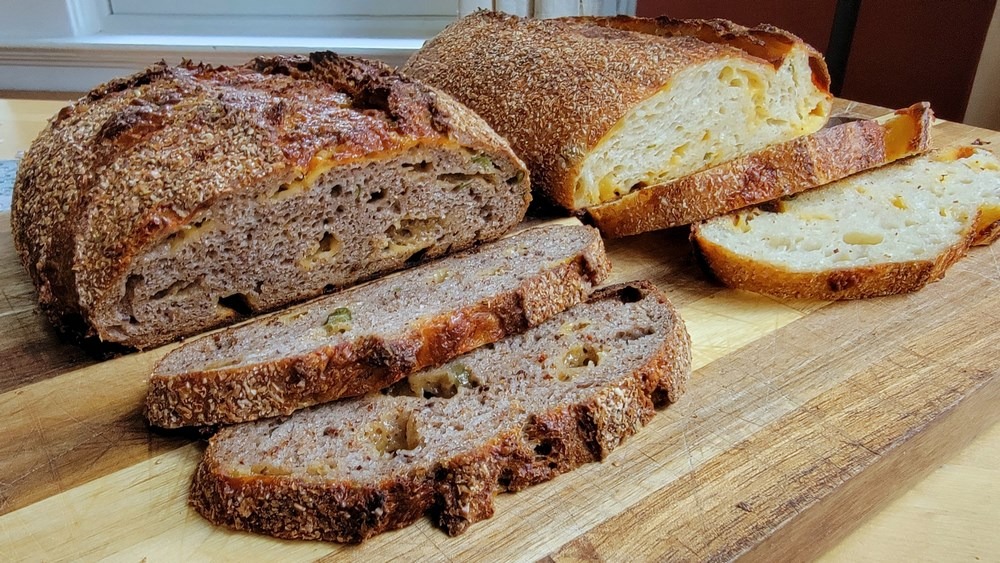
Red corn (left), yellow corn (right)
The Photo Gallery after the recipe offers step-by-step photos of the recipe process.
Cheddar Jalapeño Sourdough Bread


Cheddar cheese and jalapeño peppers are a dream team especially against the backdrop of a flavorful and chewy part-wheat sourdough bread. Try this recipe, choosing your preferred whole grain flour and learning various ways to add inclusions to dough.
Total Time
1 hour, 10 minutes
Ingredients
Dough
Inclusions
- 1 large or 2 small jalapeños, de-seeded, sliced, briefly sauteed
- 1/2 Tbsp light oil (7 grams)
- 6-8 ounces cheddar cheese (170-227 grams)
Instructions
- The first rise of my dough was 5 hours long, from the initial mix to about 60% expansion. A portion of this dough is cheese and pepper pieces that don’t expand, so the dough is fully fermented at less total rise and doubling would be overfermentation. Also some of the dough expansion is visually “lost” when you mix in the inclusions after an hour. The final proof was about an hour at room temperature, but overnight refrigeration is fine too.
- Mix the dough ingredients: flour, water, starter, salt. Cover and let the dough rest about 1 hour. If using a mixer, the dough can be left in the bowl. (The inclusions can be added to the dough during the initial mix if that is your preference.)
- After the dough has rested, add the inclusions either by running the mixer, folding and squishing them in with your hands, or laminating the dough on a clean work surface. If you use the latter method, you might want to do 1-2 coil folds afterward, with 20-30 minutes rests in between, to better distribute the inclusions and eliminate very large air pockets. (Inclusions can even be added at the end of the bulk fermentation via lamination if preferred. Note the distribution may be somewhat uneven and swirled.)
- Place the dough in a straight-walled container if possible, mark the level of the dough, and let it rise by 50-75%.
- Place the dough on a lightly floured work surface and shape it into the form that works for your proofing basket and baking vessel: boule, batard, oblong loaf.
- Prep your proofing basket with flour, bran flakes, or even pieces of cheese that will decorate and crisp up on the crust.
- Place the dough in the proofing basket, seam-side up. Cover and let it proof until it has expanded. See the photo gallery for before and after pics. This can be at room temperature for about 30-90 minutes or overnight in the refrigerator.
- Preheat the oven and baking vessel to 500°F for about 30 minutes.
- At the end of the final proof, flip the dough out of the basket–you may want to use parchment paper between the dough and the baking vessel to catch any oil from melting cheese. Score the dough, cover, and place in the oven.
- Bake at 500°F covered for 20 minutes, 450°F still covered for 10 minutes, and an additional 5-10 minutes uncovered at 450°F. The internal temp should be >205°F.
- Let the bread cool a bit before slicing. Store it cut-side down on a cutting board, under a glass bowl, inside a bread box, or in a beeswax wrap bag.
Notes
* Feel free to try different whole wheat flours here or a different ratio of white-to-wheat flours. Simply hold back some water to add as needed and to match your dough handling comfort level. Generally, more whole wheat flour means more water is needed, but not in the case of spelt or einkorn flours. The original recipe for this bread in the Breadtopia forum uses einkorn whole grain flour and all purpose flour with about the same amount of water, and the dough is relatively slack.