Last year, I co-taught a baking class for The Baker’s Corner members at Chimacum Valley Grainery in Washington with my good friend Graison Gill. On the class menu, amongst a whole slew of other breads, a whole-grain sourdough pita Graison had formulated with barley. Hearty, soft, with a sweetness that only fresh-milled grain carries. I haven’t stopped thinking about it since. This recipe is my take on that pita, a nod to a rainy weekend in the Pacific Northwest, a one-of-a-kind farm and mill, and the kind of people who make you remember why you bake.
This isn’t my first sourdough pita. I’ve made several over the years.
A light, ethereal version in my first cookbook (see Pita, on page 327), then another with sweetener and ancient grains (as of yet unpublished). But this time I wanted something different: a fully whole-grain pita with a soft texture, reliable puff, and the depth of flavor you only get when sourdough fermentation meets high-quality whole-grain flour.
Every version has been worth making. But once you taste this one, I think you’ll know—the texture alone sets it apart, and the flavor follows right behind. There’s also something about eating whole grains this way that just makes you feel good, which, for me, is all the confirmation I need that I’m on the right track.
Video: Watch Me Make Whole Wheat Sourdough Pita
Tips For Getting Pita Bread To Puff In The Oven
Roll out to about 1/8-inch thick for the best puff in the oven.
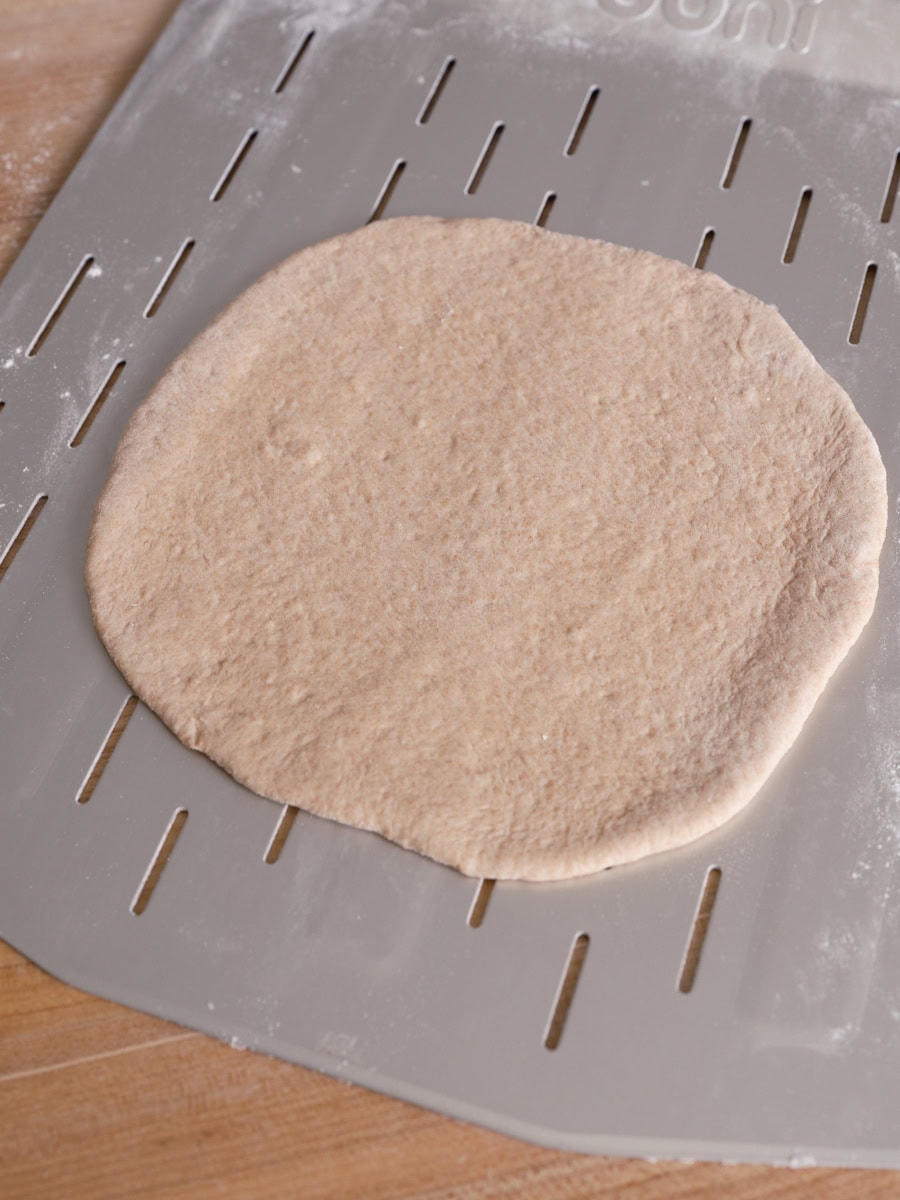
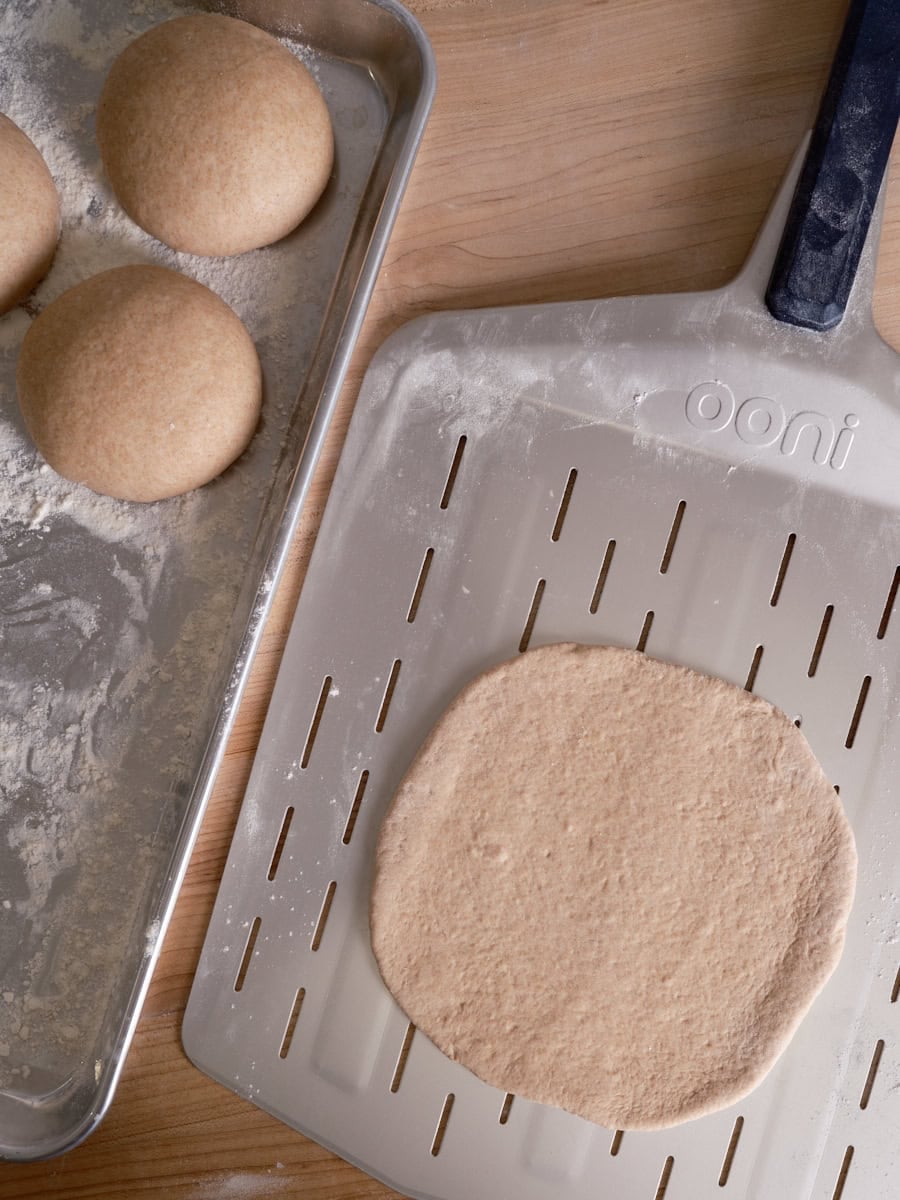
Roll the dough out thin, but not super thin, about 1/8-inch thick (see image)
While rolling, handle the dough gently and as little as possible
Avoid pinching the dough, which can create holes
Preheat your oven as hot as it’ll go, ideally at 550°F (290°C) or higher
When making many in a row, let the baking surface recover some heat periodically
After rolling out the dough, let it rest for a minute or two before baking
Don’t let the dough dry out
It’s actually okay if they don’t puff up fully; they still taste great!
Flour Selection
While I call for 100% whole wheat in this recipe (and whole-grain Chimacum Valley Grainery Bread Flour, like you see me using here, is an excellent choice!), you can easily substitute 20% of the whole wheat with another whole-grain flour. I’ve used whole triticale and whole spelt in this way, and they each bring their own delicious slant to this recipe.
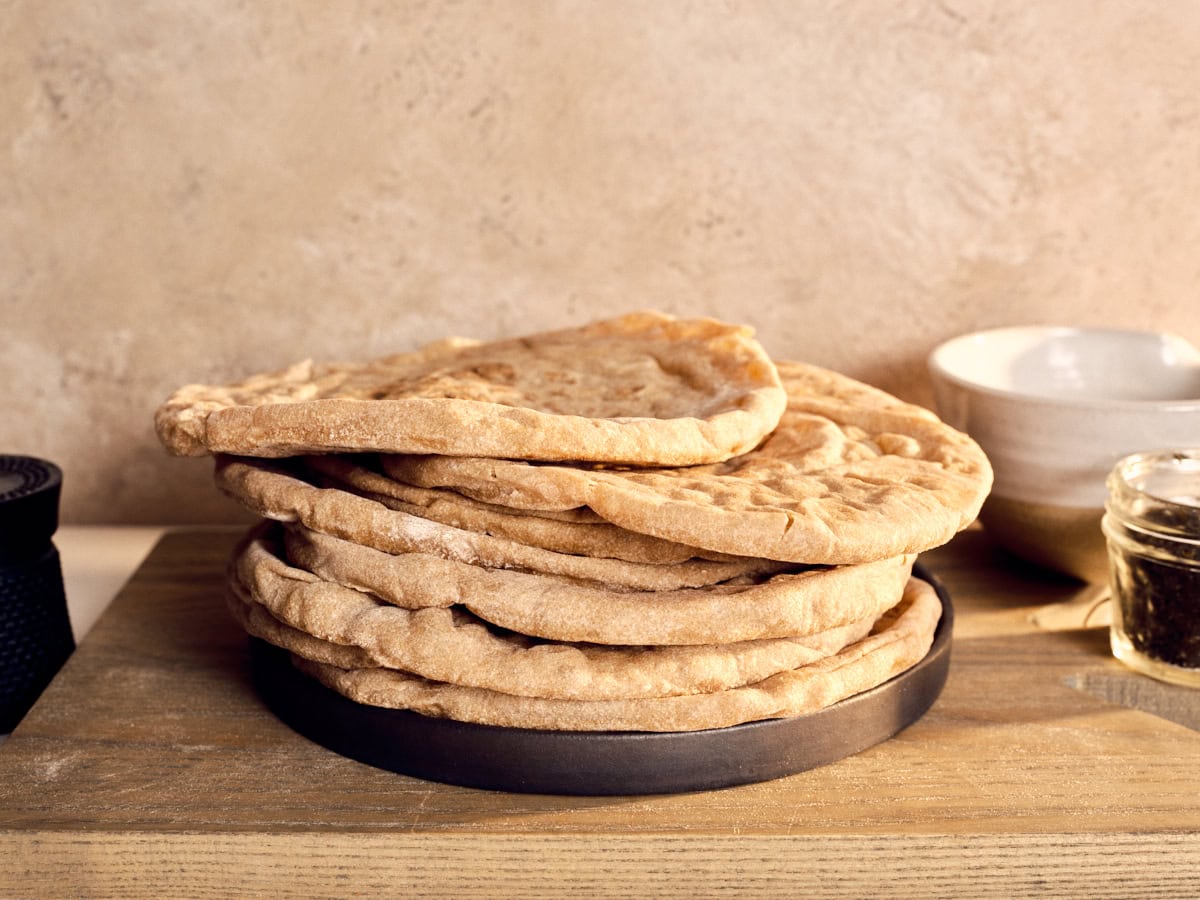
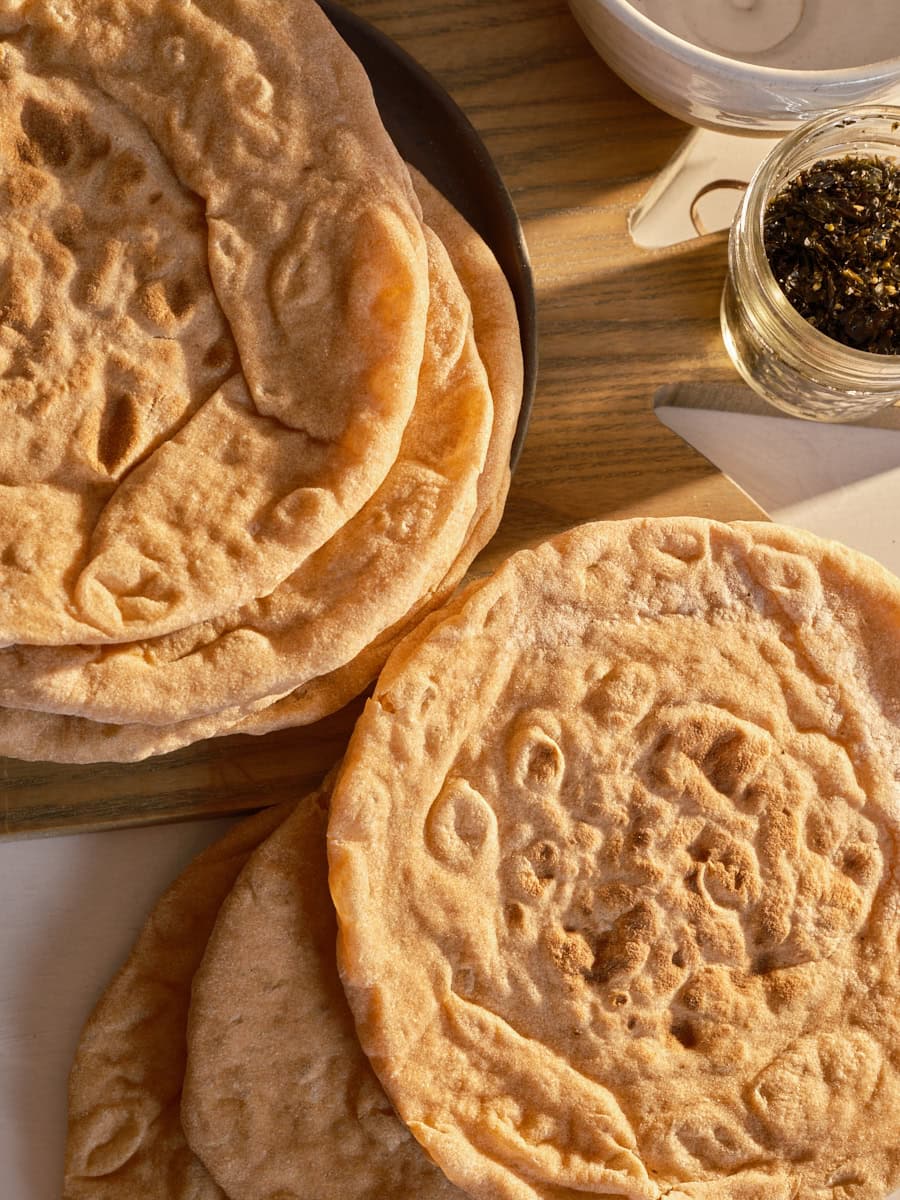
Super-soft sourdough pita, ready for stuffing (or dipping!).
Baking Schedule
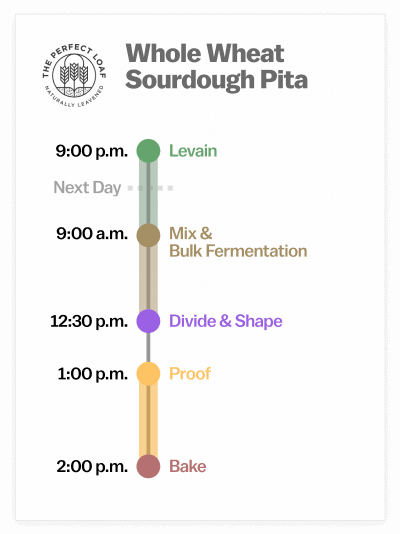
My intention with this sourdough pita recipe was to have a quick and yet incredibly nourishing bread that’s easy to pull off, even during the busy workweek. It calls for an overnight levain, but I often just use my ripe sourdough starter instead. This way, I can mix the dough in the morning and have fresh pita ready for dinner.
Keeping the overall fermentation timeline is convenient, yes, but it also helps keep the overall sourness in check (which is especially important with this much whole-grain flour). The result is a mild-flavored pita, but still with plenty of flavor depth.
The dough can also be bulk retarded if you want to mix on one day and bake the pita the next. I’ll point out when to retard the dough in the method below, but essentially, just pop it into the fridge after 2 hours in bulk fermentation. The next day, take it out and continue with the divide step.
Whole Wheat Sourdough Pita Recipe
Vitals
This recipe makes ten pita, but you can easily divide all the ingredients in half (or double them) to make fewer (or more) pita.
Total dough weight
1,320 grams
Prefermented flour
9.5%
Levain in final dough
22.0%
Hydration
84.0%
Yield
Ten 120 gram pita
Total Formula
With this whole wheat pita dough, I shoot for a final dough temperature of 77-78°F (25-26°C).
Weight
Ingredient
Baker’sPercentage
699g
Whole wheat flour (Chimacum Valley Grainery Bread Flour)
100.0%
14g
Extra-virgin olive oil
2.0%
503g
Water 1 (levain and mix)
72.0%
84g
Water 2 (mix)
12.0%
14g
Fine sea salt
2.0%
7g
Ripe sourdough starter, 100% hydration
0.95%
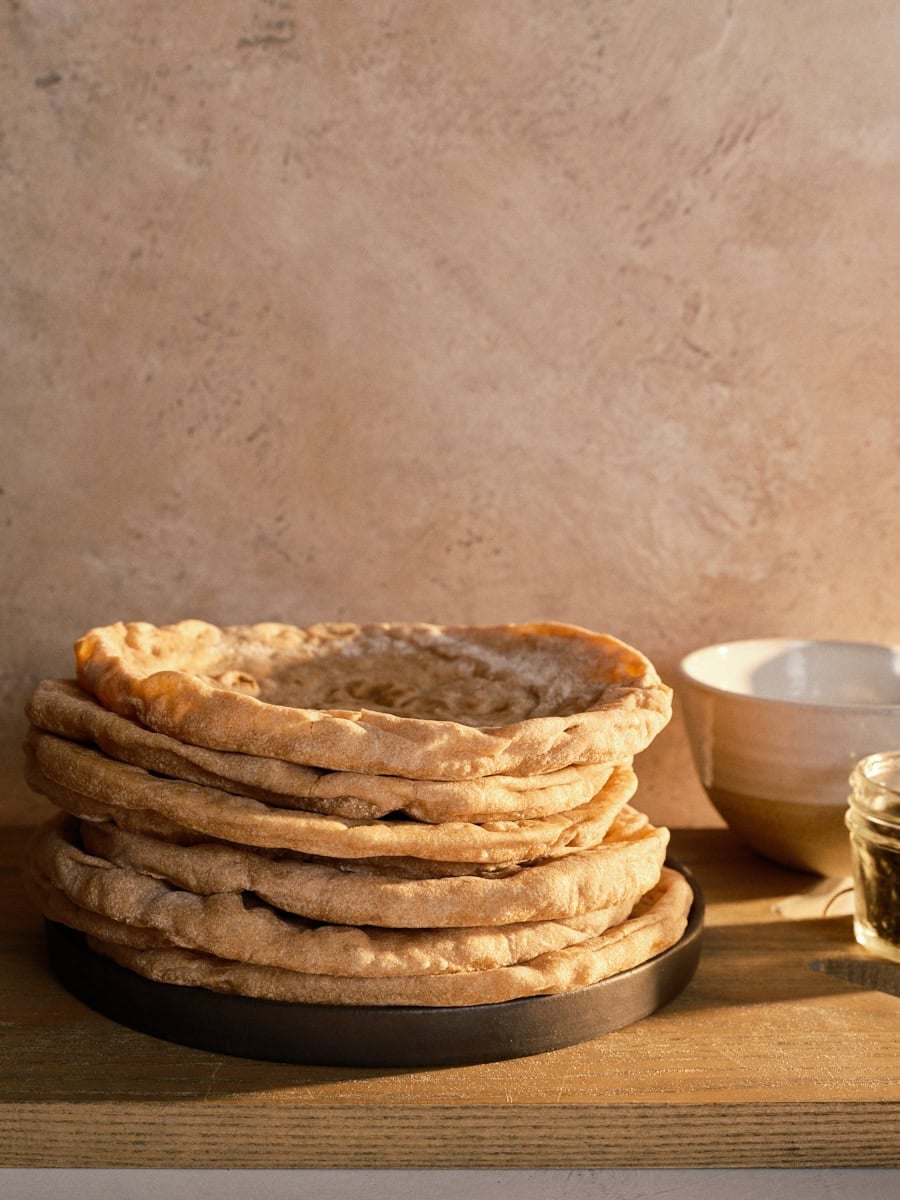
A tower of soft, fluffy whole wheat sourdough pita bread.
Whole Wheat Sourdough Pita Method
1. Prepare the levain – 9:00 p.m.
Weight
Ingredient
Baker’s percentage
66g
Whole wheat flour
100.0%
66g
Water 1
100.0%
7g
Ripe sourdough starter, 100% hydration
100.0%
Mix the ingredients listed in the chart above in your favorite sourdough starter jar and leave it covered at 74-76°F (23-24°C) to ripen overnight.
You can also opt to use your ripe sourdough starter first thing in the morning instead of making this overnight levain (since they’re the same thing, anyway). Just keep in mind that if you have any white flour in your starter, you’ll have a very, very small amount in the final pita (and it won’t be 100% whole grain).
2. Mix – 9:00 a.m.
Weight
Ingredient
632g
Whole wheat flour
437g
Water 1
84g
Water 2
14g
Fine sea salt
139g
Ripe levain (from Step 1)
14g
Extra-virgin olive oil
Typically, when using lots of whole-grain flour, I’ll use an autolyse step to help the flour (and its high bran and germ content) better absorb the mixing water. However, to keep this recipe as concise as possible, a quick rest midway through mixing is sufficient for me.
Add the flour, levain, salt, and Water 1; mix at 90 RPM for 1 to 2 minutes until absorbed
Increase to 120 RPM and mix for 5 minutes
Rest 5 minutes
Mix at 120 RPM for 5 minutes, adding the remaining Water 2 slowly
Once smooth and gripping the breaker bar, add the olive oil; mix at 90 RPM for 1 minute until absorbed and the dough is smooth
Mixing by hand
To mix by hand, add the flour, levain, salt, and Water 1 to a mixing bowl. Mix thoroughly with wet hands or a dough whisk.
Next, knead the dough for 6 to 8 minutes using either the slap-and-fold technique or the folds-in-the-bowl method until smooth and less shaggy. Transfer the dough back into the bowl, cover, and let rest for 5 minutes.
Add a splash of Water 2 and knead (with more slap and fold on the counter or folds in the bowl) for 6 to 7 more minutes. During this time, add a little more Water 2 as it gets absorbed, but be cautious not to add too much at a time, or the dough will break apart. Once the dough is smooth and cohesive, transfer the dough to a bulk fermentation container and cover.
At a warm room temperature of 74-76°F (23-24°C), bulk fermentation should take about 3 hours and require 2 sets of stretches and folds at 30-minute intervals.
After the first 30 minutes of bulk fermentation, give your dough its first set of stretches and folds. Grab one side of the dough and stretch it up and over the dough to the other side. Rotate the bowl 180° and perform another stretch and fold. Then rotate the bowl 90° and perform another stretch and fold. Finally, turn the bowl 180° and do one last stretch and fold. Cover the dough.
Perform one more set of stretches and folds after 30 minutes. After the second set, let the dough rest, covered, for the remainder of bulk fermentation.
4. Divide and shape – 12:30 p.m.
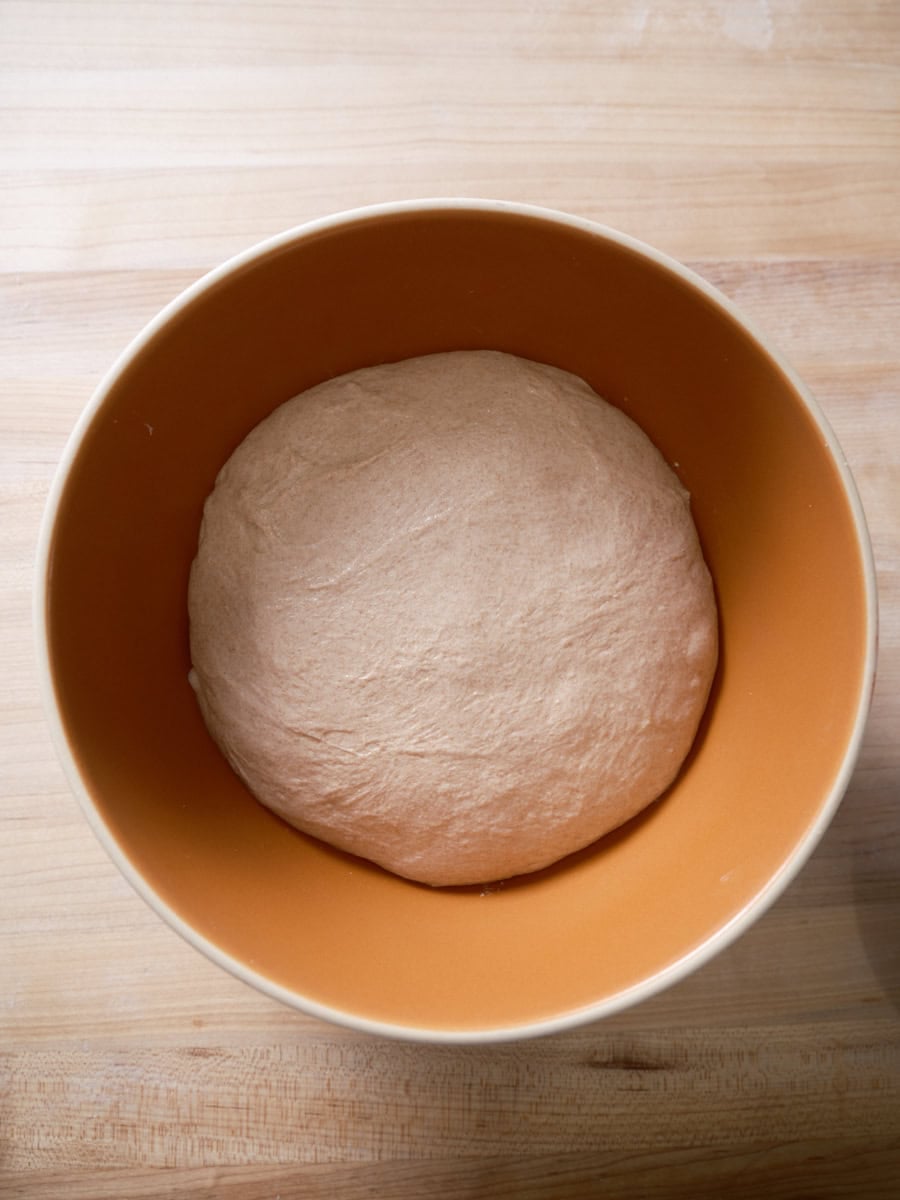
After 3 hours, the dough should be smooth, puffy, and have risen in the container. I’d aim for about a 25% increase in volume.
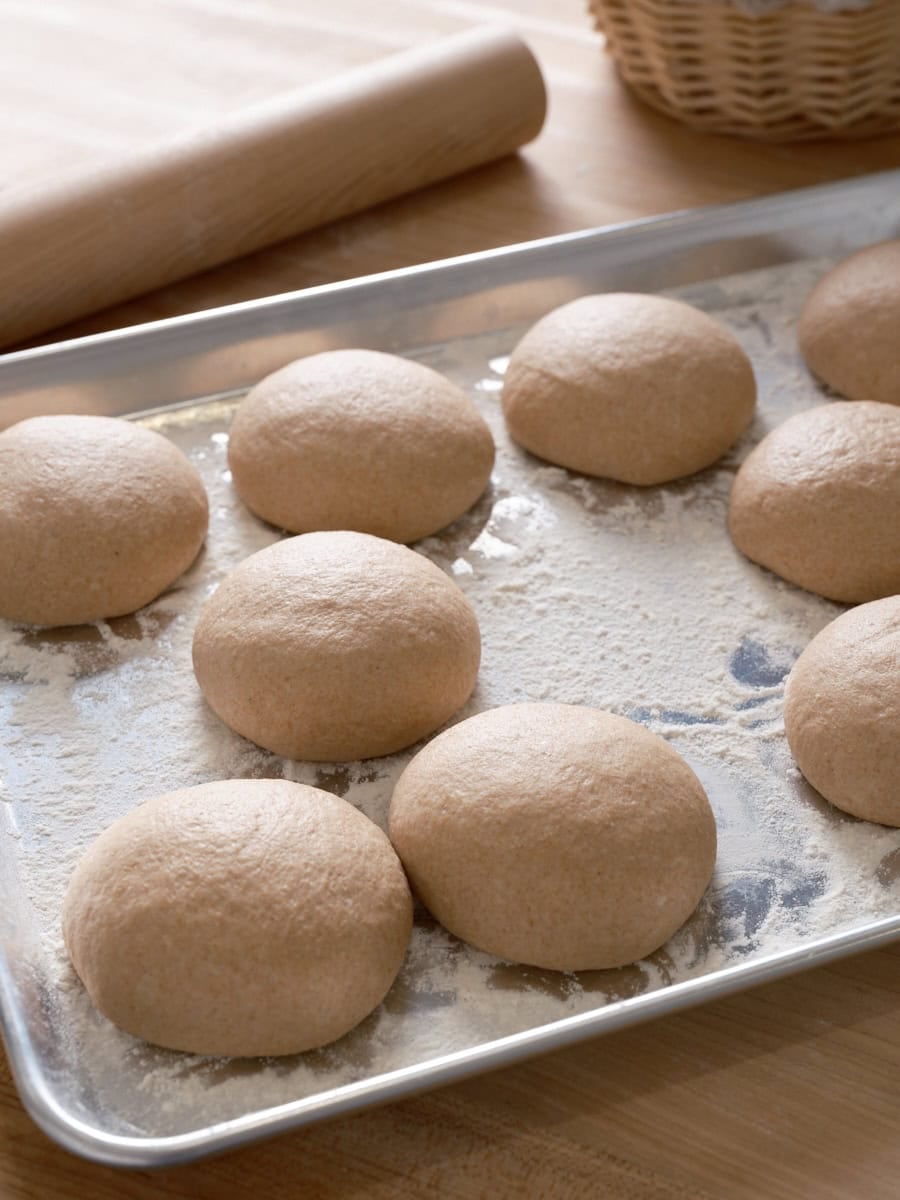
Lightly flour your work surface and top of the dough, then gently scrape it out to the floured surface. Use a bench knife to divide the dough into ten 120-gram pieces (you will have a small scrap piece left over).
Shape each piece into a very tight ball. I like to lightly degas the piece first by patting it down, then folding in the sides. Then flip the ball over and use your hand or a bench knife to drag it against the work surface, creating tension on top. Finally, just like with pizza dough, flip the ball over and pinch the seam closed on the bottom.
Place the shaped balls on the prepared baking sheet with a few inches between them.
Meanwhile, preheat your oven to 550°F (290°C), or as hot as it’ll go, with a rack in the middle and baking steel or stone on top for 1 hour while the dough proofs.
6. Bake – 2:00 p.m.
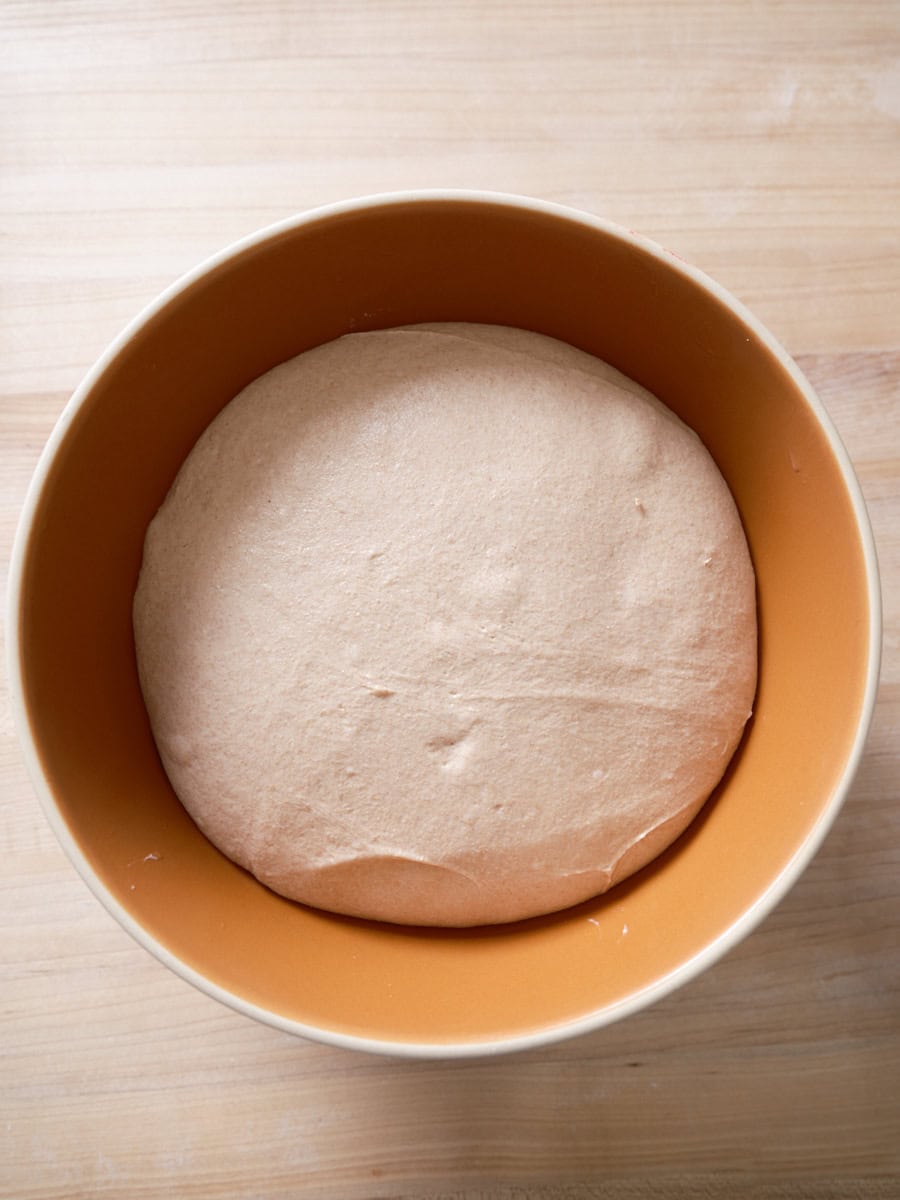
Fully proofed sourdough pita dough.
The dough will be fully proofed and ready for baking when it has increased in volume by about 30% and, most importantly, is soft to the touch and just barely passes the poke test (see image above). Since this dough is 100% whole wheat, I find it’s better to bake on the early side before it begins to break down.
Before baking, prepare your tools:
Line a large lidded container (or pot) with a kitchen towel. After baking each pita, we’ll place it right inside and cover it to steam and keep it soft
Fill a small bowl or basket with flour to drop each ball inside before rolling out to keep the dough nonstick
Lightly flour a small pizza peel (or, in a pinch, the back of a sheet pan or a thin cutting board)
Sourdough pita dough rolled out to 7 inches in diameter.
Uncover the proofed dough, gently lift one piece, and place it in the bowl with flour. Flip it over, then transfer to your work surface. Pat the dough down with your hand to flatten, flip, and pat down again. Then roll the dough out with your rolling pin to 7 inches in diameter and about 1/8 inch thick.
With my thick, dowel-style rolling pin, I hardly have to press down to roll out this dough—and this is important: you don’t want to press the dough too hard when rolling, as that compresses it and could make it stick. Use flour on the work surface and on the dough as necessary to prevent sticking.
Transfer the dough to the floured pizza peel and slide it into the oven. Bake for 1-2 minutes until it puffs, then use a fish spatula to carefully flip the pita to bake for another minute on the other side. Then, use your pizza peel to remove the pita to the towel-lined container and cover.
Repeat with the remaining pieces of dough.
These whole wheat sourdough pitas will keep for up to a week in a sealed bag on the counter. Warm in a low oven or a toaster oven for a few minutes before serving.
A fully whole-grain sourdough pita with a soft texture, reliable puff, and the depth of flavor you only get when sourdough fermentation meets high-quality whole wheat flour.
Levain
66g whole wheat flour
66g water
7g ripe sourdough starter, 100% hydration
Main Dough
632g whole wheat flour
437g water 1
84g water 2
14g fine sea salt
139g ripe levain (from above)
14g extra-virgin olive oil
Prepare the levain (Day One, 9:00 p.m.) Mix the levain ingredients in a jar and leave covered at 74–76°F (23–24°C) to ripen overnight. Alternatively, use your ripe sourdough starter first thing in the morning — just keep in mind that if your starter contains any white flour, the final pita won’t be 100% whole grain.
Mix (Day Two, 9:00 a.m.)With a mechanical mixer: Add the levain, salt, and water 1 to the flour; mix at low speed for 1 to 2 minutes until absorbed. Increase to medium and mix for 5 minutes. Rest 5 minutes. Mix at medium for 5 more minutes, slowly adding water 2. Once smooth, add olive oil and mix at low speed for 1 minute until absorbed. By hand: Add the flour, levain, salt, and water 1 to a mixing bowl. Mix thoroughly with wet hands or a dough whisk. Knead for 6 to 8 minutes using either the slap-and-fold technique or folds in the bowl until smooth and less shaggy. Cover and rest 5 minutes. Add a splash of water 2 and knead for 6 to 7 more minutes, adding a little more water 2 as it gets absorbed — be cautious not to add too much at once, or the dough will break apart. Once smooth and cohesive, transfer to a bulk fermentation container and cover.
Bulk fermentation (9:30 a.m. to 12:30 p.m., 3 hours) At 74–76°F (23–24°C), give the dough 2 sets of stretch and folds at 30-minute intervals. After the second set, let the dough rest undisturbed for the remainder of bulk fermentation.
Divide and shape (12:30 p.m.) Flour a half sheet pan with white flour. Lightly flour your work surface and the top of the dough, then scrape it out. Divide into ten 120g pieces. Shape each into a tight ball: pat down, fold in the sides, flip, and drag against the surface to build tension. Flip and pinch the seam closed. Place on the prepared pan with a few inches between each ball.
Proof (1:00 p.m. to 2:00 p.m., 1 hour) Cover the baking sheet and set aside to proof. Meanwhile, preheat the oven to 550°F (290°C), or as hot as it will go, with a rack in the middle and a baking steel or stone on top.
Bake (2:00 p.m.) The dough is ready when it has increased about 30% in volume, feels soft to the touch, and just barely passes the poke test. Prepare a large lidded container lined with a kitchen towel, a small bowl of flour, and a lightly floured pizza peel. For each pita: drop a dough ball into the flour bowl, flip, transfer to your work surface, pat down, flip, and pat again. Roll to 7 inches in diameter and about ⅛ inch thick — use light pressure to avoid compressing the dough. Transfer to the peel and slide into the oven. Bake 1 to 2 minutes until it puffs, flip with a fish spatula, and bake 1 more minute. Transfer to the towel-lined container and cover. Repeat with remaining pieces.
Notes
Storage: These pitas keep for up to a week in a sealed bag on the counter. Warm in a low oven or toaster oven for a few minutes before serving.
Starter substitution: You can skip the overnight levain and use your ripe starter directly. If your starter includes white flour, the amount in the final dough is negligible but technically not 100% whole grain.
Baking surface: A preheated baking steel or stone is essential for the high heat transfer that drives the puff.
Rolling tip: Don’t press hard when rolling — light pressure prevents the dough from compressing and sticking.
Sourdough Pita Bread FAQs
Why won’t my pita puff in the oven?
If the dough is not rolled out thin enough or rolled out too thin, it can fail to puff. Shoot for around 1/8 inch thick. Also, make sure your baking surface and oven are fully preheated and as hot as possible. Finally, don’t let the dough dry out, as this can cause a skin to form, which can keep it from puffing.
Why does only half of my pita puff?
If your pita is not rolled out to even thickness, it’s possible that half puffs while the other stays compact.
Why is my pita just forming big bubbles all over?
Once the dough is close to overproofing, it may form large bubbles (similar to naan) instead of puffing up completely. Next time, reduce the proofing time.
What’s Next?
In the mood for a different type of flatbread? Check out our sourdough tortillas for the perfect burrito.