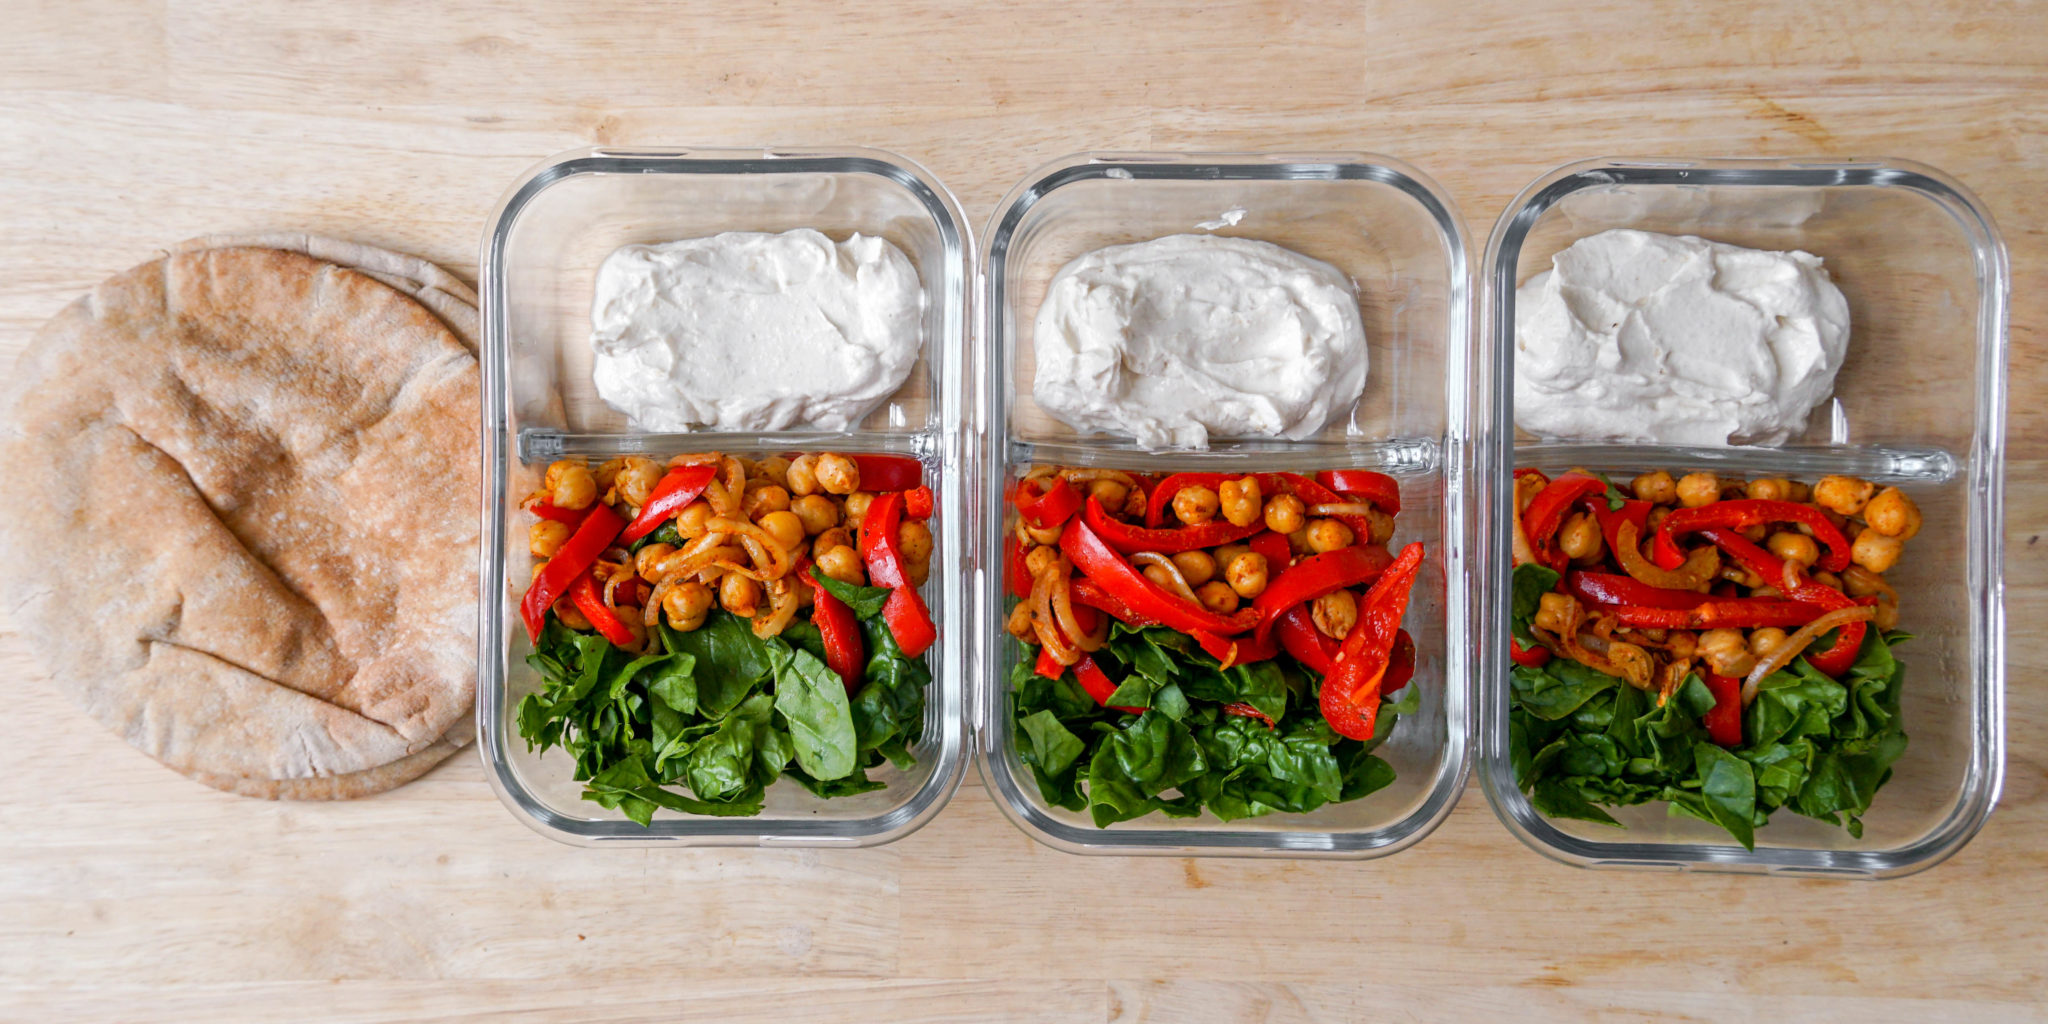
This chickpea pita pocket is not the first appearance of its kind on Workweek Lunch. Think of this one as the new and improved version. When we had this in our meal rotation, my partner said it was his favorite of the week! I can’t wait for you to try this easy, fast and versatile vegetarian lunch idea that could easily be made vegan! And can so easily be turned into a heartier dinner if it’s served with a soup or salad, too.
What I love about these chickpea pita pockets is how easy they are to make. Simply roast up your chickpeas and vegetables on a sheet pan while you make a sauce on the side. Boom! Done.
Here is our favorite sheet pan!
Get more recipes like this in the Workweek Lunch Meal Prep Program with access to our meal planning tools, grocery list generator and more. Start a free trial today!
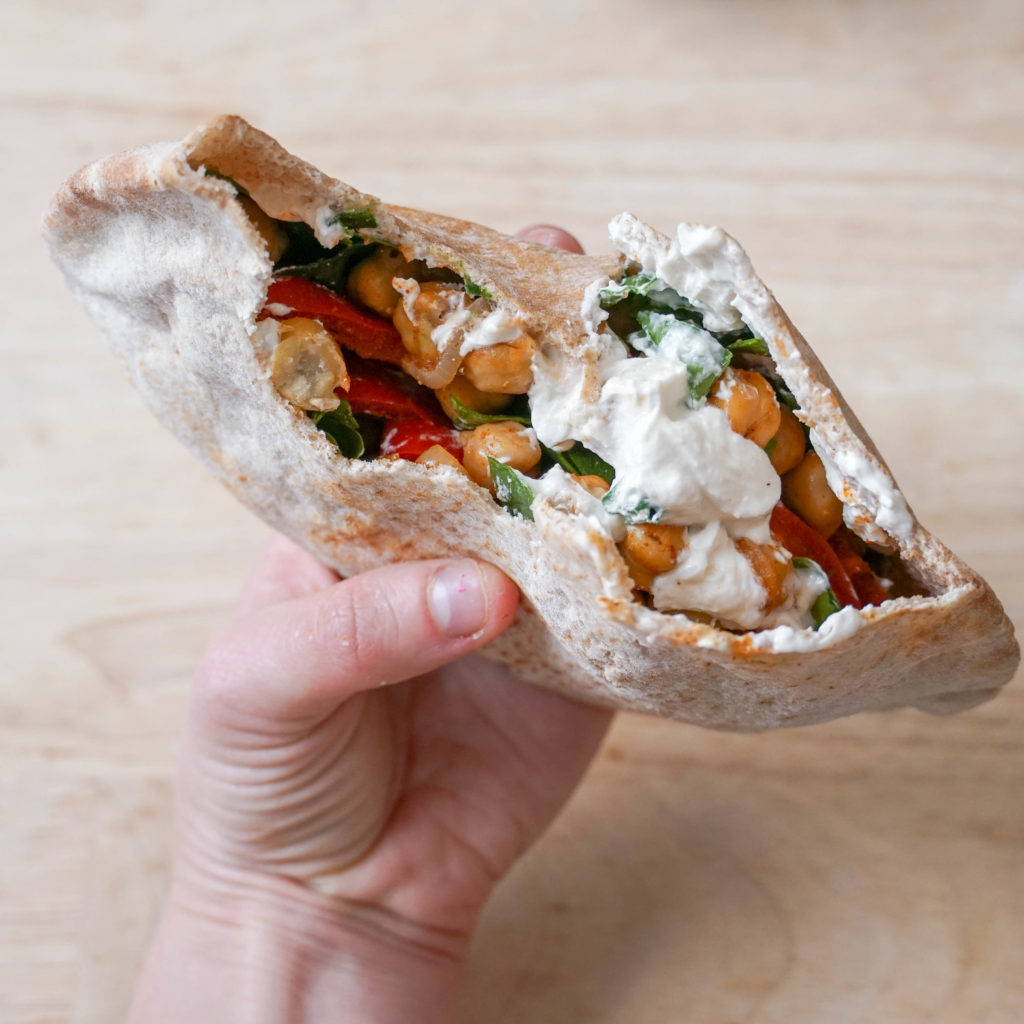
How to customize this chickpea pita pocket
Switch up the protein
We’re using chickpeas as our main source of protein here, but you can swap it out for tofu, tempeh or seitan. It would also work with white beans, too.
If you eat meat, you can use shredded chicken, grilled chicken or mini meatballs (ground meat of your choice) which would be fun/easy to do on a baking sheet.
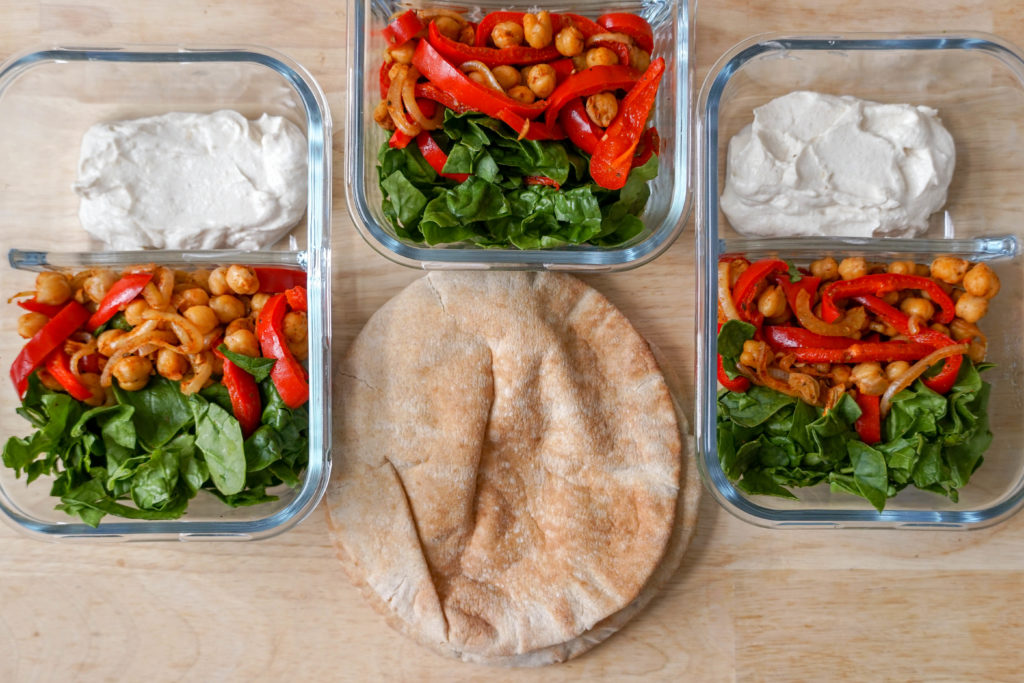
Choose your favorite veggies
We’re using red bell pepper, onion and raw spinach as our veggies in this meal. There are so many easy swaps to make, as you can definitely do a bit a fridge cleanout to make this recipe!
These chickpea pita pockets also work with roasted:
- Broccoli
- Cauliflower
- Beets
- Asparagus
- Carrots
- Eggplant
- Cherry tomatoes
- Zucchini/summer squash
- Red onion
- Jalapenos
And you can add more fresh veggies like:
- Cucumber
- Raw tomato
- Greens (arugula, kale, chard, lettuce)
- Celery
- Microgreens
- Raw bell pepper
- Raw red cabbage
- Cooked jackfruit
Quick pickled red onions would be amazing on this, too!
Wow! There are a lot of possibilities, right? As always, I encourage you to make these your own.
What to use instead of a pita:
The pita pocket is the carb element in this recipe, but you can use something else! Here are some ideas:
- Use a gluten-free tortilla if needed
- Tortilla (make it a wrap)
- Quinoa, rice, bulgur or farro (make it a grain bowl)
- More greens! (turn it into a salad bowl, but this might not keep you as full)
- Flatbread or naan (add feta make it a pizza of sorts!) Here is our favorite brand!
Phew! SO many ways to customize this one.
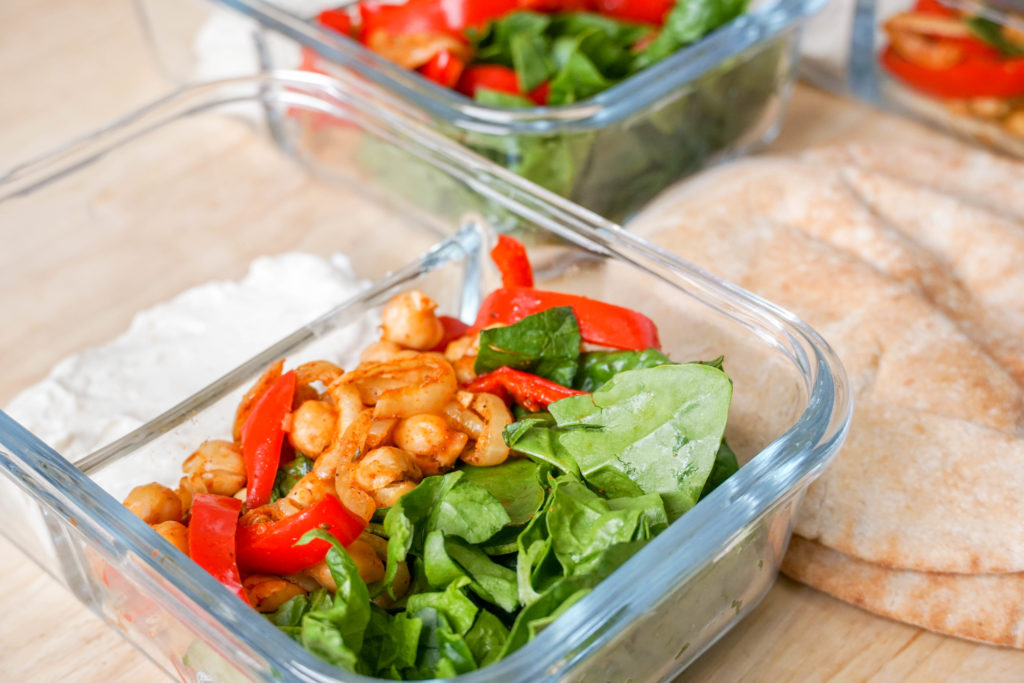
How to get crispier roasted chickpeas
If you’re hoping for crispy chickpeas, keep in mind that moisture and overcrowding can work against you.
Drain your chickpeas well and give them space on the baking sheet. If you’re doubling the recipe, it’s worth using two sheet pans rather than piling everything onto one.
When ingredients are packed tightly together, the moisture they release has less room to escape. That encourages steaming, rather than browning.
One expectation worth setting for meal prep: roasted chickpeas are at their crispiest shortly after cooking. They will soften somewhat in the refrigerator.
That’s not a meal-prep failure. They’re still delicious in the pita; they just won’t have exactly the same crunch on day three that they had straight from the oven.
Want more tips? Check out our video on getting crispy chickpeas.
What’s in the sauce? Can I make swaps?
It’s not impossible to make a vegan/dairy-free version of this sauce, but it can be challenging. Many of them involve coconut or vanilla; a plain vegan yogurt isn’t always easy to find. Nevertheless, we persist and try to create a version of this. You could look for vegan sour cream instead of yogurt.
If you’re vegan or dairy-free, I highly recommend using hummus on the side instead of a yogurt-based sauce. Here’s my recipe for a super basic hummus! Or you can use store-bought hummus.
If you’re vegetarian, the Greek yogurt sauce is so easy to make and is delightful in the wraps. All you need is yogurt, tahini, salt and lemon juice!
How to add more volume to or double this pita pocket recipe
To double this meal, simply double the ingredients! You may need to use two sheet pans to avoid crowding (which doesn’t help veggies/chickpeas get crispy).
To add more volume to this meal, I recommend choosing one or two of the veggies from the suggestions above. Or add a grain like quinoa to the mix for extra protein.
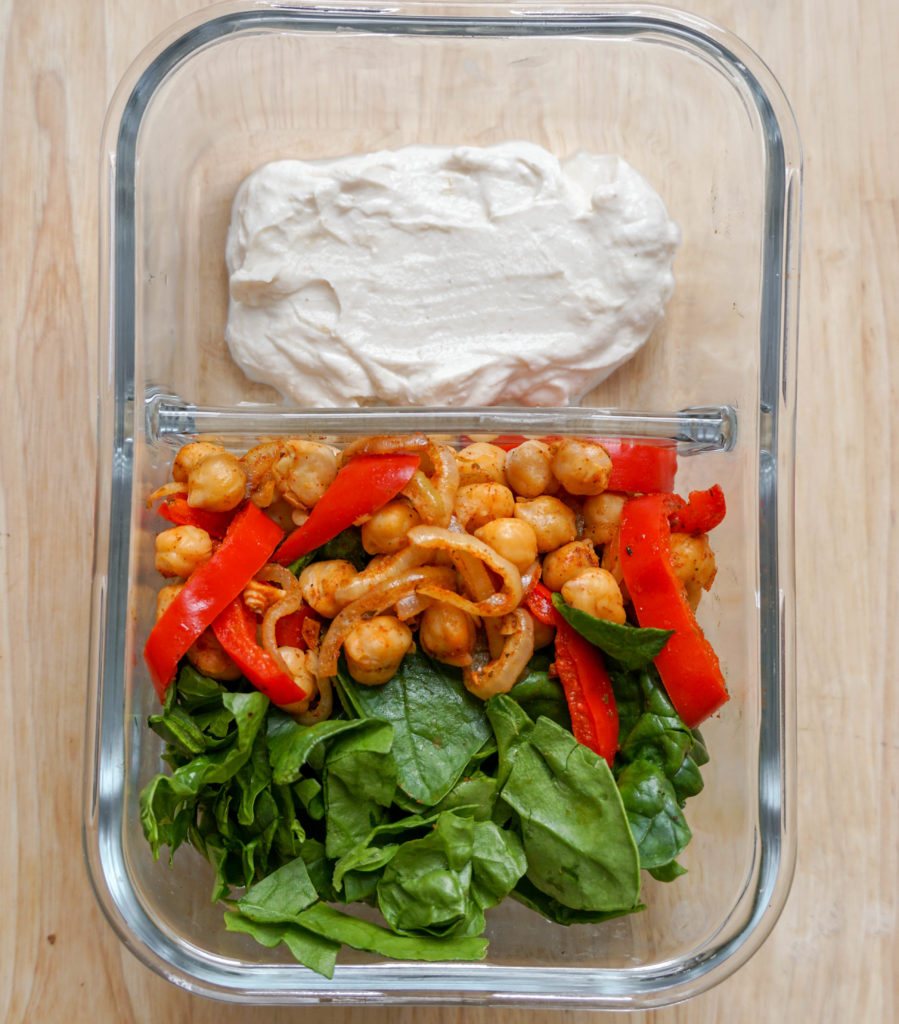
How to serve, store, and reheat these pita pockets
For the best texture, keep the components separate:
- Store the roasted chickpeas and vegetables together in an airtight container.
- Keep the yogurt-tahini sauce in a separate container.
- Store fresh greens separately if possible.
- Keep the pita wrapped or sealed so it doesn’t dry out.
- Assemble when you’re ready to eat.
For food safety, refrigerate cooked leftovers promptly. USDA guidance recommends using most cooked leftovers within 3 to 4 days, rather than keeping them for five days. Refrigerate leftovers within two hours of cooking and keep your refrigerator at 40°F/4°C or colder.
If you regularly prep once and eat meals later in the workweek, this is a good reason to make fewer portions at once or prepare a second mini batch later. You don’t have to fit an entire Monday-through-Friday meal plan into a single prep session.
How to reheat chickpea pita pockets
Reheat the roasted chickpea and vegetable filling on its own, then add the cold components afterward.
You can warm the filling:
- In the microwave
- In a skillet on the stove
- In the oven or toaster oven if you want to bring back a little more texture
You can also warm the pita briefly if you prefer it soft and warm.
Keep the yogurt sauce cold rather than reheating it.
USDA guidance recommends reheating leftovers to 165°F.
That said, this filling is also good cold or at room temperature, which makes the recipe useful if you don’t have easy access to a microwave at lunchtime.
Can you freeze chickpea pita pockets?
I wouldn’t freeze the fully assembled pita pockets.
The fresh greens, yogurt-based sauce, and assembled pita won’t come back with the texture you want.
If freezing meals is a priority, you could experiment with freezing only the roasted chickpea and vegetable component, then add fresh pita, greens, and sauce after thawing and reheating. USDA says cooked leftovers can generally be frozen, although texture and quality can decline during storage.
For this particular recipe, though, I prefer it as a refrigerator meal prep.
If you specifically need freezer meals for the week ahead, I’d choose a recipe designed around freezing rather than forcing this one to do a job it isn’t especially good at.
A few ways to make this prep easier
After making meals like this over and over, I’ve found that the most useful shortcuts aren’t always the ones that eliminate cooking. They’re the ones that eliminate decisions.
If you’re short on time, try one or two of these:
- Use store-bought hummus instead of making sauce.
- Buy pre-washed greens.
- Use vegetables already in your refrigerator instead of buying the exact combination listed.
- Prep the filling but don’t portion every component into individual containers.
- Make pita pockets for a few lunches, not necessarily every lunch of the week.
- Turn leftover filling into a grain bowl or salad instead of making another batch of pita.
Meal prep doesn’t have to mean predicting exactly what you’ll want to eat four days from now.
A few useful components in the refrigerator can be enough.
Chickpea pita pocket FAQs
Are chickpea pita pockets good for meal prep?
Yes. They’re especially meal-prep friendly when you store the roasted filling, fresh ingredients, sauce, and pita separately and assemble them shortly before eating.
How do you keep pita from getting soggy?
Don’t assemble the pita pockets in advance. Keep wet ingredients such as sauce and roasted vegetables separate from the pita until you’re ready to eat.
Can I eat these chickpea pita pockets cold?
Yes. The roasted chickpea and vegetable mixture can be eaten cold or at room temperature if that’s what you prefer. Just keep the meal properly refrigerated until you’re ready to eat it.
What can I use instead of Greek yogurt?
Try plain unsweetened dairy-free yogurt or vegan sour cream if those work for you. Hummus is my favorite simple dairy-free alternative because it requires no tweaking and works naturally with the other ingredients.
Can I use another bean instead of chickpeas?
Yes. White beans are an easy substitute. Keep in mind that different beans can have softer textures than chickpeas, so the final result won’t be exactly the same.
What vegetables work well in chickpea pita pockets?
This recipe is flexible. Bell peppers, onions, broccoli, cauliflower, carrots, eggplant, zucchini, tomatoes, cucumber, cabbage, and leafy greens can all work. Combining roasted and fresh vegetables gives you the most interesting texture.
How long do the leftovers last?
Following USDA leftovers guidance, plan to eat refrigerated cooked components within 3–4 days when they’ve been cooled and stored properly.
Can I make these without pita?
Absolutely. Turn the filling into a wrap, grain bowl, salad, or flatbread meal.
What should I serve with chickpea pita pockets?
They’re substantial enough to work as a lunch on their own, or you can pair them with soup, salad, extra roasted vegetables, or a grain when you want something heartier.
More easy vegetarian lunch ideas we love
And check out these recipe roundups for even more vegetarian lunch ideas!
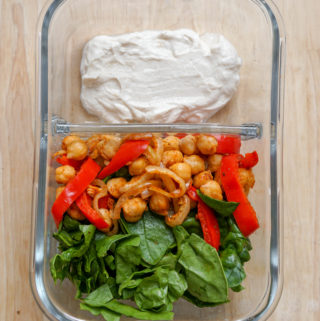
Chickpea, Spinach, Onion and Red Pepper Pita Wraps with Tahini Yogurt Sauce

Instructions
-
Preheat your oven to 400 F.
-
Combine chickpeas, red bell pepper and onion to a bowl and add the olive oil, salt, pepper, cumin, paprika and oregano. Stir to combine. Pour the mixture on a baking sheet and bake on the top rack for 15-20 minutes, flipping everything halfway. Let the ingredients cool slightly before assembling everything.
-
Simply stir the yogurt, tahini, lemon juice and salt in a bowl. Taste and adjust from there. Add spices like cayenne to give it a kick or freshly chopped dill to make it a little bit like tzatziki.
-
To your containers, add the chopped spinach and slightly cooled chickpea/veggie mixture. Keep the pitas and sauce on the side. Assemble it all before you eat. That’s it!
Notes
Vegans: for the sauce on the side, I recommend hummus (storebought or homemade) because non-dairy yogurt won’t work for this sauce (the flavors will be funky based on what I tested and tried myself).