These Tuna Patties are my favourite – I love to make a big batch for meal prep because they are perfect for lunch, dinner, as an appetizer, side dish or a snack. The total time to make them is under 30 minutes so they are quick easy and delicious. Perfectly crisp on the outside, tender, moist and flaky on the inside, this tuna patty recipe is the perfect way to enjoy canned tuna fish even for those who are picky about eating seafood! I’ve simplified it using simple ingredients to make these tuna patties a more realistic option for weeknight dinners and last minute get-togethers. Tuna patties are a nostalgic fish cake and a great alternative to crab cakes – especially if you’re on a budget.
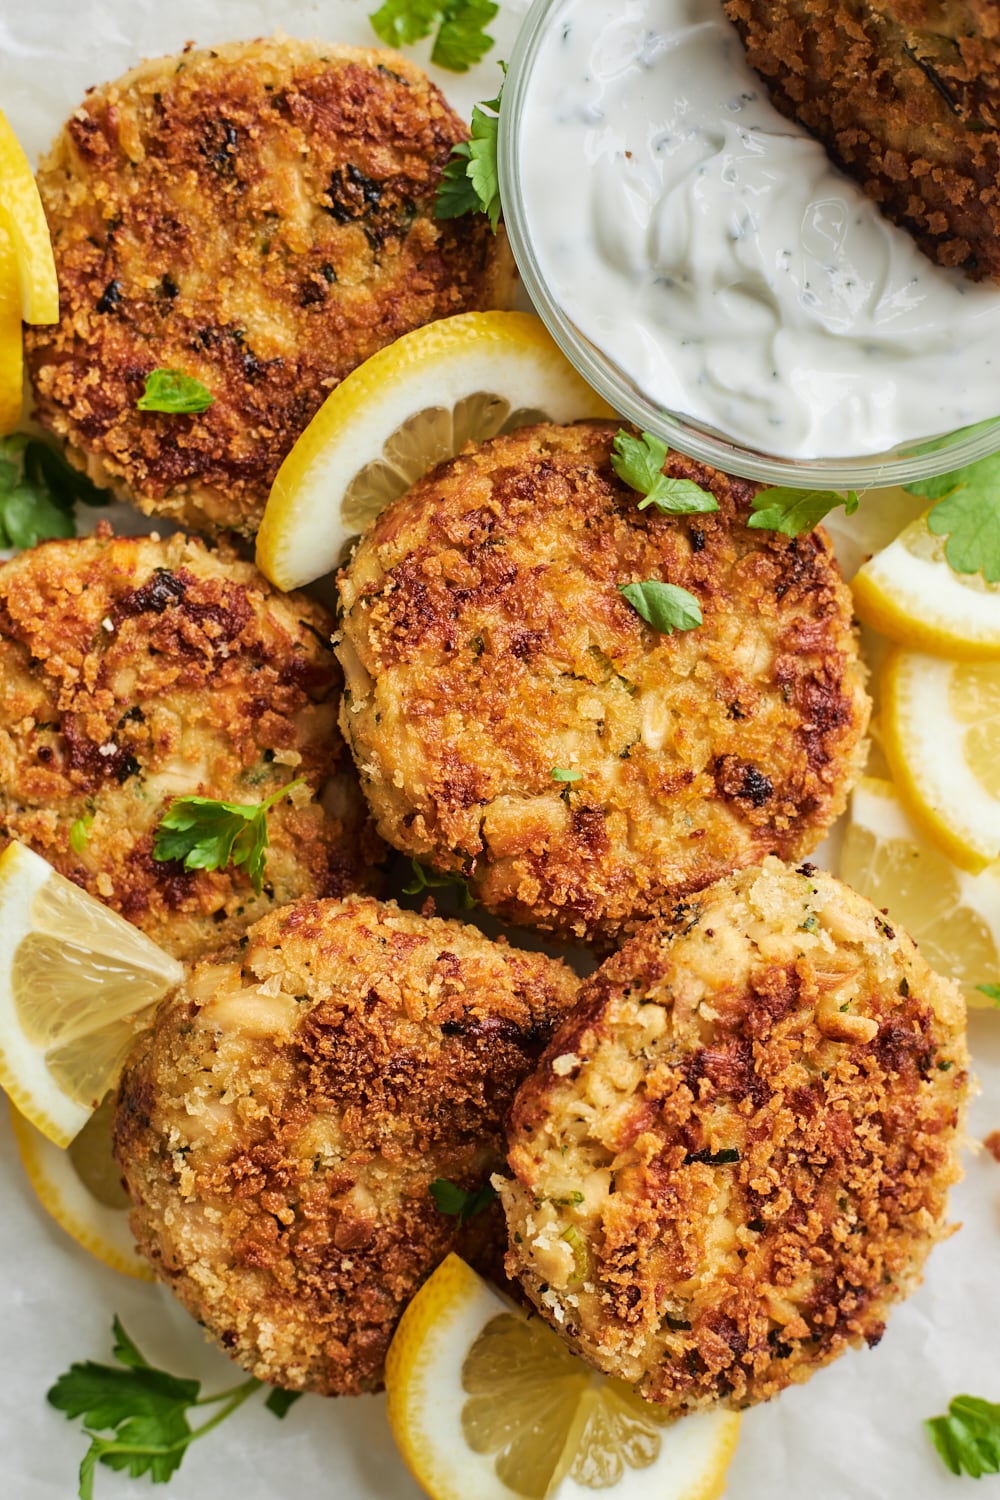
Why You Will Love These Tuna Patties:
- They are easy to prepare
- They are so tender and delicious with simple ingredients and are quite versatile
- You can either pan fry them, bake them or broil them in the oven, or even air fry them – all directions below in recipe notes
- They are full of delicious lemony herby flavours
- A great way to use up pantry items
- Great for meal prep
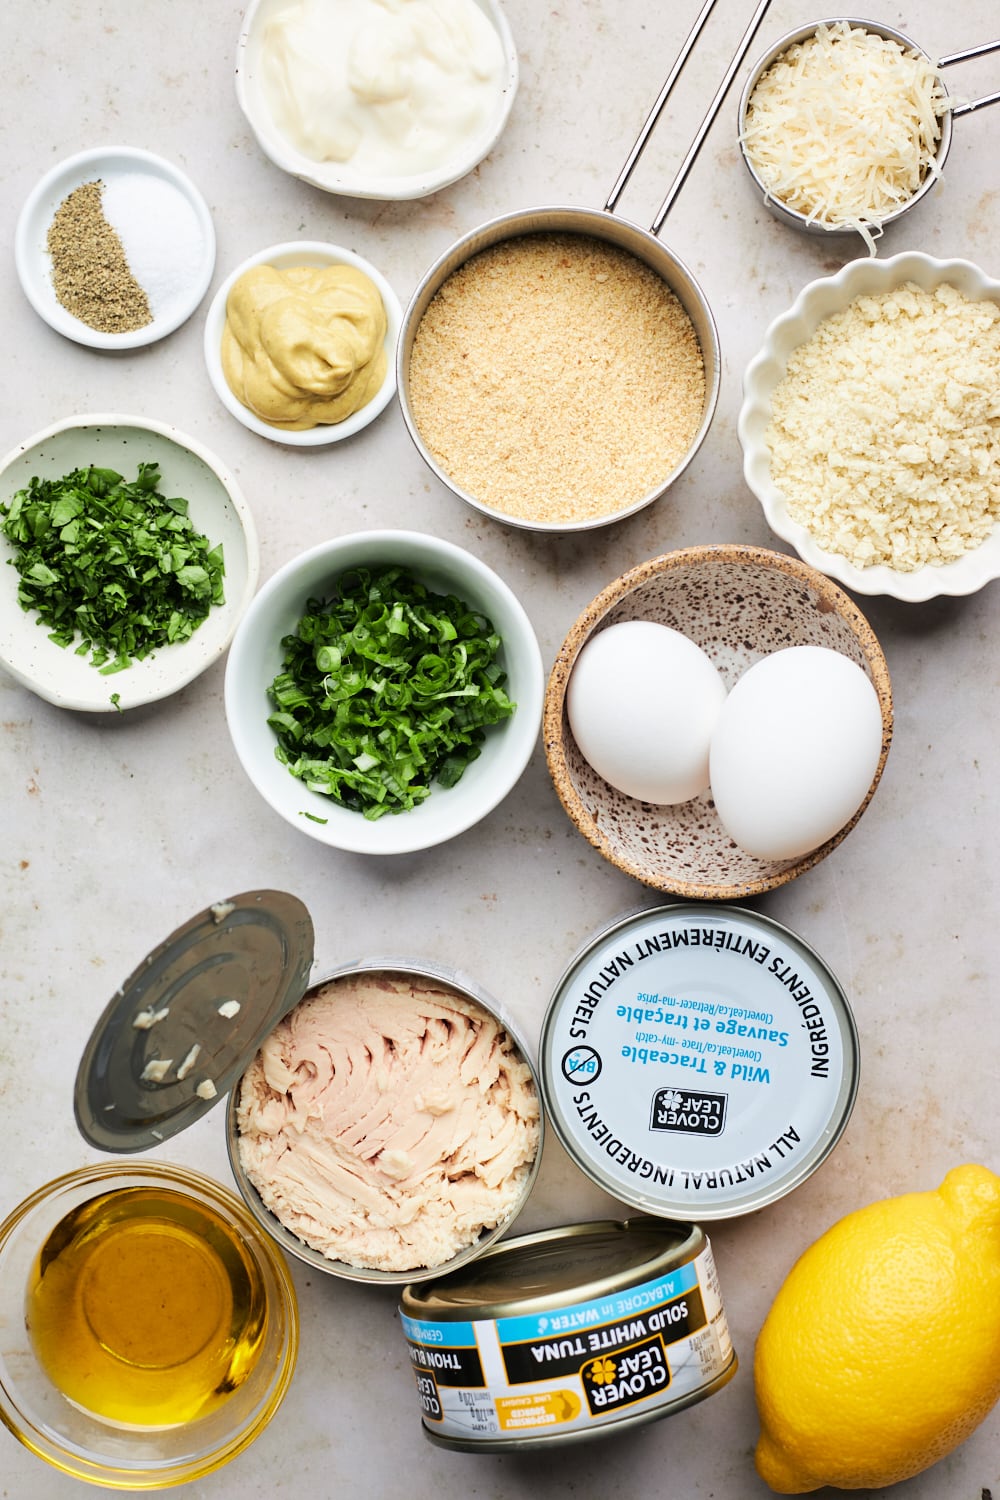
Easy Tuna Patties Recipe Ingredients
- Tuna: this recipe uses canned tuna – feel free to use tuna in water or oil but drain liquid well either one you use. Light vs. White tuna? Albacore tuna is the only kind that can be labeled as white tuna. “Light” tuna is usually skipjack or yellowfin, with slightly darker meat and more flavorful. Use whichever one you prefer or have on hand. Feel free to use canned salmon too to make these into salmon patties. Tuna is high in two kinds of Omega-3 fatty acids- It’s naturally low in carbohydrates and sugars, it’s also rich in protein too so its a great for making these fish cakes/tuna burger/patties
- Lemon Juice and Lemon Zest: for flavour and always great with any seafood including canned fish. Fresh lemon zest and lemon juice is recommend for best flavour
- Eggs: eggs will help bind the ingredients and keep the mixture and the patties light instead of too dense
- Chives: fresh chopped chives add great flavor to the patties but feel free to use green onions or a finely chopped shallot instead
- Garlic: minced garlic adds great flavour to the patties – I just used one garlic clove but feel free to make these as garlicky as you like. I generally use fresh garlic but feel free to use dried garlic powder instead – approx ½ tsp
- Mayonnaise: use whatever mayo you like – but I prefer to use real mayonnaise not the dressing stuff or miracle whip – it adds flavor and helps give the patty mixture a creamy texture
- Dijon Mustard: great flavor add in – feel free to use regular prepared mustard if you prefer
- Bread Crumbs: bread crumbs help bind the patty mixture – feel free to use gluten free ones for a gluten free version
- Parmesan Cheese: this is optional but recommend – adds delicious flavor and saltiness to these patties
- Panko Bread Crumbs: optional but I love how coating them before pan frying the patties really gives these a nice crisp crust
- Olive Oil: this is for pan frying the patties – feel free to use any vegetable oil like avocado and make sure to wipe the pan and add more oil to it between cooking batches of patties if needed
- Fresh Parsley: this is for the tuna patties and extra for serving – feel free to use any herb you like deepening on your taste and if you don’t have fresh herbs you can use some dried herbs/ dried parsley in the patties as well
How to Make Tuna Patties
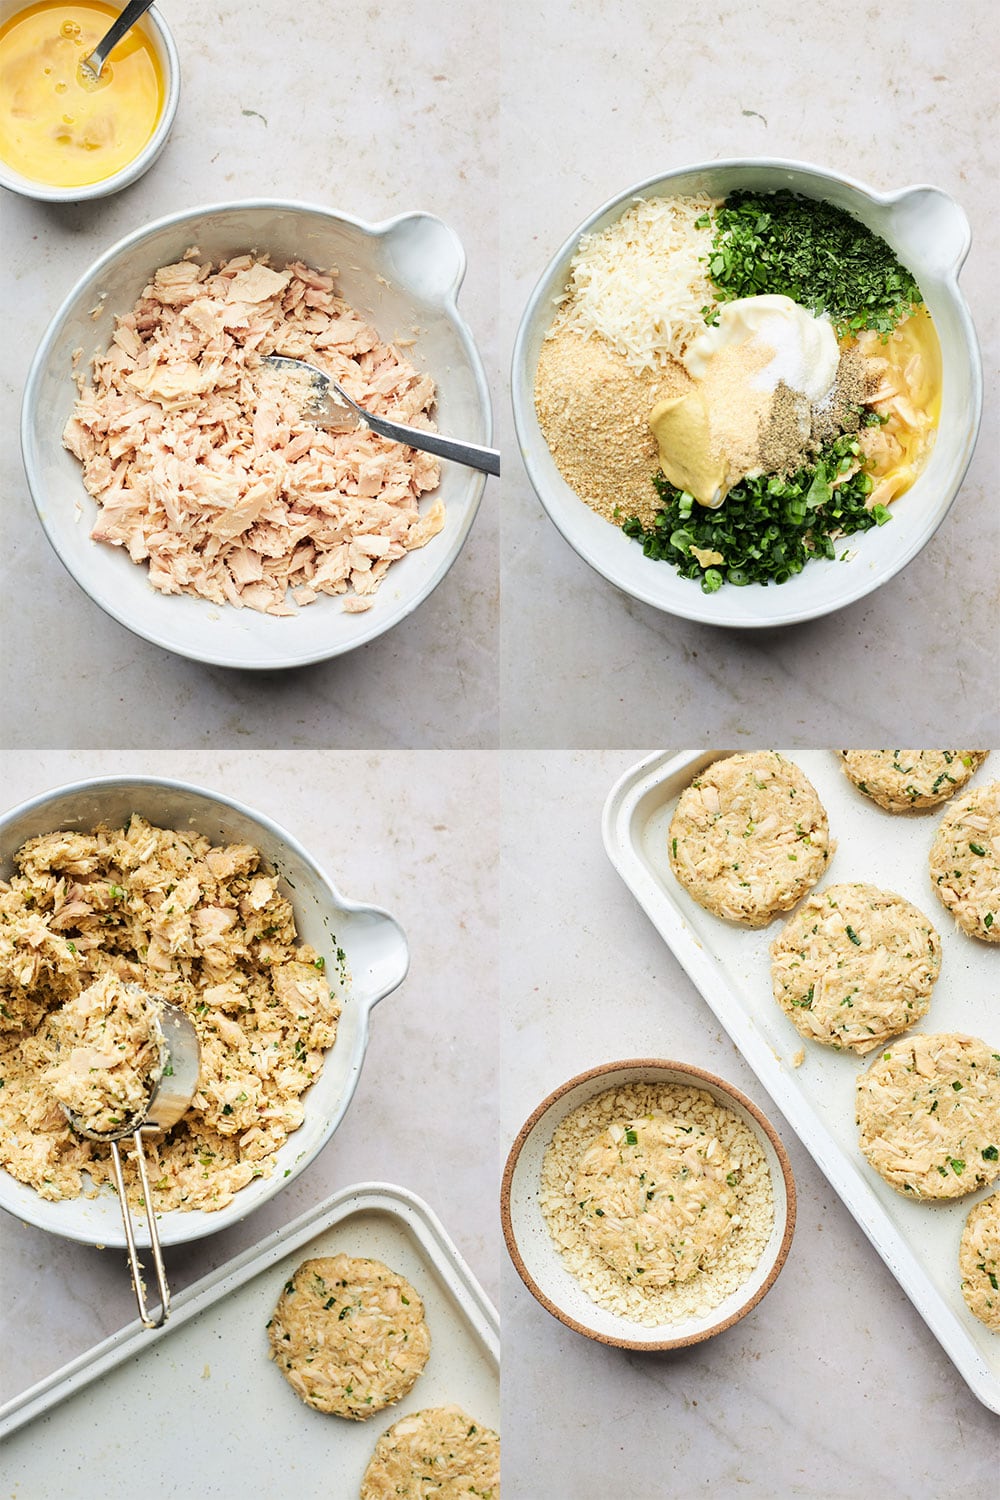
There are four simple steps/instructions to making tuna patties. Full directions in recipe card below.
- Prepare the mixture. Start by draining and flaking tuna, then chopping and slicing ingredients as needed and stir everything together in a large bowl.
- Shape the patties. Scoop ⅓ cup portions and shape into patties about 3 inches wide and about ½-inch thick.
- Chill the patties. Place patties on a baking sheet, cover, and chill in the refrigerator for 15- 20 minutes (you can skip the chilling if you are short on time. Chilling just helps the patties stay together better when you cook them.)
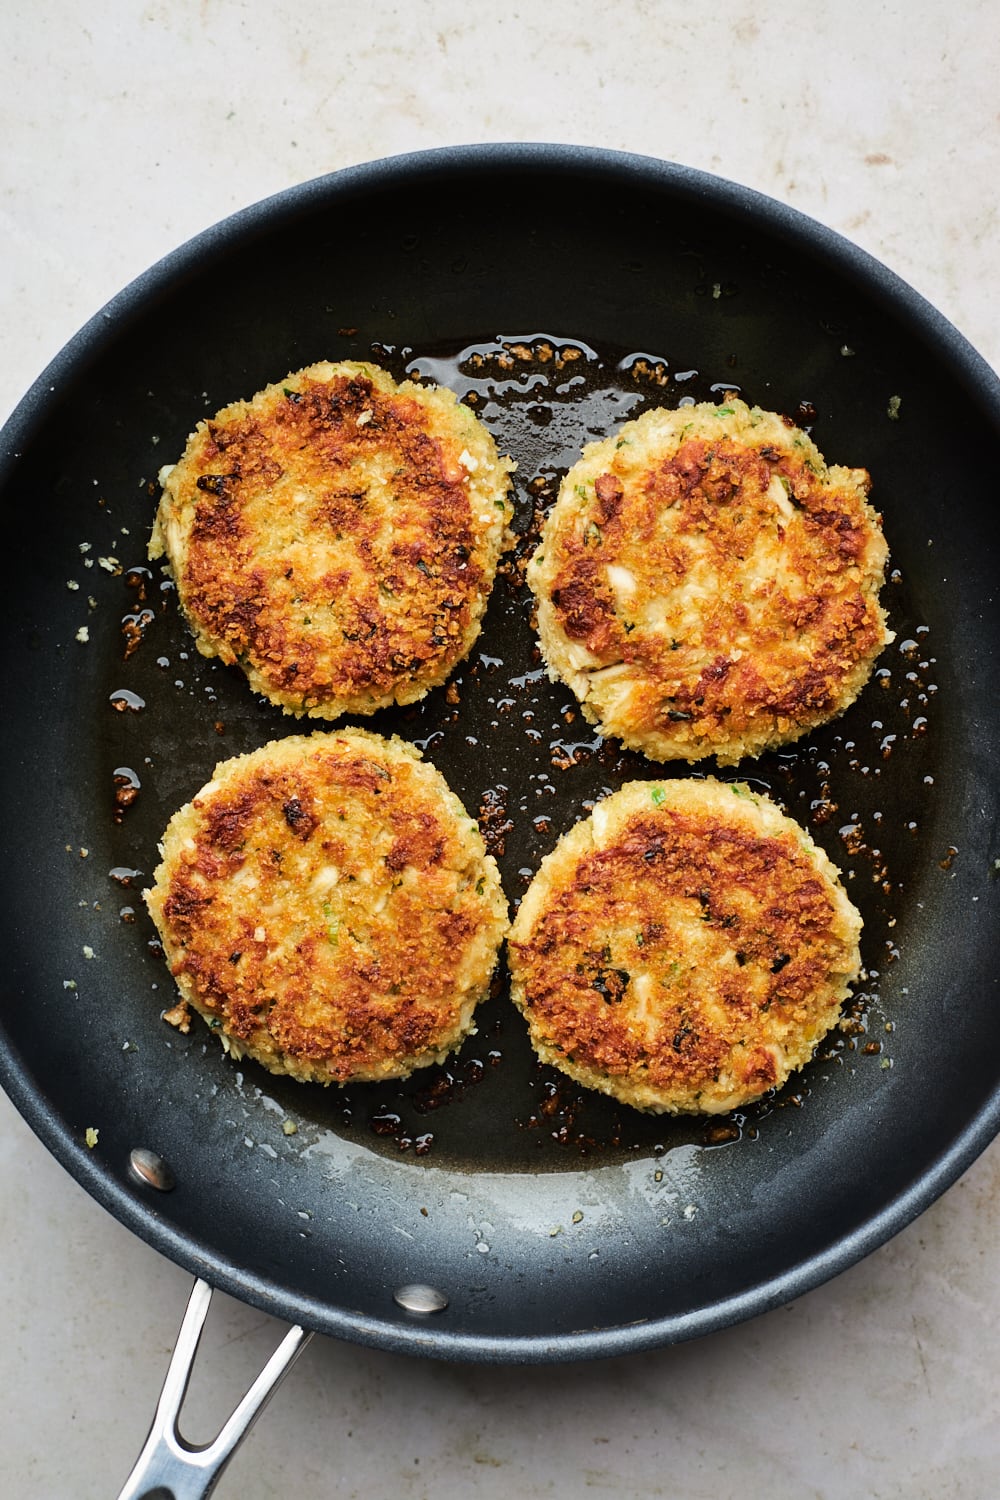
- Coat and cook patties. Coat patties with panko or regular bread crumbs before pan frying them until golden. Serve with lemon wedges and your favourite creamy dip or sauce.
Storage and Freezing Tuna Patties
- PREP AHEAD: This recipe is fairly simple (it comes together in 20 minutes), so there isn’t much reason to prep ahead. That being said, the tuna cakes can be assembled ahead of time and cooked just prior to serving. Just follow recipe directions, but don’t heat. Instead, cover with plastic wrap and store in the refrigerator. Tuna cakes can be made approx 3-4 hours in advance.
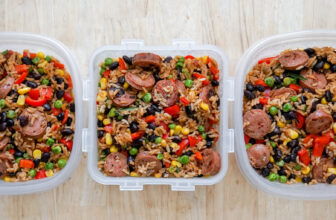
- MAKE AHEAD & STORAGE: I love making a batch of these for meal prep and eating them for lunch throughout the week. They are perfect on salad, on their own or even in a wrap or stuffed into a pita! Store your cooked and cooled tuna patties in a shallow, airtight container in the refrigerator for up to 3 days. It’s best to re-crisp them on the stovetop or oven but you can use the microwave in a pinch.
- FREEZING: Yes! To freeze, follow recipe directions and then allow tuna cakes to cool completely. Once cooled, arrange in a single layer on a baking sheet and freeze for 2-3 hours. Once frozen through, remove tuna cakes from baking sheet and store in an airtight zipper bag. These will keep for up to 3 months in the freezer. Thaw in the fridge then reheat in the oven, toaster oven or microwave – note that they won’t crisp up in the microwave.
Tips for Making No Fail Tuna Patties:
- Use forks to flake tuna into small pieces (smaller flakes hold together better when forming the cakes).
- You can make your cakes any size you want, but I prefer mine a bit smaller. I used a two tablespoon cookie scoop to measure them evenly, and then pressed them flat into the shape I wanted. The larger or thicker your cakes are, the longer they will take to cook or heat through
- Have a clean plate or baking sheet lined with parchment paper ready before you form your tuna patties/fish cakes
- Be gentle when forming them and take care to coat all sides thoroughly with panko breadcrumbs before pan frying them.
- When you transfer the fish cakes to the skillet, make sure that the oil is hot and that each cake has space all the way around for even browning.
- Before attempting to flip the cakes, press down firmly on the top and sides to set their form. Then gently flip. Don’t worry if a fish fragment or two falls off, you can use your spatula to press it back into the cake.
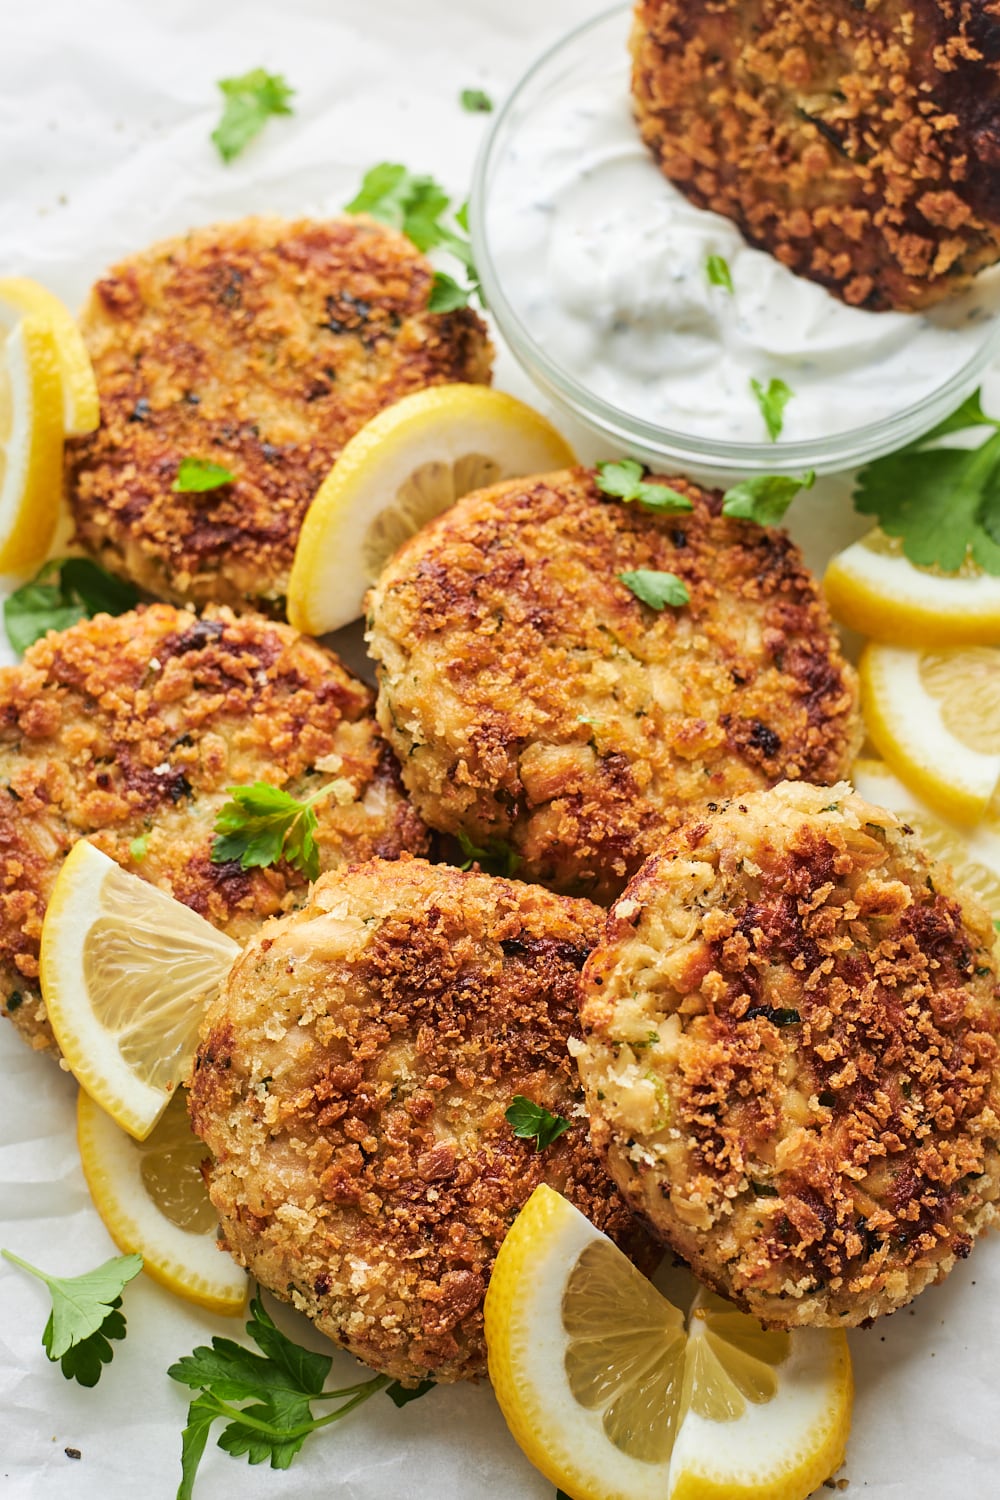
- Serve this dish alongside lemon wedges and a cream-based sauce for the perfect snack and sprinkle some fresh parsley or green onions over the tops for an extra pop of color.
More Tuna Recipes You Will Love