Hatch Chile Zucchini Bread | Cooking On The Weekends

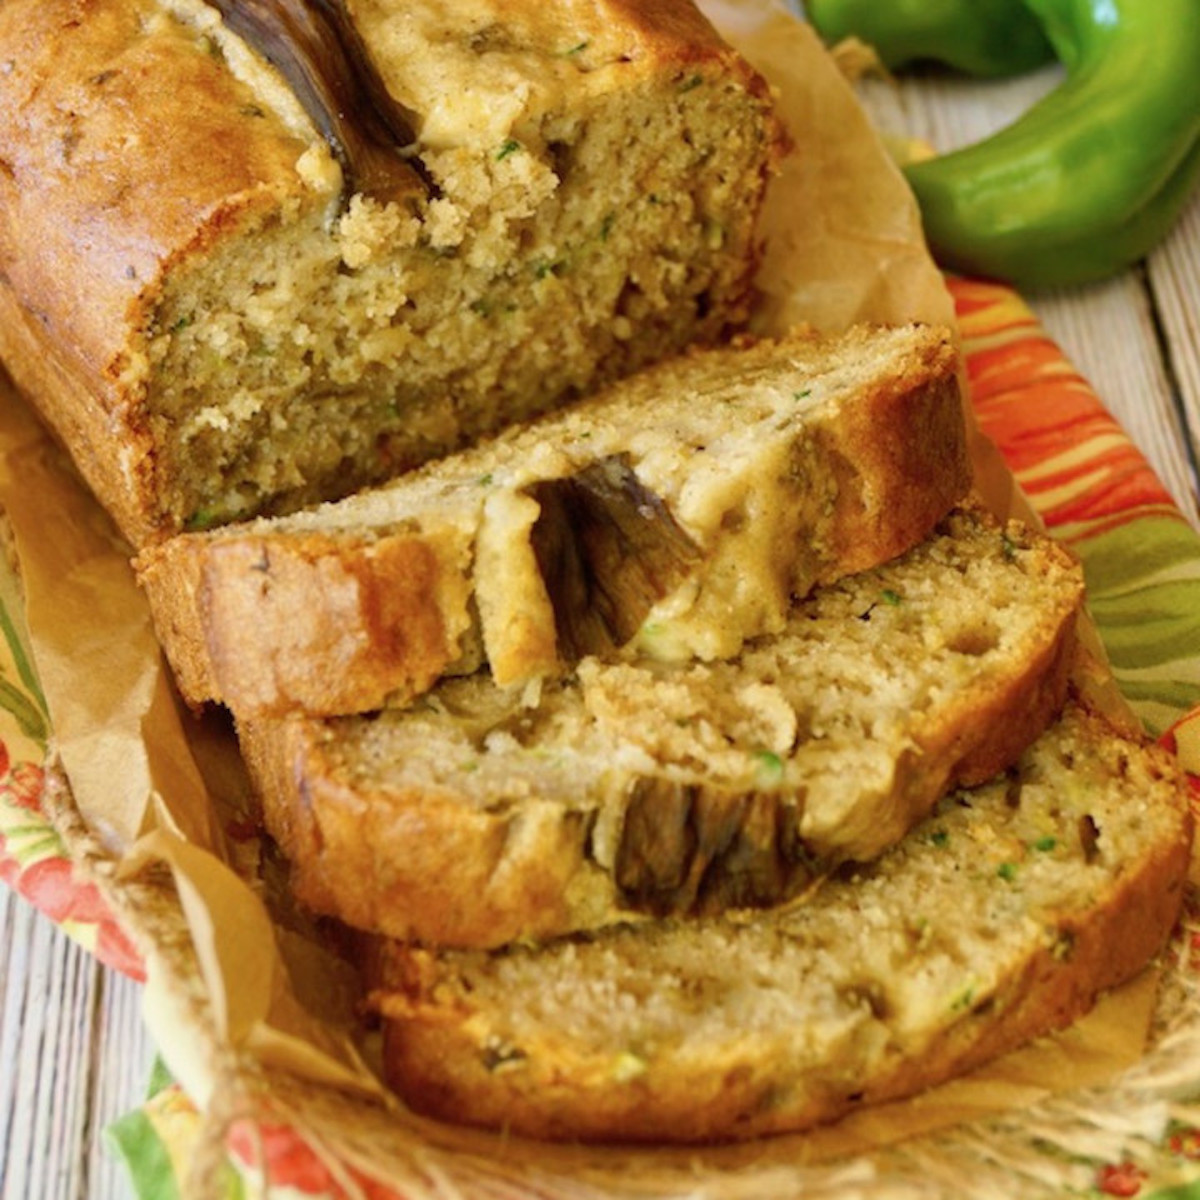
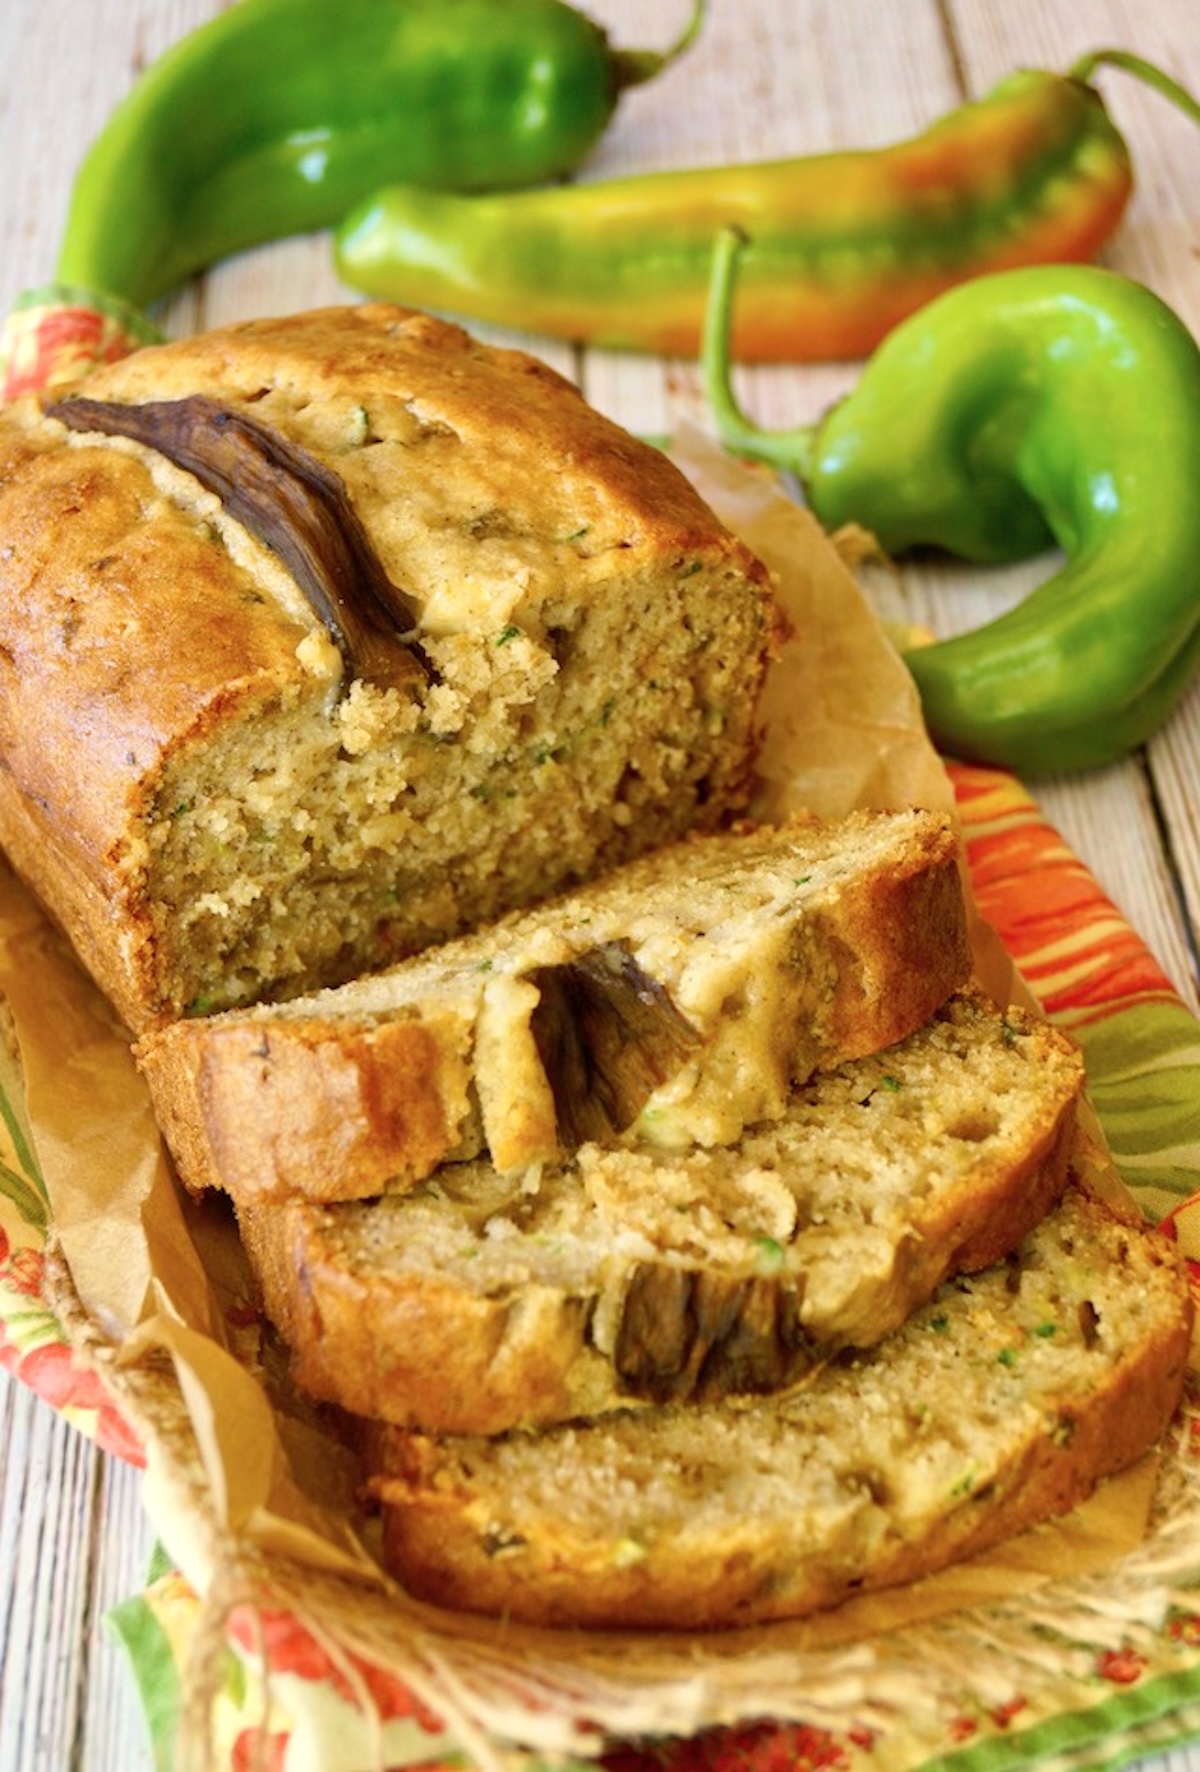
Hatch Chile Zucchini Bread is a fantastic gluten-free quick bread recipe. Sweet, smoky and subtly spiced, it’s lovely for breakfast, an afternoon snack or dessert.
This post was originally published in 2012 and has been updated with additional information and photos. The recipe itself has not changed.
Roasted Hatch chiles add a wonderful smoky, subtly spicy flavor to this zucchini bread, making it both unique and delicious!
And if you don’t want to add the peppers (which is perfectly okay), it becomes a very easy gluten-free zucchini bread recipe.
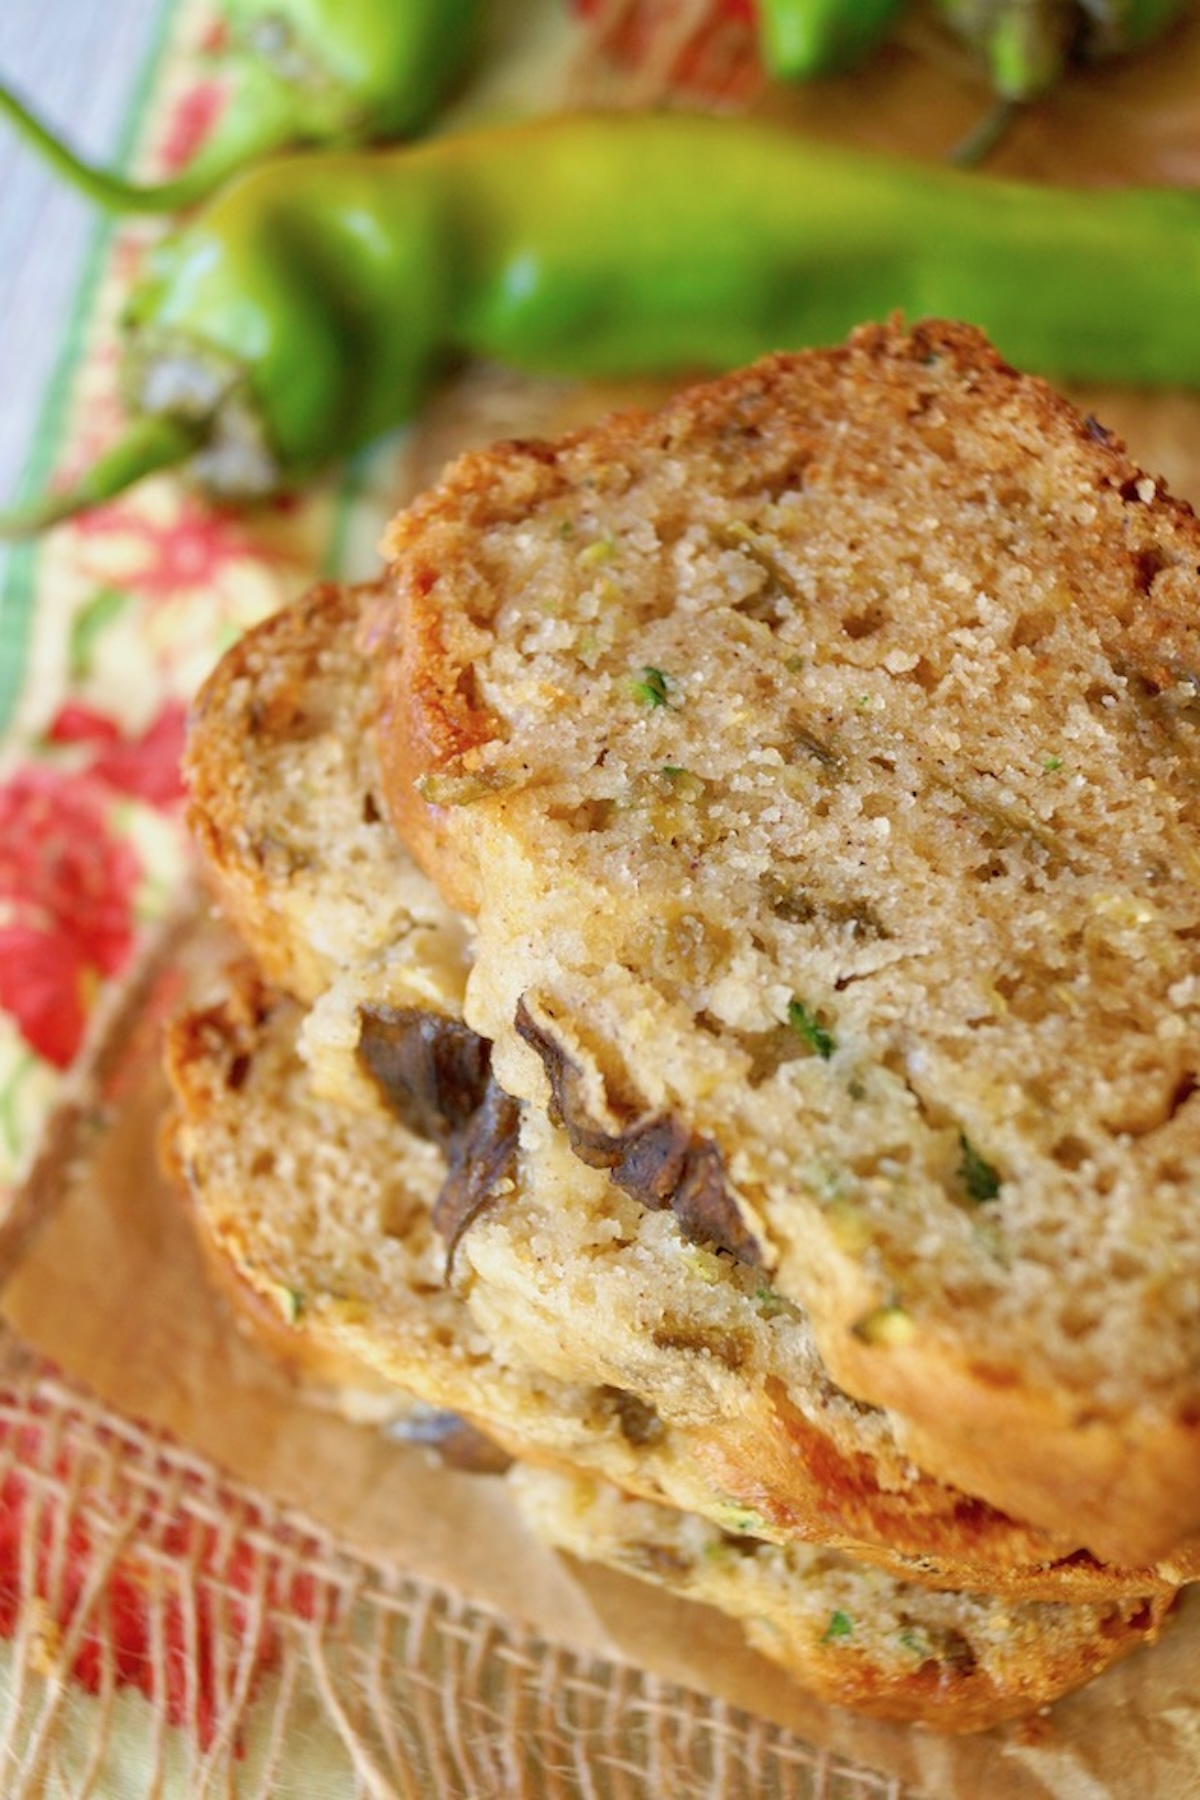
With a light and moist interior, and slightly crisp crust, the Hatch Chile Zucchini Bread is lovely with coffee or tea and makes a great start for the day.
I have Melissa’s Produce to thank for introducing me to Hatch chiles a handful of years ago, and I’ve been cooking and baking with them ever since. Here’s more information about Hatch chiles, and my top recipes I’ve created with them.
Ingredient Notes
- zucchini – Choose firm zucchini with blemish-free, vibrant green skin.
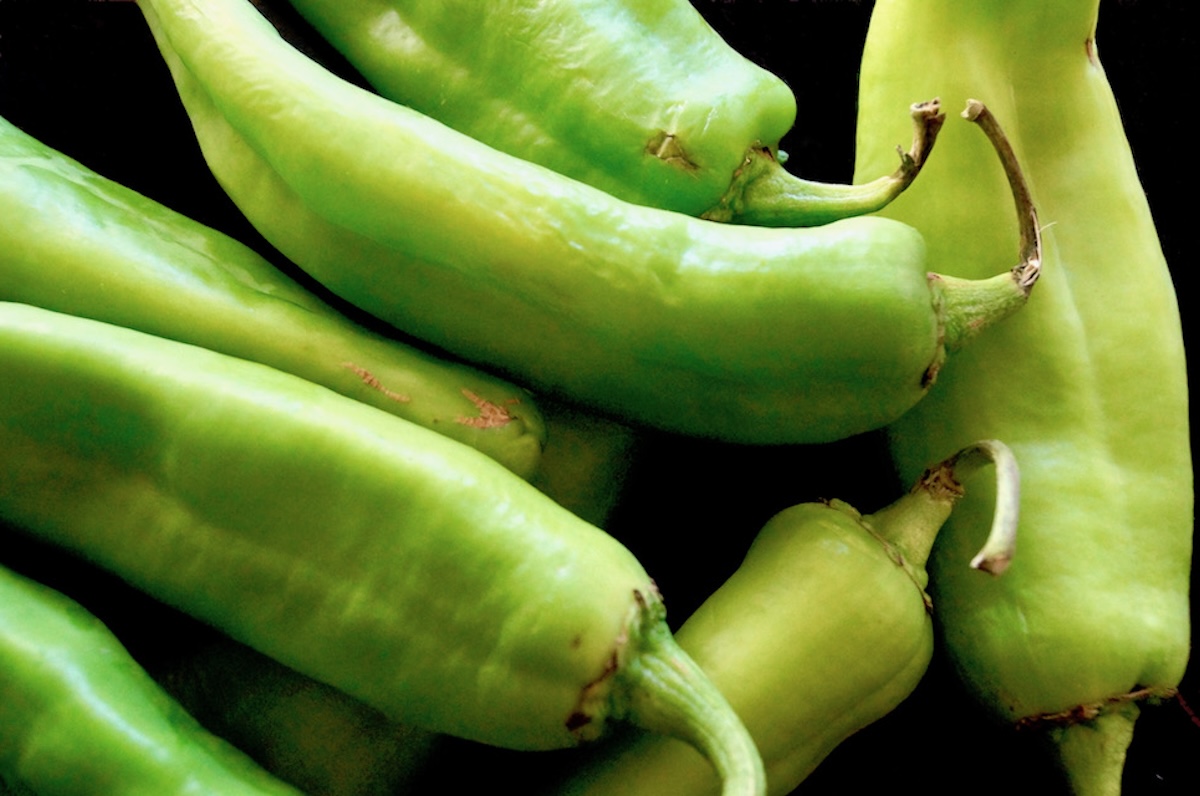
- roasted Hatch chiles – Hot, medium or mild, depending on preference. Hatch chiles are one of the few chiles where hot and mild can be determined, even though they all look the same. They are typically sold labeled as to which they are — so this is your call. I usually use a mix of hot and mild for this recipe, about 25% to 75%, respectively. Substitutions: Both Anaheim and Poblano peppers are great substitutions for Hatch chiles. Anaheims are the mildest.
- neutral oil – Vegetable, Canola or Avocado.
- baking soda – If you don’t bake regularly, it’s a good idea to check to be sure your baking soda is still good. To do so, pour a couple of tablespoons of vinegar or lemon juice over about ¼ teaspoon of the baking soda. If it starts to fizz, it’s still good.
- Cup4Cup Gluten-Free All-Purpose Flour – This is my favorite gluten-free all-purpose flour. It always yields great results.
How to Make Hatch Chile Zucchini Bread
(More detailed instructions are in the recipe card below.)
– Roast and peel the peppers. (Here’s an easy step-by-step guide for How to Roast and Peel Peppers.)
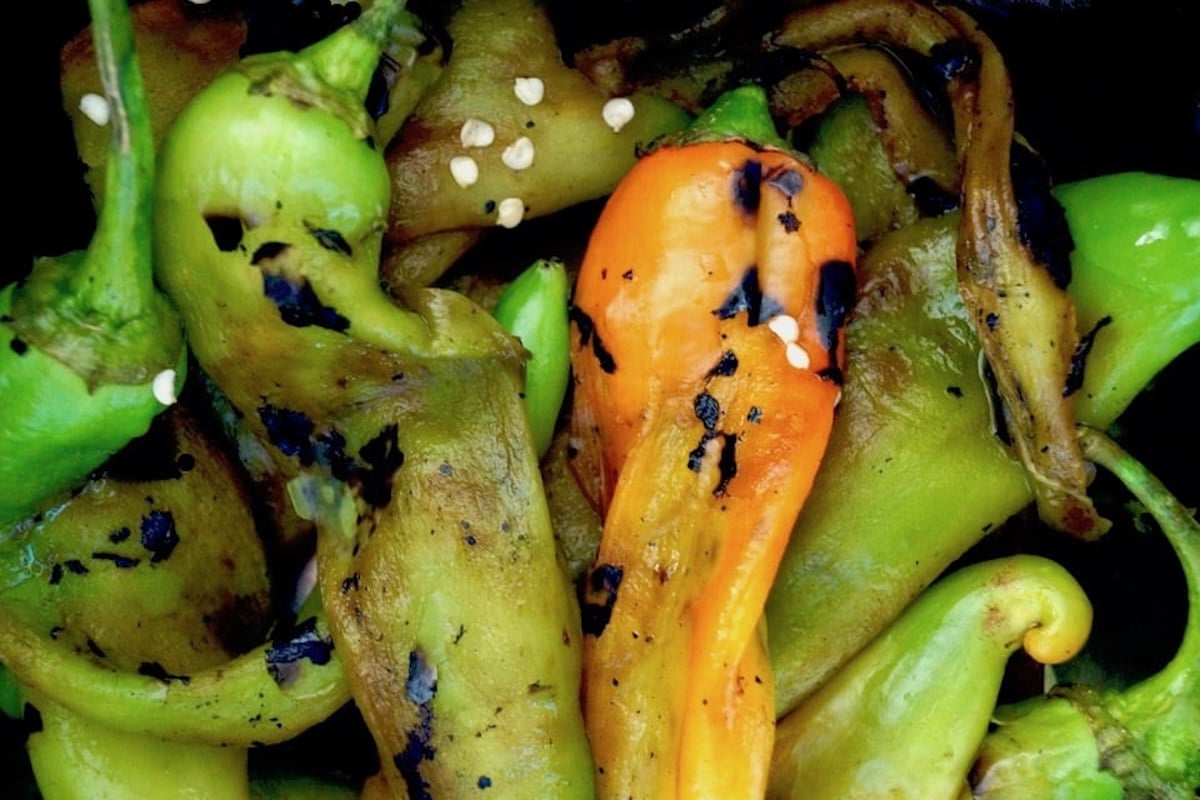
– Cut the stem end off of each one and use a small paring knife to make a slit in each of the peppers to open them. Remove all of the seeds and set one aside. Then finely chop the others.
– Grate the zucchini.
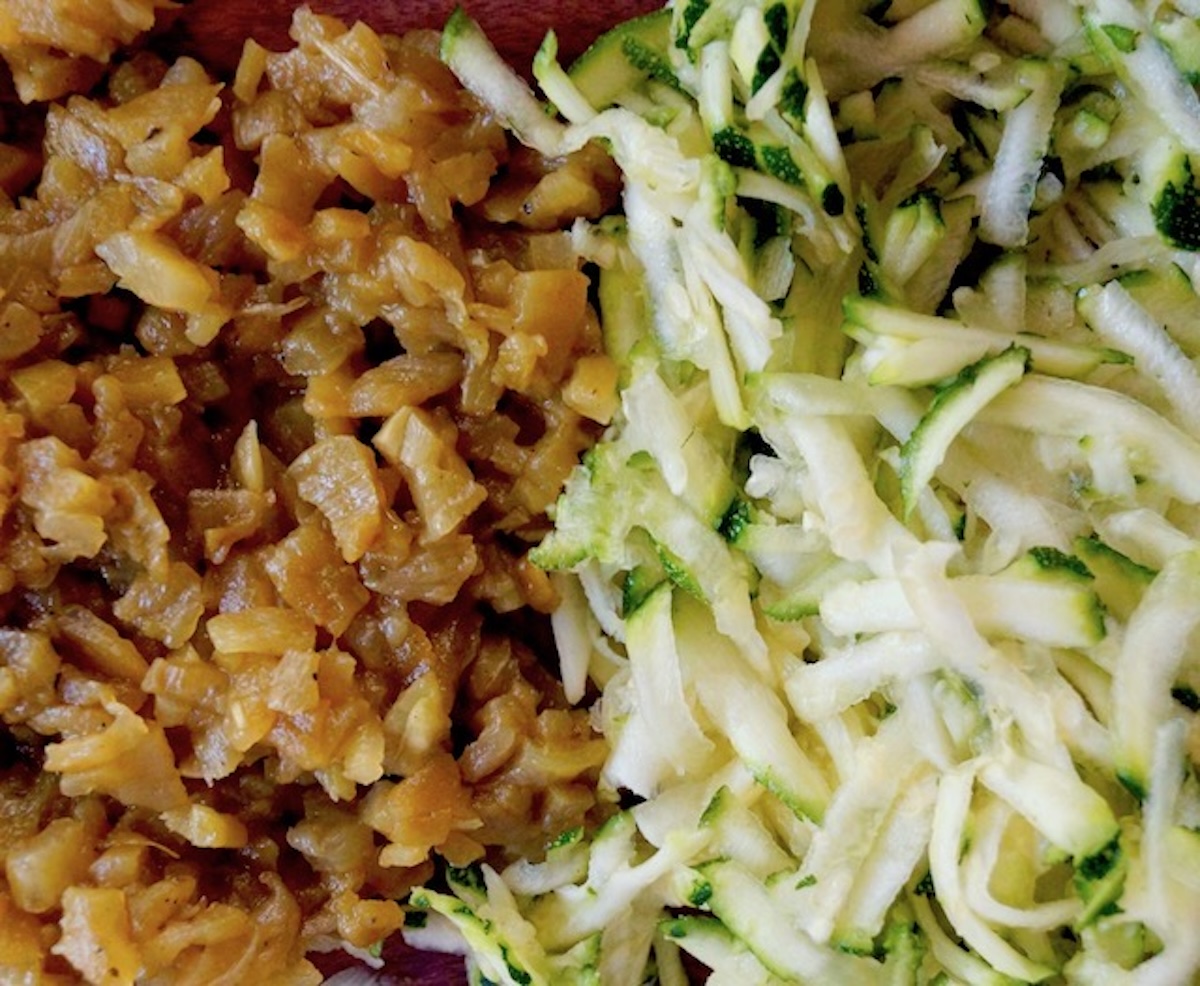
– Preheat the oven to 350°F, and line two loaf pans with parchment paper — on the bottom and sides.
– In a medium-sized mixing bowl, combine the eggs, oil, vanilla, sugar, salt and cinnamon. Whisk until it’s very smooth. Wring out the zucchini gently with your hands to remove excess moisture. Then fold it into the mixture, along with the finely chopped roasted peppers. Add the flour and baking soda, and mix just until everything is evenly blended.
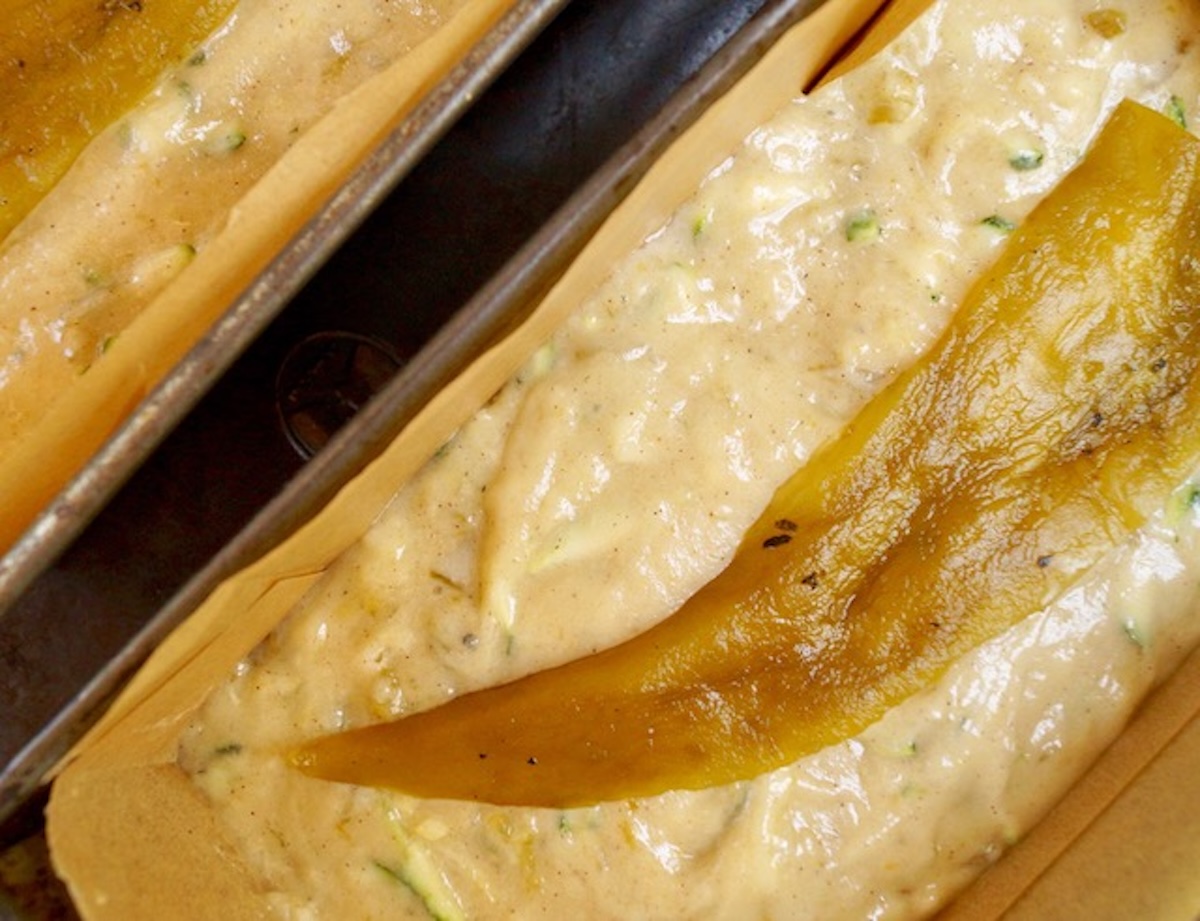
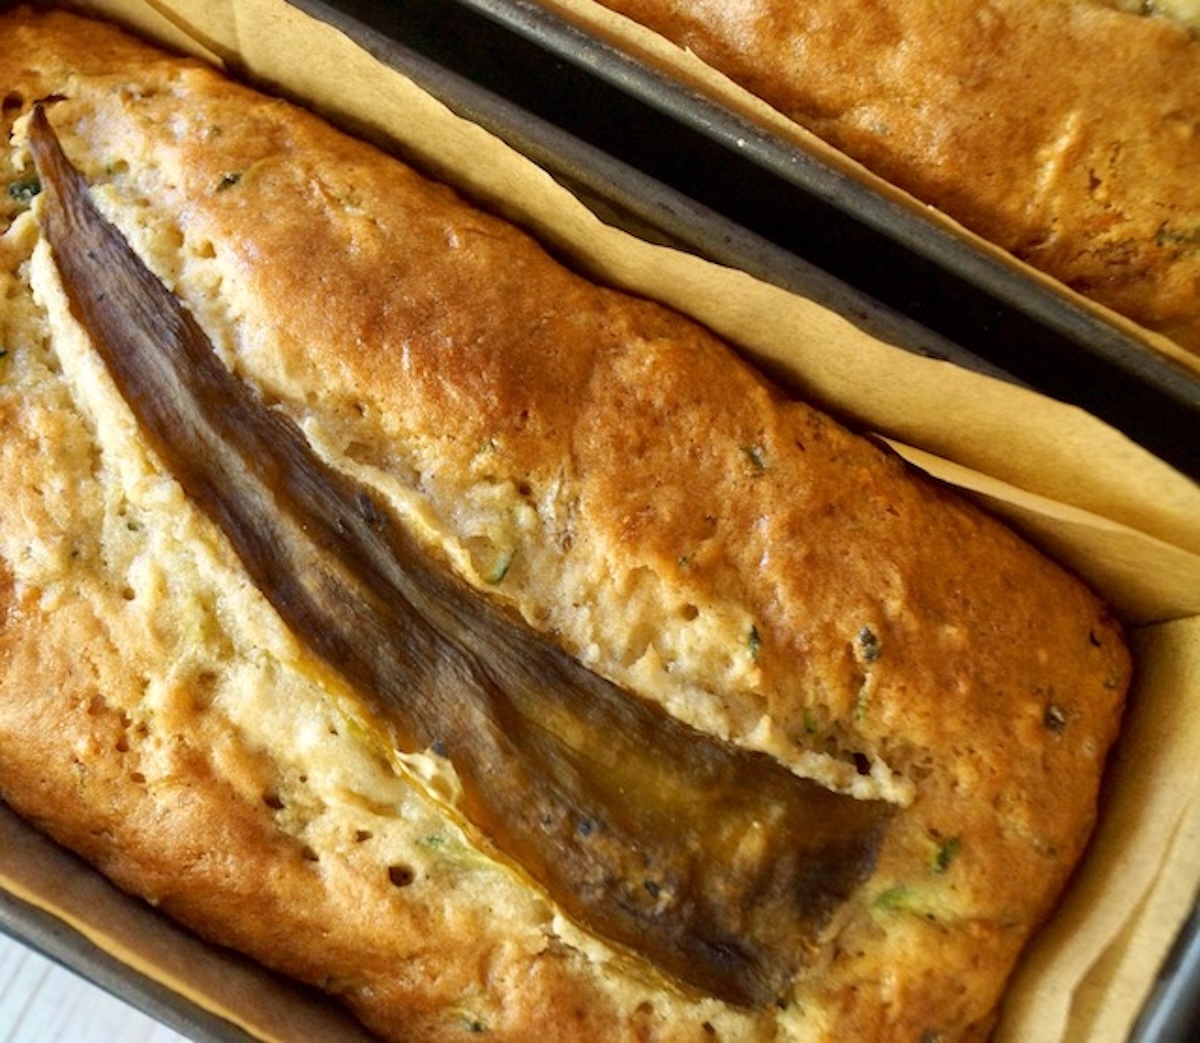
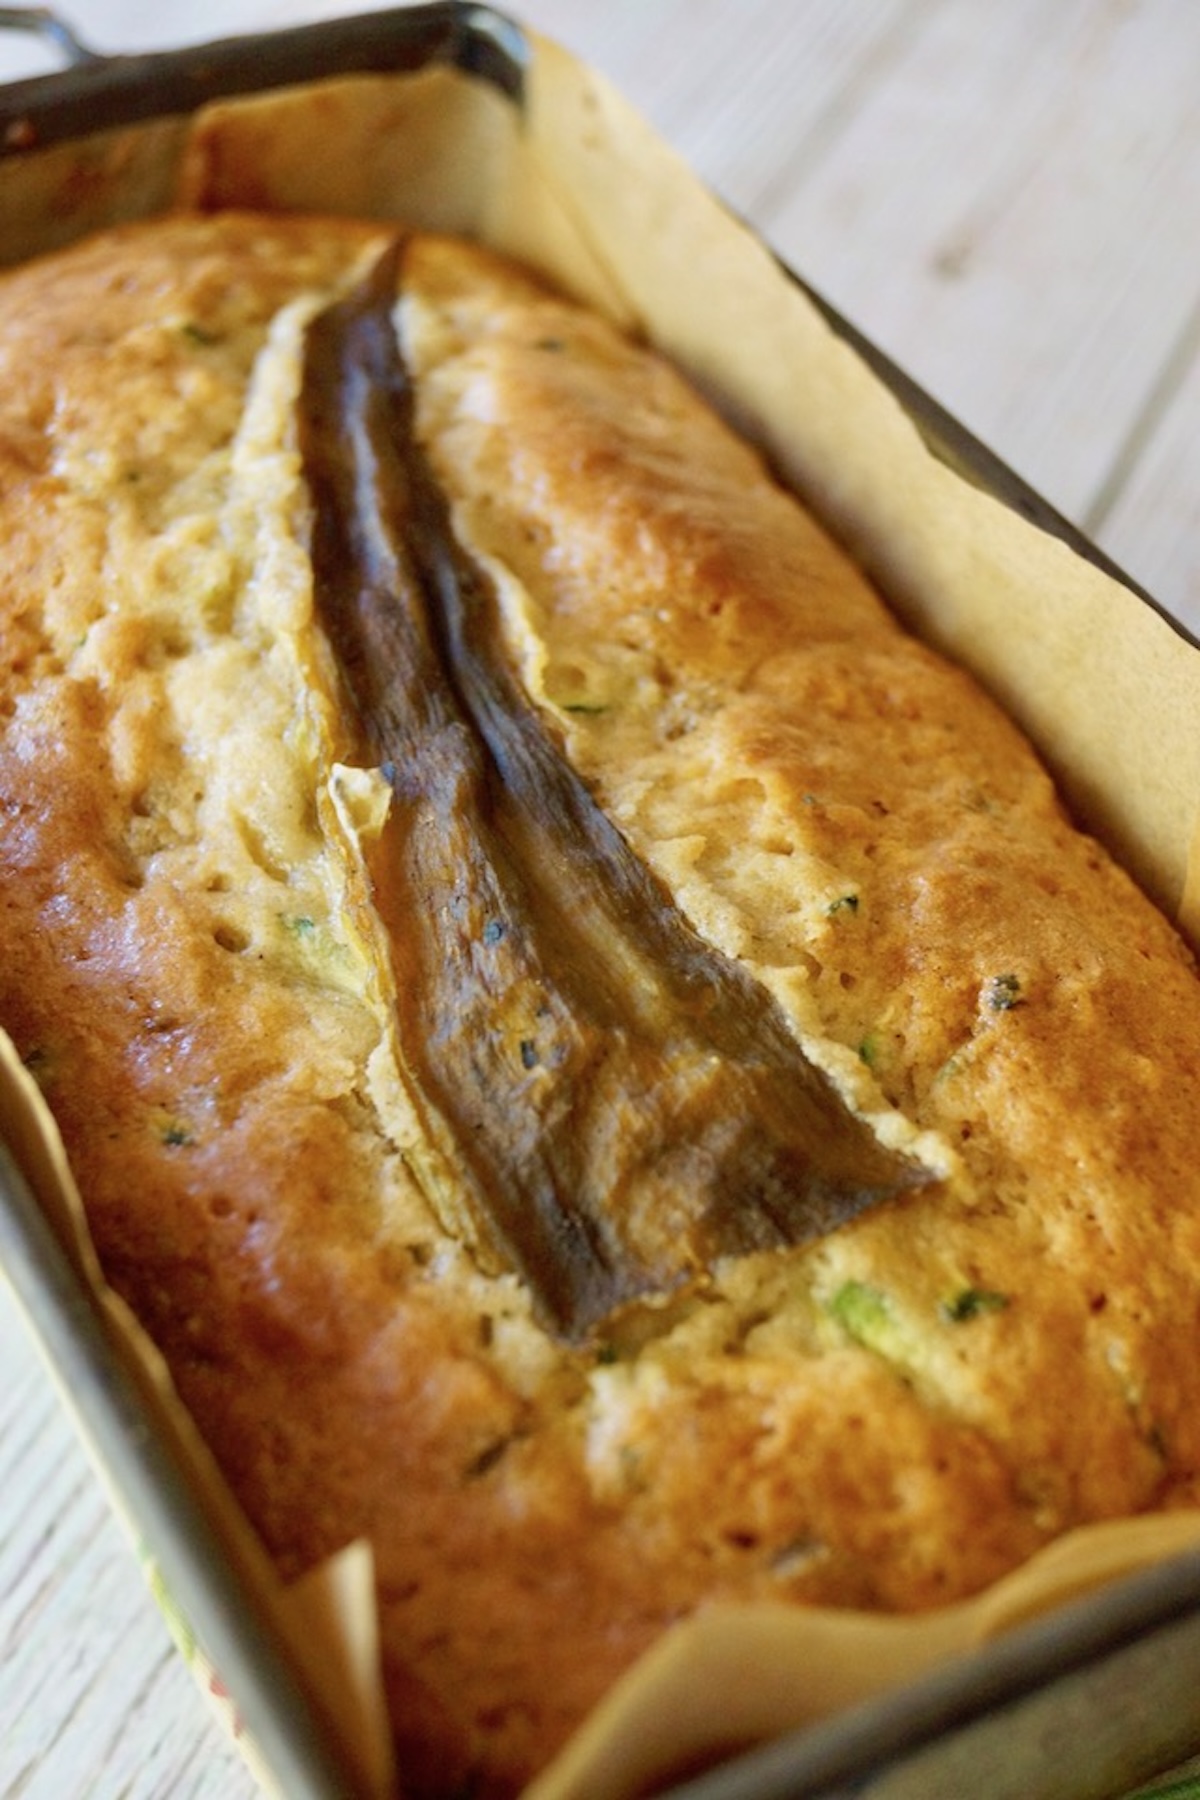
– Divide the batter between the pans. Slice the stem off of the roasted pepper and cut it in half, lengthwise. Carefully, keeping the pieces intact, remove the seeds with the back of a knife. Then place one piece, smooth side up, on top of the batter in each pan. (This is optional.)
– Bake in the preheated 350°F oven until the top is golden brown, and beginning to crack, about 1 hour.
Variations
- For a non-gluten-free version. I make this using the gluten-free flour, but you can certainly use regular flour if you’d like. The measurements will be the same. (The baking times may vary slightly depending on which one you use.)
- Additions! Feel free to add chocolate, coconut or nuts. I suggest mini chocolate chips, shredded sweetened coconut and finely chopped pecans or walnuts. Use about 1½ cups total of whatever you add, or any combination thereof.
Can you make it ahead?
While there’s nothing quite like a bread right out of the oven, this quick bread will still be delicious if made ahead.
Room temperature. It will keep well for a couple of days in a tightly sealed container at room temperature.
Refrigerator. It will keep well for about a week in a tightly sealed container in the refrigerator.
Can you freeze the baked bread?
It will keep well for about two months wrapped tightly in plastic wrap or in a heavy-duty zip-lock bag with all of the air removed in the freezer.
Where to Get Hatch Chiles
You should see them all over during their season. Whole Foods, Gelson’s, Bristol Farms, Vallarta’s, Northgate, Kroger Family of Stores, Safeway, Albertsons, etc. You can also purchase them from Melissa’s Produce (Use my code: COTW46 for a 10% discount!)
Other Must-Try Sweet Hatch Chile and Zucchini Recipes
I hope you enjoy this Hatch Chile Zucchini Bread as much as my family and I do.
This is not a sponsored post.
Hatch Chile Zucchini Bread (Gluten-Free)
Instructions
-
Prepare the peppers and zucchini. Roast and peel the peppers. (Here’s How to Roast and Peel Peppers). Set one aside for later. Then, cut the stem end off of each one and carefully use a small paring knife or your fingers to make a slit in each of the peppers to open them. Gently remove all of the seeds, and finely chop the chiles. You will need 1 cup of the finely chopped chiles. Set aside. Grate the zucchini. You will need 2 cups of the grated zucchini.
-
Preheat the oven and prepare the pans. Preheat the oven to 350°F, and line 2 (approximately 8-inch) loaf pans with parchment paper — on the bottom and sides. Set aside.
-
Make the batter. In a medium-sized mixing bowl, combine the eggs, oil, vanilla, sugar, salt and cinnamon. Use a whisk or a fork to mix it until it’s very smooth. Wring out the zucchini gently with your hands to remove excess moisture.Then fold it into the mixture, along with the finely chopped roasted peppers. Add the flour and baking soda, and mix just until everything is evenly blended. (Do not over mix!)
-
Fill the pans and bake. Divide the batter evenly between the two pans. Slice the stem off of the one remaining roasted pepper and then cut it in half, evenly and lengthwise. Very carefully, keeping the pieces intact, remove the seeds with the back of a knife. Place one piece, smooth side up, on top of the batter in each pan. (This is decorative and optional.) Bake in the preheated 350°F oven until the top is golden brown, and beginning to crack, about 1 hour.
-
Cool. Let the bread cool in the pans for about 5 minutes. Use a dull knife to go around the edges of the bread to ensure it’s loose, and then cool the bread for at least another 20 minutes in the pans on a cooling rack. Lift the bread out with the edges of the parchment paper, slice and serve.
NOTES
Nutritional information is automatically calculated, so it should only be used as an estimate.
NUTRITION
Calories: 292kcal | Carbohydrates: 37g | Protein: 4g | Fat: 15g | Saturated Fat: 2g | Polyunsaturated Fat: 10g | Monounsaturated Fat: 3g | Trans Fat: 0.004g | Cholesterol: 35mg | Sodium: 300mg | Potassium: 64mg | Fiber: 3g | Sugar: 21g | Vitamin A: 89IU | Vitamin C: 6mg | Calcium: 24mg | Iron: 1mg
Cooking On The Weekends is a participant in the Amazon Services LLC Associates Program, an affiliate advertising program designed to provide a means for sites to earn advertising fees by advertising and linking to Amazon.com.