Cute Kawaii 3D Back to School Alphabet and Number Set ⋆ Extraordinary Chaos

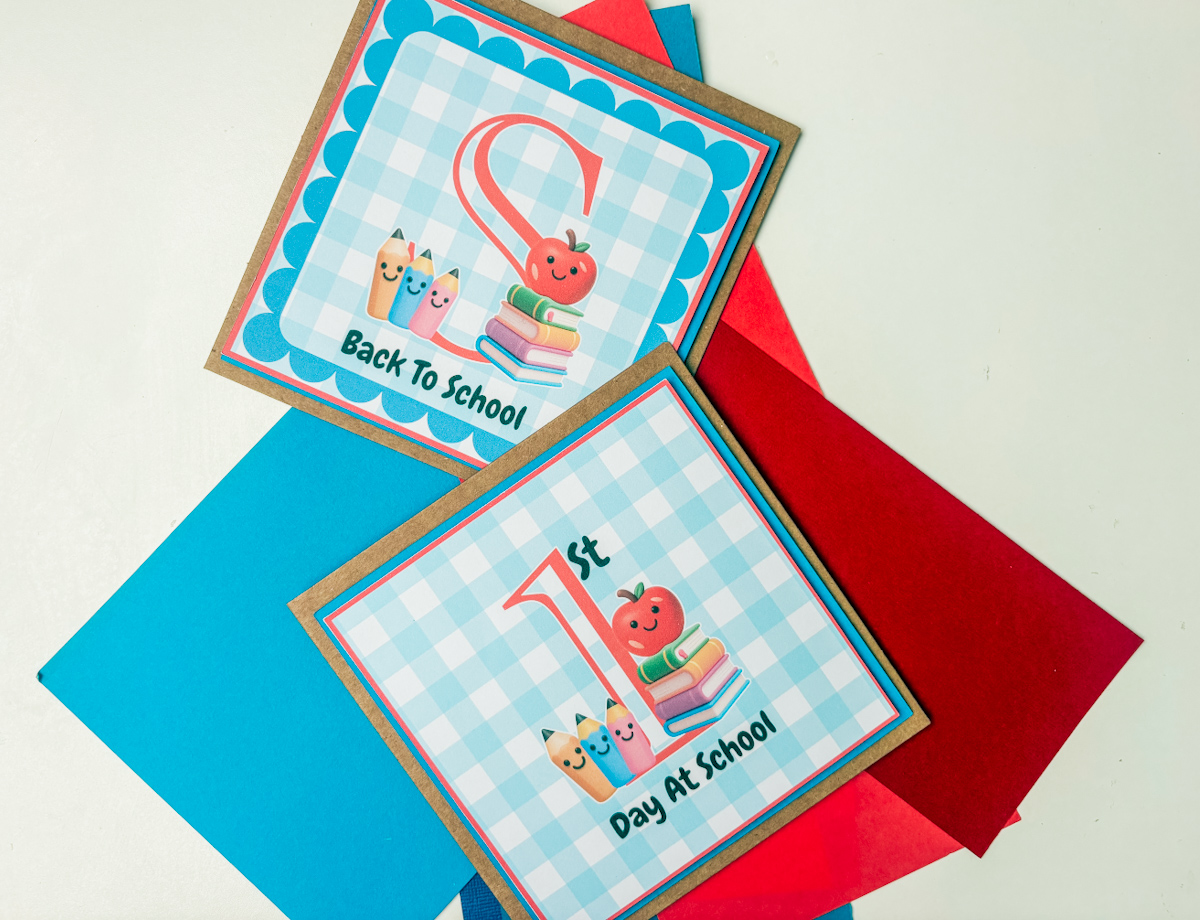
These adorable PNG files are ideal for use with LOKLiK, Cricut, and Silhouette machines, or for easy hand-printing and cutting for simple DIY crafts. Whether you’re designing personalised cards, classroom décor, first day of school signs, cake toppers, scrapbook layouts, teacher gifts, or custom name labels, the Cute Kawaii 3D Back to School Alphabet and Number Set is perfect for bringing charming back to school style to your projects.
Perfect for children’s birthdays, classroom displays, first day of school photos, and back to school parties, this printable alphabet and number set makes it easy to create unique keepsakes and decorations that little ones will love. Simply download the alphabet and start crafting today!

This post may contain affiliate links. Which means I may receive a small commission if you click a link and purchase something that I have recommended at no extra cost to yourself. As an amazon, Cricut and Glowforge associate, I earn from qualifying purchases.
Project Ideas For Our Printable Kawaii Back to School Clip Art PNG Alphabet
- Classroom Name Labels & Displays
- Cake Toppers
- Back to School Themed Banners
- Planner Stickers
- Sublimation Mugs
- Teacher Appreciation Cards
- Cute Kawaii Back to School Scrapbooking Page Layouts

How to Make Free Back to School Cards in Canva and Cricut
Back-to-school season is such a lovely one to mark with a handmade card, and the best part is you can make these gorgeous print-and-cut cards without spending a penny. In this tutorial, I’ll show you exactly how I designed mine in Canva, then brought them into Cricut Design Space to print, cut and assemble.
I’m also gifting you two free alphabet letters (the S and the number 1) from my paid Back to School alphabet set, so you can follow along and make these cards for yourself. If you’d like the full set, it’s available in my shop for £5, and it’s especially handy if you’re making cards to sell.

What You’ll Need
Before we start designing, gather the following:
1. Set Up Your Canva Canvas
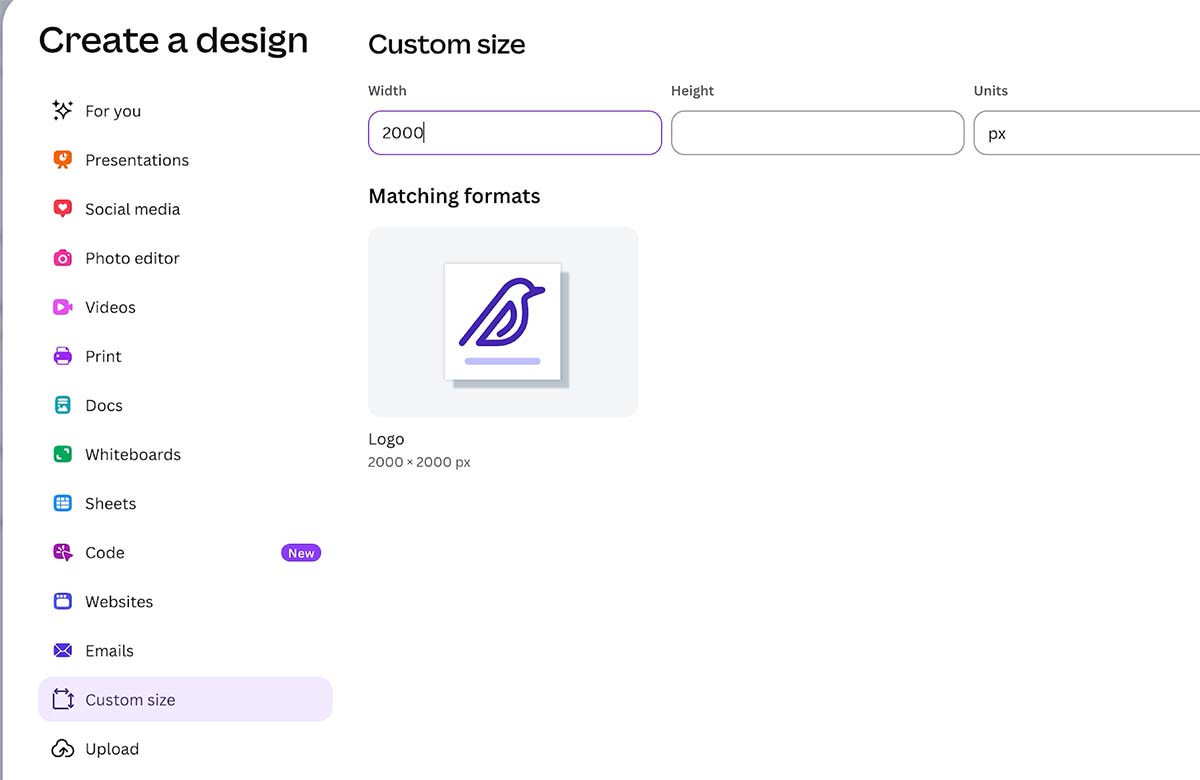
First, open the free version of Canva and click Create in the top left corner. Rather than using a preset size, choose custom size at the bottom of the sidebar. Then, set it to 2000 by 2000 pixels.
This gives you a square canvas. It’s also a high enough quality to look sharp once it’s uploaded into Cricut.
2. Upload Your Free Alphabet Letters
Next, go to the sidebar and click Uploads, then Upload Files. Add your free S and number 1 designs. You’ll find the download link below.
These letters have a 3D style and sit on a flat background. They’re the star of your card design.

3. Add a Background Pattern
Now, head to the sidebar and click Elements. Search for pattern. A check pattern works beautifully alongside these letters.
Once you’ve added one, right click it and choose layer, then send to back. Alternatively, use the Position menu at the top to move it behind your letter.
Try a few colours until you find one you like. A soft pale blue check gives the card a classic back to school feel. However, this part comes down to your own taste, so have a play.
Tip: if an element has a small crown icon on it, that means it’s part of Canva’s paid plan. Keep scrolling until you find a free version instead.
4. Add Your Text
After that, click Text in the sidebar and scroll down to the template designs. Some of these are free templates you can personalise straight away, rather than building text from scratch.
I used one called Welcome Little One. Then, I simply swapped the wording for Back to School and deleted any extra elements I didn’t need.
5. Add a Frame
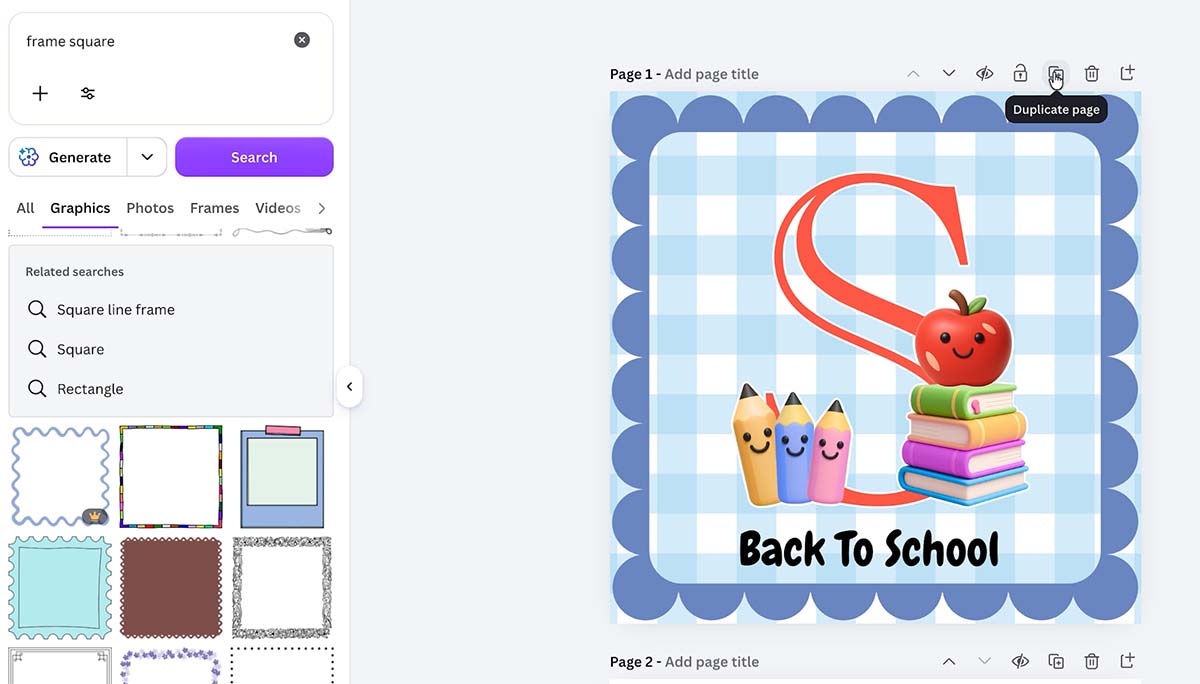
Search for frame in the Elements tab and look for a square design. If there’s a small colour dot at the top of the element, you can recolour it to match your design.
Position the frame around your letter and text. Choose a colour that ties the whole card together.
I made two versions: one plainer and one with more detail. This way, you can decide which style you prefer.
6. Duplicate Your Design for a Second Card
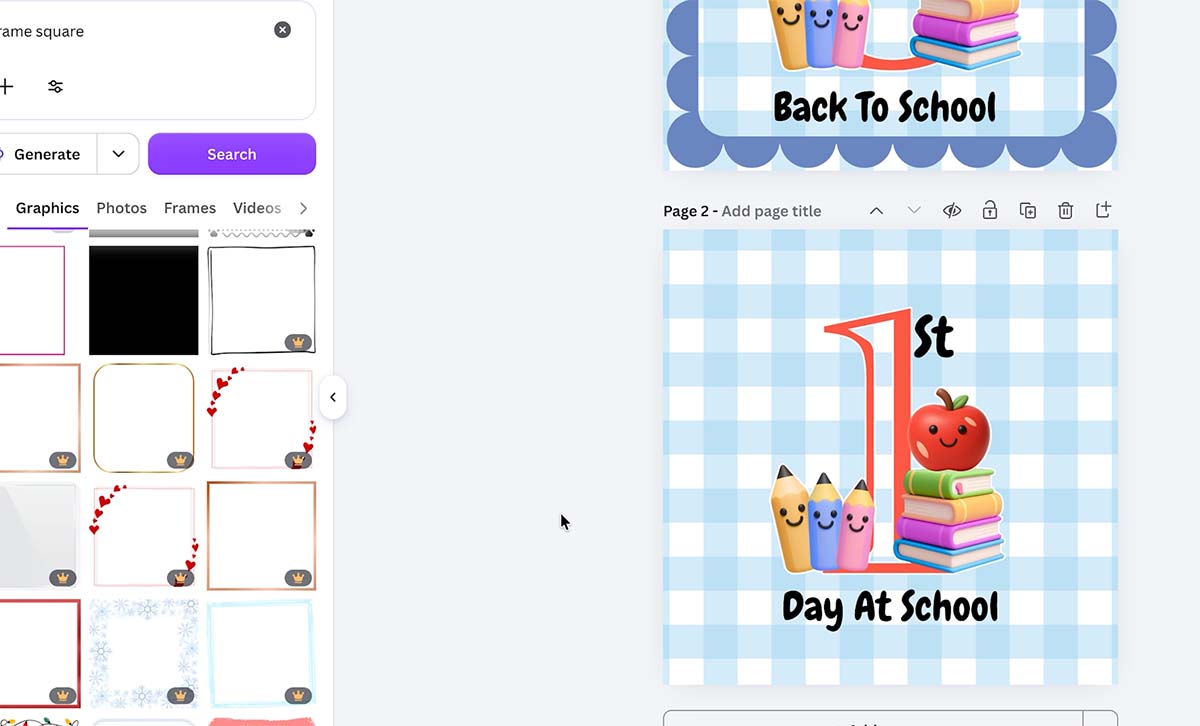
Once your first card is finished, click the top of the page and choose Duplicate. This keeps your background, so you don’t have to start from scratch.
Swap out the letter and text for your second design. For example, change the S for the number 1 and update the text to First Day at School.
7. Download Your Designs
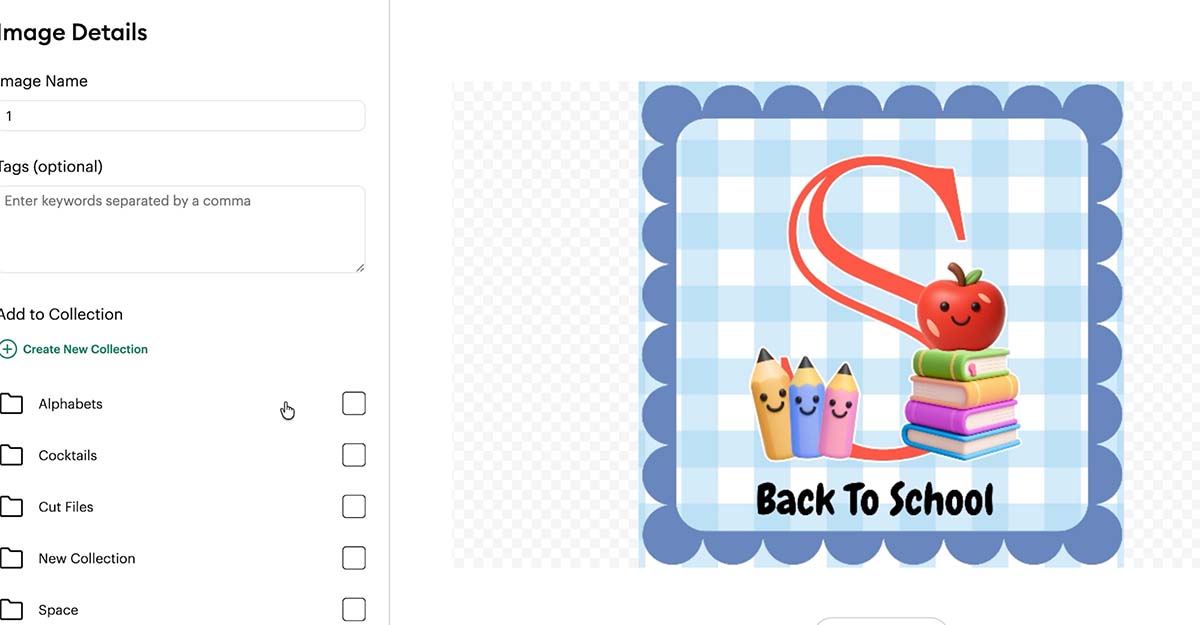
When you’re happy with both cards, click Share in the top right corner. Download each one as a JPEG or PNG.
Because this is a flat image, you don’t need to worry about a coloured background. Canva handles that automatically.
8. Upload to Cricut Design Space
Open Cricut Design Space and upload your downloaded files. Choose Print Then Cut Image with a flat graphic.
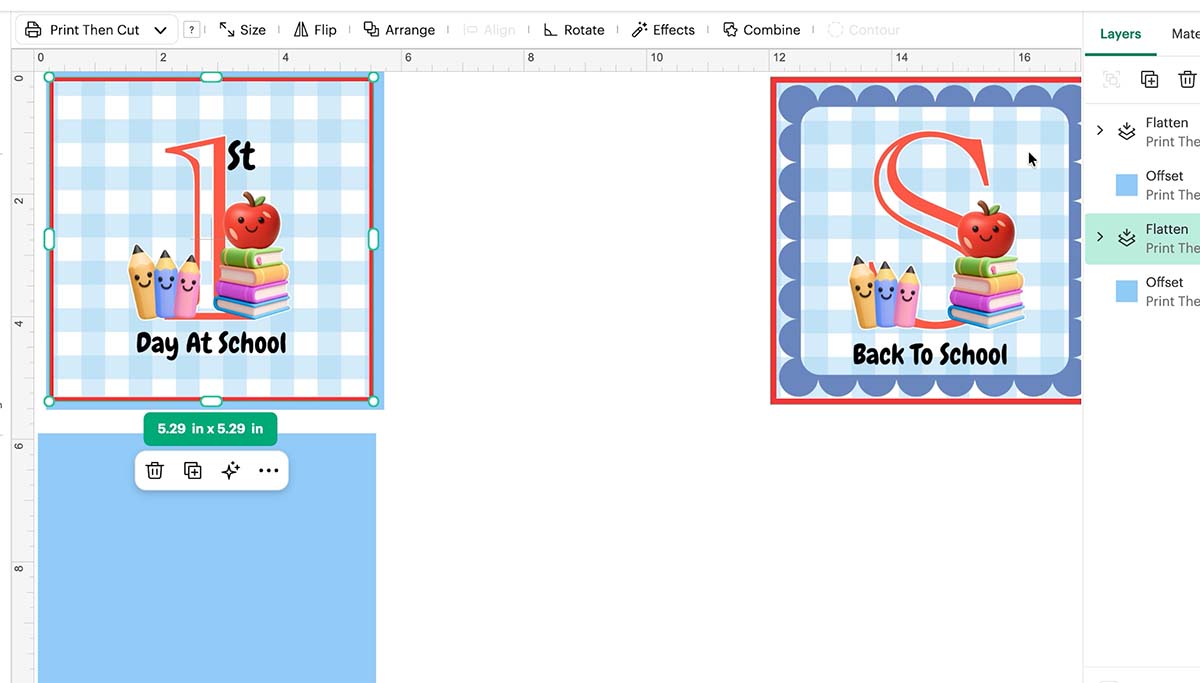
The files will usually come in larger than your mat. So, simply resize them to fit your card blank size. Mine were six inches.
9. Add an Offset for a Finished Look
I like to add a slight coloured offset around each card. Cut this separately from a piece of contrasting cardstock. For example, I used blue for the card and red for the offset.
This extra layer makes the design pop. As a result, it gives the card a professional, boutique finish.
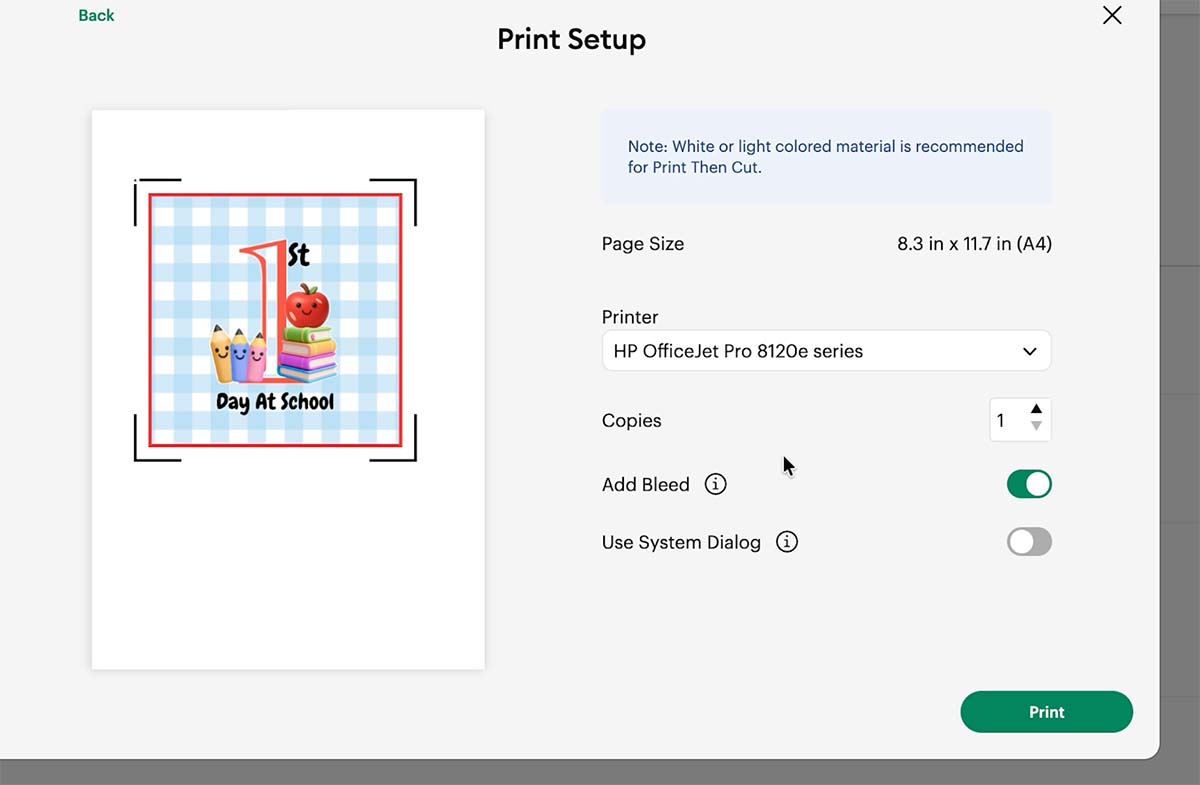
10. Print and Cut
Send your design to Print Then Cut. If your designs don’t fit on one sheet, that’s fine; simply print them separately.
Select Use System Dialog and choose your printer’s best quality setting before printing.
11. Cut on Your Cricut
Feed your printed sheet into your Cricut on the heavy cardstock setting. My Cricut Joy handled these beautifully. It’s a brilliant little machine for card projects like this.

12. Assemble Your Cards
Once everything is cut, pop a sticky pad in the centre of your design. Then, press it onto your card blank.
It’s worth doing a batch of these at once. This makes the sticky pad peeling job, which is the most tedious bit, much quicker to get through.
And that’s it. You’ve now got two gorgeous, handmade Back to School cards ready to gift or sell.

Why I Love This Project
These cards are perfect for several kinds of crafters. For beginners, this is an easy first print-and-cut project. If you’re a regular crafter, you can build up a card stash for every school year, from reception right through to sixth form.
If you’re a seller, this design offers a quick, high margin option for craft fairs. In that case, investing £5 in the full alphabet set makes a lot of sense, since it opens up endless personalisation options.
Tell me in the comments: did you make a card? Also, let me know which of my alphabets you’d like to see turned into a 3D design next. I’m working through them all.

If You Want To Use These Printable Kawaii 3D Back to School PNG Alphabet Letters And Numbers Template?
Click here or on the image below to visit our shop and get the full alphabet. And get your download of our printable back-to-school PNG cut files. They are instant downloads from our shop. Or click here for the 2 free letters: a PNG S and Number 1.
How To Upload and Print Your Printable 3D Back to School Clip Art Alphabet Letters And Numbers To Cricut Design Space.
Follow this step-by-step guide to upload images and SVG and PNG files to Cricut Design Space. Once uploaded, click Make it; if you need help with this, follow our step-by-step print and cut guide.
If You’re Having Problems?
Check out my troubleshooting page, hopefully it will answer any questions you may have.
Tips And Advice For Using Cricut
Also please do pop over to Instagram, or TikTok and give me a follow and if you make a project please do tag me! I love seeing everyone else’s makes and chatting crafting. I could do that all day! This is also where I share all my projects in progress.